The Golden Secret: Amish Baked Custard Recipe Unveiled
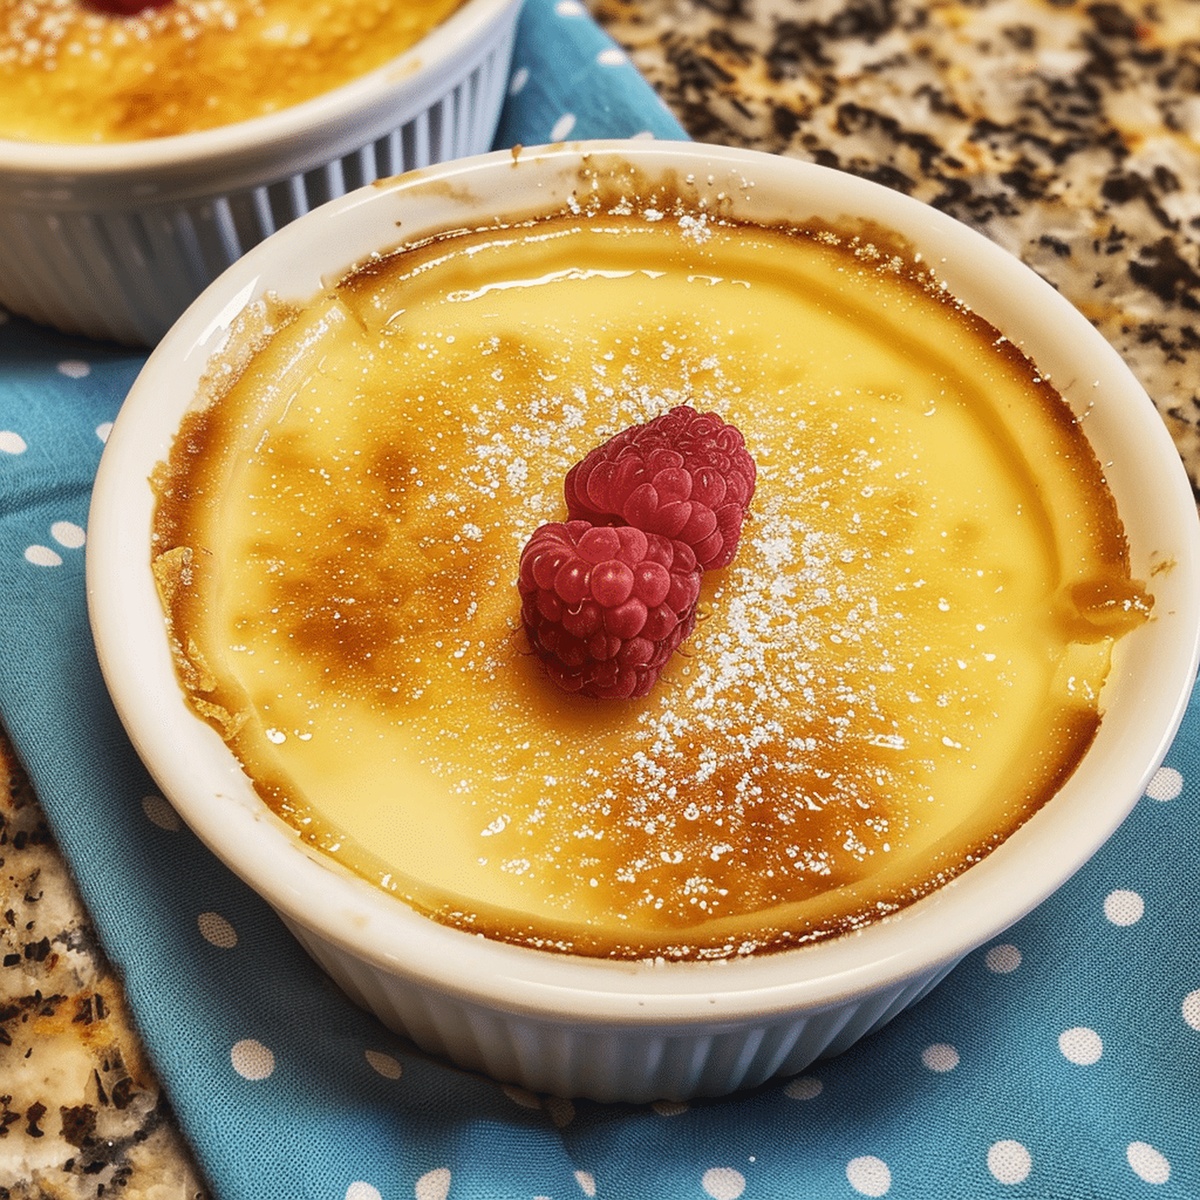
Smooth and creamy Amish baked custard has been a cherished dessert in rural kitchens for generations.
Families across pennsylvania dutch communities perfected this delightful treat with simple ingredients and loving care.
Warm milk, fresh eggs, and a touch of vanilla create magic in every spoonful.
Rich custards like these remind us of grandma’s kitchen and cozy afternoon gatherings.
Silky textures and subtle sweetness make this dessert a comforting classic that feels like a warm embrace.
Some recipes pass through time, connecting us to traditional cooking methods and heartwarming memories.
You’ll want to savor every delectable bite of this timeless dessert that speaks directly to the soul.
Amish Baked Custard That Brings Comfort to Your Table
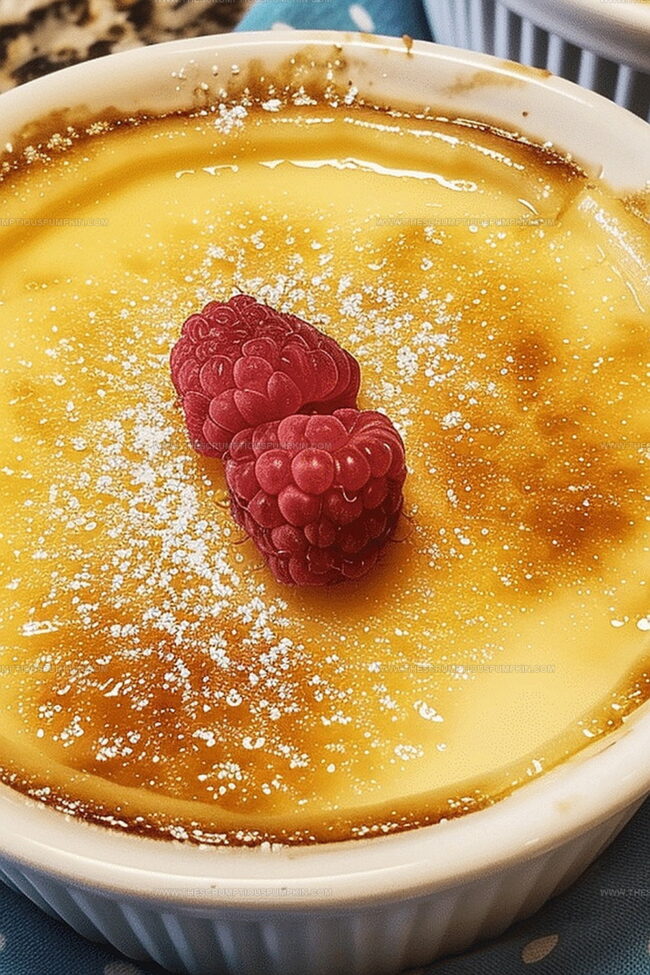
Savor Simple Comfort: This Amish baked custard brings pure, old-fashioned goodness straight to your table.
Ingredients for Amish Baked Custard
Main Ingredients:Flavor Enhancers:Garnish:How to Prepare Amish Baked Custard with Ease
Step 1: Warm Up the Oven
Fire up your oven to 325°F (165°C).
This gentle temperature ensures your custard bakes evenly without scorching.
Step 2: Heat the Milk
Pour milk into a medium saucepan and warm it over medium heat.
Watch carefully to keep it hot but not boiling – you want steamy, not bubbling.
Step 3: Create Egg Mixture
Grab a large bowl and whisk together:Blend until the mixture looks smooth and golden.
Step 4: Combine Milk and Eggs
Slowly drizzle the hot milk into the egg mixture, whisking constantly.
This technique prevents scrambling and creates a silky smooth base.
Step 5: Strain for Smoothness
Pour the custard through a fine sieve to catch any potential egg bits.
This step guarantees an ultra-creamy texture.
Step 6: Prepare Custard Cups
Distribute the custard evenly into six ramekins or custard cups.
Step 7: Create Water Bath
Place the filled cups inside a large baking dish.
Fill the dish with hot water halfway up the sides of the cups.
Step 8: Add Nutmeg Sprinkle
Dust a light layer of ground nutmeg over each custard for a classic aromatic touch.
Step 9: Bake to Perfection
Carefully slide the baking dish into the oven.
Bake for 45-50 minutes until the custard sets but maintains a gentle jiggle in the center.
Step 10: Cool and Chill
Remove custards from the water bath and let them cool to room temperature.
Refrigerate for at least 2 hours to enhance the flavor and texture.
Step 11: Serve and Enjoy
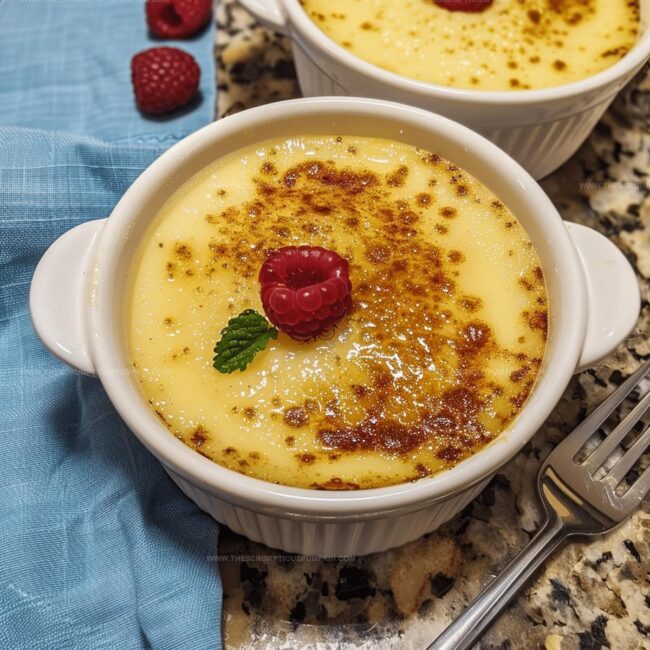
Pull out your chilled custards and serve cold.
Each spoonful promises a creamy, dreamy Amish dessert experience.
Pro Tips for Smooth and Creamy Amish Baked Custard
Delicious Variations for Amish Baked Custard
Serving Suggestions for Amish Baked Custard
How to Store Amish Baked Custard Properly
FAQs
A water bath helps the custard cook evenly and prevents cracking by creating a gentle, consistent heat around the delicate custard, ensuring a smooth and creamy texture.
Whole milk works best, but you can substitute with 2% milk. Avoid skim milk as it may result in a less rich and creamy custard.
The custard is done when it’s set around the edges but still slightly jiggly in the center. It should wobble like jelly when gently shaken, which takes about 45-50 minutes of baking.
Print
Amish Baked Custard Recipe
- Total Time: 1 hour 10 minutes
- Yield: 8 1x
Description
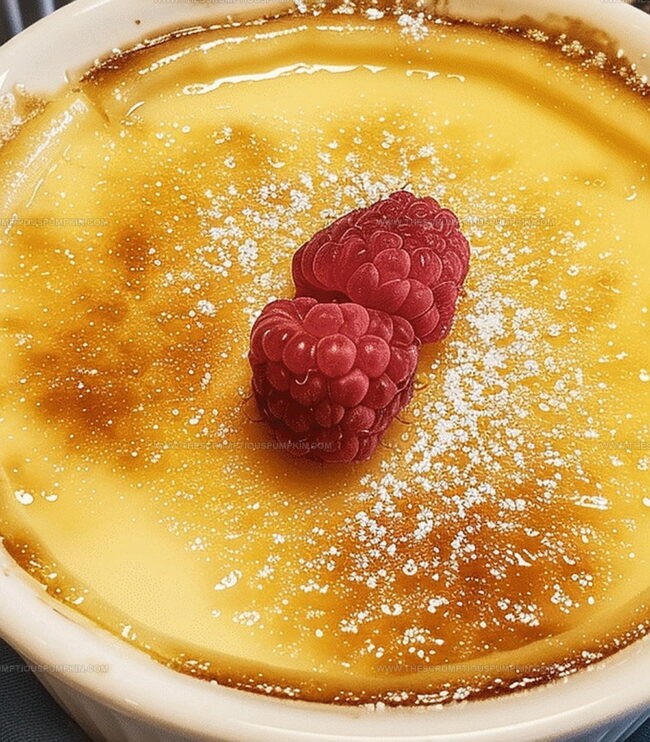
Comforting Amish baked custard delights with its creamy richness and simple ingredients. Silky smooth texture and classic flavor invite home cooks to savor this traditional dessert that connects generations of kitchen memories.
Ingredients
Main Ingredients:
- 4 cups (960 milliliters) milk
- 4 large eggs
- 1/2 cup (100 grams) granulated sugar
Flavor Enhancers:
- 1 teaspoon (5 milliliters) vanilla extract
- 1/4 teaspoon (1.5 grams) salt
Garnish:
- Ground nutmeg
Instructions
- Warm milk in a saucepan over medium heat until steaming, avoiding boiling point.
- Whisk eggs, sugar, vanilla extract, and salt in a large mixing bowl until smooth and integrated.
- Gradually stream hot milk into egg mixture, continuously whisking to prevent egg scrambling.
- Carefully pass the liquid through a fine mesh strainer to eliminate potential egg clumps.
- Distribute custard evenly across six individual ramekins, ensuring consistent volume.
- Position ramekins inside a spacious baking pan, creating a water bath by filling halfway up the sides with hot water.
- Dust each custard surface with a delicate sprinkle of ground nutmeg for aromatic enhancement.
- Slide the water bath into a preheated 325F oven, allowing custards to bake for 45-50 minutes.
- Verify doneness by observing a gentle center wobble while edges appear firm and set.
- Extract custards from water bath and permit natural cooling to room temperature.
- Refrigerate for minimum two hours to achieve optimal texture and flavor development before serving chilled.
Notes
- Tempering is crucial to prevent scrambling eggs when adding hot milk, so pour slowly and whisk continuously.
- Creating a smooth custard requires straining the mixture to remove any potential egg lumps, ensuring a silky texture.
- Using a water bath (bain-marie) helps distribute heat evenly and prevents the custard from cracking or becoming rubbery.
- Nutmeg adds a traditional warm, aromatic flavor, but can be replaced with cinnamon for variation or omitted for those who prefer a plain custard.
- Prep Time: 20 minutes
- Cook Time: 50 minutes
- Category: Breakfast, Desserts
- Method: Baking
- Cuisine: American
Nutrition
- Serving Size: 8
- Calories: 153
- Sugar: 13 g
- Sodium: 91 mg
- Fat: 6 g
- Saturated Fat: 2 g
- Unsaturated Fat: 3 g
- Trans Fat: 0.1 g
- Carbohydrates: 18 g
- Fiber: 0 g
- Protein: 6 g
- Cholesterol: 93 mg
Mia Thompson
Pastry Chef & Content Creator
Expertise
Education
Portland Community College – Baking and Pastry Arts Program
Specialized in artisanal bread, seasonal desserts, and sustainable baking methods.
National University of Natural Medicine – Bachelor of Science in Nutrition (BScN)
Focused on “Food as Medicine” philosophy, with core threads in nutrition.
Mia’s love affair with baking began in her grandmother’s kitchen, where sneaking spoonfuls of batter first sparked her curiosity. She refined her skills through Portland Community College’s Baking and Pastry Arts Program and her expertise at the National University of Natural Medicine, earning a B.Sc. in Nutrition.
At The Scrumptious Pumpkin, Mia reimagines classics with effortless seasonal treats, healthier twists on old favorites, and playful confections that feel like pure joy. Beyond the oven, she nurtures her urban garden, forages local ingredients around Portland, and leads hands‑on nutrition workshops for her community.