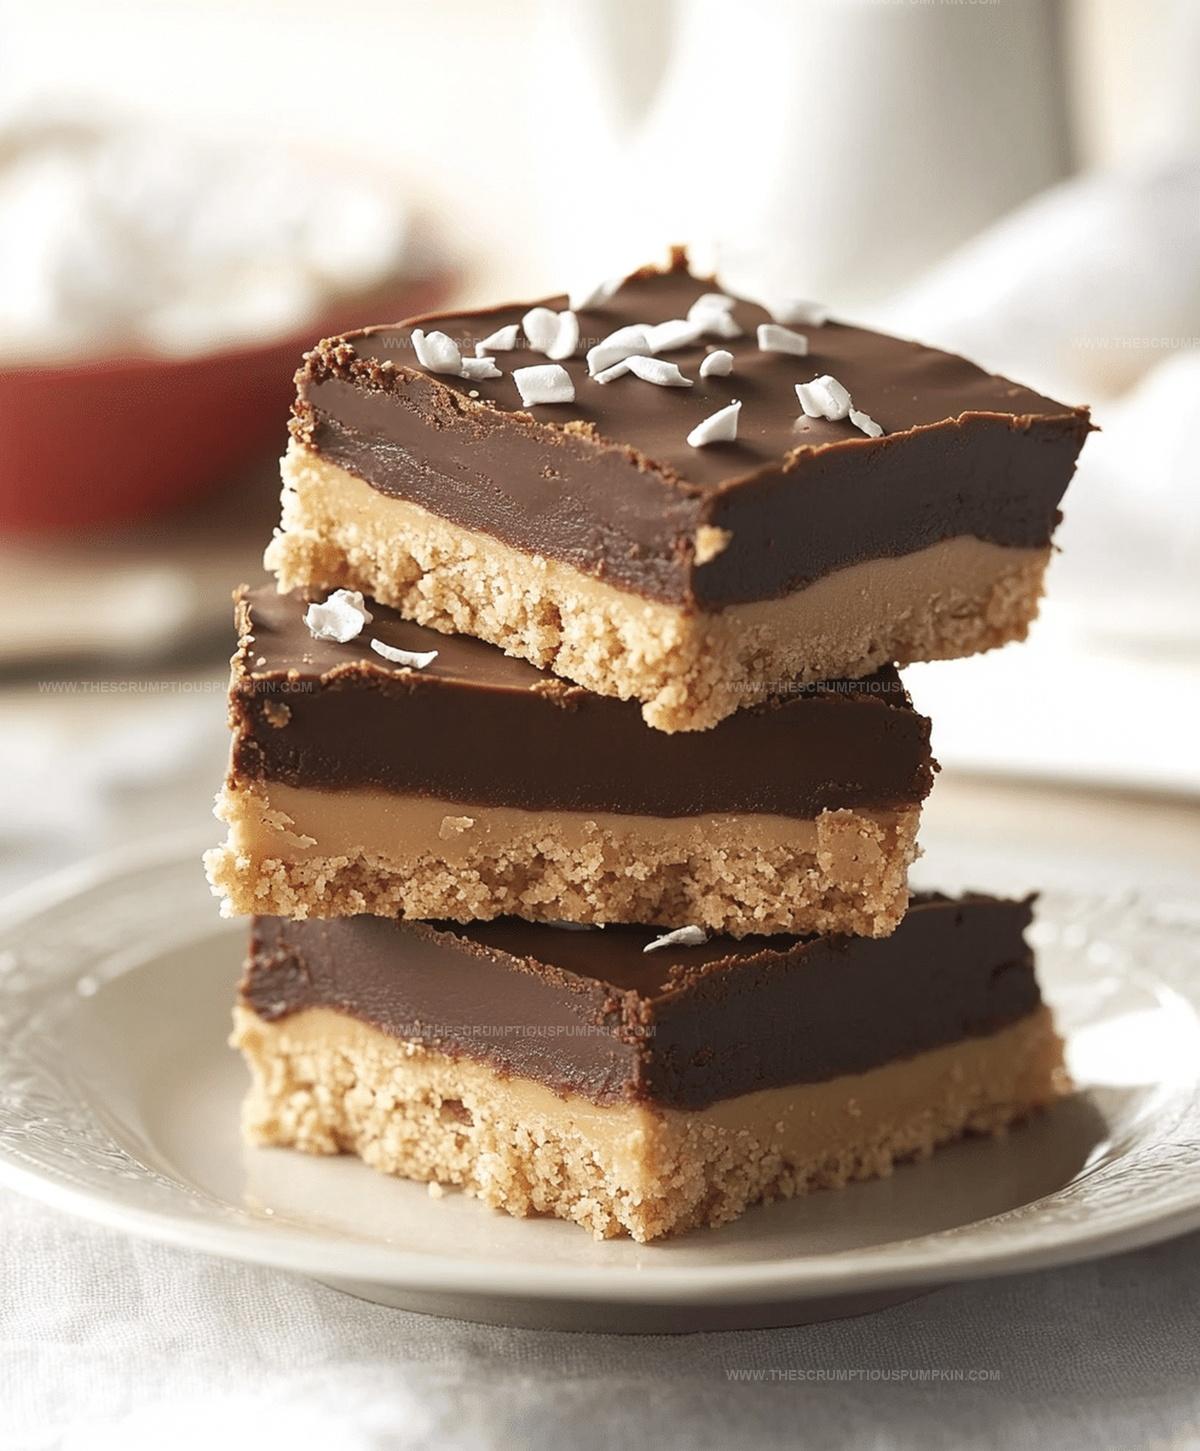
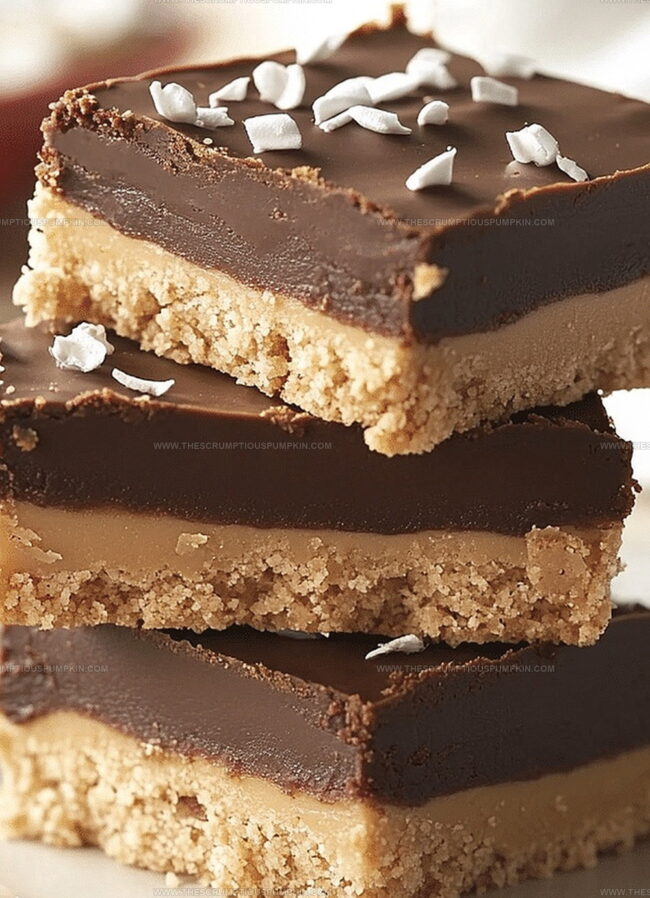
Sweet & Crunchy Buckeye Bars Recipe: A Homemade Chocolate Delight
Sweet memories of ohio shine through these delectable buckeye bars that blend rich chocolate and creamy peanut butter.
Midwest dessert lovers have cherished this classic treat for generations.
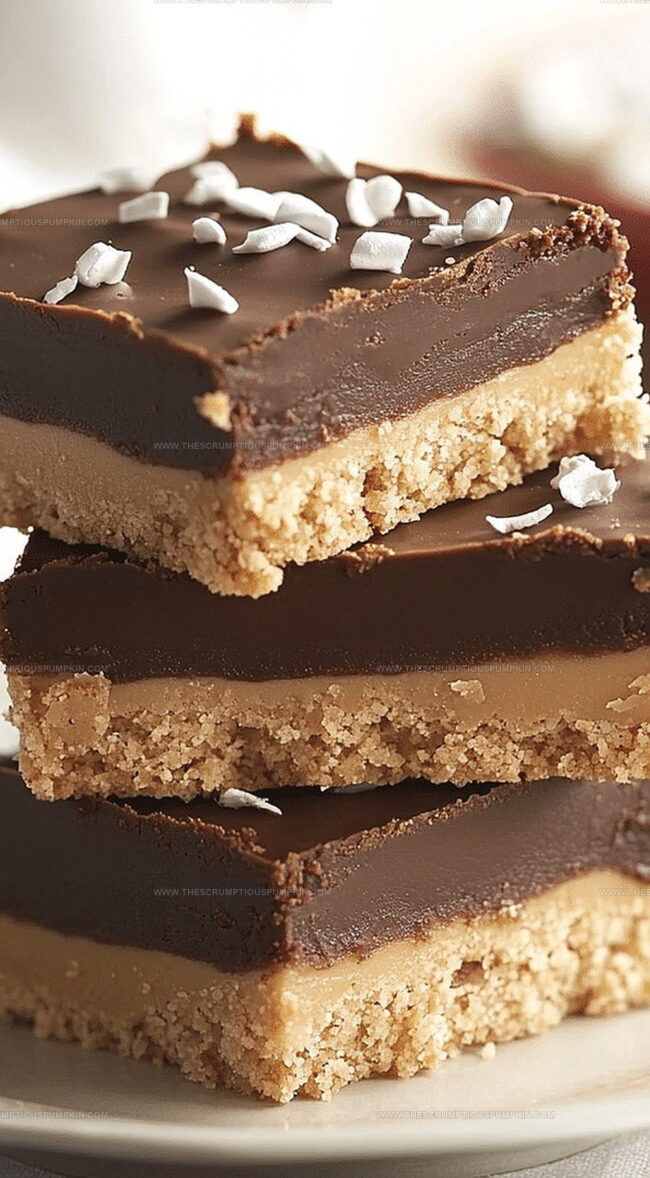
Nutty peanut butter layers create a smooth, decadent foundation for the chocolate topping.
Each bite brings nostalgic comfort and pure indulgence to your taste buds.
Chocolate and peanut butter combine in a perfect harmony that melts instantly.
Crafting these bars requires minimal effort but delivers maximum satisfaction.
You won’t be able to resist another slice of this irresistible midwest delight.
Buckeye Bars Recipe Overview
Ingredients For Buckeye Bars
Base Ingredients:Topping Ingredients:Serving Suggestion:How To Make Buckeye Bars
Step 1: Whip Up the Peanut Butter Base
In a spacious mixing bowl, combine melted butter, graham cracker crumbs, powdered sugar, and peanut butter.
Stir the ingredients until they form a smooth, creamy mixture that looks irresistibly delicious.
Step 2: Create the Perfect Foundation
Transfer the peanut butter mixture into a 9×13-inch pan.
Use your hands or a spatula to press and spread the mixture evenly, creating a solid and compact base layer that will hold the chocolate topping.
Step 3: Melt the Chocolate Topping
Grab a microwave-safe bowl and combine chocolate chips with peanut butter.
Microwave the mixture in 30-second intervals, stirring between each interval until the chocolate becomes silky smooth and fully melted.
Step 4: Drizzle and Spread the Chocolate
Pour the melted chocolate mixture over the peanut butter base.
Use a spatula to spread the chocolate evenly, ensuring complete coverage of the bottom layer.
Step 5: Chill and Set
Place the pan in the refrigerator and let it rest for at least 2 hours.
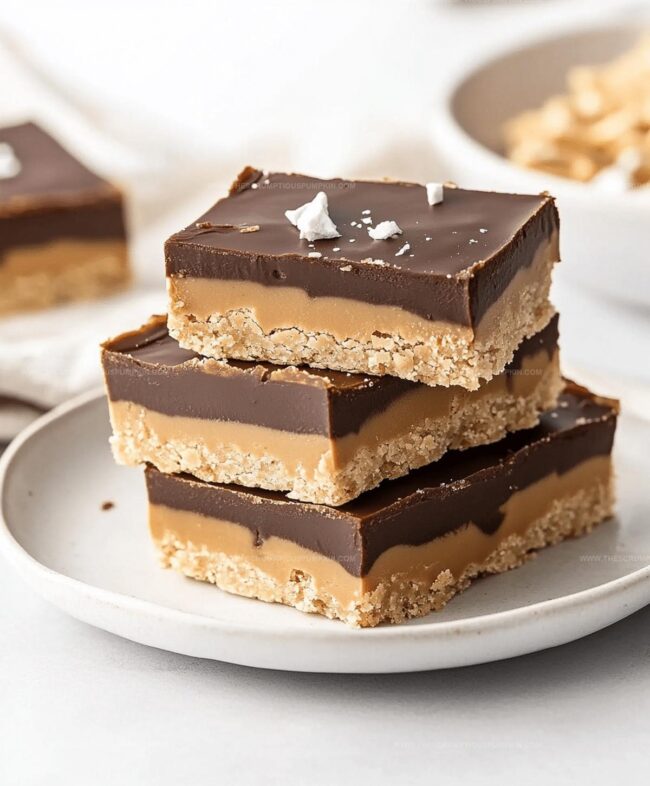
The bars will firm up and develop a perfect, crisp texture that’s both creamy and crunchy.
Step 6: Slice and Serve
Remove the pan from the refrigerator.
Cut the chilled dessert into bars using a sharp knife.
Serve the Buckeye Bars cold and watch everyone’s eyes light up with excitement.
Pro Tips For Buckeye Bars
Variations For Buckeye Bars Recipe
Serving Suggestions For Buckeye Bars
Storage Guidelines For Buckeye Bars
FAQs
Buckeye Bars are a no-bake dessert inspired by the classic Buckeye candy, featuring layers of peanut butter and chocolate that resemble the Ohio state nut.
Yes, they’re incredibly simple! You only need a few ingredients and basic mixing skills, with no baking required, making them perfect for beginner bakers.
Absolutely! Creamy or crunchy peanut butter both work well. Just ensure it’s a smooth, spreadable consistency for the best results.
When stored in an airtight container in the refrigerator, these bars can last up to a week, maintaining their delicious texture and flavor.
Print
Buckeye Bars Recipe
- Total Time: 2 hours 15 minutes
- Yield: 16 1x
Description
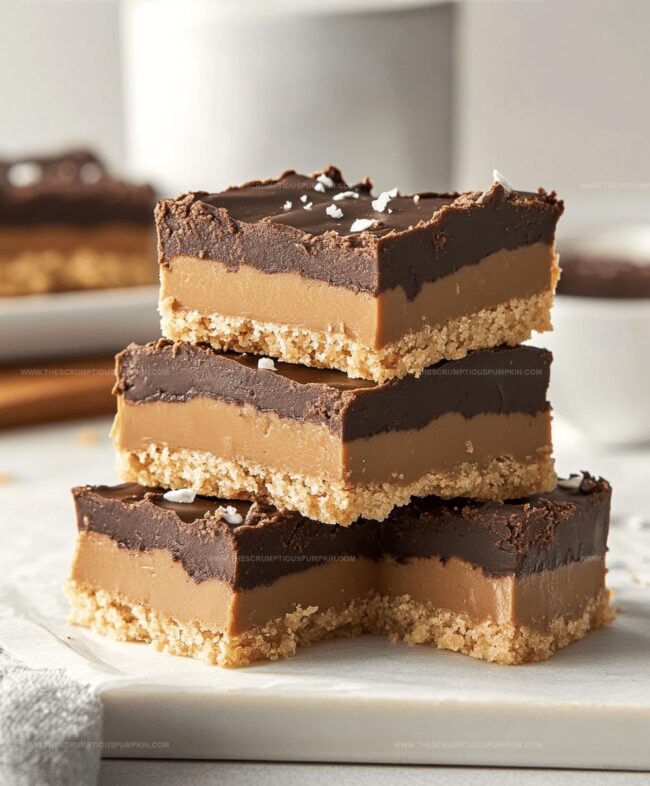
Chocolate and peanut butter lovers rejoice with these irresistible Buckeye Bars that blend creamy peanut butter and rich chocolate into a delightful no-bake dessert. Ohio’s beloved treat delivers sweet satisfaction in each mouthwatering bite you’ll savor.
Ingredients
Main Ingredients:
- 1 cup unsalted butter, melted
- 1 1/2 cups creamy peanut butter
- 2 cups semisweet chocolate chips
Base Ingredients:
- 2 cups graham cracker crumbs
- 2 cups powdered sugar
Topping Ingredients:
- 1/4 cup creamy peanut butter
Instructions
- Combine melted butter, graham cracker crumbs, powdered sugar, and peanut butter in a mixing bowl, stirring until a uniform, cohesive mixture forms.
- Transfer the blended mixture into a 9×13-inch pan, using gentle pressure to create an even, compact base layer with smooth edges.
- Prepare the chocolate topping by microwaving chocolate chips and additional peanut butter in 30-second increments, stirring between intervals until completely melted and glossy.
- Carefully pour the molten chocolate mixture over the peanut butter foundation, utilizing a spatula to distribute the topping uniformly across the surface.
- Place the pan in the refrigerator for approximately 2 hours, allowing the bars to solidify and develop a firm, crisp texture.
- Remove from refrigerator and slice into rectangular segments, creating individual serving portions.
- Serve chilled for optimal taste and consistent texture, storing any remaining bars in a sealed container within the refrigerator.
Notes
- Check peanut butter consistency for smooth mixing, avoiding lumps in the base layer.
- Use room temperature ingredients to ensure even blending and prevent separation.
- Opt for high-quality chocolate chips for a richer, more decadent topping that melts smoothly.
- Consider using gluten-free graham crackers to make the recipe celiac-friendly without compromising texture.
- Prep Time: 15 minutes
- Cook Time: 2 hours
- Category: Desserts, Snacks
- Method: Refrigerating
- Cuisine: American
Nutrition
- Serving Size: 16
- Calories: 258
- Sugar: 18 g
- Sodium: 77 mg
- Fat: 18 g
- Saturated Fat: 6 g
- Unsaturated Fat: 11 g
- Trans Fat: 0.1 g
- Carbohydrates: 22 g
- Fiber: 1 g
- Protein: 5 g
- Cholesterol: 15 mg
Lucas Bennett
Founder & Recipe Developer
Expertise
Education
Blue Ridge Community College – Certificate in Culinary Arts
Focused on seasonal cooking, sustainable kitchen practices, and farm-to-table techniques.
Appalachian State University – B.A. in English
Built critical thinking and analysis through diverse texts. Guided by faculty, it prepares graduates for publishing and more.
Growing up in the rolling hills of North Carolina, Lucas learned early that some of life’s best memories start around a kitchen table. After studying English at Appalachian State University and honing his culinary skills at Blue Ridge Community College, he dreamed of blending storytelling with rustic, seasonal cooking, and The Scrumptious Pumpkin was born.
Lucas focuses on easy, single-serving recipes that turn fresh, local ingredients into something special. His style is simple, heartfelt, and rooted in the beauty of the seasons. When he’s not testing a new dish, you’ll probably find him hiking in the Blue Ridge Mountains, browsing farmers’ markets, or scribbling food stories in a notebook.