The Fluffiest Buttery Homemade Garlic Bread Recipe Ever
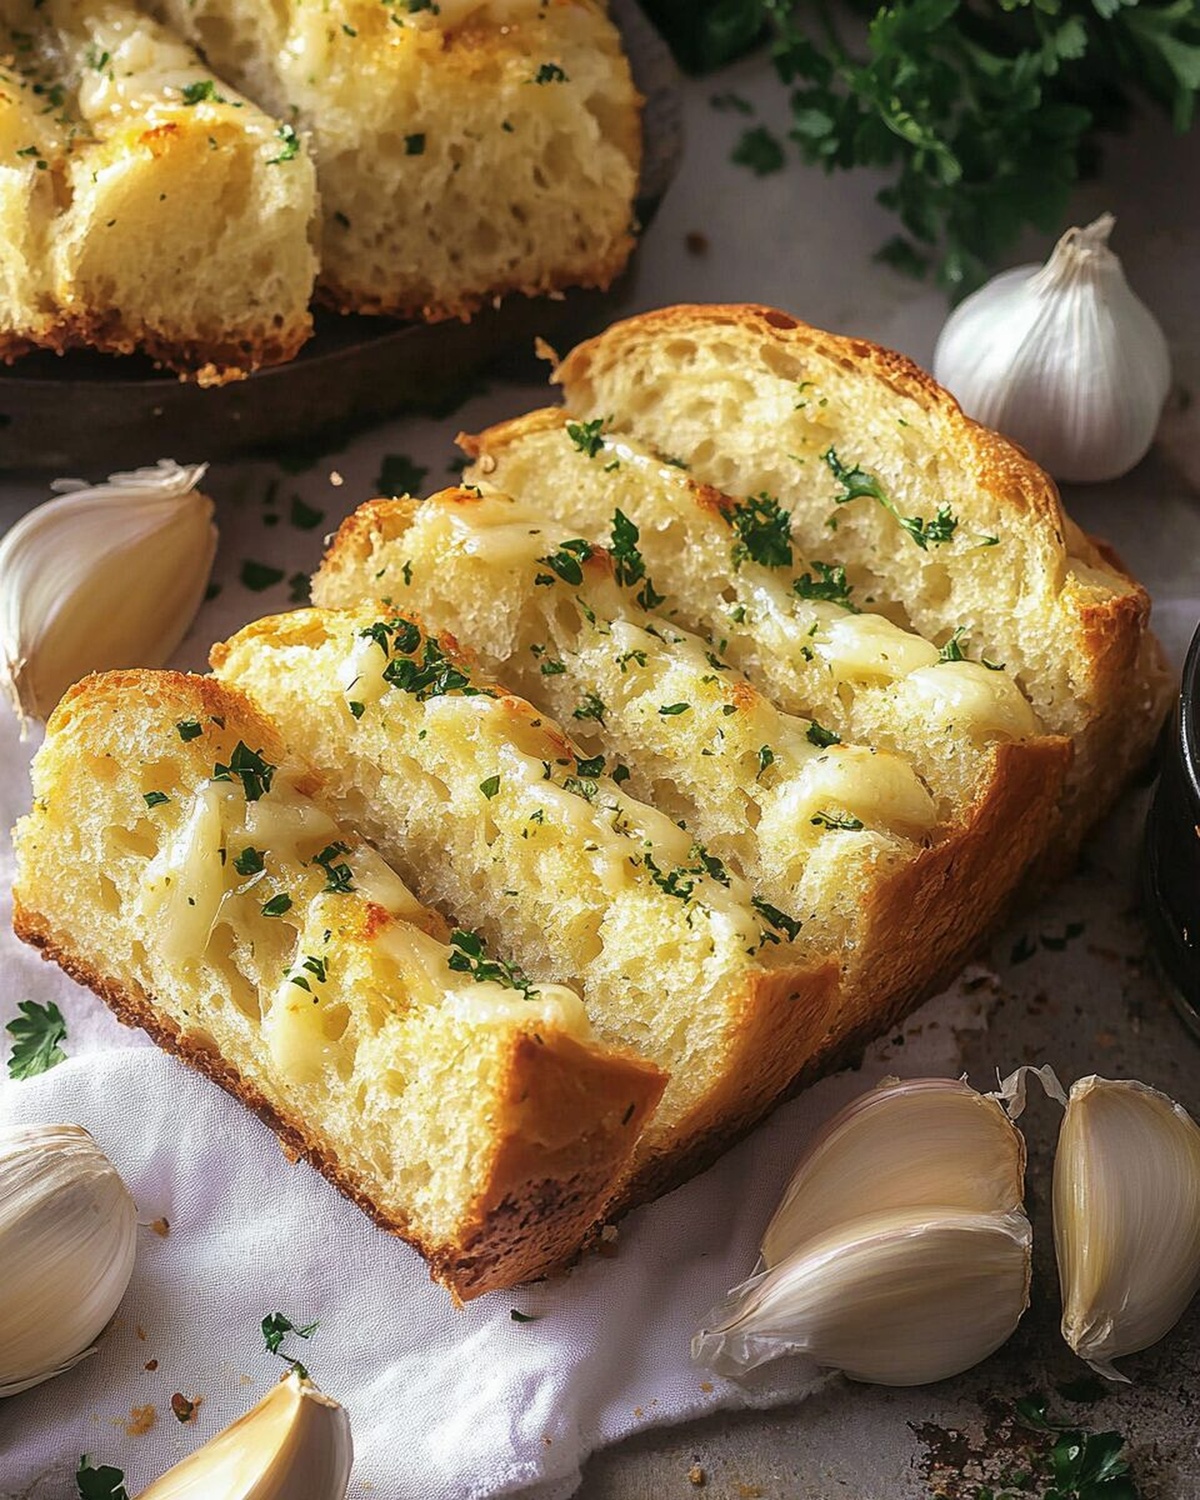
Crisp, golden garlic bread can elevate any meal with its irresistible aroma and rich, buttery flavor.
Crusty edges promise a delightful crunch that melts in your mouth.
Home kitchens buzz with excitement when this classic side dish emerges from the oven.
Simple ingredients transform into something magical with just a few careful steps.
Fresh garlic infuses each slice with deep, robust notes that dance across your palate.
Warm, fragrant slices invite you to break bread and savor every delectable bite.
You’ll want to make extra – trust me, these disappear fast.
Why Buttery Garlic Bread Is Everyone’s Favorite Sidekick
The Flavor-Filled Stuff That Makes Garlic Bread Shine
Bread Base:Main Butter Mixture:Seasoning and Herbs:How to Make Buttery Garlic Bread That’s Never Dry
Step 1: Warm Up the Oven
Crank the oven to a toasty 400°F (200°C) so it’s ready for some delicious bread magic.
Step 2: Create Flavor-Packed Butter Blend
Grab a mixing bowl and combine:Whisk everything together until you get a smooth, aromatic mixture with tiny butter bits scattered throughout.
Step 3: Prepare the Bread
Slice your bread loaf into two equal 12-inch sections. Carefully split each section open lengthwise, creating a perfect surface for spreading.
Step 4: Spread the Garlic Goodness
Lay the bread pieces open-faced on a baking sheet. Generously coat the inner surfaces with your tantalizing garlic butter blend, making sure every inch is covered.
Step 5: Bake to Perfection
Slide the baking sheet into the preheated oven. Bake for 10-15 minutes, watching for those golden, crispy edges.
Want softer bread? Pull it out earlier.
Craving extra crunch? Let it bake a bit longer.
Step 6: Slice and Serve
Remove the bread from the oven. Cut into 2-inch slices and serve piping hot, letting the irresistible garlic aroma fill the room.
Simple Garlic Bread Tips for Big Flavor
Garlic Bread Variations to Keep Things Interesting
Tasty Meals to Pair with Buttery Garlic Bread
The Smart Way to Store Homemade Garlic Bread
All Your Garlic Bread Questions—Answered
Yes, you can use various bread types like French bread, ciabatta, or sourdough. Just ensure the bread is fresh and has a sturdy texture that can hold the garlic butter.
You can prepare the garlic butter mixture in advance and store it in the refrigerator for up to 3 days. When ready to bake, spread the butter on the bread and pop it in the oven.
Add red pepper flakes or a dash of cayenne pepper to the garlic butter mixture for an extra kick of heat. Start with a small amount and adjust to your taste preference.
Print
Buttery Homemade Garlic Bread Recipe
- Total Time: 20-25 minutes
- Yield: 8 1x
Description
Homemade garlic bread delivers irresistible comfort straight from Italian kitchens, melding crisp golden edges with rich herb-infused butter. Warm, fragrant slices promise delectable moments shared around hungry tables, inviting friends and family to savor each delicious bite.
Ingredients
Main Ingredients:
- 1 loaf french or italian bread (approximately 24 centimeters/9.5 inches long)
- 6 tablespoons (85 grams) butter, room temperature
- 4 cloves garlic, minced
Seasoning and Herbs:
- 2 tablespoons chopped fresh parsley
- 1/8 teaspoon salt
- 1/4 teaspoon garlic powder
Additional Liquid:
- 2 tablespoons olive oil
Instructions
- Warm the oven to 400°F (200°C) to prepare for toasting the bread.
- Create a fragrant garlic butter mixture by thoroughly blending softened butter, olive oil, minced garlic, garlic powder, chopped parsley, and a pinch of salt until uniformly combined.
- Slice the bread loaf into two equal 12-inch sections, then carefully split each piece open lengthwise to maximize surface area for seasoning.
- Arrange the bread halves with cut sides facing upward on a clean baking sheet, ensuring full exposure.
- Generously distribute the prepared garlic butter mixture across the bread’s interior surfaces, ensuring even coverage from edge to edge.
- Place the baking sheet in the preheated oven and toast for 10-15 minutes, monitoring the edges for a golden-brown and crispy transformation.
- Adjust baking time based on desired texture: shorter for softer bread, longer for extra crispiness.
- Remove from oven and slice into 2-inch wide portions, serving immediately while warm and aromatic.
Notes
- Customize butter blend by experimenting with different herbs like rosemary, thyme, or basil for unique flavor profiles.
- Select high-quality crusty bread like French baguette or sourdough for maximum texture and crunch.
- Lower sodium option by reducing salt and using unsalted butter, perfect for heart-healthy diets.
- Vegan adaptation possible by substituting dairy butter with plant-based margarine or olive oil spread.
- Prep Time: 10 minutes
- Cook Time: 10-15 minutes
- Category: Appetizer, Snacks
- Method: Baking
- Cuisine: Italian
Nutrition
- Serving Size: 8
- Calories: 270
- Sugar: 1 g
- Sodium: 150 mg
- Fat: 20 g
- Saturated Fat: 7 g
- Unsaturated Fat: 13 g
- Trans Fat: 0 g
- Carbohydrates: 24 g
- Fiber: 1 g
- Protein: 4 g
- Cholesterol: 30 mg
Mia Thompson
Pastry Chef & Content Creator
Expertise
Education
Portland Community College – Baking and Pastry Arts Program
Specialized in artisanal bread, seasonal desserts, and sustainable baking methods.
National University of Natural Medicine – Bachelor of Science in Nutrition (BScN)
Focused on “Food as Medicine” philosophy, with core threads in nutrition.
Mia’s love affair with baking began in her grandmother’s kitchen, where sneaking spoonfuls of batter first sparked her curiosity. She refined her skills through Portland Community College’s Baking and Pastry Arts Program and her expertise at the National University of Natural Medicine, earning a B.Sc. in Nutrition.
At The Scrumptious Pumpkin, Mia reimagines classics with effortless seasonal treats, healthier twists on old favorites, and playful confections that feel like pure joy. Beyond the oven, she nurtures her urban garden, forages local ingredients around Portland, and leads hands‑on nutrition workshops for her community.