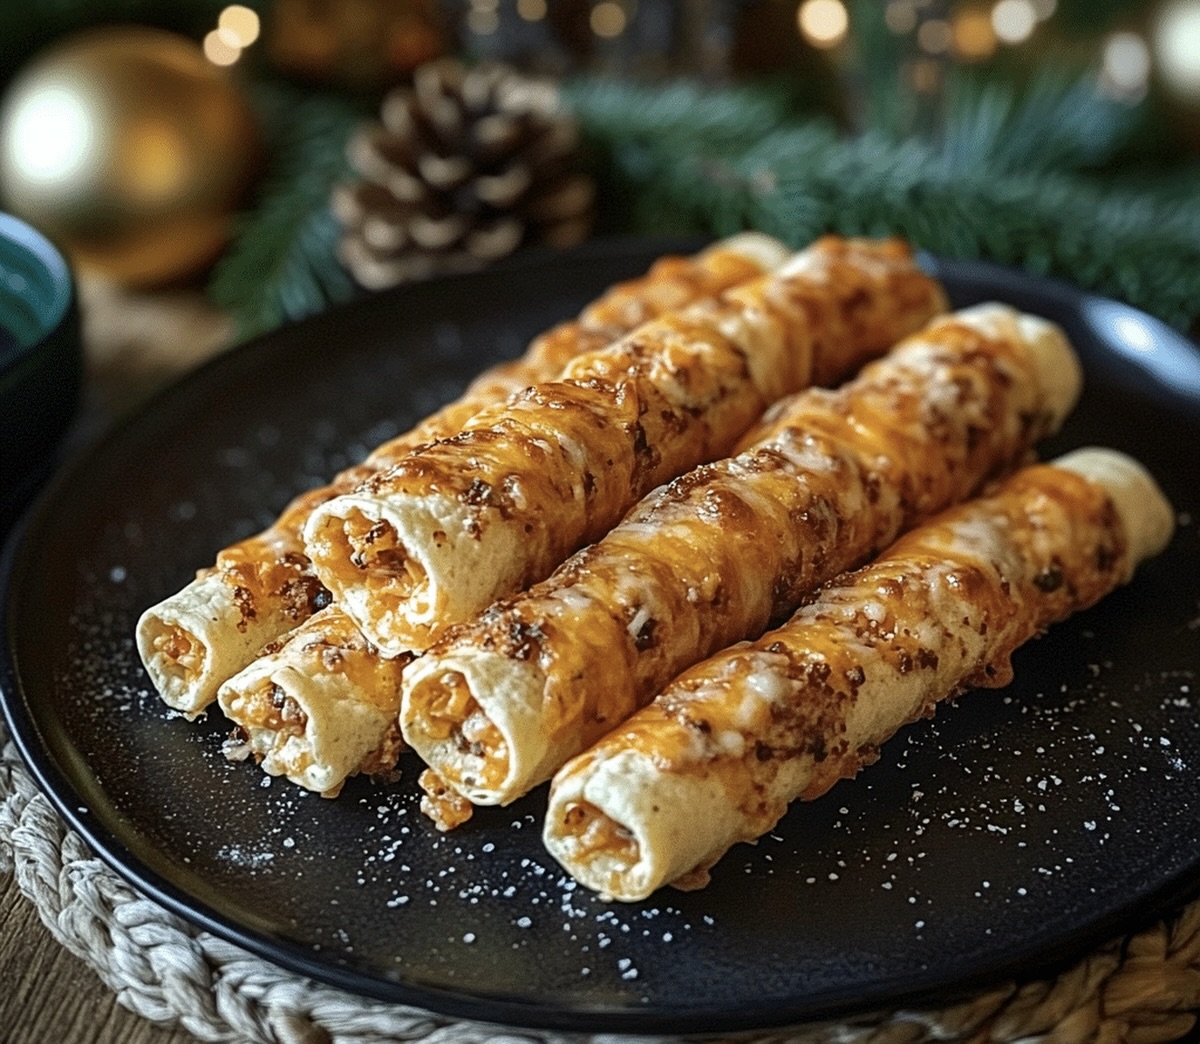
Irresistible Cheesy Taco Sticks Recipe for Party Pleasers
Crafting delectable cheesy taco sticks can turn an ordinary meal into a flavor-packed adventure that sparks excitement around the dinner table.
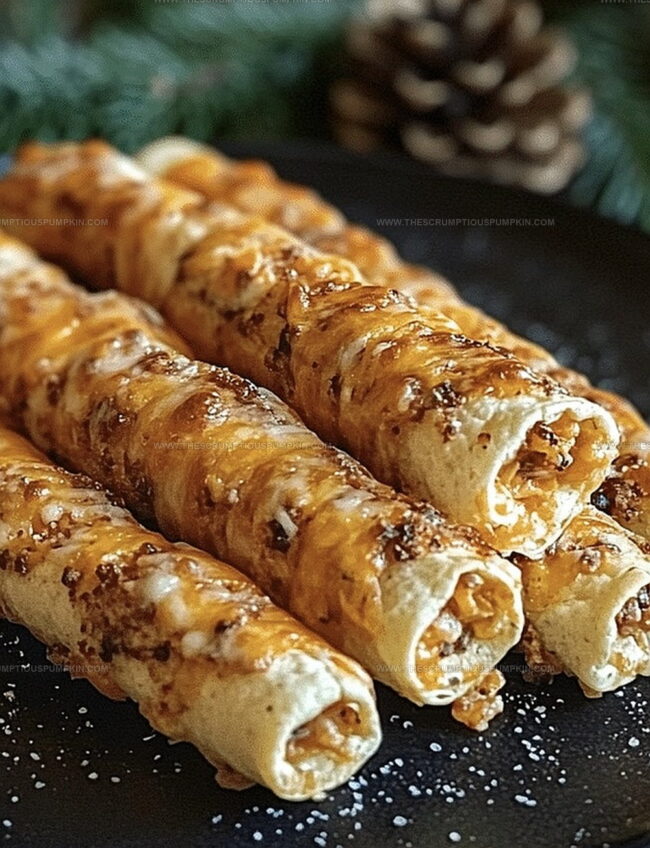
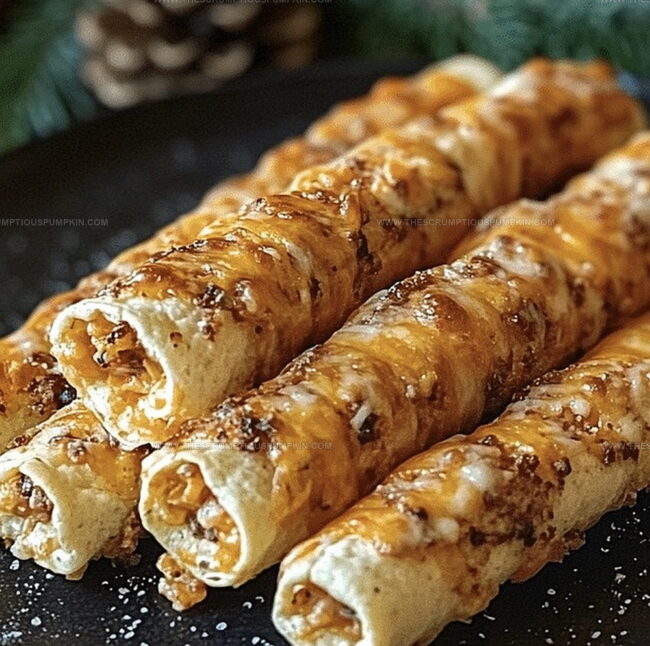
Crispy edges and gooey centers make these handheld delights irresistible for snack enthusiasts.
Packed with zesty seasonings and melted cheese, each bite delivers a burst of southwestern-inspired goodness.
Mexican-style spices dance through the filling, creating a mouthwatering experience that goes beyond typical appetizers.
Quick to prepare and guaranteed to vanish rapidly, these sticks promise maximum satisfaction with minimal effort.
Kids and adults alike will cheer when these golden-brown treats emerge from the kitchen.
You’ll want to double the batch – trust me, they disappear faster than you can say “delicious”!
Why Cheesy Taco Sticks Are Fun And Filling
What Goes Into Cheesy Taco Sticks
For the Main Ingredients:For the Seasoning and Spices:For the Preparation and Finishing:How To Make Cheesy Taco Sticks Quickly
Step 1: Prepare Baking Station
Warm up the oven to 400°F and line a baking sheet with parchment paper for hassle-free cooking and perfect non-stick results.
Step 2: Cook Savory Beef
Brown ground beef in a skillet over medium-high heat, breaking it into tiny crumbles until completely cooked with no pink showing.
Step 3: Season Beef Brilliantly
Drain excess fat from the beef and mix in taco seasoning, ensuring every bit of meat gets coated with zesty flavor.
Step 4: Roll Out the Dough
Gently unroll refrigerated pizza dough on a clean surface and stretch it into a rectangular shape with soft hands.
Step 5: Create Cheese Foundation
Sprinkle a delightful mixture of:across the entire dough surface, leaving a small border around the edges.
Step 6: Layer Meaty Goodness
Spread the seasoned ground beef evenly over the cheese layer, creating a consistent and mouthwatering meat coverage.
Step 7: Roll Into Perfection
Carefully roll the dough from the long side, creating a tight cylinder that lovingly wraps the cheese and meat inside.
Step 8: Slice Into Sticks
Cut the rolled dough into 1-inch thick sections, transforming the roll into individual taco sticks.
Step 9: Arrange for Baking
Place the taco sticks on the prepared baking sheet, making sure they don’t touch each other.
Step 10: Add Flavor Boost
Brush the tops of the sticks with olive oil and sprinkle with:Step 11: Bake to Golden Perfection
Bake for 15-18 minutes until the dough turns a beautiful golden brown and cheese starts bubbling and oozing.
Step 12: Cool and Serve
Remove from the oven and let cool for 2-3 minutes, allowing the filling to set before diving into these delicious taco sticks.
Tips To Make Cheesy Taco Sticks Better
Tasty Ideas For Cheesy Taco Sticks
Great Pairings With Cheesy Taco Sticks
How To Store Cheesy Taco Sticks Right
FAQs About Cheesy Taco Sticks
Yes, ground turkey is an excellent lean protein substitute that works perfectly in this recipe. Simply follow the same cooking instructions and seasoning process.
Pinch the seams and ends of the rolled dough firmly to seal the filling inside. You can also place the seam side down on the baking sheet to help maintain the shape.
Crescent roll dough or homemade pizza dough are great alternatives. Just ensure the dough is rolled out thin and can be easily manipulated.
Absolutely! These are perfect for children because they’re handheld, bite-sized, and have familiar taco flavors that most kids enjoy.
Print
Cheddar-Loaded Taco Sticks Recipe
- Total Time: 33 minutes
- Yield: 4 1x
Description
Savory cheesy taco sticks deliver a mouthwatering Mexican-inspired snack that combines crispy edges with gooey melted cheese. Packed with zesty flavors and perfect for game day or casual gatherings, you’ll love these handheld delights that bring excitement to any meal.
Ingredients
Meat Ingredients:
- 1 lb ground beef
- 1/2 cup taco seasoning
Cheese Ingredients:
- 2 cups shredded cheddar cheese
- 1/2 cup shredded mozzarella cheese
Dough and Binding Ingredients:
- 1 package refrigerated pizza dough
- 2 tbsp olive oil
- 1 tsp dried parsley
- 1/4 tsp garlic powder
- 1/4 tsp salt
- 1/4 tsp black pepper
Instructions
- Preheat the oven to 400°F and line a baking sheet with parchment paper for easy cleanup and non-stick preparation.
- Brown the ground beef in a skillet over medium-high heat, breaking it into small crumbles and thoroughly cooking until no pink remains.
- Drain excess fat from the beef and mix in taco seasoning, ensuring the meat is evenly coated and flavorful.
- Unroll the refrigerated pizza dough on a clean surface and stretch it gently into a rectangular shape.
- Sprinkle a combination of cheddar and mozzarella cheese across the entire surface of the dough, leaving a small border around the edges.
- Distribute the seasoned ground beef evenly over the cheese layer, creating a consistent meat coverage.
- Carefully roll the dough from the long side, creating a tight cylinder that encases the cheese and meat.
- Slice the rolled dough into 1-inch thick sections, creating individual taco sticks.
- Arrange the taco sticks on the prepared baking sheet, ensuring they are not touching.
- Brush the tops of the sticks with olive oil and sprinkle with dried parsley, garlic powder, salt, and black pepper.
- Bake for 15-18 minutes, or until the dough turns golden brown and the cheese begins to bubble and ooze.
- Remove from the oven and let cool for 2-3 minutes before serving to allow the filling to set.
Notes
- Swap ground beef with ground turkey or plant-based crumbles for a lighter, leaner protein option that keeps the flavor profile intact.
- Experiment with different cheese blends like pepper jack or Mexican-style shredded cheese to add extra kick and complexity to the taco sticks.
- For gluten-free adaptation, use gluten-free pizza dough or replace with almond flour-based dough to accommodate dietary restrictions.
- Enhance meal prep by assembling taco sticks ahead of time and freezing before baking, creating a convenient make-ahead dinner solution that saves time and reduces weeknight stress.
- Prep Time: 15 minutes
- Cook Time: 18 minutes
- Category: Lunch, Dinner, Appetizer, Snacks
- Method: Baking
- Cuisine: Mexican
Nutrition
- Serving Size: 4
- Calories: 480
- Sugar: 2 g
- Sodium: 850 mg
- Fat: 28 g
- Saturated Fat: 12 g
- Unsaturated Fat: 16 g
- Trans Fat: 0 g
- Carbohydrates: 36 g
- Fiber: 1 g
- Protein: 24 g
- Cholesterol: 80 mg
Mia Thompson
Pastry Chef & Content Creator
Expertise
Education
Portland Community College – Baking and Pastry Arts Program
Specialized in artisanal bread, seasonal desserts, and sustainable baking methods.
National University of Natural Medicine – Bachelor of Science in Nutrition (BScN)
Focused on “Food as Medicine” philosophy, with core threads in nutrition.
Mia’s love affair with baking began in her grandmother’s kitchen, where sneaking spoonfuls of batter first sparked her curiosity. She refined her skills through Portland Community College’s Baking and Pastry Arts Program and her expertise at the National University of Natural Medicine, earning a B.Sc. in Nutrition.
At The Scrumptious Pumpkin, Mia reimagines classics with effortless seasonal treats, healthier twists on old favorites, and playful confections that feel like pure joy. Beyond the oven, she nurtures her urban garden, forages local ingredients around Portland, and leads hands‑on nutrition workshops for her community.