The Perfect Cheesy Ground Beef Sliders Recipe for Hungry Crowds
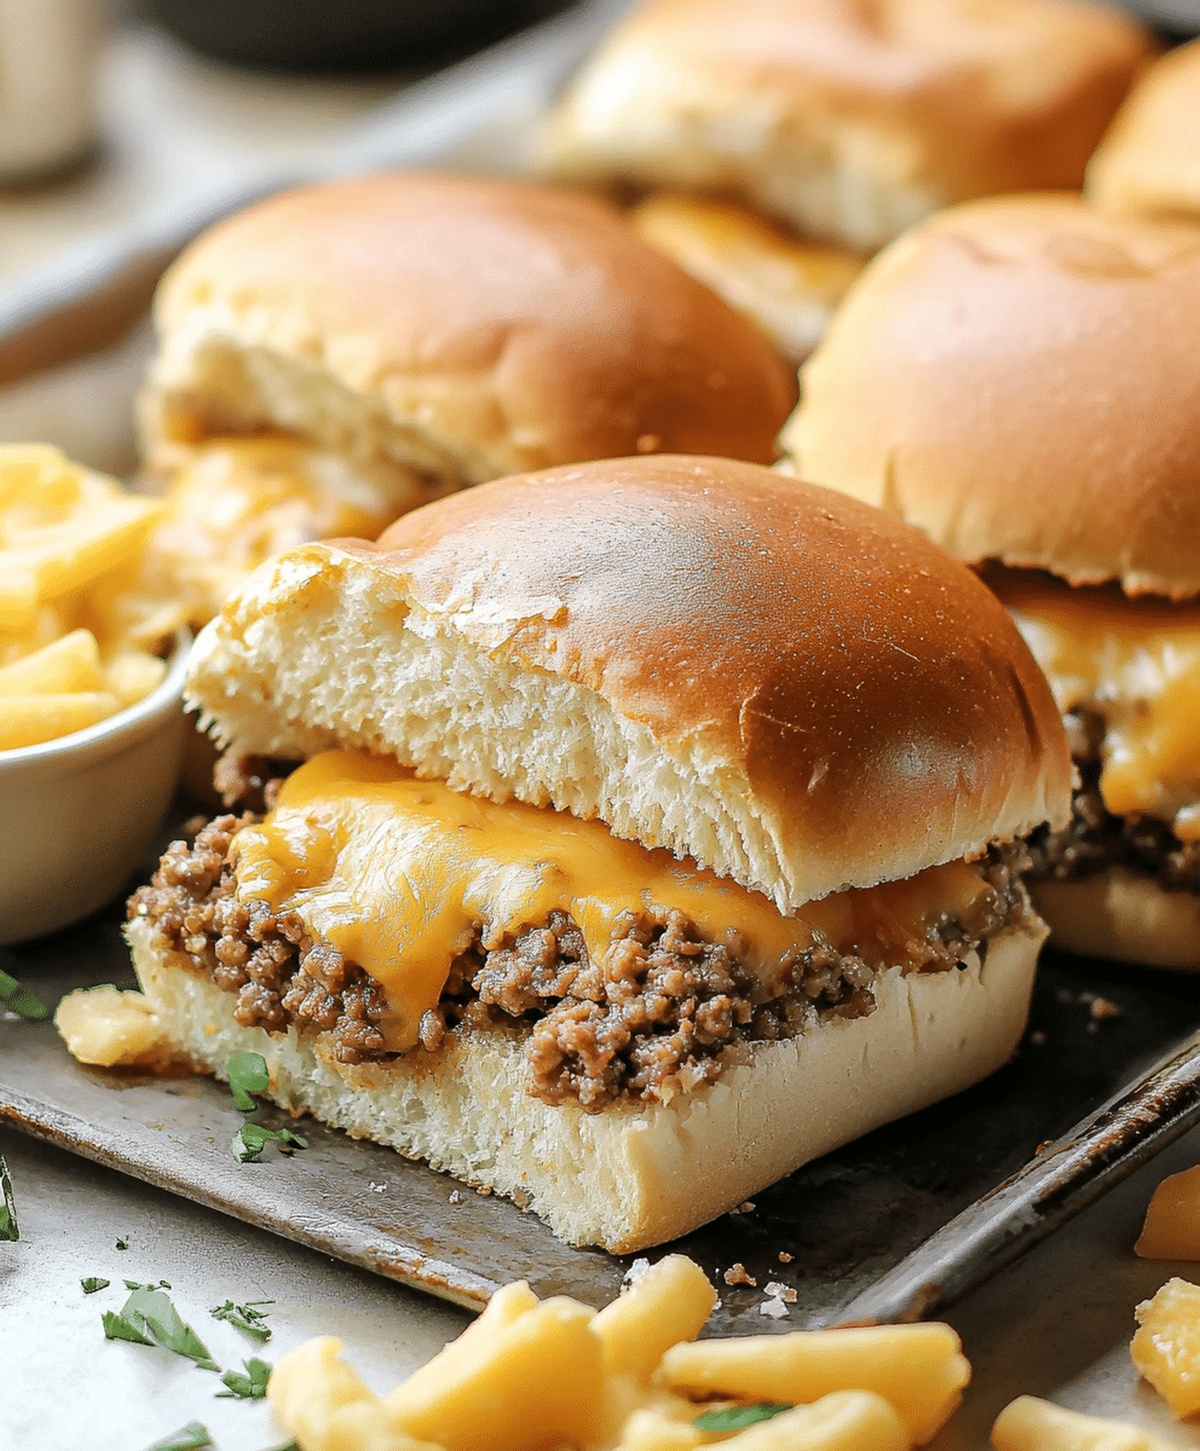
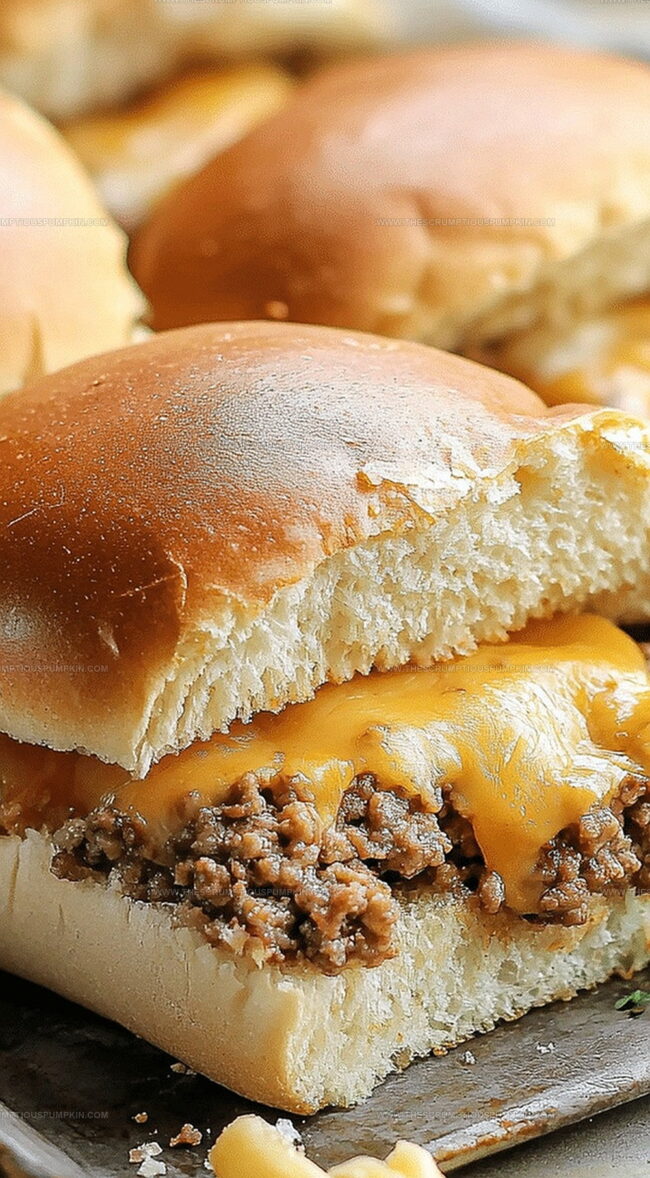
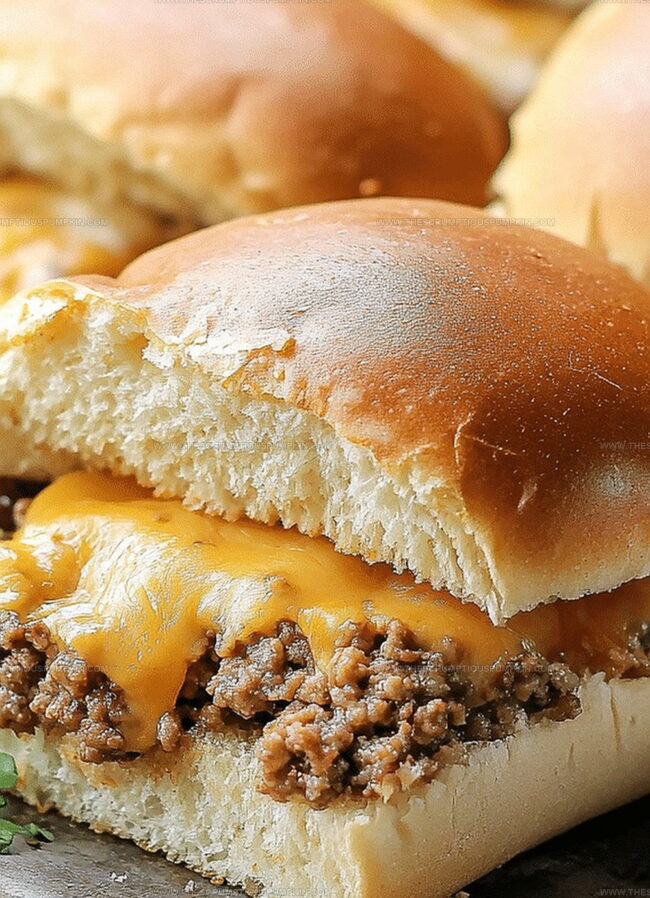
Tucking into these mouthwatering cheesy ground beef sliders will transport you straight to comfort food paradise.
Small bites pack massive flavor with every single delectable morsel.
Juicy beef mingles perfectly with melted cheese, creating an irresistible combination.
Local ingredients and simple techniques make this recipe incredibly approachable for home cooks.
Professional chefs and kitchen novices alike can nail these miniature sandwiches without stress.
Crispy edges and soft centers guarantee everyone around the table will be asking for seconds.
You won’t want to miss out on this crowd-pleasing dish that comes together faster than ordering takeout.
Cheesy Ground Beef Sliders: Why They’re Crowd-Pleasers

Gather These Ingredients For Beef Sliders
Main Protein:Aromatics and Seasonings:Slider Components:How To Make Cheesy Beef Sliders Easily

Step 1: Brown Beef and Aromatics
In a skillet over medium heat, cook ground beef until it turns golden brown.
Add diced onions, minced garlic, salt, pepper, and paprika.
Sauté the mixture until the onions become soft and translucent, creating a flavorful base for your sliders.
Step 2: Prepare Slider Base
Take your slider buns and slice them horizontally.
Arrange the bottom halves neatly on a baking sheet, creating a perfect foundation for your cheesy beef creation.
Step 3: Layer Beef and Cheese
Spread the seasoned beef mixture evenly across the bottom bun halves.
Top each slider with a slice of cheese, ensuring every bite will be deliciously melty and rich.
Step 4: Crown and Brush Sliders
Place the top bun halves on each slider.
Generously brush the buns with melted butter for a golden, glossy finish.
If desired, sprinkle sesame seeds over the tops for extra texture and flavor.
Step 5: Bake to Perfection
Slide the baking sheet into a preheated oven at 350°F (175°C).
Bake for 10-12 minutes, watching for the cheese to melt completely and the buns to become warm and slightly crispy.
Step 6: Serve and Savor
Remove the sliders from the oven and let them rest for a moment.
Serve immediately while hot and enjoy the mouthwatering combination of beef, cheese, and perfectly toasted buns.
Slider Perfection – Chef’s Top Tips
Sliders – Switch Up With Fun Fillings
Serving Cheesy Ground Beef Sliders
Sliders: Store Them For Maximum Freshness
FAQs
These sliders are perfect for game days, family gatherings, and casual get-togethers. They’re easy to make, crowd-pleasing, and can be prepared quickly.
Absolutely! While the recipe suggests standard cheese slices, you can experiment with cheddar, pepper jack, or provolone for different flavor profiles. Just ensure the cheese melts well.
Consider adding Worcestershire sauce, a dash of hot sauce, or dried herbs like oregano or thyme to the ground beef while cooking. These additions will enhance the meat’s overall taste without changing the recipe’s core method.
Print
Cheesy Ground Beef Sliders Recipe
- Total Time: 32 minutes
- Yield: 12 1x
Description
Mouthwatering cheesy ground beef sliders deliver mini burger magic straight from your kitchen. Packed with savory beef, melted cheese, and irresistible flavor, these sliders will become your new favorite crowd-pleasing appetizer that brings smiles to all who taste them.
Ingredients
Main Protein:
- 1 pound (1 lb) ground beef
Spices and Seasonings:
- 1 teaspoon (1 tsp) salt
- 1/2 teaspoon (1/2 tsp) black pepper
- 1/2 teaspoon (1/2 tsp) paprika
Aromatics and Additional Ingredients:
- 1 small onion, finely chopped
- 2 garlic cloves, minced
- 12 slider buns
- 12 slices of cheese (cheddar or your choice)
- 2 tablespoons (2 tbsp) butter, melted
- 1 tablespoon (1 tbsp) sesame seeds (optional)
Instructions
- Warm the oven to 350F (175C) for optimal slider preparation.
- Sauté ground beef in a skillet over medium heat until thoroughly browned and crumbled.
- Incorporate diced onions, minced garlic, salt, pepper, and paprika into the meat mixture, cooking until onions become translucent and fragrant.
- Split slider buns horizontally and arrange bottom halves on a clean baking sheet.
- Distribute the seasoned beef mixture evenly across the bottom bun halves, ensuring consistent coverage.
- Layer a slice of cheese on top of the beef to create a melty base.
- Crown each slider with its corresponding top bun half.
- Gently brush the bun tops with melted butter for a golden, glossy finish.
- Optional: Sprinkle sesame seeds over the buttered buns for added texture and visual appeal.
- Transfer the prepared sliders to the preheated oven and bake for 10-12 minutes.
- Remove when cheese is completely melted and buns are lightly toasted.
- Allow sliders to rest for 2-3 minutes before serving to let flavors meld and cheese set.
- Serve immediately while warm and enjoy the savory, cheesy mini sandwiches.
Notes
- Elevate flavor by using a blend of ground meats like beef and pork for a richer taste profile.
- Swap standard cheese with sharp cheddar or pepper jack to add extra zest and complexity to the sliders.
- For a gluten-free version, use lettuce wraps or gluten-free slider buns to accommodate dietary restrictions.
- Prepare the ground beef mixture ahead of time and refrigerate to develop deeper, more intense flavors before assembling sliders.
- Prep Time: 20 minutes
- Cook Time: 12 minutes
- Category: Lunch, Dinner, Appetizer, Snacks
- Method: Baking
- Cuisine: American
Nutrition
- Serving Size: 12
- Calories: 230 kcal
- Sugar: 1 g
- Sodium: 340 mg
- Fat: 15 g
- Saturated Fat: 6 g
- Unsaturated Fat: 7 g
- Trans Fat: 0.5 g
- Carbohydrates: 14 g
- Fiber: 1 g
- Protein: 14 g
- Cholesterol: 45 mg
Lucas Bennett
Founder & Recipe Developer
Expertise
Education
Blue Ridge Community College – Certificate in Culinary Arts
Focused on seasonal cooking, sustainable kitchen practices, and farm-to-table techniques.
Appalachian State University – B.A. in English
Built critical thinking and analysis through diverse texts. Guided by faculty, it prepares graduates for publishing and more.
Growing up in the rolling hills of North Carolina, Lucas learned early that some of life’s best memories start around a kitchen table. After studying English at Appalachian State University and honing his culinary skills at Blue Ridge Community College, he dreamed of blending storytelling with rustic, seasonal cooking, and The Scrumptious Pumpkin was born.
Lucas focuses on easy, single-serving recipes that turn fresh, local ingredients into something special. His style is simple, heartfelt, and rooted in the beauty of the seasons. When he’s not testing a new dish, you’ll probably find him hiking in the Blue Ridge Mountains, browsing farmers’ markets, or scribbling food stories in a notebook.