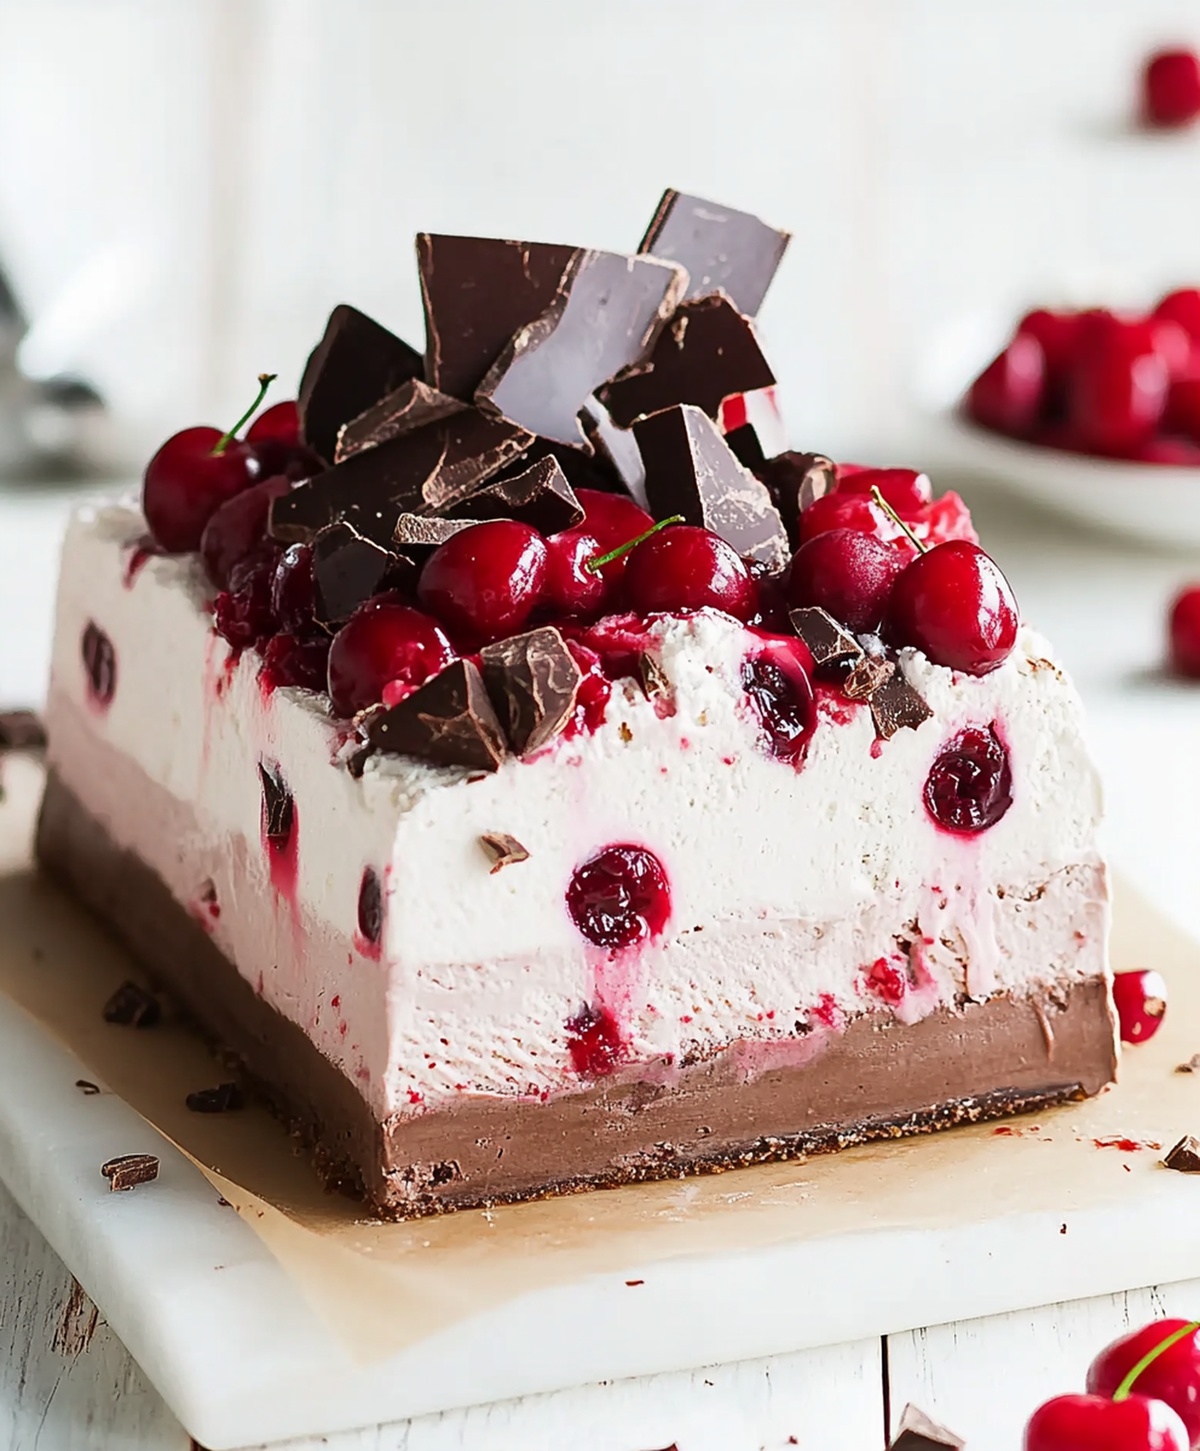
The Best Cherry Chocolate Ice Cream Cake Recipe Ever Made
Cool summer nights spark unexpected dessert adventures, and this cherry chocolate ice cream cake brings pure magic to your table.
Sweet cherries mingle with rich chocolate in a dreamy frozen creation.
Layers of creamy indulgence promise delightful surprises with every single bite.
Decadent textures dance between smooth ice cream and tender cake foundations.
Chocolate chips scattered throughout add playful crunch to each refreshing slice.
Nobody can resist this elegant yet approachable dessert that feels like a personal celebration.
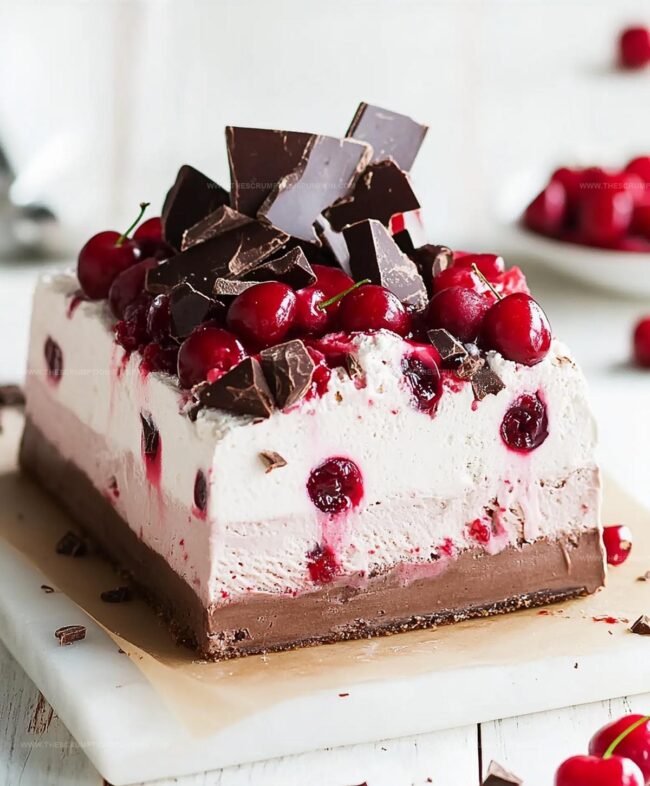
Why Cherry Chocolate Ice Cream Cake Shines
Ingredients for Cherry Chocolate Ice Cream Cake
Cake Base:Ice Cream Layer:Toppings and Garnishes:How to Make Cherry Chocolate Ice Cream Cake
Step 1: Prepare Springform Pan
Line the bottom of a springform pan with parchment paper for easy cake removal.
This will help prevent sticking and make serving smoother.
Step 2: Create Chocolate Cake Base
Carefully place a pre-baked chocolate cake layer into the prepared springform pan.
Ensure the cake fits snugly and covers the entire bottom of the pan.
Step 3: Spread Luscious Cherry Ice Cream
Soften cherry ice cream at room temperature for a few minutes.
Gently spread the creamy ice cream in an even layer over the chocolate cake base, creating a smooth and uniform surface.
Step 4: Drizzle Decadent Chocolate Sauce
Warm hot fudge sauce slightly to make it more pourable.
Drizzle the rich chocolate sauce in a zigzag pattern across the cherry ice cream layer, creating an appetizing design.
Step 5: Freeze and Set
Place the cake in the freezer for 4 hours or until completely firm.
Cover the pan with plastic wrap to prevent freezer burn and protect the cake from absorbing other flavors.
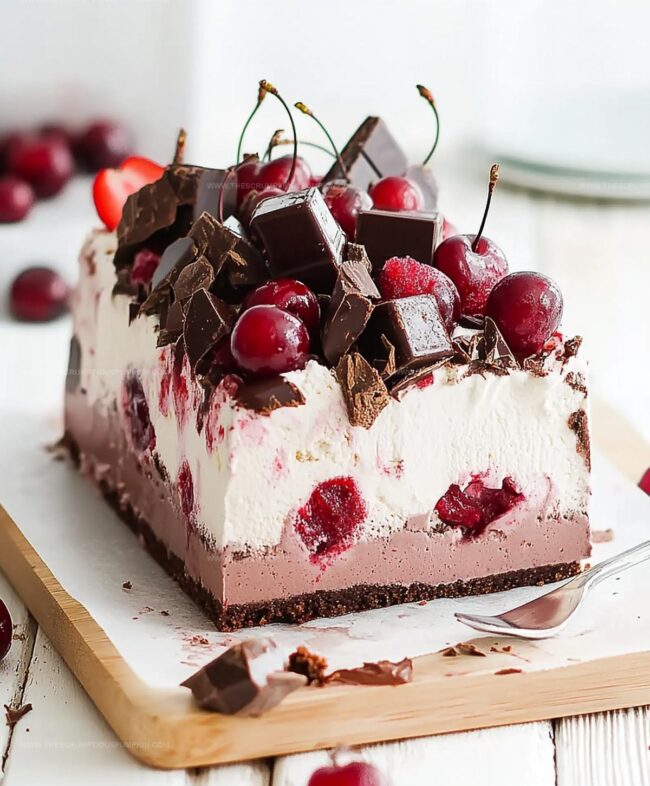
Step 6: Garnish and Serve
Remove the cake from the freezer and carefully release the springform pan.
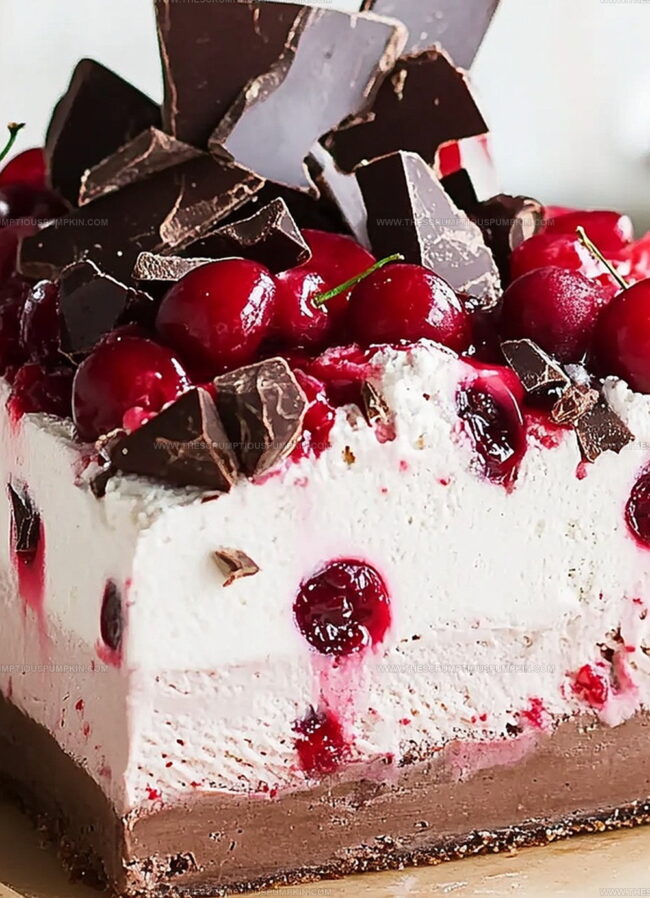
Top the cake with:Slice the cake with a warm knife for clean, beautiful servings.
Enjoy this delightful dessert immediately after garnishing.
Tips for Smooth Cherry Chocolate Ice Cream Cake

Flavor Twists for Cherry Chocolate Ice Cream Cake
Serving Suggestions for Cherry Chocolate Ice Cream Cake
Best Ways to Store Cherry Chocolate Ice Cream Cake
FAQs
The combination of rich chocolate cake, creamy cherry ice cream, and hot fudge sauce creates a decadent dessert with layers of complementary flavors.
Yes, this cake can be prepared in advance and stored in the freezer for up to a week, making it perfect for planning ahead for special occasions.
You’ll need a springform pan to easily remove and serve the cake, ensuring clean and beautiful slices every time.
Absolutely! The dessert combines the classic pairing of chocolate and cherry, making it a dream come true for those who love these flavors.
Print
Cherry Chocolate Ice Cream Cake Recipe
- Total Time: 4 hours 20 minutes
- Yield: 8 1x
Description
Sweet summer memories melt into this cherry chocolate ice cream cake, blending rich cocoa layers with luscious cherry swirls. Creamy indulgence and nostalgic flavors combine, promising a delightful dessert that pulls you into pure culinary bliss.
Ingredients
Main Ingredients:
- 1 chocolate cake layer
- 1.5 quarts (1.4 liters) cherry ice cream
Sauce and Topping:
- 1 cup (240 milliliters) hot fudge sauce
- 1 cup (240 milliliters) whipped cream
Garnish:
- 1/4 cup (60 milliliters) maraschino cherries
Instructions
- Position the chocolate cake base centrally in a springform pan, ensuring an even foundation for the dessert.
- Allow cherry ice cream to soften slightly, then carefully spread a smooth, uniform layer over the cake foundation, covering the entire surface.
- Generously cascade rich hot fudge sauce across the ice cream, creating an elegant marbled pattern that will enhance flavor complexity.
- Transfer the assembled cake to the freezer, maintaining a consistent temperature of 0°F, and allow it to solidify completely for approximately 4 hours.
- Remove the cake from the freezer and artfully garnish the surface with billowy whipped cream, vibrant maraschino cherries, and delicate chocolate chip fragments.
- Release the springform pan’s clasp, revealing the stunning layered dessert, and slice into clean, precise portions for serving.
- Present immediately to capture the optimal texture and temperature, ensuring each guest experiences the perfect balance of chocolatey, fruity decadence.
Notes
- Ensure cake layer is completely cooled before adding ice cream to prevent melting and maintain structural integrity.
- Soften ice cream at room temperature for 5-10 minutes to make spreading easier and create a smooth, even layer.
- Use high-quality chocolate fudge sauce for richer flavor and better texture when drizzled over ice cream.
- For gluten-free option, substitute chocolate cake with gluten-free cake mix or flourless chocolate cake base.
- Prep Time: 20 minutes
- Cook Time: 4 hours
- Category: Desserts
- Method: Freezing
- Cuisine: American
Nutrition
- Serving Size: 8
- Calories: 440 kcal
- Sugar: 45 g
- Sodium: 220 mg
- Fat: 25 g
- Saturated Fat: 15 g
- Unsaturated Fat: 8 g
- Trans Fat: 0.5 g
- Carbohydrates: 55 g
- Fiber: 2 g
- Protein: 5 g
- Cholesterol: 60 mg
Lucas Bennett
Founder & Recipe Developer
Expertise
Education
Blue Ridge Community College – Certificate in Culinary Arts
Focused on seasonal cooking, sustainable kitchen practices, and farm-to-table techniques.
Appalachian State University – B.A. in English
Built critical thinking and analysis through diverse texts. Guided by faculty, it prepares graduates for publishing and more.
Growing up in the rolling hills of North Carolina, Lucas learned early that some of life’s best memories start around a kitchen table. After studying English at Appalachian State University and honing his culinary skills at Blue Ridge Community College, he dreamed of blending storytelling with rustic, seasonal cooking, and The Scrumptious Pumpkin was born.
Lucas focuses on easy, single-serving recipes that turn fresh, local ingredients into something special. His style is simple, heartfelt, and rooted in the beauty of the seasons. When he’s not testing a new dish, you’ll probably find him hiking in the Blue Ridge Mountains, browsing farmers’ markets, or scribbling food stories in a notebook.