Cherry Pie Bars Recipe: Sweet Summer Treat with a Crisp Twist
Crafting a delightful cherry pie bars recipe brings pure joy to any dessert lover’s kitchen.
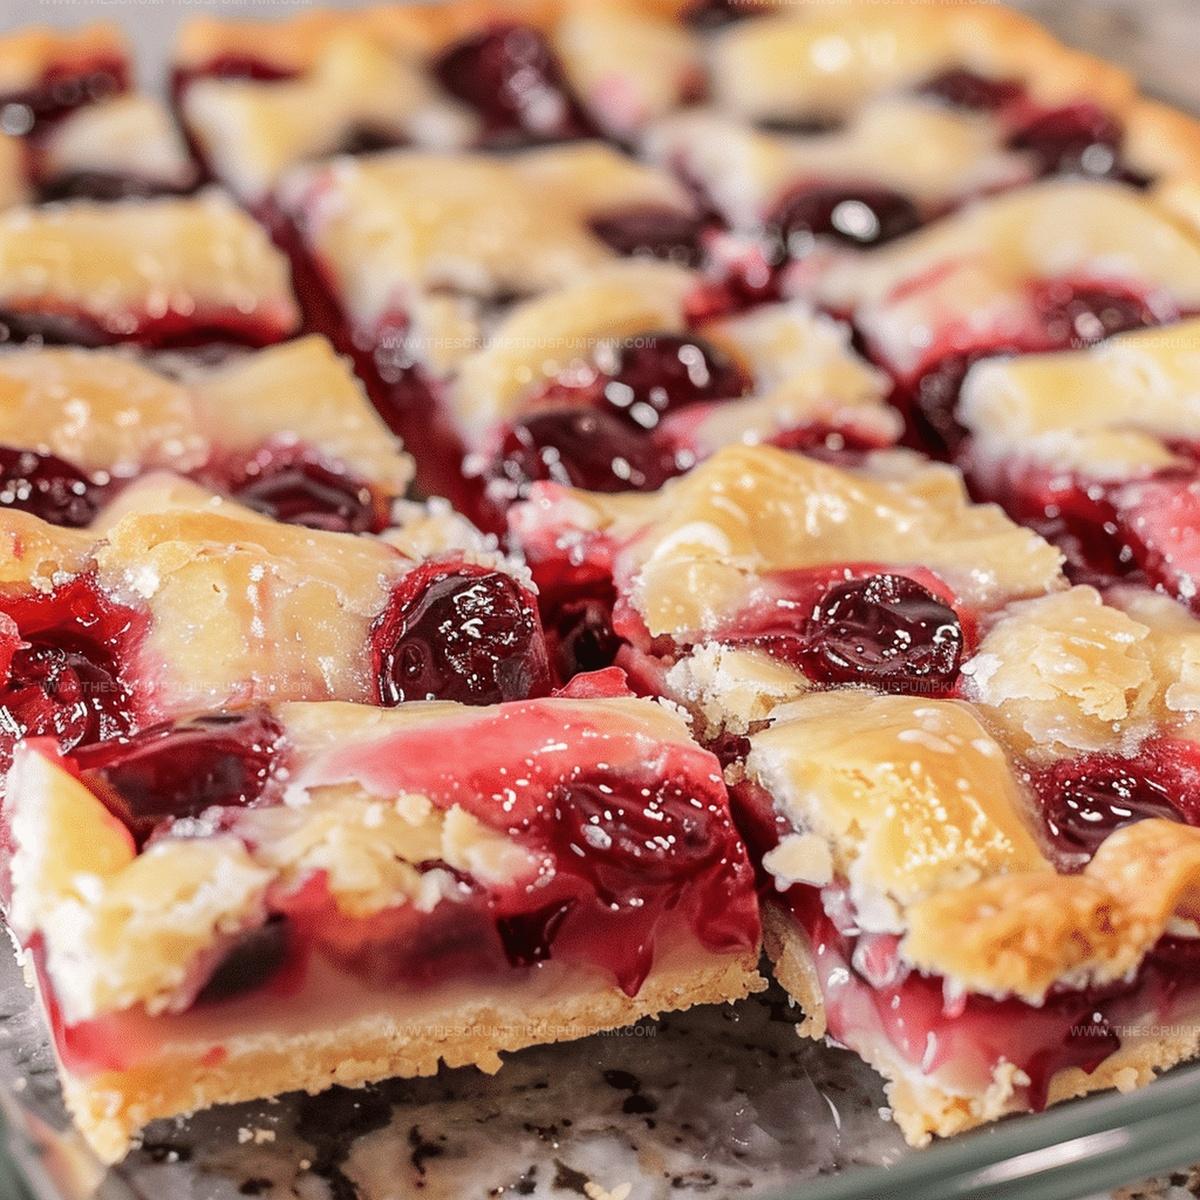
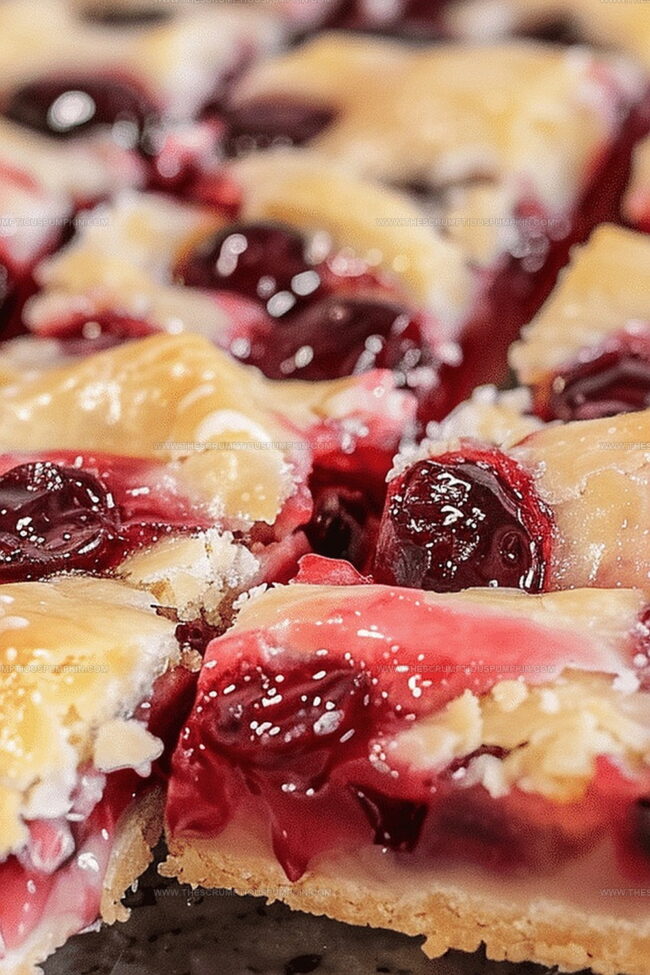
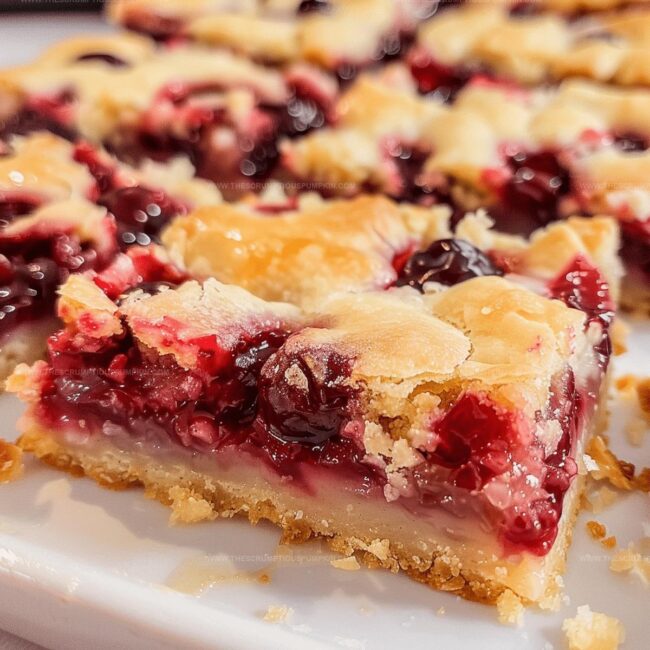
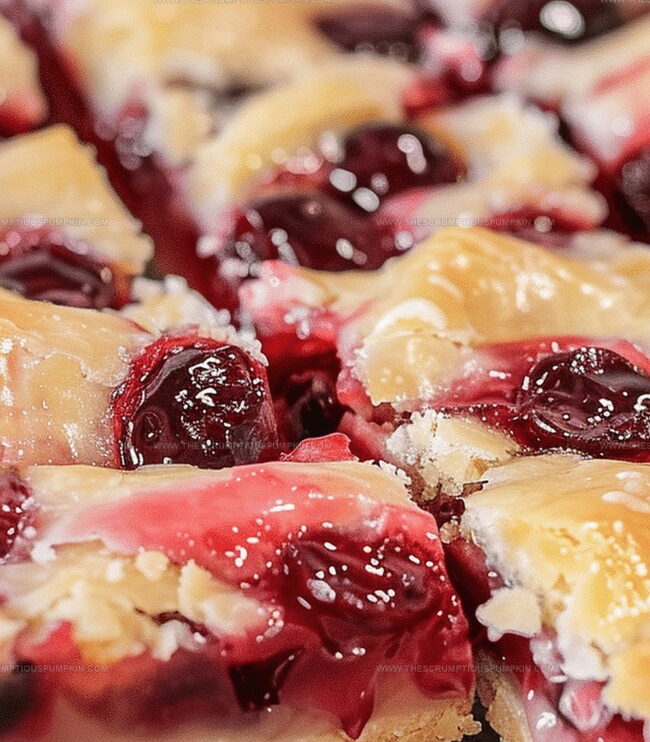
Sweet cherries nestled between buttery layers create an irresistible treat that everyone adores.
Homemade pastry transforms simple ingredients into something magical and memorable.
Crumbly, golden crusts embrace vibrant fruit filling with delicate precision.
Summer’s bounty shines through each delectable bite you’ll savor.
Fresh ingredients and minimal effort guarantee a dessert that impresses without stress.
You’ll want to bookmark this crowd-pleasing recipe for future celebrations.
Cherry Pie Bars That Make Every Occasion Sweet
Ingredients for Cherry Pie Bars
Crust and Base:Wet Ingredients:Fruit and Topping:How to Bake Cherry Pie Bars Perfectly
Step 1: Warm Up The Oven
Crank the oven to a toasty 350 degrees Fahrenheit.
Grab your 9×13-inch baking dish and give it a generous coating of grease to prevent sticking.
Step 2: Create A Creamy Base
In a spacious mixing bowl, whip the butter and sugar together until they transform into a light, fluffy cloud.
Splash in the vanilla and almond extracts for an extra flavor punch.
Step 3: Incorporate Eggs
Crack the eggs into the mixture one by one, giving each a thorough beating to ensure they blend seamlessly into the creamy base.
Step 4: Mix Dry Ingredients
Gradually fold in the flour and salt, stirring gently until everything just comes together.
Be careful not to overmix – you want a tender texture.
Step 5: Build The First Layer
Spread about two-thirds of the batter across the bottom of your prepared baking dish, creating a smooth, even foundation.
Step 6: Add Cherry Goodness
Pour the cherry pie filling over the first layer, making sure it covers the entire surface evenly.
Step 7: Create The Topping
Dot the remaining batter across the cherry layer, creating a rustic, scattered look that will bake into a beautiful top.
Step 8: Bake To Perfection
Slide the dish into the preheated oven and bake for 35-40 minutes.
Watch for a golden-brown top that signals the bars are ready.
Step 9: Cool And Serve
Let the bars cool completely in the pan.
For an extra touch of sweetness, dust with a light snow of powdered sugar before slicing into delectable squares.
Pro Tips for Cherry Pie Bars Success
Flavorful Variations on Cherry Pie Bars
Serving Suggestions for Cherry Pie Bars
Storage Tips for Cherry Pie Bars
FAQs
Cherry pie bars are a delightful dessert that combines a soft, buttery cake-like base with sweet cherry pie filling, creating a portable and easy-to-serve treat that’s perfect for gatherings or casual desserts.
While canned pie filling is recommended for consistency, you can make your own filling by cooking fresh pitted cherries with sugar and cornstarch until thickened, though the texture might slightly differ from the original recipe.
The bars are ready when the top turns golden brown and a toothpick inserted near the center comes out clean, typically after 35-40 minutes of baking at 350°F.
Print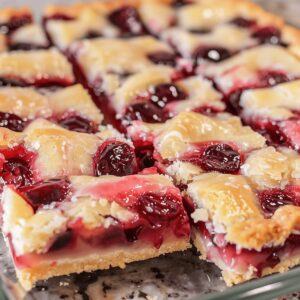
Cherry Pie Bars Recipe
- Total Time: 1 hour
- Yield: 12 1x
Description
Sweet and tangy cherry pie bars blend classic American dessert flavors into a convenient handheld treat. Crumbly buttery crust and rich cherry filling create a delightful summer dessert you’ll savor with each delectable bite.
Ingredients
Fruit Filling:
- 1 (21-ounce / 595 grams) can cherry pie filling
Main Ingredients:
- 3 cups (375 grams) all-purpose flour
- 1 1/2 cups (300 grams) granulated sugar
- 1 cup (227 grams) unsalted butter, softened
- 4 large eggs
Additional Ingredients:
- 1 teaspoon vanilla extract
- 1/4 teaspoon almond extract
- 1 teaspoon salt
- Powdered sugar for dusting (optional)
Instructions
- Preheat the oven to 350°F and thoroughly coat a 9×13-inch baking dish with non-stick spray or butter.
- Using an electric mixer, blend butter and sugar until the mixture becomes airy and pale, incorporating vanilla and almond extracts for enhanced flavor complexity.
- Introduce eggs individually, ensuring thorough integration after each addition to create a smooth, consistent base.
- Gently fold flour and salt into the wet mixture, stirring until ingredients are just combined to maintain a tender texture.
- Transfer approximately two-thirds of the batter into the prepared baking dish, spreading evenly to create a uniform base layer.
- Carefully distribute cherry pie filling across the initial batter layer, ensuring complete and consistent coverage.
- Delicately dollop remaining batter over the cherry layer, creating a rustic, textured surface that allows glimpses of the fruity filling.
- Bake for 35-40 minutes, monitoring until the top develops a golden-brown hue and the edges appear slightly crisp.
- Allow the bars to cool completely at room temperature, then slice into individual servings and optionally dust with a light veil of powdered sugar for an elegant finish.
Notes
- Customize the fruit filling by swapping cherries with other seasonal fruits like blueberries, peaches, or mixed berries for variety.
- Control the sweetness by reducing sugar or using a sugar substitute if you prefer a less sweet dessert.
- Enhance the texture by adding chopped nuts like almonds or pecans to the batter for extra crunch and depth of flavor.
- Make the bars gluten-free by substituting all-purpose flour with a gluten-free flour blend to accommodate dietary restrictions.
- Prep Time: 20 minutes
- Cook Time: 40 minutes
- Category: Desserts, Snacks
- Method: Baking
- Cuisine: American
Nutrition
- Serving Size: 12
- Calories: 308 kcal
- Sugar: 24 g
- Sodium: 131 mg
- Fat: 16 g
- Saturated Fat: 10 g
- Unsaturated Fat: 6 g
- Trans Fat: 0.3 g
- Carbohydrates: 38 g
- Fiber: 1 g
- Protein: 3 g
- Cholesterol: 52 mg
Mia Thompson
Pastry Chef & Content Creator
Expertise
Education
Portland Community College – Baking and Pastry Arts Program
Specialized in artisanal bread, seasonal desserts, and sustainable baking methods.
National University of Natural Medicine – Bachelor of Science in Nutrition (BScN)
Focused on “Food as Medicine” philosophy, with core threads in nutrition.
Mia’s love affair with baking began in her grandmother’s kitchen, where sneaking spoonfuls of batter first sparked her curiosity. She refined her skills through Portland Community College’s Baking and Pastry Arts Program and her expertise at the National University of Natural Medicine, earning a B.Sc. in Nutrition.
At The Scrumptious Pumpkin, Mia reimagines classics with effortless seasonal treats, healthier twists on old favorites, and playful confections that feel like pure joy. Beyond the oven, she nurtures her urban garden, forages local ingredients around Portland, and leads hands‑on nutrition workshops for her community.