The Best Chicken Caesar Smash Tacos Recipe You’ll Ever Try
Crispy chicken caesar smash tacos deliver a delightful twist on classic comfort food.
Layers of savory ingredients create an unexpected culinary adventure.
Bold flavors dance across your plate with surprising harmony.
Crunchy tortillas provide the perfect canvas for zesty chicken and creamy dressing.
Mexican-inspired techniques merge seamlessly with traditional caesar elements.
Each bite promises a burst of satisfaction that will keep you coming back for more.
Prepare to experience a mouthwatering fusion that redefines taco night.
How To Build Chicken Caesar Smash Tacos
Step 1: Roast Crunchy Chickpeas
Preheat the oven to 430°F. Spread chickpeas on a parchment-lined baking tray and coat with:Bake for 15 minutes until golden and crispy.
Set aside for later.
Step 2: Sizzle Bacon Strips
Cook streaky bacon in a hot skillet until perfectly crisp, about 5 minutes.
Transfer to a paper towel to drain excess grease.
Step 3: Blend Caesar Sauce
In a mixing bowl, combine and whisk until silky smooth:Step 4: Toss Fresh Salad
Mix in a large bowl:Toss until ingredients are evenly distributed.
Step 5: Prepare Chicken Mixture
In a separate bowl, combine:Mix thoroughly until well blended.
Step 6: Build Taco Base
Spread a heaping tablespoon of chicken mixture evenly across each tortilla.
Step 7: Smash and Sear Tacos
Heat oil in a skillet over high heat. Place tortillas chicken-side down, pressing firmly with a spatula.
Cook for 4 minutes, then flip and cook an additional minute.
Step 8: Final Touchdown
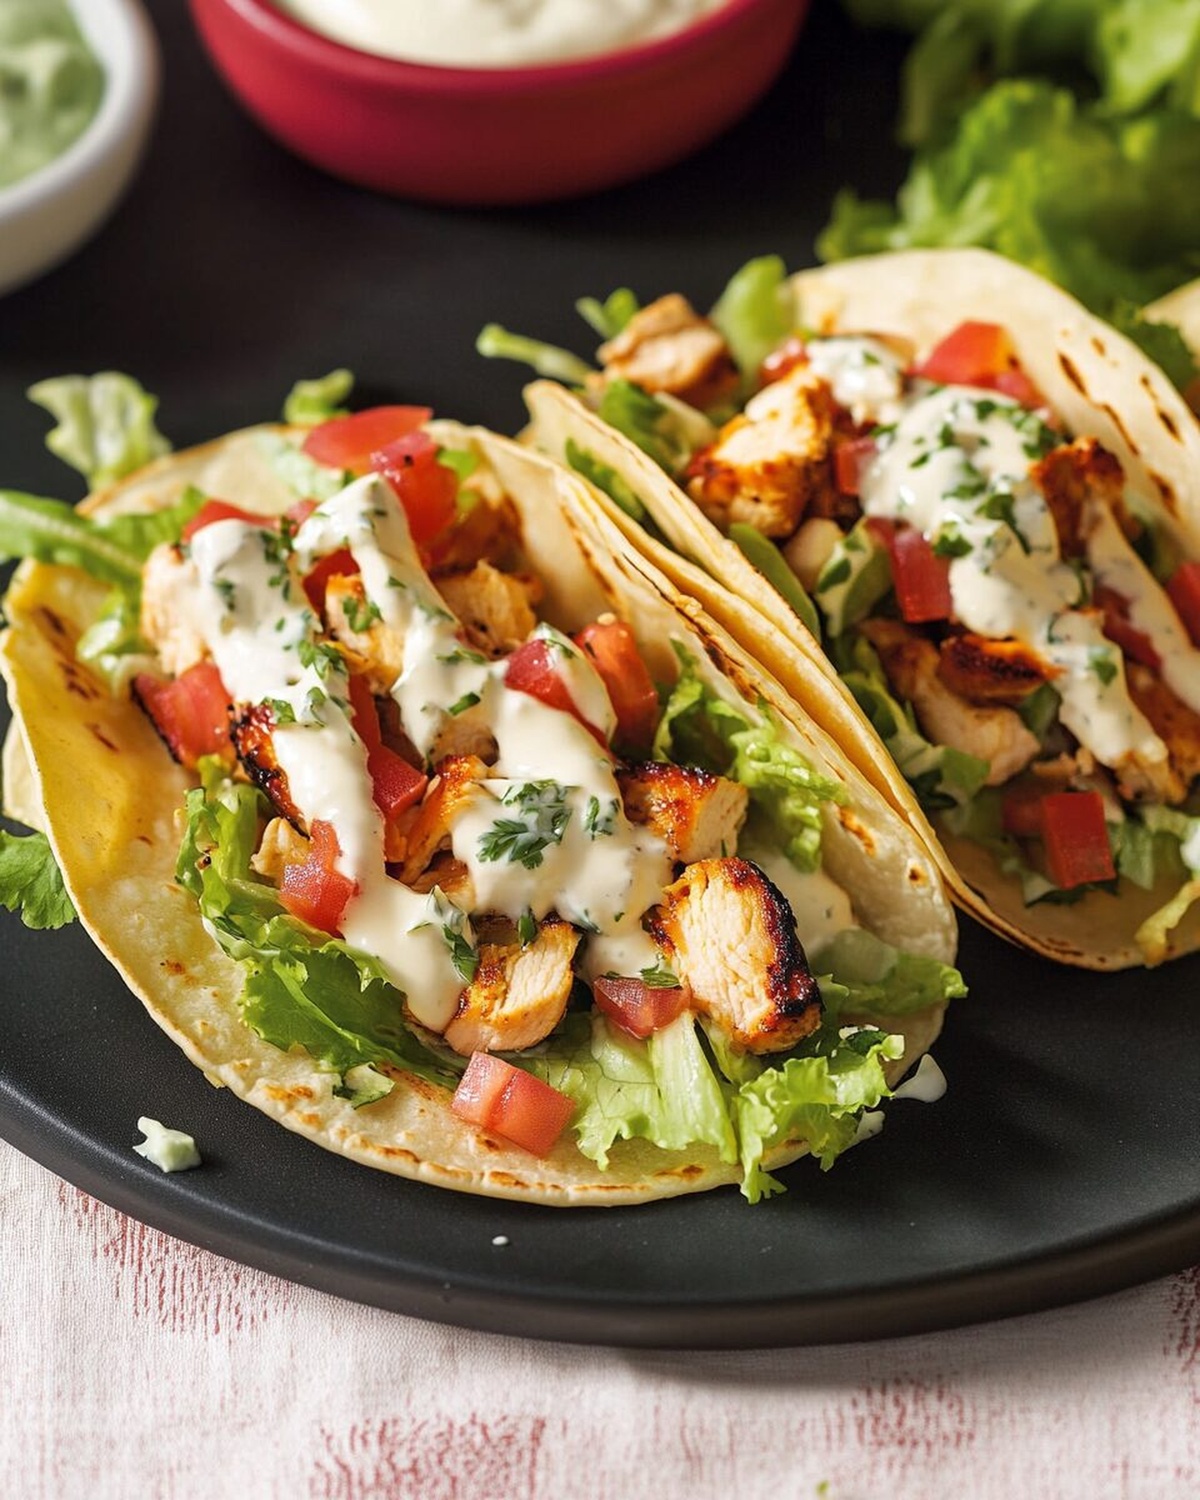
Top cooked tacos with:Serve hot and enjoy immediately!
Tips For Making Chicken Caesar Smash Tacos
Fun Ideas For Chicken Caesar Smash Tacos
Top Pairings For Chicken Caesar Smash Tacos
How To Store Chicken Caesar Smash Tacos Right
Chicken Caesar Smash Tacos Q&A
The ground chicken is infused with bright flavors like lemon zest, lemon juice, garlic, thyme, and chives, creating a zesty and herbaceous profile that elevates the traditional taco.
Pre-ground chicken works perfectly fine. The key is to ensure the meat is fresh and has good fat content for flavor and crispy texture when smashed in the skillet.
Smashing the chicken creates a crispy, golden-brown exterior that adds incredible texture and develops deeper flavor through caramelization when cooked in a hot skillet.
Why Chicken Caesar Smash Tacos Are So Satisfying
What You’ll Need For Chicken Caesar Smash Tacos
Protein Base:Seasonings and Flavoring:Sauce and Dressing:Taco and Salad Components:Cooking Ingredients: Print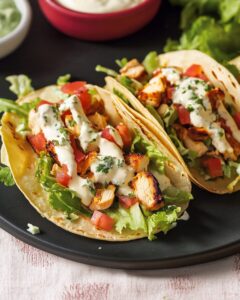
Chicken Caesar Smash Tacos Recipe
- Total Time: 25 minutes
- Yield: 4 1x
Description
Culinary magic happens when classic chicken caesar salad meets Mexican street food in these chicken caesar smash tacos. Crispy tortillas packed with zesty caesar-seasoned chicken create an irresistible fusion that promises to elevate casual dining for you.
Ingredients
Protein:
- 1 pound/500g ground chicken
- 4 slices streaky bacon
Dairy and Cheese:
- 1/4 cup grated Parmesan cheese
- 1/2 cup aioli or mayonnaise
Herbs and Seasonings:
- 2 teaspoons dried thyme
- 1 teaspoon smoked paprika
- 1 teaspoon salt
- 1 teaspoon fish sauce
- 1 teaspoon Dijon mustard
- 1 teaspoon white miso paste
- Zest of 1 lemon
- 1 tablespoon lemon juice
Vegetables and Aromatics:
- 3 garlic cloves, crushed
- 3 scallions (spring onions), finely sliced
- 1 Romaine lettuce, shredded
- 14 ounces/400g can of chickpeas, drained
Garnish and Base:
- Handful of chives, finely chopped
- 12 mini tortillas
- 1 tablespoon olive oil
- Black pepper
- Extra Parmesan cheese (for serving)
Instructions
- Preheat oven to 430°F/220°C for crispy chickpeas. Toss chickpeas with olive oil, smoked paprika, and salt on parchment-lined baking tray. Roast for 15 minutes until golden and crunchy.
- Sizzle bacon in hot skillet until crisp and brown, approximately 5 minutes. Transfer to paper towel to drain excess fat.
- Whisk Caesar sauce ingredients – aioli, Parmesan, fish sauce, Dijon mustard, white miso, and black pepper – until smooth and creamy.
- Combine shredded Romaine, roasted chickpeas, crumbled bacon, sliced scallions, and half the Caesar sauce. Gently toss salad mixture.
- Create chicken topping by mixing ground chicken with lemon zest, lemon juice, minced garlic, salt, thyme, chives, and black pepper until thoroughly incorporated.
- Spread uniform layer of seasoned chicken mixture across each tortilla, ensuring even coverage.
- Heat oil in skillet over high temperature. Place tortillas chicken-side down, pressing firmly with spatula. Sear for 4 minutes, then flip and cook additional minute until crisp.
- Garnish tacos with prepared Caesar salad, sprinkle extra Parmesan, scatter fresh chives, and drizzle remaining Caesar dressing. Serve immediately while hot and crispy.
Notes
- Enhance chickpea crispiness by patting them completely dry before roasting to achieve maximum crunch and prevent sogginess.
- Adjust bacon cooking time based on thickness; thinner cuts crisp faster, while thicker cuts require longer rendering to develop rich flavor.
- Customize Caesar sauce by adjusting ingredient ratios to create personal flavor profile, experimenting with extra umami elements like anchovy paste or Worcestershire sauce.
- Transform recipe into gluten-free version by using corn tortillas and ensuring all sauce ingredients are gluten-free certified.
- Prep Time: 15 minutes
- Cook Time: 10 minutes
- Category: Lunch, Dinner, Appetizer, Snacks
- Method: Frying
- Cuisine: Mexican
Nutrition
- Serving Size: 4
- Calories: 570
- Sugar: 2g
- Sodium: 900mg
- Fat: 30g
- Saturated Fat: 6g
- Unsaturated Fat: 22g
- Trans Fat: 0g
- Carbohydrates: 40g
- Fiber: 5g
- Protein: 36g
- Cholesterol: 80mg
Mia Thompson
Pastry Chef & Content Creator
Expertise
Education
Portland Community College – Baking and Pastry Arts Program
Specialized in artisanal bread, seasonal desserts, and sustainable baking methods.
National University of Natural Medicine – Bachelor of Science in Nutrition (BScN)
Focused on “Food as Medicine” philosophy, with core threads in nutrition.
Mia’s love affair with baking began in her grandmother’s kitchen, where sneaking spoonfuls of batter first sparked her curiosity. She refined her skills through Portland Community College’s Baking and Pastry Arts Program and her expertise at the National University of Natural Medicine, earning a B.Sc. in Nutrition.
At The Scrumptious Pumpkin, Mia reimagines classics with effortless seasonal treats, healthier twists on old favorites, and playful confections that feel like pure joy. Beyond the oven, she nurtures her urban garden, forages local ingredients around Portland, and leads hands‑on nutrition workshops for her community.