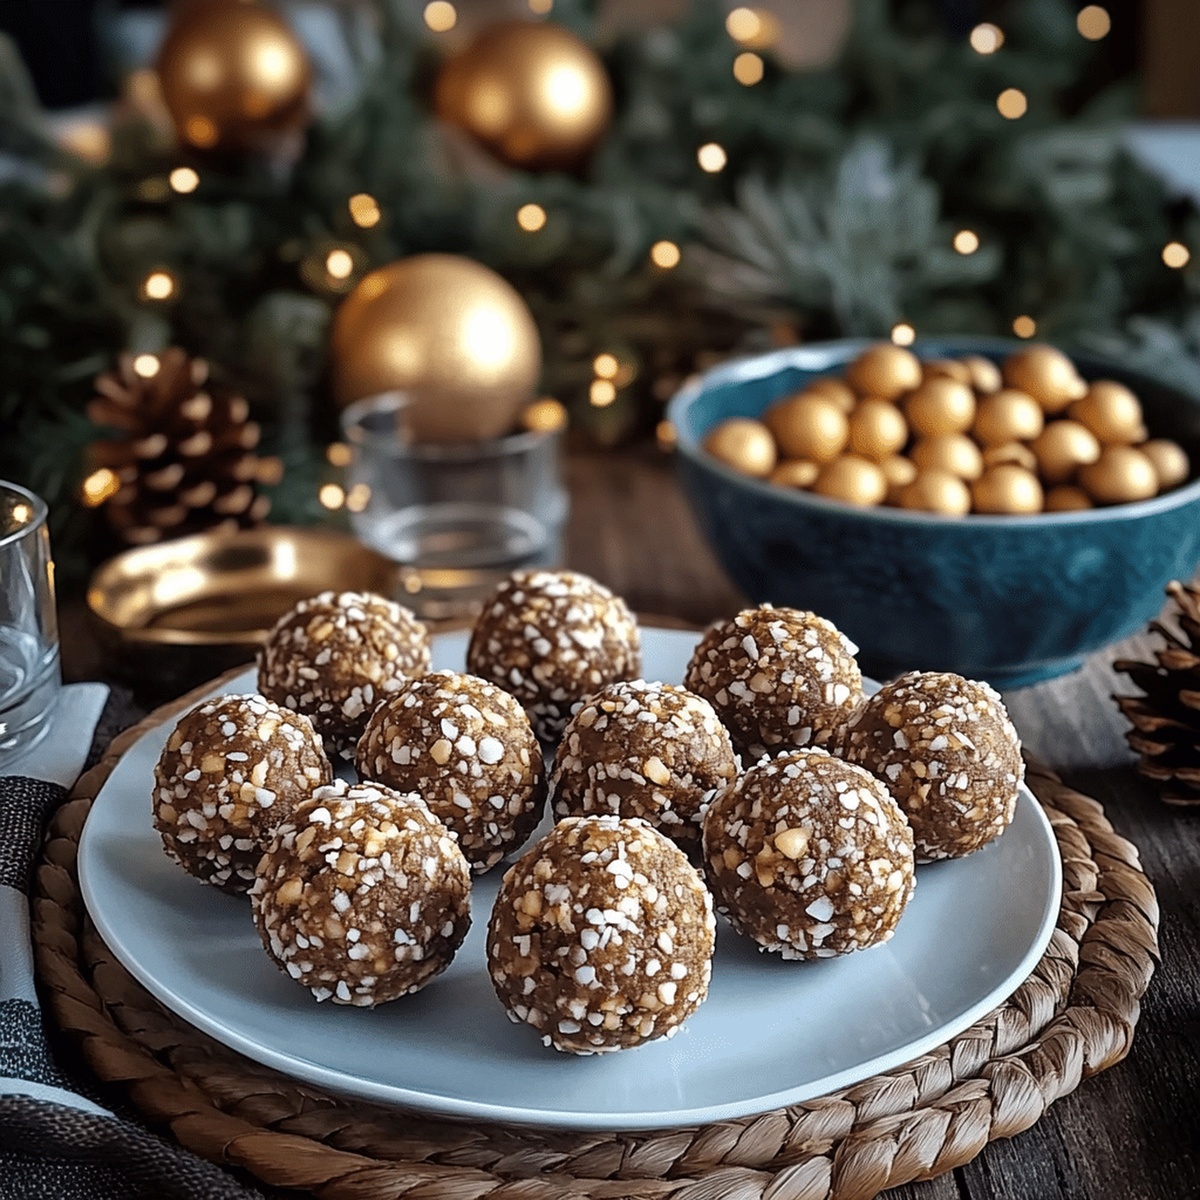
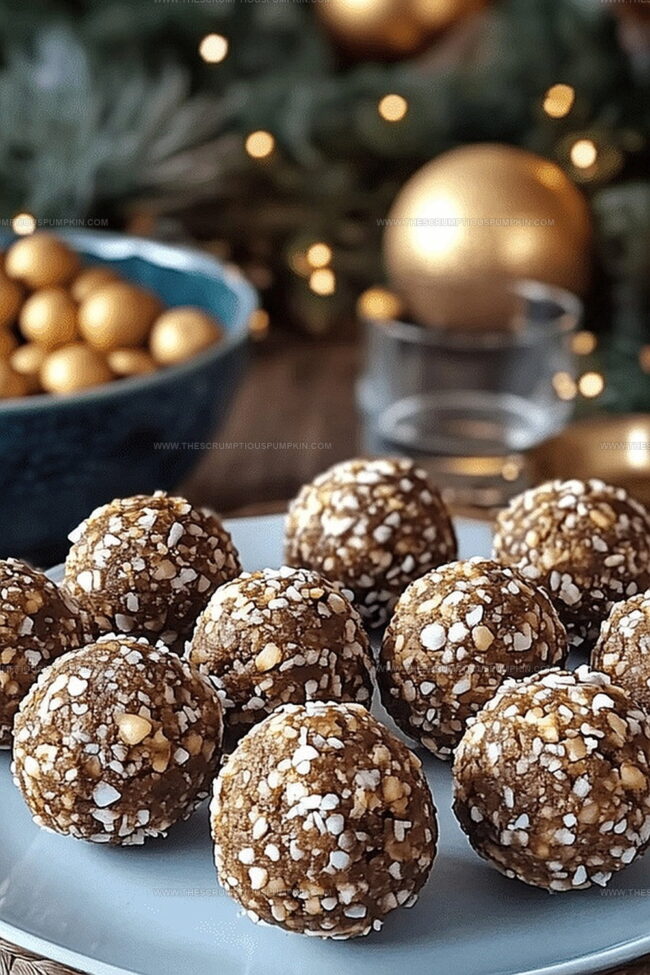
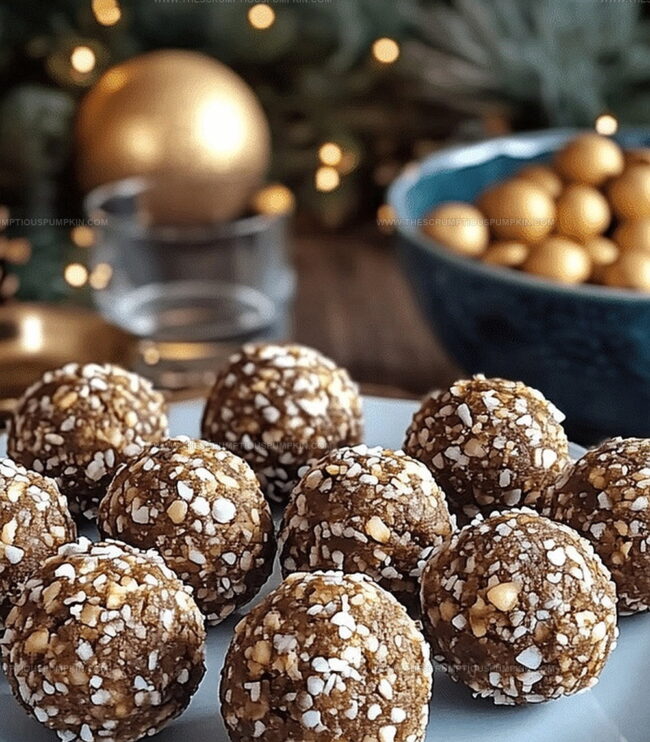
The Irresistibly Sweet Peanut Butter Balls Recipe for Beginners
Crafting delectable peanut butter balls brings pure joy to any sweet-loving kitchen adventurer.
Chocolate-dipped treats emerge as irresistible morsels that dance between creamy and crunchy textures.
Simple ingredients transform into magical spheres of happiness with minimal effort.
Mixing becomes a playful experience where pantry staples combine into delightful confections.
No baking required means you can whip up these delights in minutes.
Chilling helps these little gems set perfectly, creating a smooth and rich bite.
Everyone will ask you for the secret behind these addictive snacks.
What’s Great About Peanut Butter Balls
Peanut Butter Balls Ingredient Guide
For the Base:For the Flavor Enhancers:For the Coating and Topping:For the Preparation:Making Peanut Butter Balls Step By Step
Step 1: Mix Peanut Butter Base
Grab a large mixing bowl and combine the peanut butter with powdered sugar. Stir until the mixture becomes completely smooth and holds together nicely. The goal is to create a consistent texture that’s easy to shape.
Step 2: Enhance Flavor Profile
Pour in honey and add vanilla extract and salt. Mix thoroughly to create a rich, well-balanced flavor that brings depth to the peanut butter mixture. The additional ingredients will help bind the mixture and add complexity to the taste.
Step 3: Shape Truffle Balls
Use your clean hands or a small cookie scoop to roll the mixture into perfect bite-sized spheres. Each ball should be about the size of a small walnut. Place the formed balls on a parchment-lined baking sheet, ensuring they’re not touching each other.
Step 4: Chill Initial Mixture
Pop the baking sheet into the refrigerator for 15-20 minutes. This cooling period helps the balls firm up and makes them easier to handle during the chocolate coating process.
Step 5: Create Chocolate Coating
Melt chocolate chips with coconut oil in a microwave-safe bowl. Heat in short 30-second bursts, stirring between each interval until the mixture becomes completely smooth and glossy. The coconut oil helps create a beautiful, shiny chocolate coating.
Step 6: Dip and Coat Truffles
Remove the chilled peanut butter balls from the refrigerator. Carefully dip each ball into the melted chocolate, ensuring they’re completely and evenly covered. Use a fork or dipping tool to help coat them smoothly.
Step 7: Add Crunchy Topping
Sprinkle graham cracker crumbs over the chocolate-coated truffles. This adds a delightful crunch and an extra layer of flavor that complements the creamy chocolate and peanut butter.
Step 8: Final Chilling
Place the coated truffles back on the parchment-lined sheet. Return to the refrigerator for 10-15 minutes to allow the chocolate to set completely and become firm.
Step 9: Store and Serve
Transfer the finished truffles to an airtight container. Store in the refrigerator for up to one week. This allows the flavors to meld together and keeps the truffles at their perfect texture and taste.
Helpful Peanut Butter Balls Prep Tips
Different Takes On Peanut Butter Balls
Snacks That Pair With Peanut Butter Balls
Peanut Butter Balls Storage Details
Common Peanut Butter Balls Questions
Yes, you can substitute almond or cashew butter for a unique flavor twist, but keep in mind the texture might slightly vary from traditional peanut butter.
Not automatically. While peanut butter and chocolate can be gluten-free, ensure your graham cracker crumbs are specifically labeled gluten-free if you have dietary restrictions.
Add powdered sugar gradually and mix thoroughly. If the mixture remains sticky, incorporate a bit more powdered sugar until it becomes manageable and holds shape easily.
Absolutely! Children can help roll the peanut butter balls and sprinkle graham cracker crumbs, making it a fun family cooking activity under adult supervision.
Print
Chompable Peanut Butter Balls Recipe
- Total Time: 25-35 minutes
- Yield: 8 1x
Description
Irresistible peanut butter balls dance with chocolate-coated charm, blending creamy richness and sweet indulgence. Smooth nutty goodness meets simple no-bake magic, beckoning you to savor each delightful bite.
Ingredients
Peanut Butter
- 1 cup peanut butter
- 1/2 cup creamy peanut butter
Sweeteners
- 1 cup powdered sugar
- 1/4 cup honey
Coating and Binding
- 1 cup semi-sweet chocolate chips
- 2 tbsp coconut oil
- 1/4 cup graham cracker crumbs
- 1 tsp vanilla extract
- 1/4 tsp salt
Instructions
- In a spacious mixing bowl, thoroughly combine peanut butter with powdered sugar, creating a smooth, uniform mixture that holds together easily.
- Drizzle honey into the peanut butter blend, incorporating vanilla extract and salt to enhance the overall flavor profile and improve binding.
- Using clean hands or a small cookie scoop, form the mixture into compact, uniform spheres approximately 1-inch in diameter, placing them on a parchment-lined baking sheet.
- Chill the shaped balls in the refrigerator for 15-20 minutes, allowing them to firm up and maintain their structural integrity.
- Prepare the chocolate coating by melting chocolate chips with coconut oil in a microwave-safe bowl, stirring at 30-second intervals until completely smooth and glossy.
- Remove chilled peanut butter balls from the refrigerator and carefully dip each one into the melted chocolate, ensuring complete and even coverage.
- Gently sprinkle graham cracker crumbs over the chocolate-coated balls, creating a delightful textural contrast and additional flavor dimension.
- Return the coated balls to the parchment-lined sheet and refrigerate for an additional 10-15 minutes until the chocolate sets completely.
- Transfer to an airtight container and store in the refrigerator for up to one week, allowing the flavors to meld and the texture to remain perfect.
Notes
- Experiment with natural peanut butter for a less sweet, more robust nutty flavor that provides a healthier alternative to processed varieties.
- Adjust powdered sugar quantity based on desired sweetness level, ensuring the mixture remains cohesive and easy to shape into balls.
- Use gluten-free graham crackers or crushed nuts as a coating option for those with dietary restrictions or seeking alternative textures.
- Freeze extra batches for up to three months, creating convenient make-ahead treats that maintain their delicious taste and texture when properly stored.
- Prep Time: 15-20 minutes
- Cook Time: 10-15 minutes
- Category: Snacks, Desserts
- Method: Chilling
- Cuisine: American
Nutrition
- Serving Size: 8
- Calories: 267
- Sugar: 22 g
- Sodium: 35 mg
- Fat: 15 g
- Saturated Fat: 5 g
- Unsaturated Fat: 10 g
- Trans Fat: 0 g
- Carbohydrates: 31 g
- Fiber: 1 g
- Protein: 6 g
- Cholesterol: 0 mg
Mia Thompson
Pastry Chef & Content Creator
Expertise
Education
Portland Community College – Baking and Pastry Arts Program
Specialized in artisanal bread, seasonal desserts, and sustainable baking methods.
National University of Natural Medicine – Bachelor of Science in Nutrition (BScN)
Focused on “Food as Medicine” philosophy, with core threads in nutrition.
Mia’s love affair with baking began in her grandmother’s kitchen, where sneaking spoonfuls of batter first sparked her curiosity. She refined her skills through Portland Community College’s Baking and Pastry Arts Program and her expertise at the National University of Natural Medicine, earning a B.Sc. in Nutrition.
At The Scrumptious Pumpkin, Mia reimagines classics with effortless seasonal treats, healthier twists on old favorites, and playful confections that feel like pure joy. Beyond the oven, she nurtures her urban garden, forages local ingredients around Portland, and leads hands‑on nutrition workshops for her community.