Quick & Festive Christmas Sugar Cookie Cheesecake Recipe
Sweet dreams meet festive reality in this delightful christmas sugar cookie cheesecake that promises to dazzle your holiday gatherings.
Creamy layers meld perfectly with crisp cookie crumbles for an indulgent dessert experience.
Nostalgic flavors dance across your palate, bringing warmth and joy to every single bite.
Seasonal magic unfolds through each carefully crafted slice of pure deliciousness.
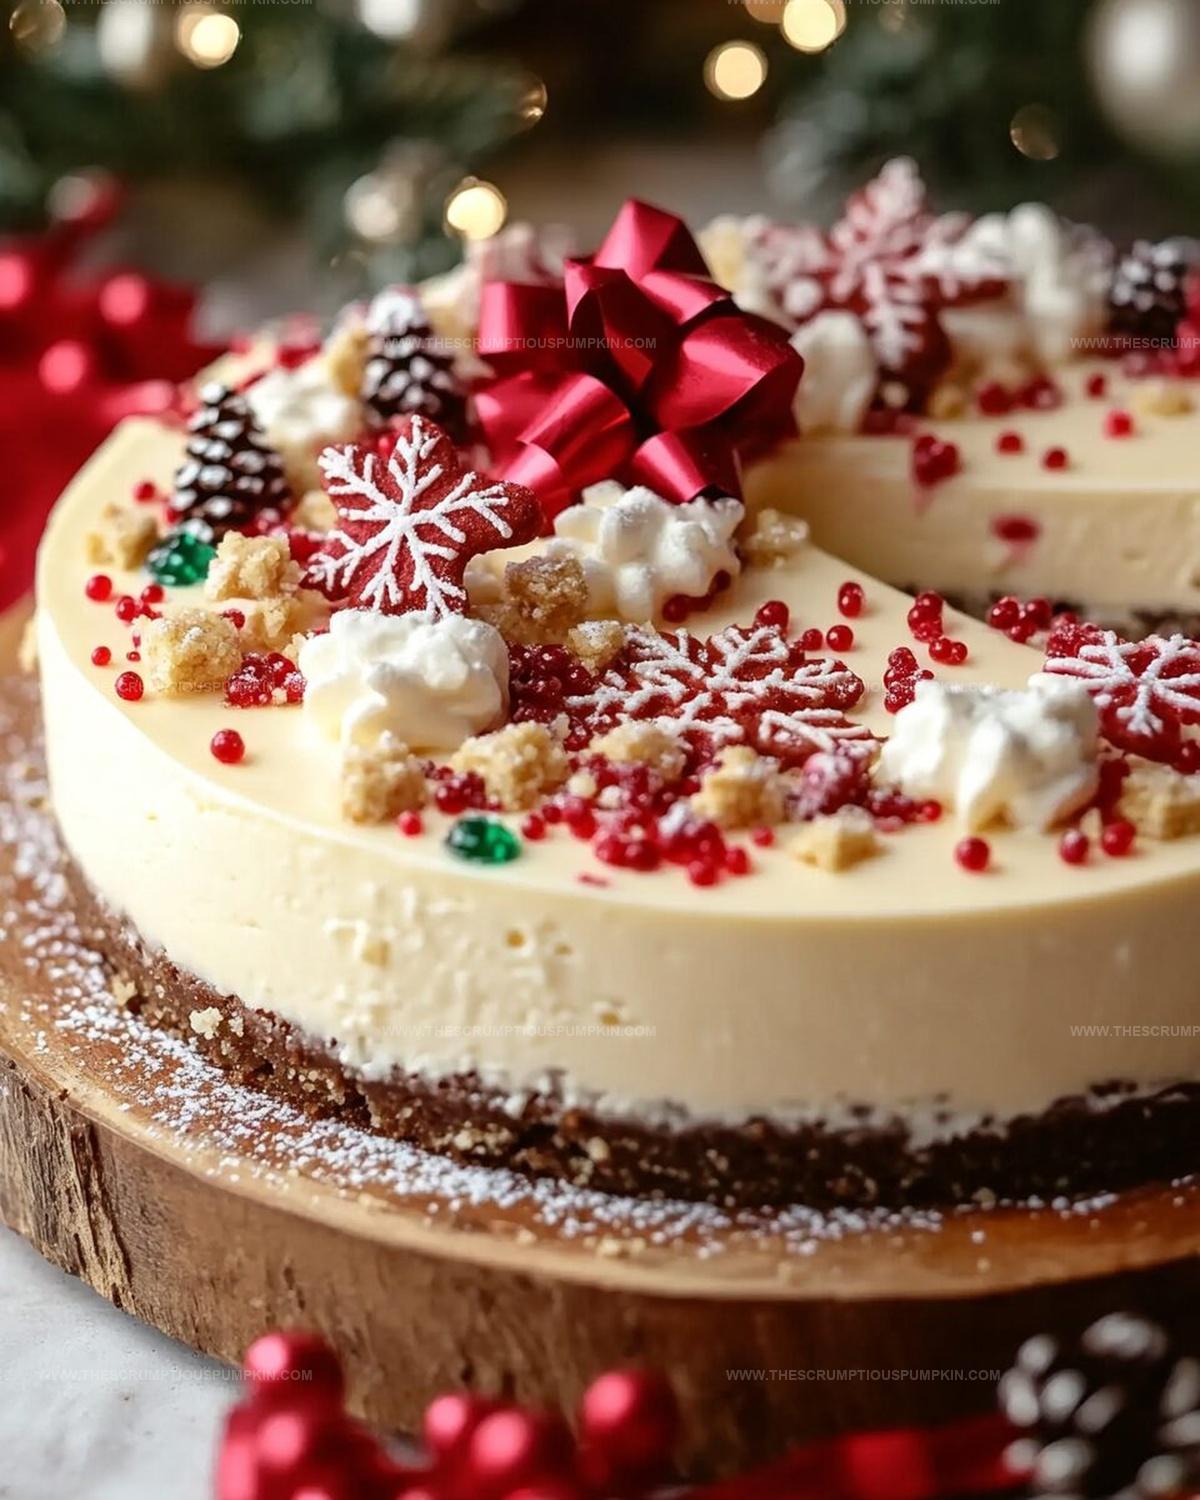
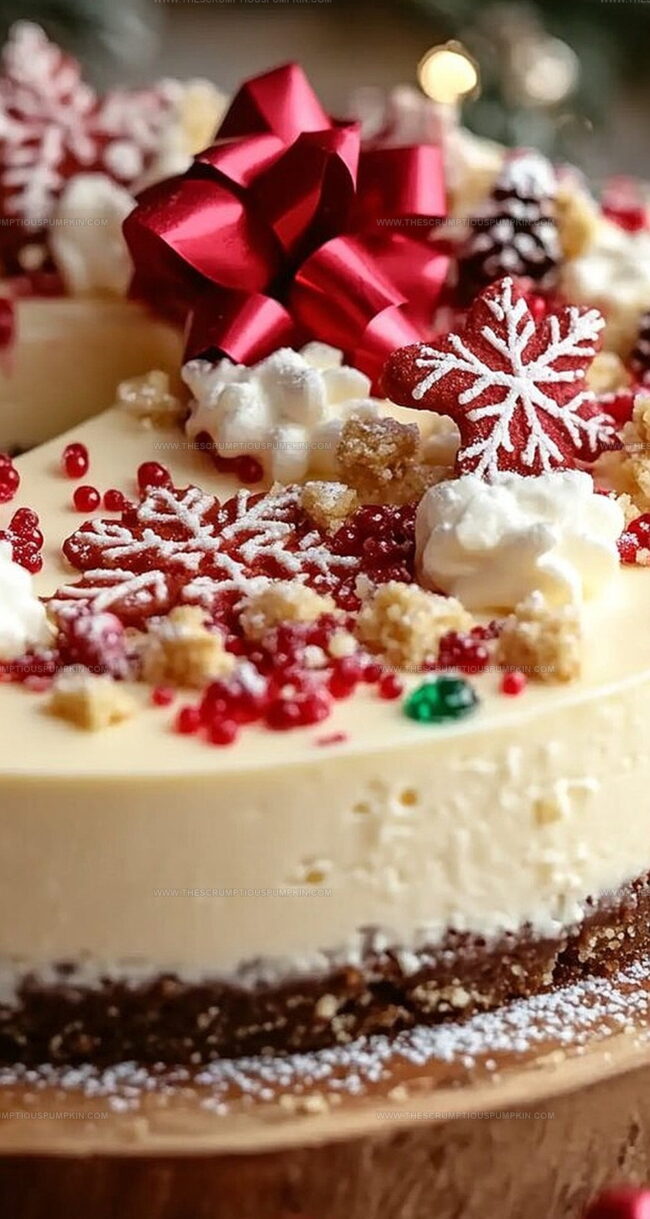
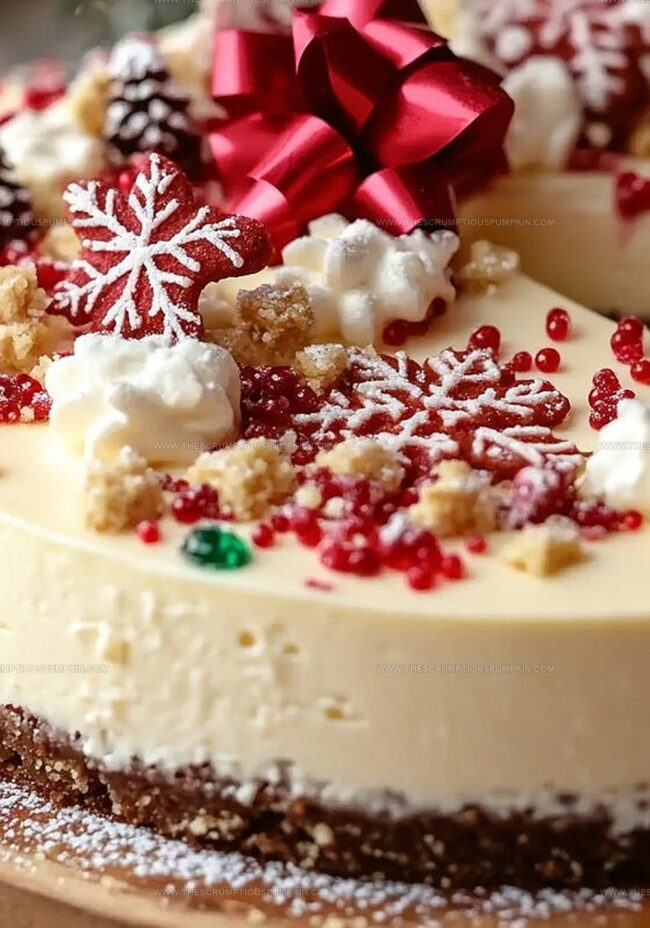
Crumbly sugar cookie pieces nestled within rich cheesecake create a symphony of textures that sing holiday cheer.
Minimal kitchen effort yields maximum celebration and smiles around your festive table.
Dive into this decadent treat that will make you the star of any seasonal celebration.
Why Christmas Sugar Cookie Cheesecake Is So Joyful
What You’ll Need For Christmas Sugar Cookie Cheesecake
Crust Ingredients:Cheesecake Filling Ingredients:Topping Ingredients:Steps To Make Christmas Sugar Cookie Cheesecake
Step 1: Craft the Festive Cookie Base
Warm up your oven to a cozy 325°F. Grab a springform pan and give it a light butter massage.
Crush those sweet sugar cookies into delicate crumbs, mixing them with melted butter until they stick together like best friends. Press this magical mixture firmly into the pan, creating a sturdy foundation.
Pop it into the oven for a quick 8-10 minute toast, then let it cool down completely.
Step 2: Whip Up the Creamy Dreaminess
Grab your electric mixer and start dancing with the cream cheese and sugar.
Beat them until they’re smoother than a holiday jazz tune. Introduce eggs one by one, letting each one get cozy with the mixture.
Splash in some vanilla extract and sour cream for that extra zing. Gently fold in colorful sprinkles, being careful not to let their colors run wild.
Step 3: Bake to Perfection
Pour your dreamy filling over the cooled cookie crust, smoothing the top like you’re creating a winter landscape. Slide the pan into the oven and bake for 50-60 minutes.
You’ll know it’s ready when the center does a little jiggle dance. Turn off the oven, crack the door open just a bit, and let it cool down slowly for an hour.
Step 4: Chill and Wait
Let the cheesecake cool to room temperature, then tuck it into the refrigerator for a minimum of 4 hours (overnight is even better). This is when the magic happens – the flavors mingle and the texture becomes perfectly creamy.
Step 5: Decorate and Serve
Just before serving, crown your cheesecake with fluffy whipped cream and a sprinkle shower of colorful confetti-like sprinkles. Slice and watch everyone’s eyes light up with holiday joy!
Tips To Nail Christmas Sugar Cookie Cheesecake
Sweet Ideas For Christmas Sugar Cookie Cheesecake
Best Matches For Christmas Sugar Cookie Cheesecake
How To Store Christmas Sugar Cookie Cheesecake
Christmas Sugar Cookie Cheesecake FAQs
Sugar cookies provide a sweet, festive base that complements the creamy cheesecake filling and adds a unique holiday flavor to the dessert.
Fold the sprinkles gently and avoid overmixing to minimize color bleeding and maintain the white cheesecake appearance.
This gradual cooling prevents the cheesecake from cracking by reducing temperature shock and helps the cheesecake set smoothly.
Yes, you can use holiday-themed or colored sprinkles to match the season or your personal preference, just be sure they’re evenly distributed.
Print
Christmas Sugar Cookie Cheesecake Recipe
- Total Time: 5 hours 30 minutes
- Yield: 12 1x
Description
Festive Christmas sugar cookie cheesecake blends holiday cheer with creamy indulgence, creating a dessert that sparkles with seasonal magic. Delicate cookie crumbles and rich cream cheese deliver sweet comfort, inviting you to savor each delightful holiday-inspired bite.
Ingredients
Sugar Cookie Base:
- 2 cups (240 grams) sugar cookies, crushed
- 6 tablespoons (85 grams) unsalted butter, melted
Cheesecake Filling:
- 3 packages (24 ounces or 680 grams) cream cheese, softened
- 1 cup (200 grams) granulated sugar
- 3 large eggs
- 1 teaspoon vanilla extract
- 0.5 cup (120 milliliters) sour cream
- 0.33 cup (50 grams) Christmas-colored sprinkles
Garnish:
- Whipped cream
- Christmas sprinkles
Instructions
- Preheat the oven to 325°F and prepare a 9-inch springform pan with light greasing to ensure easy removal of the cheesecake.
- Create the festive cookie crust by thoroughly combining crushed sugar cookies with melted butter, pressing the mixture firmly and evenly across the pan’s bottom.
- Briefly bake the crust for 8-10 minutes to set its structure, then allow it to cool completely at room temperature, creating a solid foundation for the cheesecake.
- In a large mixing bowl, whip cream cheese and sugar until achieving a silky, lump-free consistency, ensuring a smooth cheesecake texture.
- Incorporate eggs individually, mixing thoroughly after each addition to maintain a uniform batter and prevent potential curdling.
- Gently fold in vanilla extract and sour cream, creating a rich and creamy filling with balanced flavor profiles.
- Delicately integrate colorful sprinkles into the mixture, using a light folding technique to prevent color bleeding and maintain visual appeal.
- Pour the prepared filling over the cooled crust, smoothing the surface with a spatula to create an even, professional-looking top.
- Bake for 50-60 minutes, watching for a slightly jiggly center which indicates perfect doneness without overcooking.
- After baking, turn off the oven and leave the door slightly open, allowing the cheesecake to cool gradually and prevent cracking.
- Once cooled to room temperature, refrigerate for a minimum of 4 hours or ideally overnight to achieve optimal setting and flavor development.
- Before serving, garnish with fluffy whipped cream and an additional sprinkle of festive colored sprinkles for a cheerful, celebratory presentation.
Notes
- Use room temperature ingredients to ensure smooth, lump-free cheesecake filling and easier mixing.
- Avoid overmixing the batter to prevent air bubbles that can cause cracking during baking.
- Gently fold sprinkles at the last moment to maintain their vibrant colors and prevent bleeding.
- For a gluten-free version, substitute sugar cookies with gluten-free cookie crumbs or graham crackers.
- Prep Time: 30 minutes
- Cook Time: 1 hour
- Category: Desserts, Snacks
- Method: Baking
- Cuisine: American
Nutrition
- Serving Size: 12
- Calories: 390
- Sugar: 25 g
- Sodium: 280 mg
- Fat: 24 g
- Saturated Fat: 14 g
- Unsaturated Fat: 8 g
- Trans Fat: 0 g
- Carbohydrates: 38 g
- Fiber: 0 g
- Protein: 6 g
- Cholesterol: 90 mg
Mia Thompson
Pastry Chef & Content Creator
Expertise
Education
Portland Community College – Baking and Pastry Arts Program
Specialized in artisanal bread, seasonal desserts, and sustainable baking methods.
National University of Natural Medicine – Bachelor of Science in Nutrition (BScN)
Focused on “Food as Medicine” philosophy, with core threads in nutrition.
Mia’s love affair with baking began in her grandmother’s kitchen, where sneaking spoonfuls of batter first sparked her curiosity. She refined her skills through Portland Community College’s Baking and Pastry Arts Program and her expertise at the National University of Natural Medicine, earning a B.Sc. in Nutrition.
At The Scrumptious Pumpkin, Mia reimagines classics with effortless seasonal treats, healthier twists on old favorites, and playful confections that feel like pure joy. Beyond the oven, she nurtures her urban garden, forages local ingredients around Portland, and leads hands‑on nutrition workshops for her community.