The Perfect Easter Basket Sugar Cookie Cups Recipe For Spring Fun
Sweet memories of childhood easter celebrations sparkle through these delightful sugar cookie cups that capture pure magic.
Soft, buttery dough transforms into adorable edible vessels waiting to be filled with creamy delights.
Crisp edges and tender centers make this treat irresistible for anyone seeking a playful dessert.
Pastel sprinkles dance across each miniature cookie, promising a whimsical bite that connects generations.
Kids and adults alike will adore these charming little cups that blend nostalgia with delectable sweetness.
Crumbly yet smooth textures create a perfect canvas for your favorite fillings, from chocolate ganache to light cream cheese.
You’ll want to make a double batch because these little wonders disappear faster than springtime sunshine.
Why Easter Basket Sugar Cookie Cups Are A Sweet Surprise
What You’ll Need For Easter Basket Sugar Cookie Cups
Main Ingredients:How To Assemble Easter Basket Cookie Cups
Step 1: Prepare Baking Equipment
Warm up the oven to 350°F. Grab a 12-cup muffin tin and generously coat each well with cooking spray to prevent sticking.
Step 2: Shape Cookie Dough
Gently press a piece of cookie dough into each muffin tin cavity, ensuring even distribution and smooth surfaces.
Step 3: Bake Cookie Bases
Slide the muffin tin into the preheated oven and bake for 10-14 minutes until the edges turn a delicate golden brown.
Step 4: Create Cookie Cup Baskets
Right after removing from the oven, use a shot glass or spice jar to press down the center of each warm cookie, forming adorable little basket shapes.
Step 5: Cool Cookie Cups
Allow the cookies to rest in the muffin tin for 10 minutes, letting them firm up and become easily removable.
Step 6: Whip Up Frosting
In a mixing bowl, cream butter until it becomes light and fluffy. Gradually incorporate powdered sugar, mixing thoroughly after each addition.
Step 7: Finish Frosting
Stir in vanilla extract and heavy cream, blending until silky smooth. Add green food coloring and mix until you achieve a springtime-perfect shade.
Step 8: Decorate Cookie Baskets
Transfer the frosting to a piping bag fitted with a large star tip. Pipe the green frosting into each cookie cup, creating a festive nest-like design.
Step 9: Add Candy Eggs
Place three chocolate egg candies in each decorated cookie cup for a charming Easter treat that’s sure to delight.
Tips For Cute And Tasty Sugar Cookie Cups
Fun Styles For Easter Basket Cookie Cups
What To Enjoy With Easter Basket Sugar Cookie Cups
How To Store Easter Sugar Cookie Cups Easily
FAQs On Easter Basket Sugar Cookie Cups
Yes, you can use homemade sugar cookie dough. Just ensure it’s a sturdy recipe that will hold its shape when baked in a muffin tin.
Generously spray the muffin tin with cooking spray or use non-stick baking spray. This ensures easy removal of the cookie cups.
Chocolate mini eggs like Cadbury Mini Eggs or similar small chocolate eggs are perfect for topping these Easter Basket Sugar Cookie Cups. Choose ones with a colorful candy shell for a festive look.
Yes, you can prepare the buttercream frosting a day in advance.
Print
Easter Basket Sugar Cookie Cups Recipe
- Total Time: 39 minutes
- Yield: 12 1x
Description
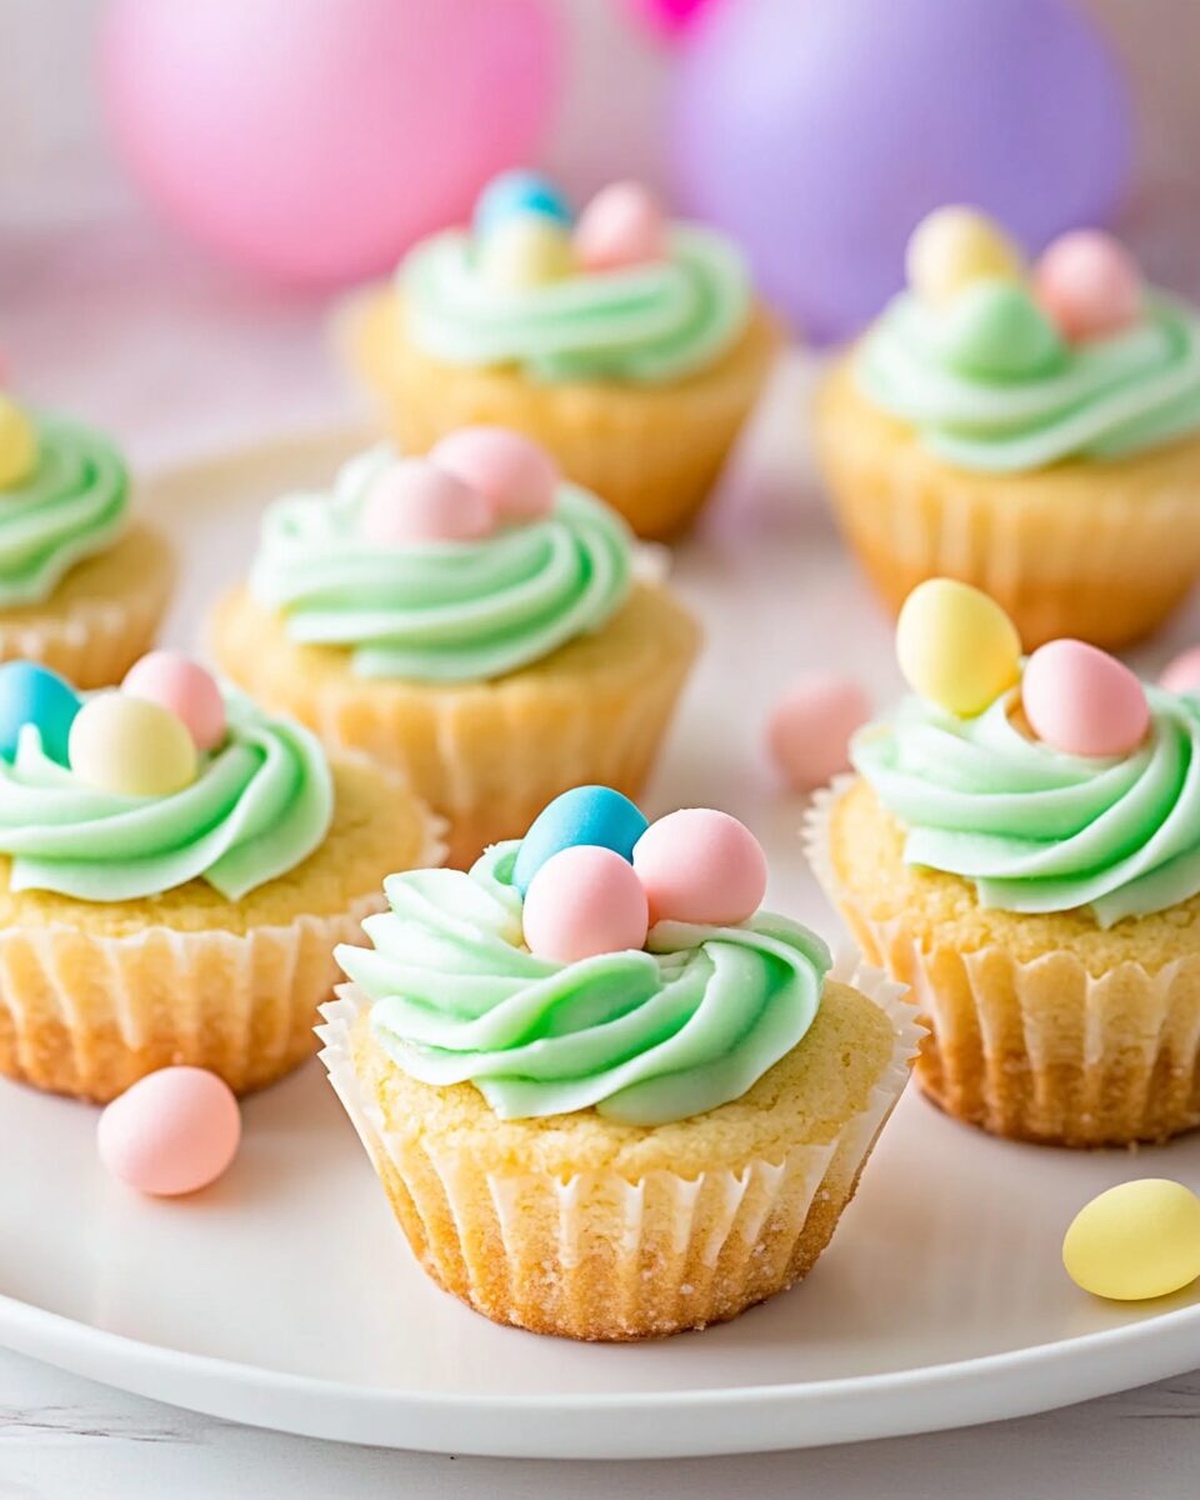
Sweet Easter basket sugar cookie cups bring springtime joy to dessert tables with delightful charm. Pastel-colored candies nestled in buttery cookie shells create irresistible bite-sized treats you cannot resist sharing with family and friends.
Ingredients
Main Ingredients:
- 1 package (16 ounces/454 grams) Pillsbury Sugar Cookie Dough
- 2 bags (9 ounces/255 grams each) Hershey’s Egg Candies
Cookie Cup Base:
- 1 cup (2 sticks/227 grams) salted butter
Frosting and Decoration:
- 3 cups (340 grams) powdered sugar
- 2 tablespoons heavy whipping cream
- 1 teaspoon vanilla extract
- Green food coloring
Instructions
- Prepare the oven at 350°F and generously coat a 12-cup muffin tin with non-stick spray.
- Distribute individual cookie dough pieces into each muffin well, ensuring even placement.
- Bake for 10-14 minutes until edges turn delicately golden and surfaces appear set.
- Immediately after removing from oven, use a shot glass or spice jar to gently press centers, creating basket-like indentations.
- Allow cookies to rest in the tin for 10 minutes, enabling them to firm up and become easier to remove.
- Whip butter in a mixing bowl until light and airy, gradually incorporating powdered sugar while mixing thoroughly.
- Introduce vanilla extract and heavy cream, blending until the mixture becomes silky smooth.
- Add green food coloring and mix until achieving a vibrant, consistent shade throughout the frosting.
- Fill a piping bag fitted with a large star tip with the prepared frosting.
- Carefully pipe the green frosting into each cooled cookie cup, creating decorative swirls.
- Garnish each cup with three chocolate egg candies, strategically placing them to resemble an easter basket.
- Serve immediately and enjoy these festive, delectable treats.
Notes
- Customize the cookie dough by using homemade or store-bought sugar cookie mix for convenience and flexibility.
- Ensure even baking by rotating the muffin tin halfway through the cooking process to prevent uneven browning.
- Create a clean indentation by using a tool with a flat bottom and smooth sides, like a small measuring cup or pestle.
- Prevent cookies from sticking by generously spraying the muffin tin with non-stick cooking spray or using silicone muffin liners.
- Experiment with different frosting colors to match seasonal themes or personal preferences.
- Swap chocolate eggs with other small candies like jelly beans or marshmallow chicks for variety.
- Cool cookies completely before adding frosting to maintain the structural integrity of the cookie cups.
- Make frosting ahead of time and store in the refrigerator for up to 3 days for quick assembly.
- Prep Time: 15 minutes
- Cook Time: 14 minutes
- Category: Desserts, Snacks
- Method: Baking
- Cuisine: American
Nutrition
- Serving Size: 12
- Calories: 320
- Sugar: 28 g
- Sodium: 220 mg
- Fat: 16 g
- Saturated Fat: 10 g
- Unsaturated Fat: 6 g
- Trans Fat: 0 g
- Carbohydrates: 40 g
- Fiber: 0 g
- Protein: 2 g
- Cholesterol: 50 mg
Mia Thompson
Pastry Chef & Content Creator
Expertise
Education
Portland Community College – Baking and Pastry Arts Program
Specialized in artisanal bread, seasonal desserts, and sustainable baking methods.
National University of Natural Medicine – Bachelor of Science in Nutrition (BScN)
Focused on “Food as Medicine” philosophy, with core threads in nutrition.
Mia’s love affair with baking began in her grandmother’s kitchen, where sneaking spoonfuls of batter first sparked her curiosity. She refined her skills through Portland Community College’s Baking and Pastry Arts Program and her expertise at the National University of Natural Medicine, earning a B.Sc. in Nutrition.
At The Scrumptious Pumpkin, Mia reimagines classics with effortless seasonal treats, healthier twists on old favorites, and playful confections that feel like pure joy. Beyond the oven, she nurtures her urban garden, forages local ingredients around Portland, and leads hands‑on nutrition workshops for her community.