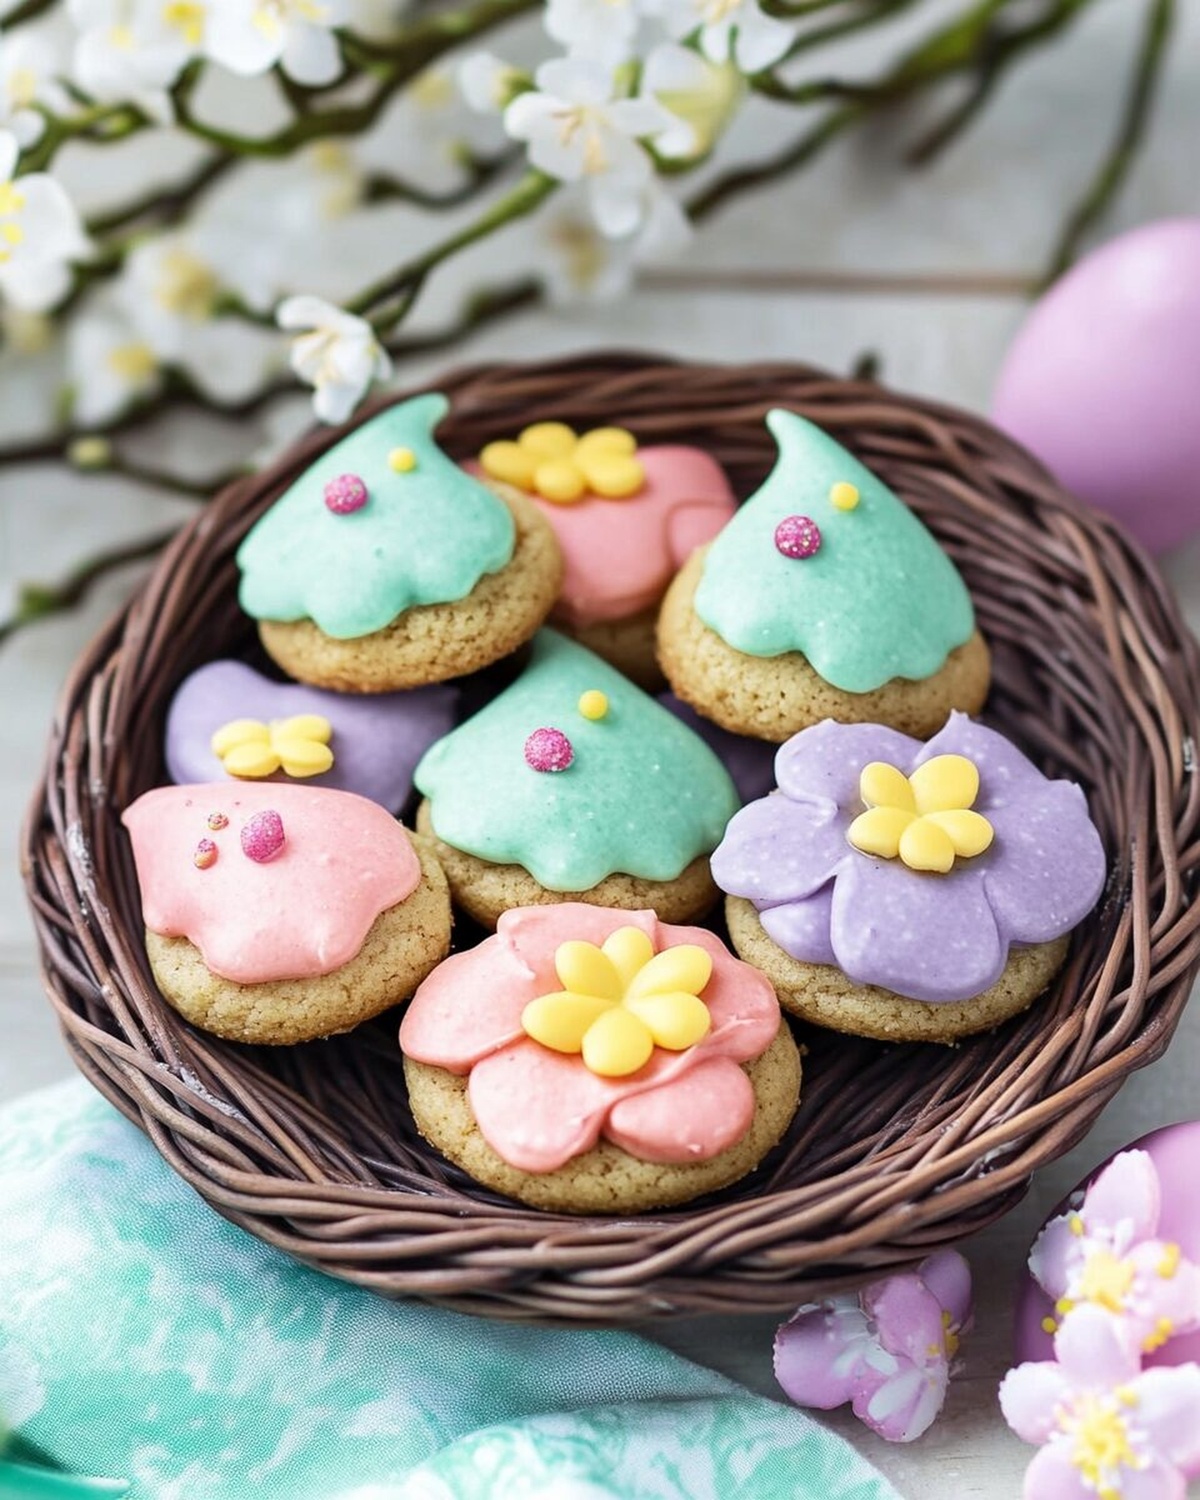
Sweet Easter Blossom Cookies Recipe: Spring’s Cheerful Treat
Sweet springtime memories bloom with these delightful easter blossom cookies that capture childhood’s whimsy and culinary magic.
Delicate petals of sugar and pastel colors dance across each perfectly crafted treat.
Soft almond notes intertwine with buttery richness, creating a sensory experience that whispers of renewal.
Crisp edges give way to tender centers, promising pure delight in every bite.
Decorative sprinkles add playful charm, transforming simple ingredients into edible art.
Baking these cookies connects us to cherished traditions and moments of shared joy.
You’ll want to savor each crumb and create lasting memories with this enchanting recipe.
Why Easter Blossom Cookies Are A Spring Favorite
Ingredients For Making Easter Blossom Cookies
Dry Ingredients:Wet Ingredients:Decoration and Topping:How To Bake Sweet Easter Blossom Cookies
Step 1: Prepare Baking Station
Preheat the oven to 350°F. Line two baking sheets with parchment paper for easy cookie removal and clean-up.
Step 2: Mix Dry Ingredients
Grab a medium bowl and whisk together:Set the mixture aside for later use.
Step 3: Create Creamy Base
In a large mixing bowl, blend butter and sugar until the mixture becomes light and fluffy.
Add egg and vanilla extract, mixing thoroughly until everything is well combined.
Step 4: Combine Wet and Dry Ingredients
Slowly incorporate the flour mixture into the creamy base, mixing on low speed.
Pour in milk gradually to soften the dough and create the perfect consistency.
Step 5: Shape and Decorate Cookies
Roll small portions of dough into round balls.
Roll each ball in colored sugar to create a festive Easter look. Place cookies on the prepared baking sheets, spacing them 2 inches apart to allow room for spreading.
Step 6: Bake to Perfection
Slide the baking sheets into the preheated oven. Bake for 8-10 minutes until cookies are puffed and set but not browned.
Step 7: Add Chocolate Topping
After removing cookies from the oven, let them rest for 2 minutes. Gently press a Hershey’s Kiss into the center of each warm cookie.
Step 8: Cool and Serve
Allow cookies to cool completely on the baking sheets. Once cooled, these delightful Easter treats are ready to be enjoyed with family and friends.
Helpful Baking Tips For Easter Blossom Cookies
New Takes On Classic Easter Blossom Cookies
Best Pairings For Easter Blossom Cookies
Store Your Easter Blossom Cookies The Right Way
Got Questions? Easter Blossom Cookies FAQ Here
Yes, you can prepare the dough in advance and refrigerate it for up to 3 days before baking. Just let the dough come to room temperature before scooping and rolling.
Colored sanding sugar provides the best sparkly texture and Easter look. Regular granulated sugar will work, but won’t give the same festive appearance.
No, you can substitute with other chocolate candies like Rolos or chocolate buttons. Just ensure they’re similar in size and will melt slightly when pressed into warm cookies.
Chill the dough for 30 minutes before baking and ensure your butter isn’t too soft.
Print
Easter Blossom Cookies Recipe
- Total Time: 25 minutes
- Yield: 24 1x
Description
Sweet Easter blossom cookies bloom with pastel-hued charm, delighting springtime celebrations. Delicate sugar-dusted petals and almond centers create a festive treat perfect for sharing with loved ones during holiday gatherings.
Ingredients
Main Ingredients:
- 1 cup granulated sugar
- 1 large egg
- ½ cup unsalted butter
- 2 cups all-purpose flour
Binding and Flavoring Ingredients:
- 1 ½ teaspoons vanilla extract
- 1 to 2 tablespoons milk
Finishing Ingredients:
- 32 Hershey’s Kisses
- Various colors of brightly colored sugar
- ¼ teaspoon baking soda
- ¼ teaspoon salt
Instructions
- Prepare the oven by heating to 350°F and line two baking sheets with parchment paper.
- Whisk flour, baking soda, and salt in a medium bowl, setting the dry mixture aside.
- Cream butter and sugar in a large mixing bowl until airy and smooth, then incorporate egg and vanilla extract until fully blended.
- Fold the flour mixture into the wet ingredients at low speed, gradually adding milk to achieve a soft, pliable dough consistency.
- Form small, uniform dough balls and roll each in colored sugar, positioning them evenly across the baking sheets with 2-inch spacing.
- Transfer cookies to the preheated oven and bake for 8-10 minutes, watching for a puffed texture without browning.
- Remove from oven and immediately press a Hershey’s Kiss into the center of each warm cookie, creating a decorative indentation.
- Allow cookies to cool completely on the baking sheet, ensuring the chocolate kiss sets and the cookie texture stabilizes.
Notes
- Customize sugar coating by mixing different pastel colors for a festive Easter look.
- Use room temperature ingredients to ensure smooth, even cookie texture and better mixing.
- Gently press chocolate kiss into warm cookies to prevent cracking and create perfect indentation.
- Substitute dairy milk with almond or oat milk for a vegan-friendly version of these delightful Easter treats.
- Prep Time: 15 minutes
- Cook Time: 10 minutes
- Category: Desserts, Snacks
- Method: Baking
- Cuisine: American
Nutrition
- Serving Size: 24
- Calories: 150
- Sugar: 10 g
- Sodium: 50 mg
- Fat: 7 g
- Saturated Fat: 4 g
- Unsaturated Fat: 2 g
- Trans Fat: 0 g
- Carbohydrates: 21 g
- Fiber: 0 g
- Protein: 1 g
- Cholesterol: 20 mg


Mia Thompson
Pastry Chef & Content Creator
Expertise
Education
Portland Community College – Baking and Pastry Arts Program
Specialized in artisanal bread, seasonal desserts, and sustainable baking methods.
National University of Natural Medicine – Bachelor of Science in Nutrition (BScN)
Focused on “Food as Medicine” philosophy, with core threads in nutrition.
Mia’s love affair with baking began in her grandmother’s kitchen, where sneaking spoonfuls of batter first sparked her curiosity. She refined her skills through Portland Community College’s Baking and Pastry Arts Program and her expertise at the National University of Natural Medicine, earning a B.Sc. in Nutrition.
At The Scrumptious Pumpkin, Mia reimagines classics with effortless seasonal treats, healthier twists on old favorites, and playful confections that feel like pure joy. Beyond the oven, she nurtures her urban garden, forages local ingredients around Portland, and leads hands‑on nutrition workshops for her community.