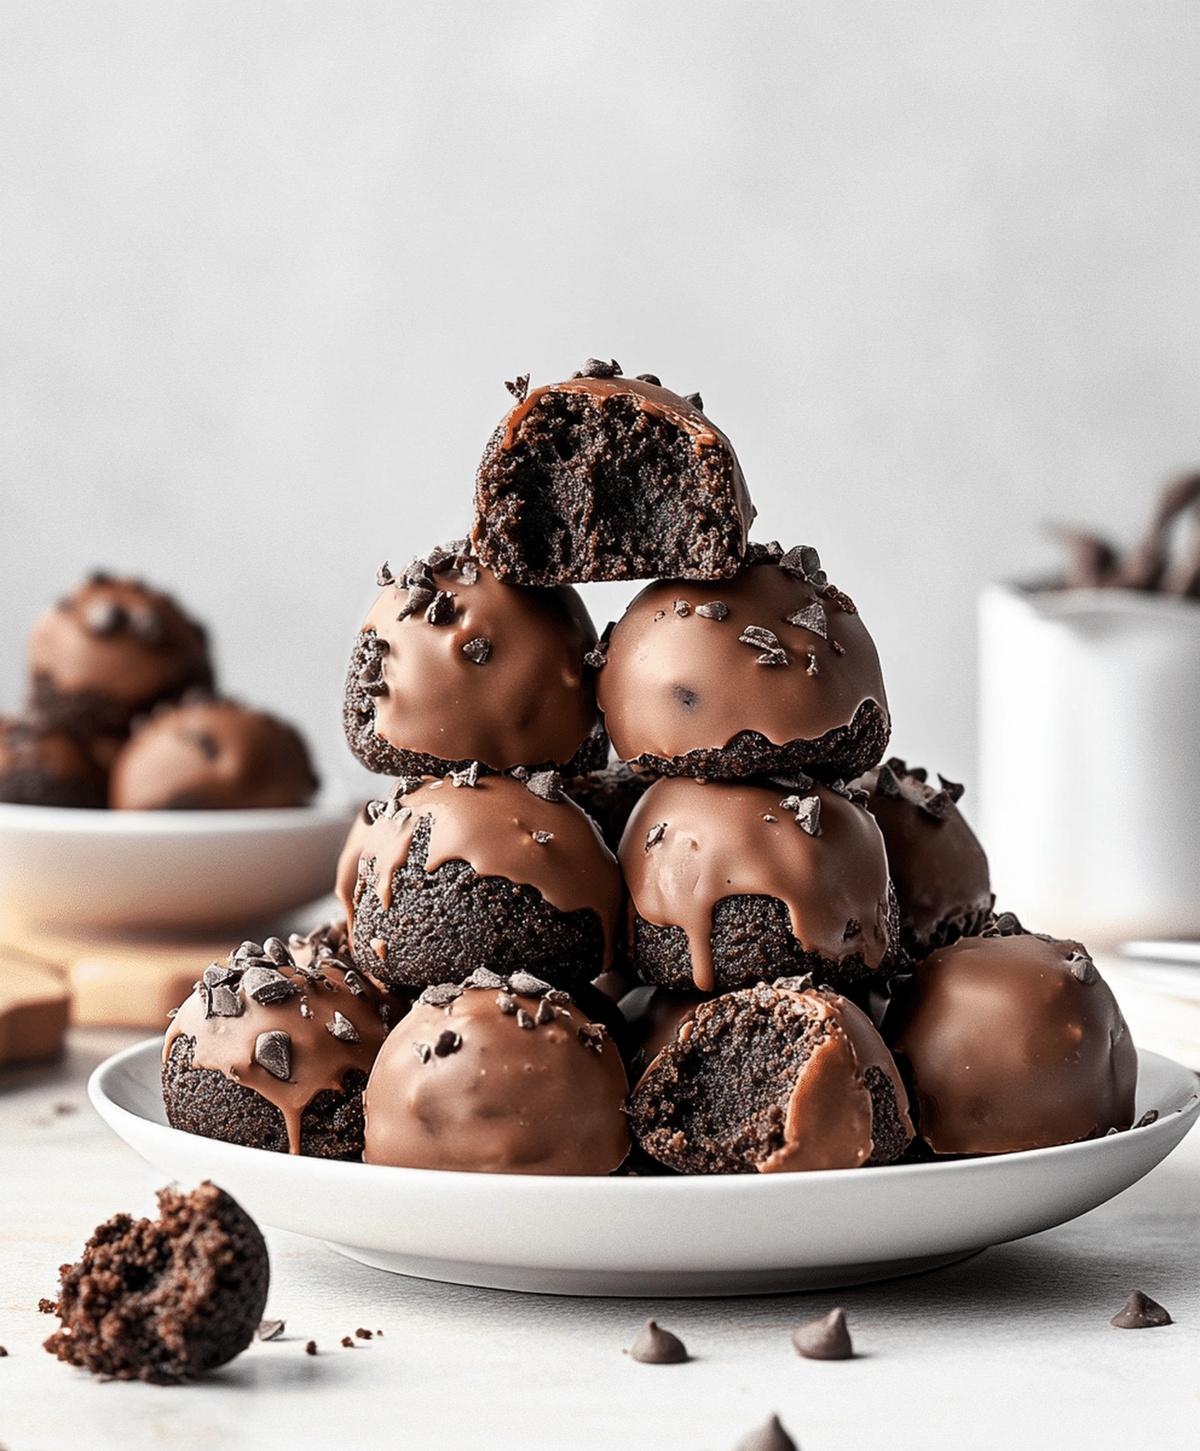
The Perfect Easy Brownie Truffles Recipe for Sweet Cravings
These decadent brownie truffles promise a delightful chocolate adventure that will melt in you completely.
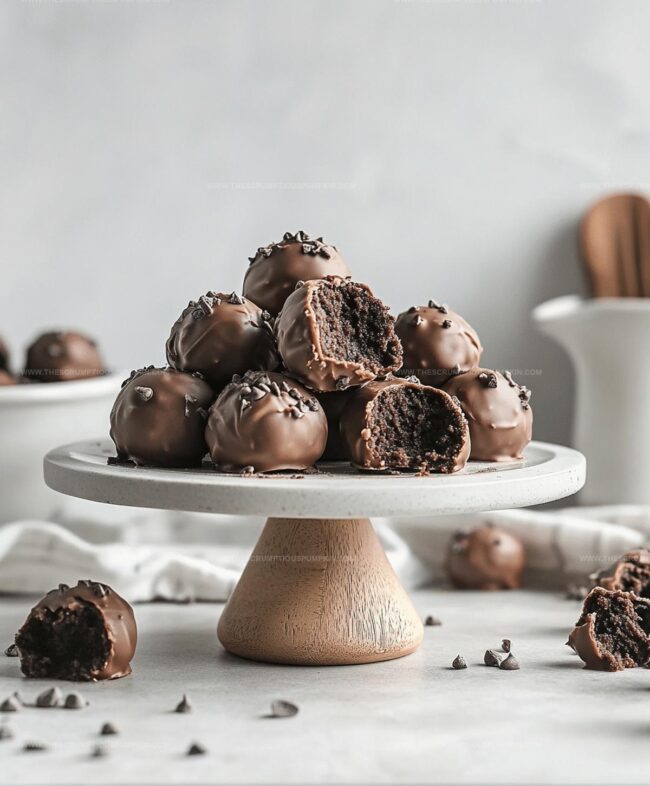
Sweet chocolate lovers understand the magic of compact dessert bites.
Dense fudgy centers blend perfectly with smooth chocolate coatings.
Minimal ingredients transform simple brownies into elegant bite-sized treats.
Rich cocoa flavors dance across your palate with each delicate morsel.
Crafting these little delights requires just a few basic kitchen tools.
You’ll find this recipe irresistibly simple and surprisingly impressive for any gathering.
Indulge your sweet tooth and surprise everyone with these miniature chocolate wonders.
Easy Brownie Truffles Recipe Overview

Ingredients For Brownie Truffles
Brownie Base:Coating Ingredients:Decorative Extras:How To Make Brownie Truffles
Step 1: Crush Brownie Goodness
Grab your baked brownies and use your hands or a food processor to break them down into super fine, delicate crumbs.
The texture should be smooth and uniform, almost like soft sand.
Step 2: Shape Delightful Balls
Scoop out small portions of the brownie crumbs and roll them between your palms, creating perfectly round bite-sized spheres.
Press gently to ensure they hold together nicely.
Step 3: Chill and Set
Transfer the brownie balls onto a parchment-lined baking sheet and slide them into the refrigerator.
Let them cool and firm up for about 15 minutes, which helps them maintain their shape during the chocolate coating process.
Step 4: Prepare Chocolate Coating
In a microwave-safe bowl, combine:Melt the mixture in short intervals, stirring between each to create a smooth, glossy chocolate sauce.
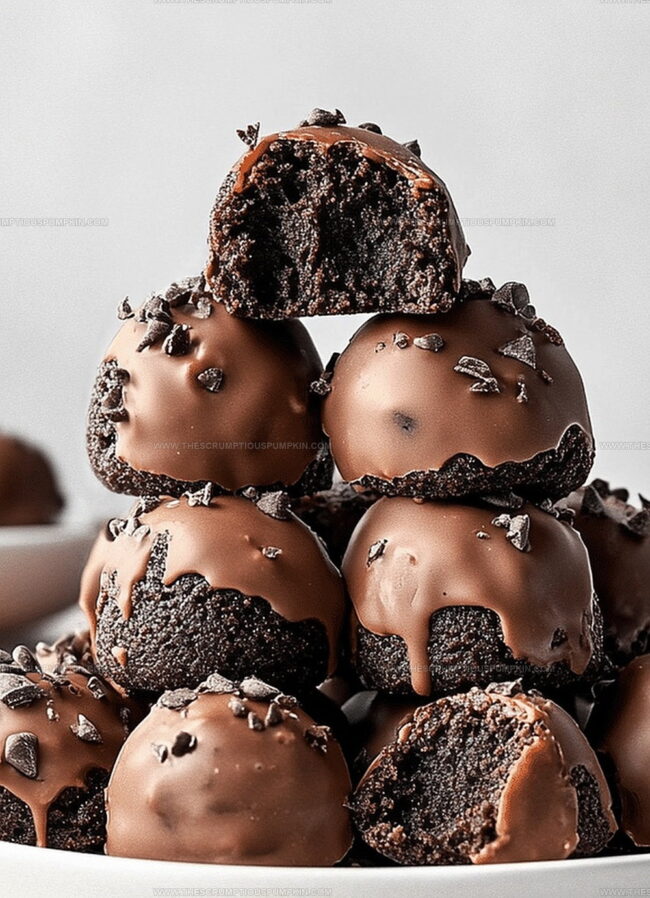
Step 5: Dunk and Cover
Using a fork or dipping tool, carefully submerge each chilled brownie ball into the melted chocolate.
Gently twirl to ensure complete and even coverage, allowing excess chocolate to drip off.
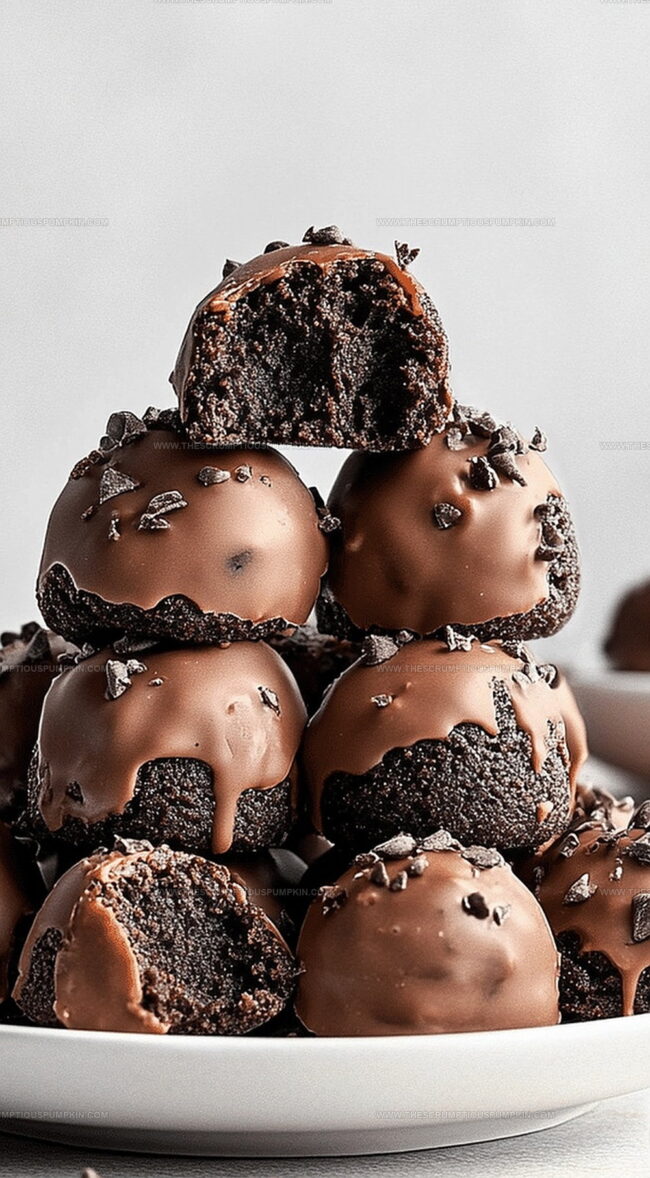
Step 6: Decorate and Personalize
Place the chocolate-coated truffles back on the parchment-lined sheet.
Sprinkle with:Step 7: Solidify and Serve
Return the truffles to the refrigerator and let them set for 10-15 minutes until the chocolate becomes firm and glossy.
Once set, they’re ready to enjoy!
Pro Tips For Brownie Truffles
Variations For Brownie Truffles
Serving Suggestions For Brownie Truffles
Storage Guidelines For Brownie Truffles
FAQs
Make sure to chill the brownie balls in the refrigerator for 15 minutes before dipping. The cold temperature helps them firm up and hold their shape better during the chocolate coating process.
Absolutely! You can use dark, milk, or white chocolate based on your preference. Just ensure the chocolate is high-quality and melts smoothly for the best coating results.
Use a fork to dip the brownie ball into melted chocolate, tap off excess chocolate gently, and carefully slide it onto the parchment paper. This technique helps create a smooth, even chocolate coating.
Print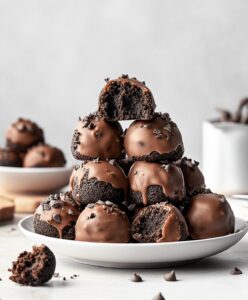
Easy Brownie Truffles Recipe
- Total Time: 20 minutes
- Yield: 16 1x
Description
Chocolate lovers rejoice with these luscious brownie truffles that blend rich fudgy brownies and silky ganache into bite-sized delights. Rolled in cocoa and sprinkled with love, these truffles promise pure indulgence for chocolate enthusiasts seeking a simple yet elegant dessert.
Ingredients
Chocolate and Base Ingredients:
- 1 batch prepared brownies (homemade or store-bought)
- 1 cup (170 grams) semi-sweet chocolate chips
Melting and Coating Ingredients:
- 1 tablespoon (15 milliliters) coconut oil or butter
Decoration Ingredients:
- Sprinkles
- Nuts
- Cocoa powder
Instructions
- Transform freshly baked brownies into fine, delicate crumbs using your hands or a food processor, ensuring a uniform texture.
- Gently shape the brownie crumbs into compact, uniform spheres, roughly the size of a small tablespoon.
- Arrange the brownie spheres on a parchment-lined tray and chill in the refrigerator for 15 minutes to firm up their structure.
- Create a luxurious chocolate coating by melting chocolate chips with a touch of coconut oil or butter, stirring until achieving a silky, glossy consistency.
- Carefully immerse each chilled brownie sphere into the molten chocolate, ensuring complete and even coverage using a dipping fork or skewer.
- Return the chocolate-enrobed truffles to the parchment-lined tray, allowing artistic freedom with sprinkles, cocoa powder, or chopped nuts for decorative flair.
- Allow the truffles to set in the refrigerator for 10-15 minutes until the chocolate coating hardens and becomes crisp, creating a delectable treat with a smooth, glossy exterior.
Notes
- Crumb consistency matters most for smooth, uniform truffles – break brownies into ultra-fine, even crumbs for best texture.
- Chilling the brownie balls before dipping helps them hold shape and prevents crumbling during chocolate coating.
- Use room temperature brownies for easier rolling and shaping, making the truffle-making process smoother and more enjoyable.
- Experiment with different chocolate coatings like white, dark, or milk chocolate to create varied flavor profiles and visual appeal.
- Prep Time: 20 minutes
- Cook Time: 0 minutes
- Category: Desserts, Snacks
- Method: Refrigerating
- Cuisine: American
Nutrition
- Serving Size: 16
- Calories: 120 kcal
- Sugar: 12 g
- Sodium: 40 mg
- Fat: 6 g
- Saturated Fat: 3.5 g
- Unsaturated Fat: 2 g
- Trans Fat: 0.1 g
- Carbohydrates: 18 g
- Fiber: 1.5 g
- Protein: 1.5 g
- Cholesterol: 10 mg
Lucas Bennett
Founder & Recipe Developer
Expertise
Education
Blue Ridge Community College – Certificate in Culinary Arts
Focused on seasonal cooking, sustainable kitchen practices, and farm-to-table techniques.
Appalachian State University – B.A. in English
Built critical thinking and analysis through diverse texts. Guided by faculty, it prepares graduates for publishing and more.
Growing up in the rolling hills of North Carolina, Lucas learned early that some of life’s best memories start around a kitchen table. After studying English at Appalachian State University and honing his culinary skills at Blue Ridge Community College, he dreamed of blending storytelling with rustic, seasonal cooking, and The Scrumptious Pumpkin was born.
Lucas focuses on easy, single-serving recipes that turn fresh, local ingredients into something special. His style is simple, heartfelt, and rooted in the beauty of the seasons. When he’s not testing a new dish, you’ll probably find him hiking in the Blue Ridge Mountains, browsing farmers’ markets, or scribbling food stories in a notebook.