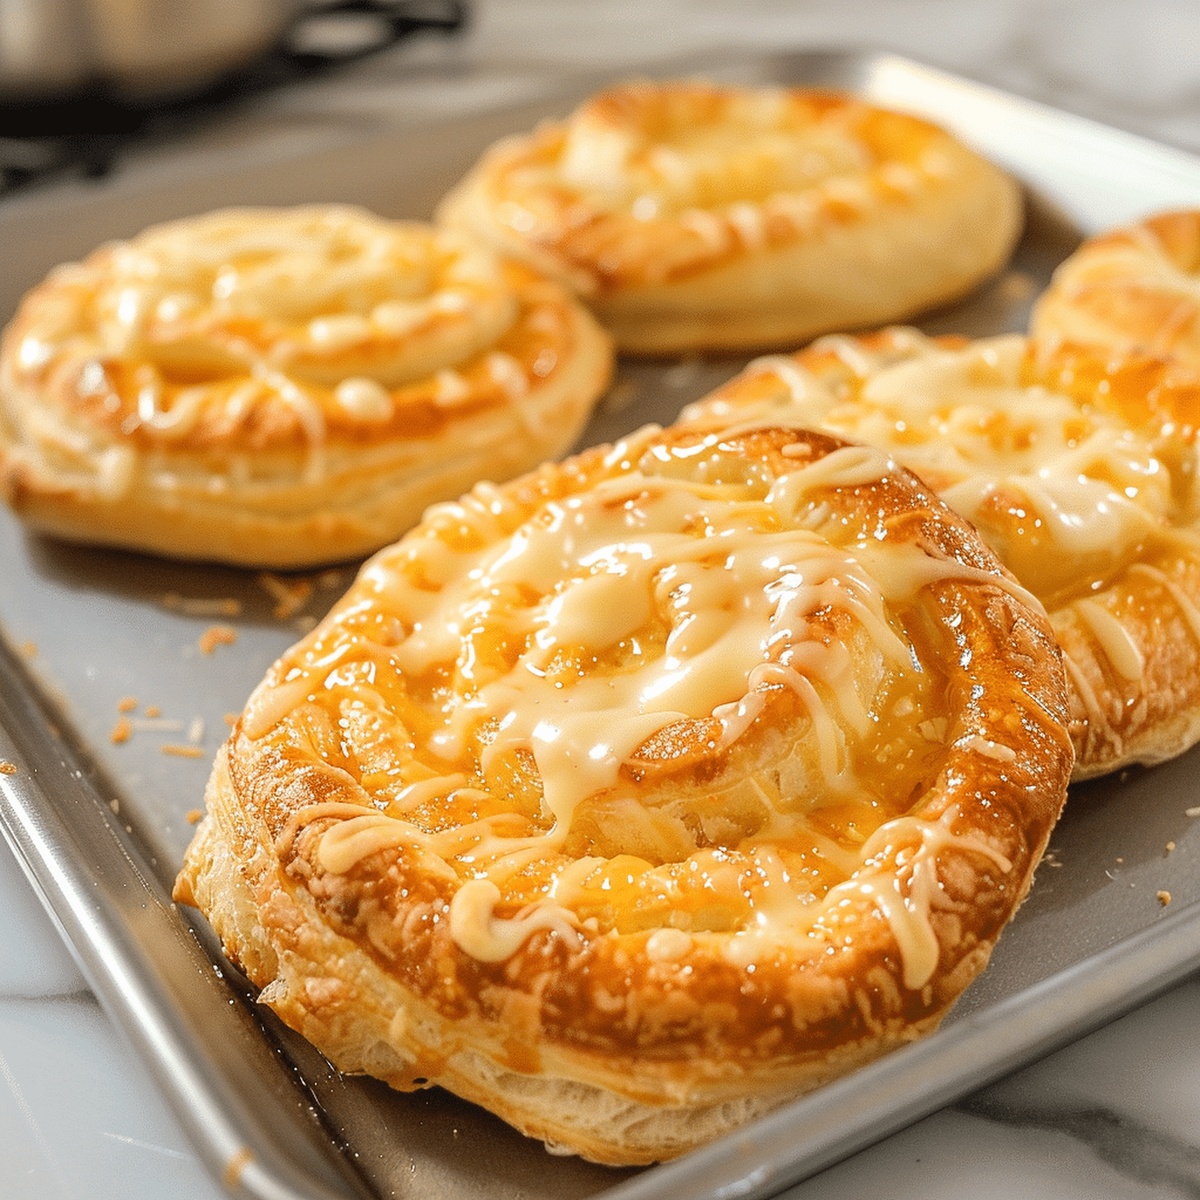
Heavenly Easy Cheese Danish Recipe That Melts in Your Mouth
Crafting a delightful cheese danish brings pure morning magic to your kitchen.
Sweet pastry dreams start with simple ingredients waiting to become something extraordinary.
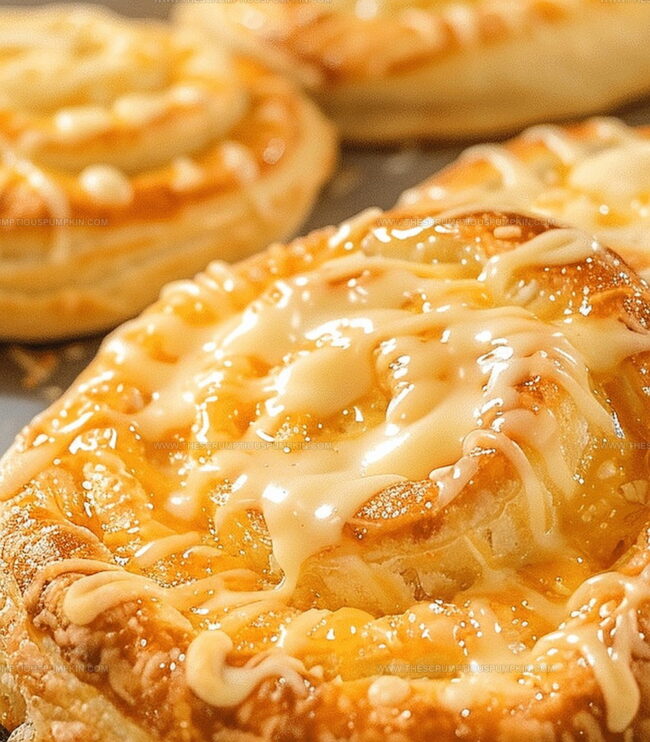
Buttery layers promise a taste of bakery-style indulgence right at home.
Flaky, cream cheese-filled crescents offer comfort in every delicate bite.
Minimal effort transforms basic pantry staples into a stunning breakfast treat.
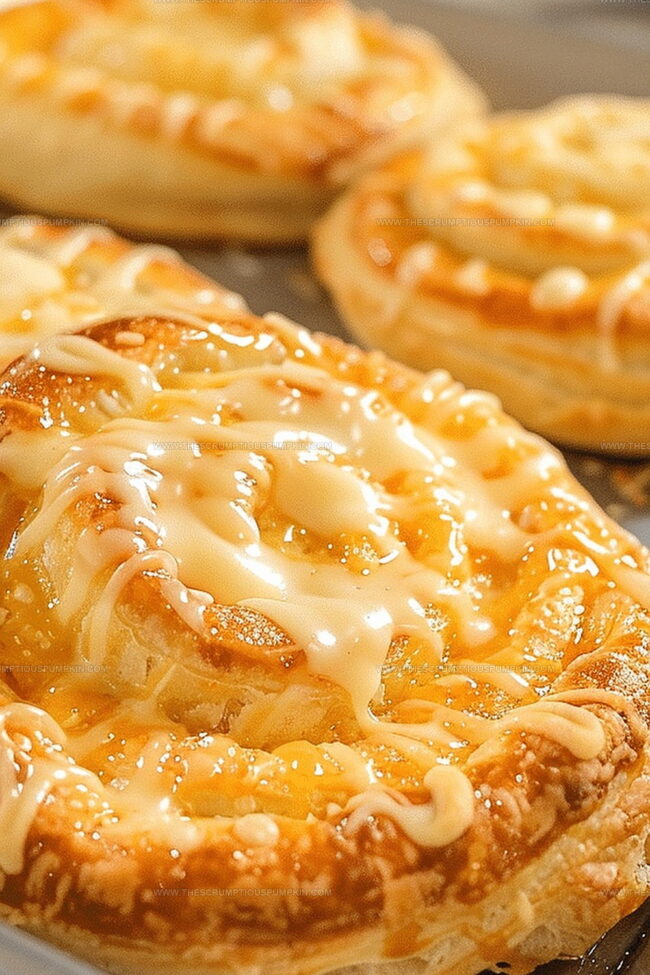
Crisp edges and soft centers create a perfect balance of textures.
You’ll want to savor each tender, golden-brown morsel slowly and joyfully.
Why Cheese Danish is a Sweet Classic
Ingredients for Cheese Danish
Main Ingredients:Sweeteners and Flavor Enhancers:Egg Wash and Preparation:How to Bake Cheese Danish
Step 1: Prepare Oven Temperature
Set the oven to 375 degrees Fahrenheit (190 degrees Celsius) to ensure it’s fully heated before baking.
Step 2: Create Creamy Filling
In a mixing bowl, blend the following ingredients until silky smooth:Mix thoroughly to remove any lumps and create a consistent, velvety texture.
Step 3: Prepare Pastry Dough
Gently unfold the puff pastry on a lightly floured surface.
Using a sharp knife, cut the pastry into even squares or rectangles.
Step 4: Fill Pastry Squares
Carefully spoon a generous dollop of the cream cheese mixture into the center of each pastry piece.
Step 5: Fold Pastry Corners
Delicately fold the corners of each pastry towards the center, allowing them to slightly overlap the creamy filling.
This creates the classic Danish shape.
Step 6: Prepare Egg Wash
In a small bowl, whisk together:Brush the pastry surfaces generously with this egg wash to create a beautiful golden sheen.
Step 7: Arrange on Baking Sheet
Place the prepared Danish pastries on a parchment paper-lined baking sheet, ensuring they’re not touching.
Step 8: Bake to Golden Perfection
Slide the baking sheet into the preheated oven and bake for 15-20 minutes until the pastries turn a rich, golden brown color.
Step 9: Finish and Serve
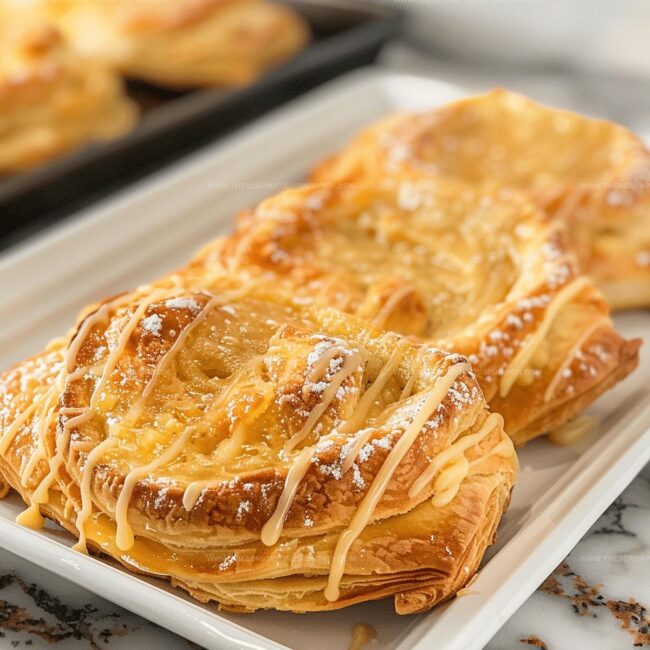
Allow the Danish pastries to cool slightly.
For an extra touch of sweetness, dust with powdered sugar before serving.
Pro Tips for Cheese Danish Success
Variations on Cheese Danish
Serving Ideas for Cheese Danish
How to Store Cheese Danish
FAQs
You’ll need cream cheese, sugar, vanilla extract, and an egg yolk. Mix these together until smooth for a creamy, sweet filling.
Yes, you can prepare the pastries and refrigerate them unbaked for a few hours before baking. Just add the egg wash right before putting them in the oven.
Not at all! This recipe is beginner-friendly. As long as you can follow simple steps and handle puff pastry, you’ll create delicious pastries.
Use store-bought frozen puff pastry sheets. Thaw them according to package instructions before using, and they’ll give you perfect, flaky results every time.
Print
Easy Cheese Danish Recipe
- Total Time: 40 minutes
- Yield: 6 1x
Description
Danish pastry lovers rejoice over this classic Cheese Danish that brings Copenhagen’s bakery magic right to home kitchens. Rich cream cheese filling nestled in buttery, flaky pastry creates a delightful breakfast or dessert you can savor with morning coffee.
Ingredients
Cheese and Dairy:
- 1 package (8 ounces / 226 grams) cream cheese, softened
- 1/4 cup (50 grams) granulated sugar
- 1 egg yolk
- 1 egg (for egg wash)
Pastry:
- 1 package puff pastry, thawed
Flavoring:
- 1 teaspoon vanilla extract
- 1 tablespoon water
Instructions
- Prepare the oven by heating to 375F (190C), ensuring an even temperature for optimal baking.
- Create a velvety cream cheese filling by thoroughly blending cream cheese, sugar, vanilla extract, and egg yolk until completely smooth and free of lumps.
- Gently unfurl the puff pastry on a lightly dusted work surface, then carefully slice into uniform squares or rectangles for consistent pastry size.
- Distribute the luscious cream cheese mixture to the center of each pastry piece, leaving enough border for folding.
- Elegantly fold the pastry corners toward the center, allowing them to slightly overlap and encase the creamy filling.
- Craft a golden glaze by whisking the remaining egg with water, then delicately brush the pastry surface to achieve a lustrous finish.
- Arrange the prepared Danish on a parchment-lined baking sheet, ensuring adequate spacing between each pastry.
- Bake for 15-20 minutes, watching for a rich golden-brown color that indicates perfect caramelization and flaky texture.
- Allow the Danish to rest briefly after removing from the oven, then dust with a light snowfall of powdered sugar for an elegant presentation.
Notes
- Adjust cream cheese temperature beforehand for smoother, lump-free filling by letting it sit at room temperature for 30 minutes.
- Experiment with flavor variations by adding lemon zest, almond extract, or a sprinkle of cinnamon to the cream cheese mixture for unique taste profiles.
- Ensure pastry edges are sealed properly to prevent filling from leaking during baking, using a fork to gently press down the folded corners.
- For a gluten-free version, substitute puff pastry with gluten-free puff pastry or phyllo dough, keeping cooking time and temperature consistent.
- Prep Time: 20 minutes
- Cook Time: 20 minutes
- Category: Breakfast, Snacks, Desserts
- Method: Baking
- Cuisine: Danish
Nutrition
- Serving Size: 6
- Calories: 280 kcal
- Sugar: 6 g
- Sodium: 150 mg
- Fat: 20 g
- Saturated Fat: 10 g
- Unsaturated Fat: 7 g
- Trans Fat: 0.3 g
- Carbohydrates: 16 g
- Fiber: 1 g
- Protein: 5 g
- Cholesterol: 70 mg
Lucas Bennett
Founder & Recipe Developer
Expertise
Education
Blue Ridge Community College – Certificate in Culinary Arts
Focused on seasonal cooking, sustainable kitchen practices, and farm-to-table techniques.
Appalachian State University – B.A. in English
Built critical thinking and analysis through diverse texts. Guided by faculty, it prepares graduates for publishing and more.
Growing up in the rolling hills of North Carolina, Lucas learned early that some of life’s best memories start around a kitchen table. After studying English at Appalachian State University and honing his culinary skills at Blue Ridge Community College, he dreamed of blending storytelling with rustic, seasonal cooking, and The Scrumptious Pumpkin was born.
Lucas focuses on easy, single-serving recipes that turn fresh, local ingredients into something special. His style is simple, heartfelt, and rooted in the beauty of the seasons. When he’s not testing a new dish, you’ll probably find him hiking in the Blue Ridge Mountains, browsing farmers’ markets, or scribbling food stories in a notebook.