
The Best Easy Cheeseburger Sliders Recipe For Family Fun Night
Crafting the perfect cheeseburger sliders can turn an ordinary meal into a delightful feast.
Small sandwiches pack massive flavor in every single bite.
Mini burgers offer incredible versatility for casual gatherings or quick dinners.
Juicy meat nestled between soft buns creates an irresistible combination that keeps people coming back for more.
These compact delights work wonderfully for game nights or weekend celebrations.
Minimal effort delivers maximum satisfaction with this crowd-pleasing recipe.
Gather your ingredients and let’s make some seriously addictive little burgers that everyone will devour.
Cheeseburger Sliders: Simple, Cheesy Joy
What Goes Into Cheeseburger Sliders
Main Protein:Seasoning:Cheese and Bread:Additional Topping:Optional Toppings:Make Cheeseburger Sliders With Ease
Step 1: Prepare Oven And Baking Surface
Crank up your oven to 350°F (175°C) and line a baking sheet with parchment paper for easy cleanup.
Step 2: Flavor Ground Beef
In a mixing bowl, combine ground beef with these zesty seasonings:Gently mix the seasonings into the beef until evenly distributed.
Step 3: Create Beef Layer
Spread the seasoned beef mixture across the parchment-lined baking sheet, ensuring an even, thin layer that covers the entire surface.
Step 4: Initial Beef Cooking
Slide the baking sheet into the preheated oven and bake for 15 minutes.
The beef should be fully cooked and slightly crispy around the edges.
Step 5: Add Cheesy Goodness
Remove the beef from the oven and carefully drain any excess grease.
Layer cheese slices across the entire beef surface, covering it completely.
Step 6: Melt Cheese
Return the baking sheet to the oven for an additional 2 minutes, allowing the cheese to melt into a gooey, irresistible topping.
Step 7: Create Slider Squares
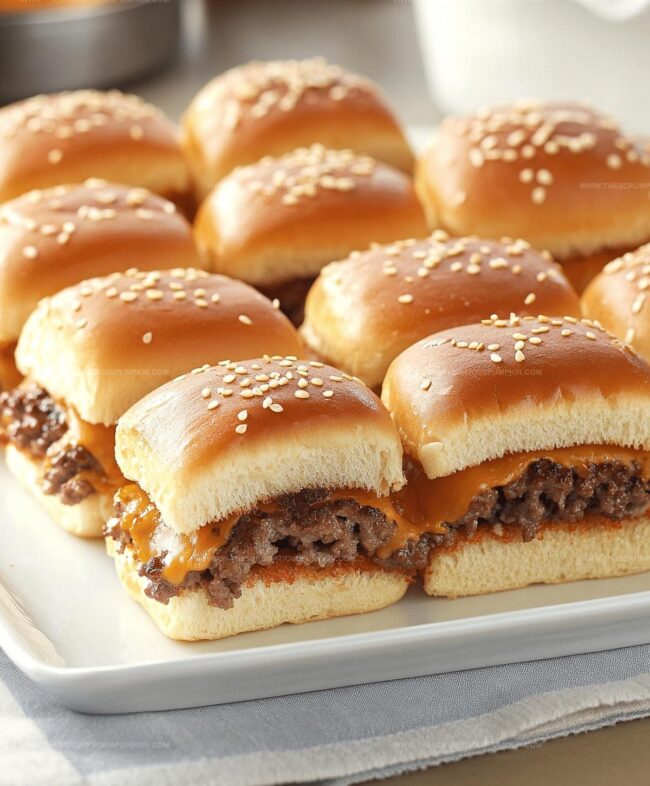
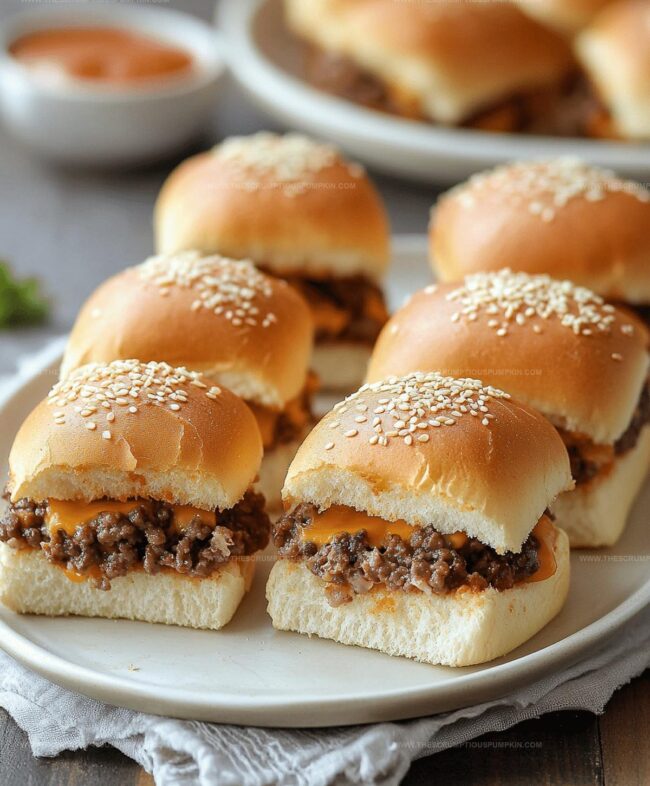
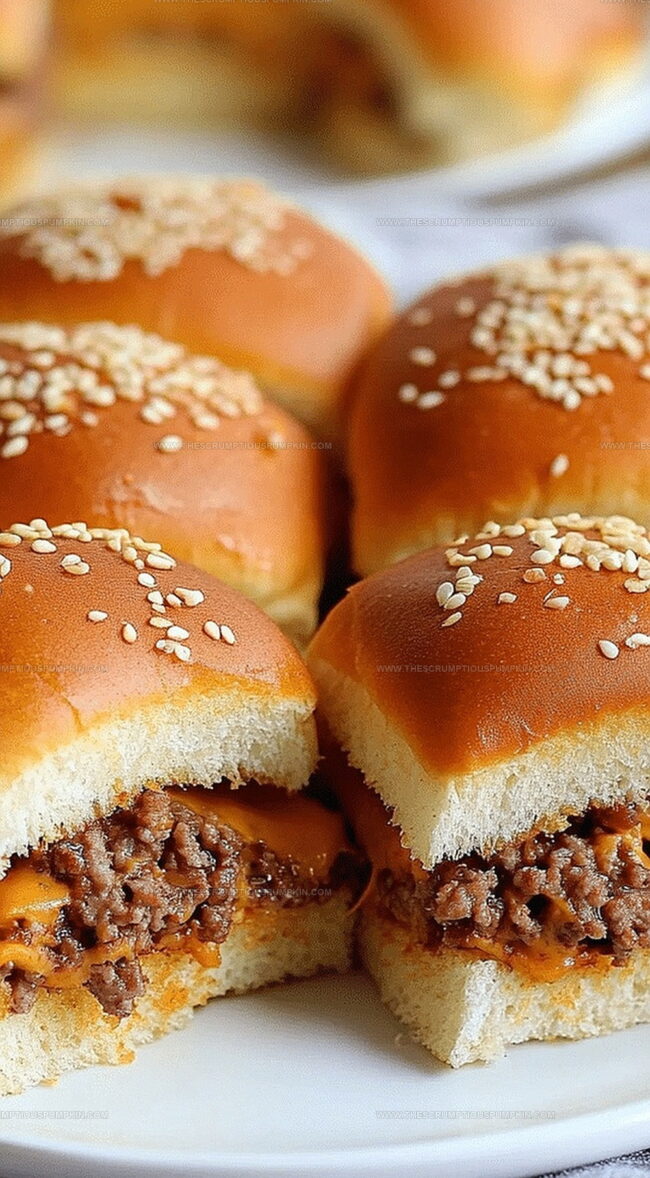
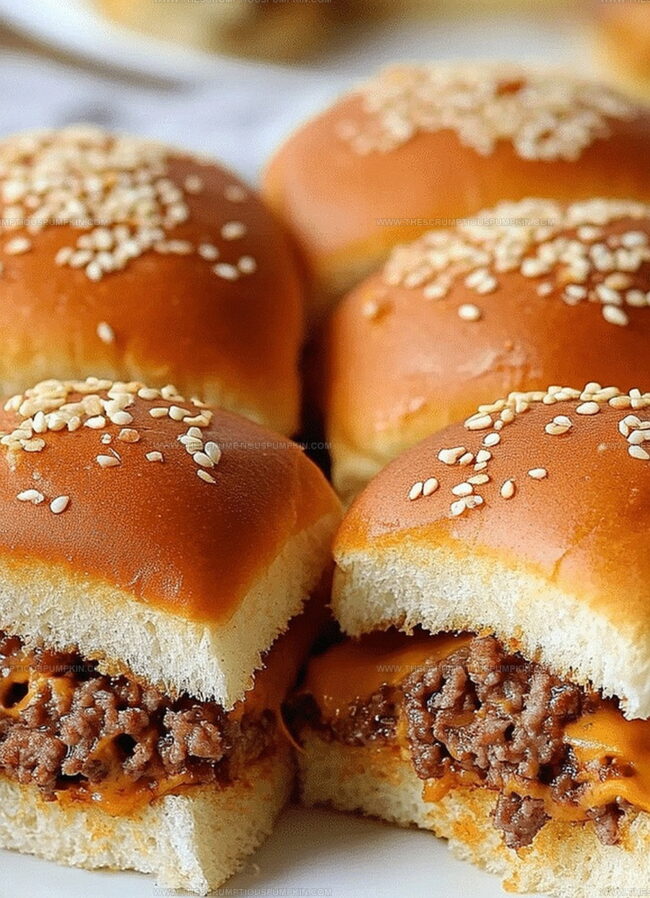
Cut the cheesy beef layer into 12 equal squares, perfect for fitting onto slider buns.
Step 8: Assemble And Finish Sliders
Place each beef square onto a slider bun.
Add your favorite toppings like lettuce, tomato, or pickles.
Brush the top of the buns with melted butter for extra flavor.
Step 9: Final Bake And Serve
Bake the assembled sliders for 5 minutes to warm the buns.
Serve immediately and enjoy your delicious mini burgers!
Pro Tricks For Cheeseburger Slider Success
Cheeseburger Sliders – Flavor Variations
Ways To Serve Cheeseburger Sliders
Storing Cheeseburger Sliders Made Easy
FAQs
Yes, you can substitute ground beef with ground turkey, chicken, or pork for a different flavor profile while keeping the same cooking method.
Choose lean ground beef, use whole wheat slider buns, and add fresh vegetable toppings like lettuce and tomatoes to increase nutritional value.
American, cheddar, and pepper jack cheese are great options that melt well and complement the beef’s flavor.
You can mix and season the ground beef up to 24 hours before cooking, storing it covered in the refrigerator until ready to bake.
Print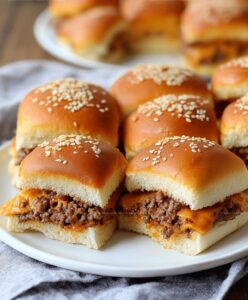
Easy Cheeseburger Sliders Recipe
- Total Time: 32 minutes
- Yield: 12 1x
Description
Irresistible cheeseburger sliders pack massive flavor into miniature party-perfect bites. Crispy beef patties nestled with melted cheese between soft mini buns promise a crowd-pleasing snack you’ll crave at every gathering.
Ingredients
Meat and Protein:
- 1 pound ground beef
- 6 slices cheddar cheese
Seasonings:
- 1 teaspoon garlic powder
- 1 teaspoon onion powder
- 1 teaspoon salt
- 1/2 teaspoon black pepper
Bread and Preparation:
- 12 slider buns
- 1 tablespoon butter, melted
Optional Toppings:
- pickles
- lettuce
- ketchup
- mustard
Instructions
- Prepare the oven by heating to 350F (175C) and line a baking sheet with parchment paper.
- Combine ground beef with garlic powder, onion powder, salt, and pepper, thoroughly mixing the seasonings into the meat.
- Spread the seasoned beef mixture evenly across the prepared baking sheet, creating a uniform layer.
- Roast the beef in the preheated oven for 15 minutes, ensuring the meat is completely cooked through and no pink remains.
- Carefully drain any accumulated grease from the baked meat.
- Arrange cheese slices uniformly over the cooked beef surface.
- Return the beef to the oven for an additional 2 minutes, allowing the cheese to melt completely and become slightly bubbly.
- Slice the cheesy beef into 12 equal squares, matching the size of the slider buns.
- Transfer each beef square onto the bottom half of the slider buns.
- Add preferred toppings like lettuce, tomato, pickles, or condiments.
- Gently brush the top buns with melted butter for extra flavor and golden appearance.
- Warm the assembled sliders in the oven for 5 minutes to enhance texture and blend flavors.
- Serve immediately while warm and enjoy the mini cheeseburgers.
Notes
- For leaner option, swap ground beef with ground turkey or chicken to reduce fat content while maintaining delicious flavor.
- Customize toppings like crispy bacon, caramelized onions, or pickles to create unique slider variations that suit personal taste preferences.
- Use pre-shredded cheese blend for quick melting and extra flavor complexity on burger patties.
- Freeze prepared sliders before baking for meal prep convenience, allowing quick reheating during busy weeknights or unexpected gatherings.
- Prep Time: 10 minutes
- Cook Time: 22 minutes
- Category: Lunch, Dinner, Snacks
- Method: Baking
- Cuisine: American
Nutrition
- Serving Size: 12
- Calories: 240 kcal
- Sugar: 2 g
- Sodium: 350 mg
- Fat: 14 g
- Saturated Fat: 7 g
- Unsaturated Fat: 5 g
- Trans Fat: 0.5 g
- Carbohydrates: 18 g
- Fiber: 1 g
- Protein: 15 g
- Cholesterol: 45 mg
Lucas Bennett
Founder & Recipe Developer
Expertise
Education
Blue Ridge Community College – Certificate in Culinary Arts
Focused on seasonal cooking, sustainable kitchen practices, and farm-to-table techniques.
Appalachian State University – B.A. in English
Built critical thinking and analysis through diverse texts. Guided by faculty, it prepares graduates for publishing and more.
Growing up in the rolling hills of North Carolina, Lucas learned early that some of life’s best memories start around a kitchen table. After studying English at Appalachian State University and honing his culinary skills at Blue Ridge Community College, he dreamed of blending storytelling with rustic, seasonal cooking, and The Scrumptious Pumpkin was born.
Lucas focuses on easy, single-serving recipes that turn fresh, local ingredients into something special. His style is simple, heartfelt, and rooted in the beauty of the seasons. When he’s not testing a new dish, you’ll probably find him hiking in the Blue Ridge Mountains, browsing farmers’ markets, or scribbling food stories in a notebook.