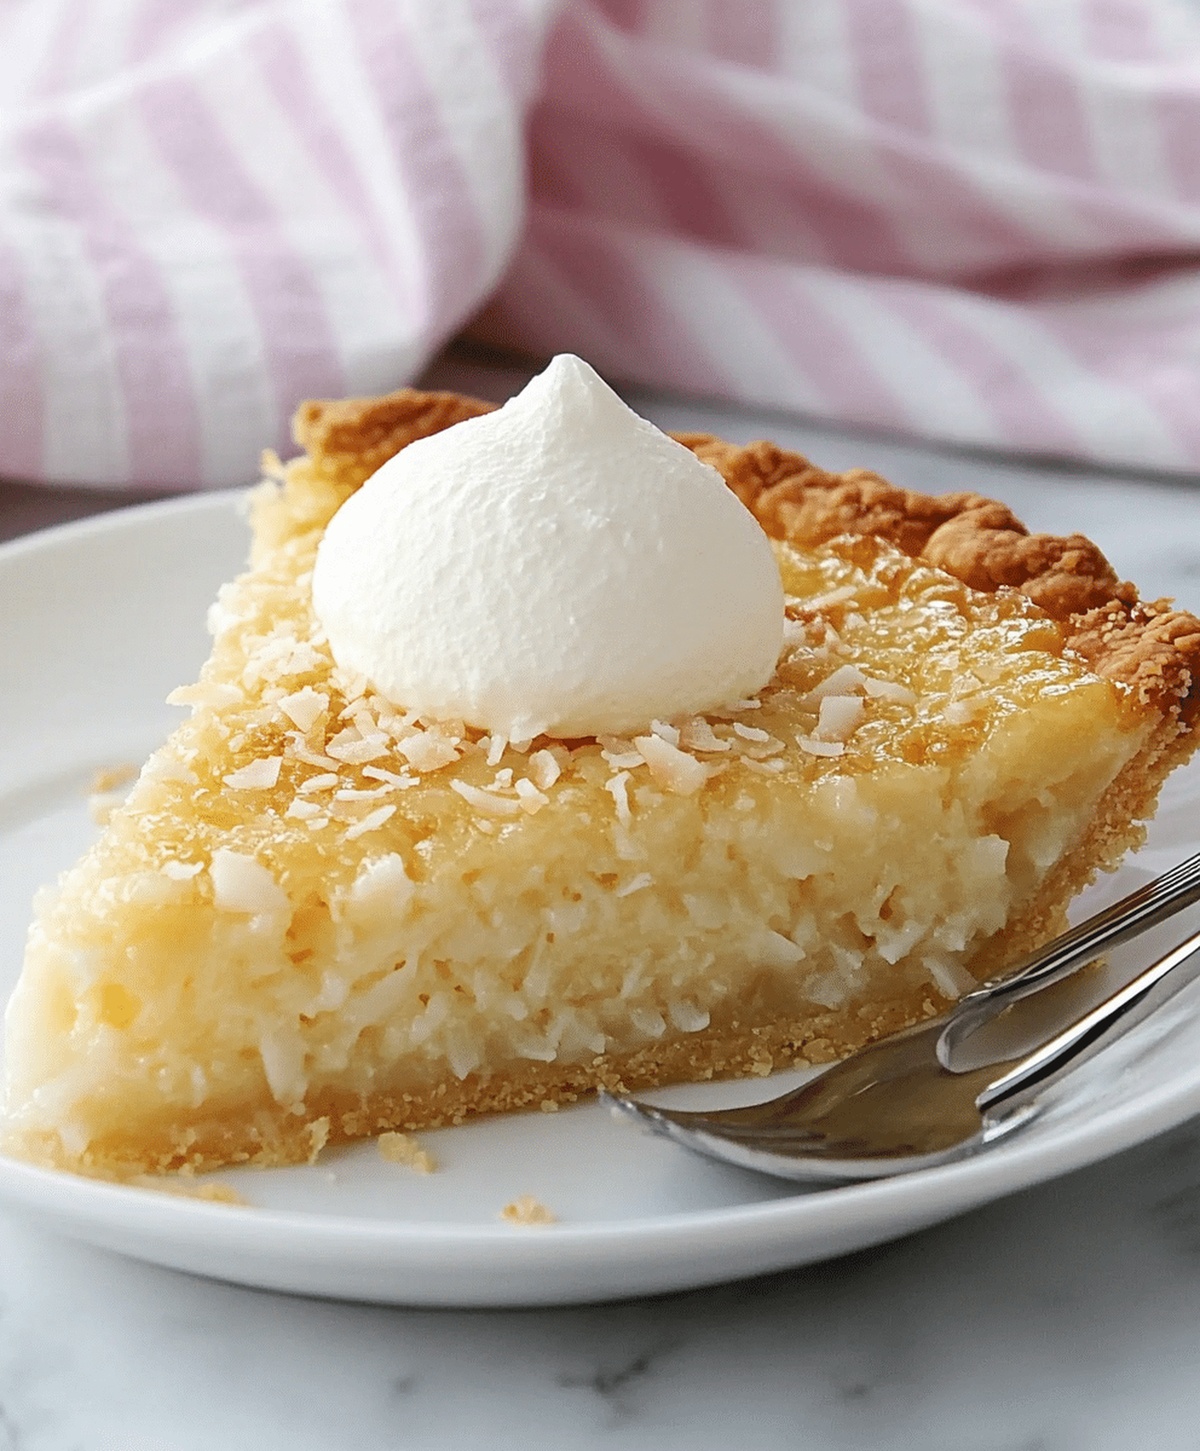
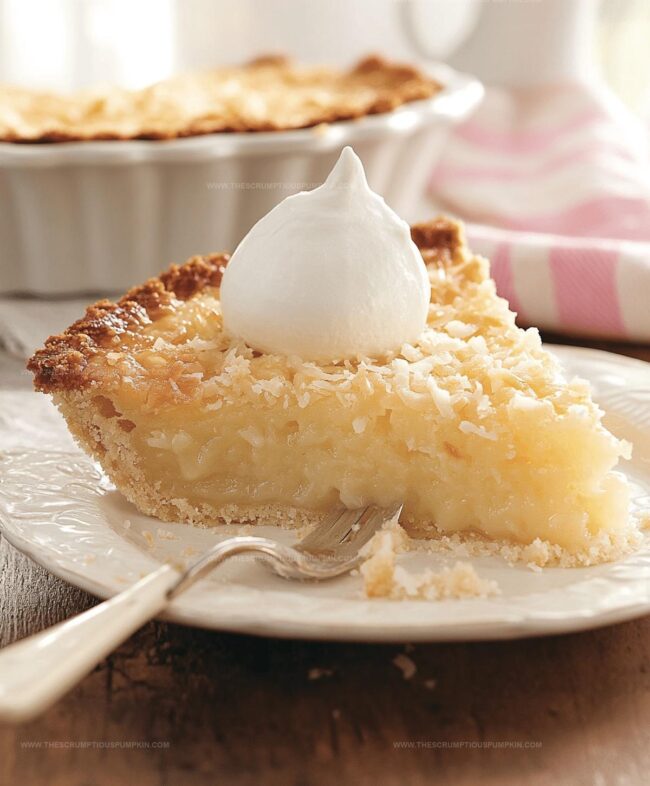
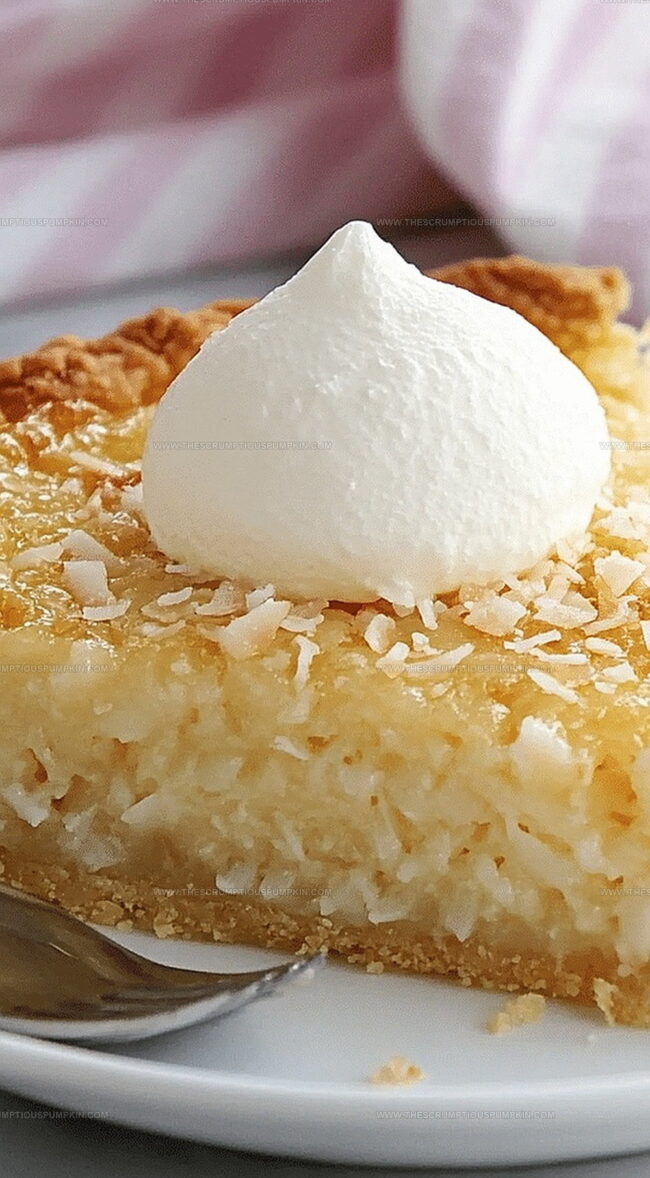
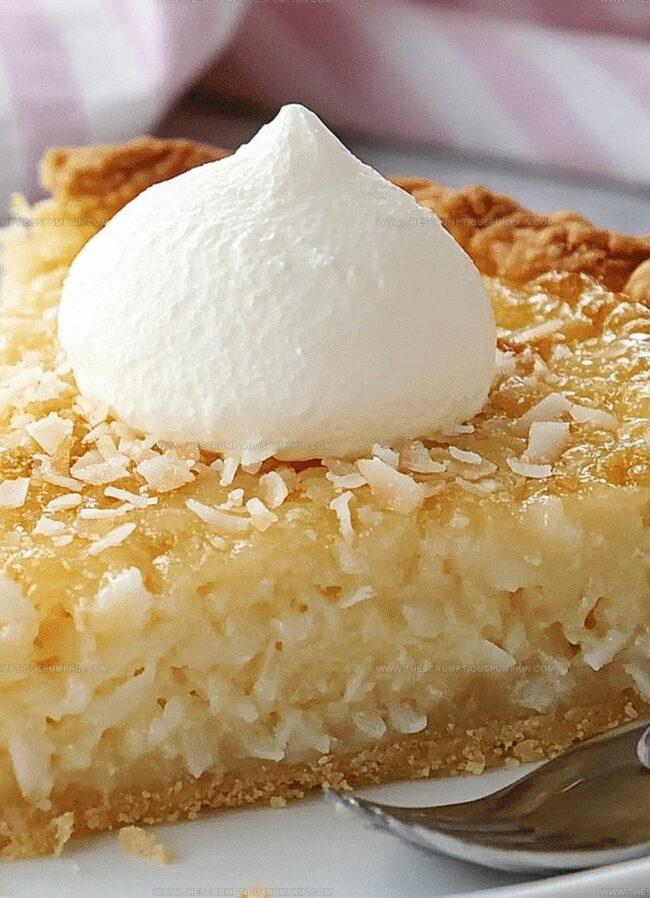
Scrumptious Easy Coconut Pie Recipe That Wows Every Time
Whipping up a delightful coconut pie can transport you to tropical paradise with minimal effort.
Creamy textures and sweet notes promise an irresistible dessert that melts in your mouth.
Bakers of all skill levels will find this recipe surprisingly straightforward.
Simple ingredients from your pantry combine to create something magical.
Rich coconut flavors dance across your palate, promising pure indulgence.
Uncomplicated steps mean you can craft this delectable treat in under an hour.
Let’s turn an ordinary evening into a coconut-infused celebration of deliciousness.
Easy Coconut Pie Recipe Overview

Ingredients For Coconut Pie
Base Ingredients:Coconut Components:Flavor Enhancers:How To Make Coconut Pie
Step 1: Warm Up the Oven
Fire up your oven to a cozy 350°F (175°C), getting it ready for a delightful coconut pie adventure.
Step 2: Create the Dry Base
Grab a spacious mixing bowl and whisk together sugar and flour until they become best friends, creating a smooth foundation for your pie.
Step 3: Blend Wet Ingredients
Pour in these creamy companions:Whisk everything until the mixture transforms into a silky, dreamy liquid that looks absolutely irresistible.
Step 4: Sprinkle Coconut Magic
Fold in the shredded coconut, making sure each flake gets evenly distributed throughout the batter, creating delightful coconutty pockets of flavor.
Step 5: Transfer to Pie Dish
Gently pour the luscious mixture into a well-greased pie dish, smoothing the top with a spatula for an even bake.
Step 6: Bake to Golden Perfection
Slide the pie into the preheated oven and bake for 45-50 minutes.
You’ll know it’s done when the top turns a beautiful golden brown and a toothpick comes out clean when inserted.
Step 7: Cool and Serve
Allow the pie to cool down and settle, then slice into this heavenly treat and enjoy each creamy, coconutty bite.
Pro Tips For Coconut Pie
Variations For Coconut Pie Recipe
Serving Suggestions For Coconut Pie
Storage Advice For Coconut Pie
FAQs
This coconut pie is unique because it combines simple pantry ingredients with rich, sweet coconut flavor, creating a creamy custard-like dessert that’s both easy to make and delightfully tropical.
You can use either shredded dried coconut or fresh grated coconut. Dried coconut is more commonly available and works perfectly in this recipe, providing consistent texture and flavor.
Absolutely! This coconut pie is incredibly straightforward, requiring basic whisking and mixing skills. Even novice bakers can successfully create this delicious dessert with minimal cooking experience.
Print
Easy Coconut Pie Recipe
- Total Time: 1 hour 5 minutes
- Yield: 8 1x
Description
Coconut lovers rejoice with this simple pie that blends creamy richness and tropical sweetness. Silky filling nestles in a golden crust, promising a delightful dessert you’ll savor to the last crumb.
Ingredients
Custard Ingredients:
- 2 cups milk
- 4 large eggs
- 1 teaspoon vanilla extract
Base and Sweeteners:
- 1 cup shredded coconut
- 1 cup sugar
- 1/2 cup flour
- 1/4 cup butter, melted (113 grams/4 ounces)
Instructions
- Preheat the oven to a cozy 350°F (175°C), ensuring an ideal baking environment for the coconut pie.
- In a spacious mixing bowl, thoroughly combine sugar and flour, creating a smooth dry base.
- Gently incorporate milk, eggs, vanilla extract, and melted butter into the dry mixture, whisking until the batter achieves a silky, uniform consistency.
- Fold in shredded coconut, ensuring an even distribution throughout the creamy mixture.
- Transfer the velvety batter into a well-greased pie dish, spreading it evenly to create a perfect foundation.
- Place the pie in the preheated oven and bake for 45-50 minutes, watching for a golden-brown top and checking doneness with a toothpick test.
- Allow the pie to cool completely, letting the flavors settle and the texture firm up before slicing and serving this delectable dessert.
Notes
- Toast the coconut beforehand to enhance its nutty flavor and add a delightful crunch to the pie’s texture.
- Swap regular milk with coconut milk for an intensified tropical taste and richer coconut profile.
- Use gluten-free flour to make this recipe suitable for those with gluten sensitivities, ensuring everyone can enjoy this sweet treat.
- Refrigerate the pie for a couple of hours before serving to help it set and develop a more solid, slice-friendly consistency.
- Prep Time: 15 minutes
- Cook Time: 50 minutes
- Category: Desserts
- Method: Baking
- Cuisine: American
Nutrition
- Serving Size: 8
- Calories: 314
- Sugar: 22 g
- Sodium: 45 mg
- Fat: 18 g
- Saturated Fat: 14 g
- Unsaturated Fat: 4 g
- Trans Fat: 0.2 g
- Carbohydrates: 36 g
- Fiber: 2 g
- Protein: 5 g
- Cholesterol: 92 mg
Lucas Bennett
Founder & Recipe Developer
Expertise
Education
Blue Ridge Community College – Certificate in Culinary Arts
Focused on seasonal cooking, sustainable kitchen practices, and farm-to-table techniques.
Appalachian State University – B.A. in English
Built critical thinking and analysis through diverse texts. Guided by faculty, it prepares graduates for publishing and more.
Growing up in the rolling hills of North Carolina, Lucas learned early that some of life’s best memories start around a kitchen table. After studying English at Appalachian State University and honing his culinary skills at Blue Ridge Community College, he dreamed of blending storytelling with rustic, seasonal cooking, and The Scrumptious Pumpkin was born.
Lucas focuses on easy, single-serving recipes that turn fresh, local ingredients into something special. His style is simple, heartfelt, and rooted in the beauty of the seasons. When he’s not testing a new dish, you’ll probably find him hiking in the Blue Ridge Mountains, browsing farmers’ markets, or scribbling food stories in a notebook.