The Crispiest Easy Fried Cheese Bites Recipe You’ll Ever Love
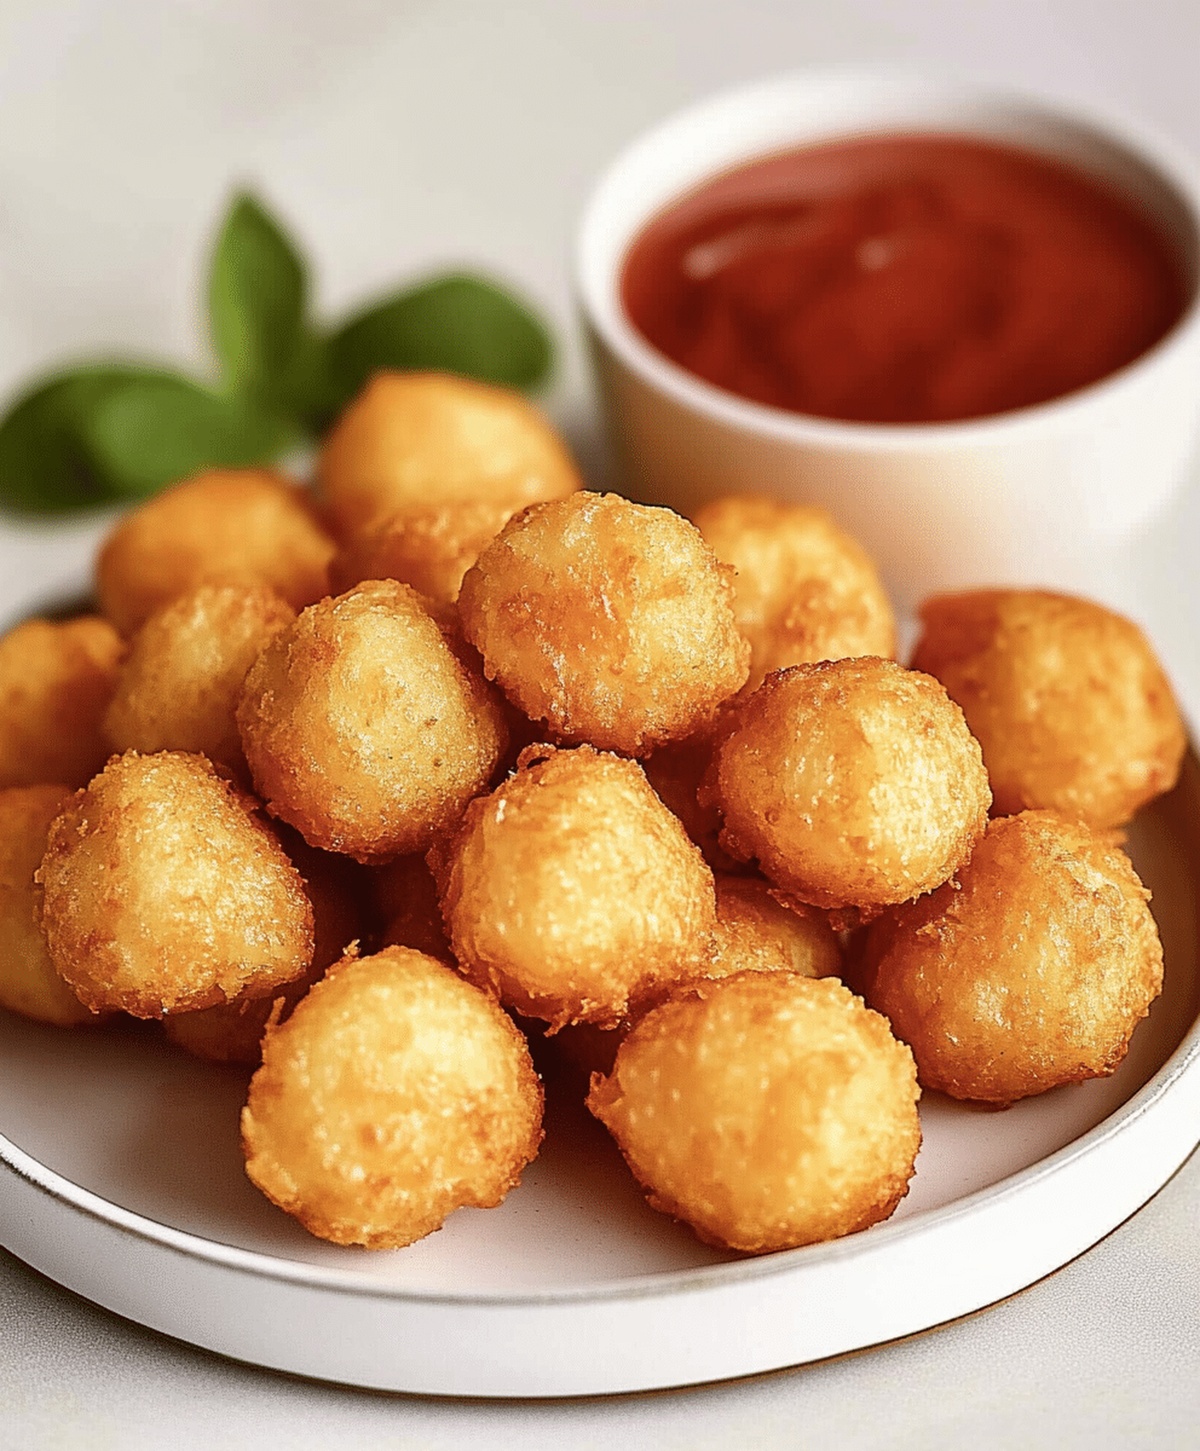
Crispy, golden cheese bites promise a mouthwatering snack that sparks joy in seconds.
These delectable easy fried cheese bites bring irresistible flavor to any gathering.
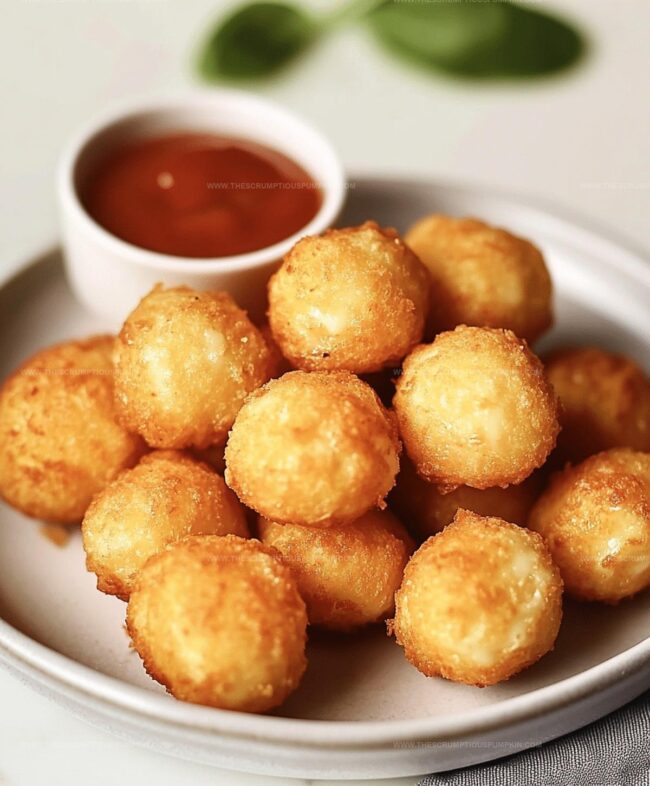
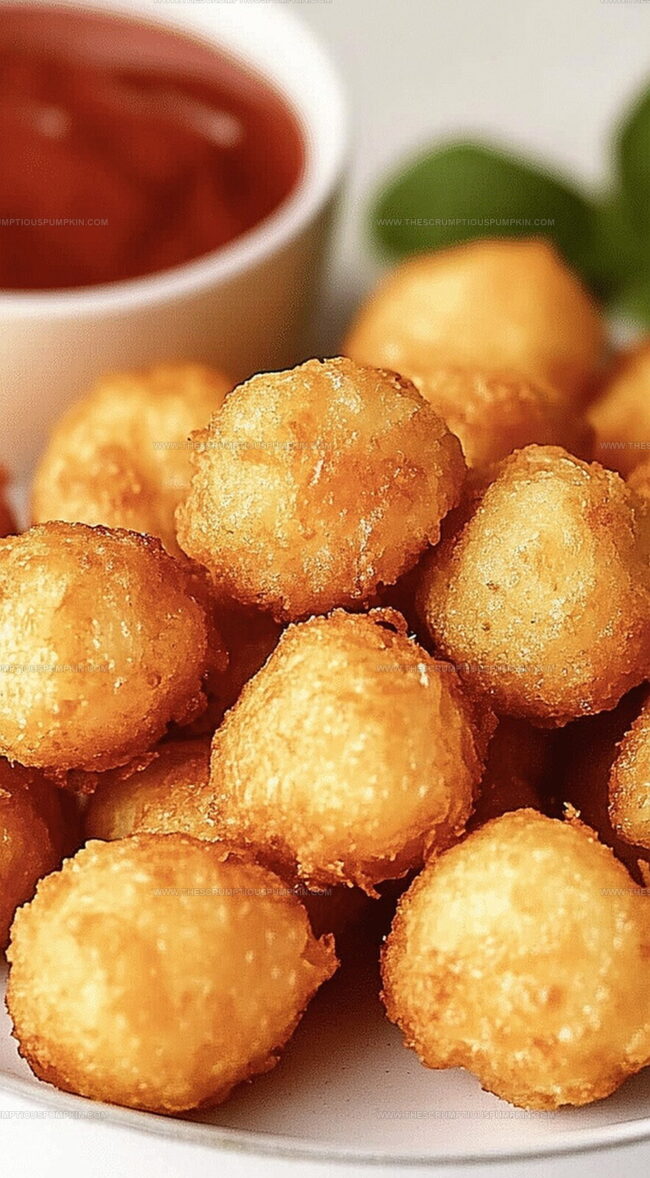
Melted cheese encased in a perfectly crunchy exterior creates an addictive appetizer.
Simple ingredients combine to deliver maximum taste with minimal effort.
You’ll love how quickly these bites come together in your kitchen.
Each bite delivers a satisfying crunch that melts in your mouth.
Fried Cheese Bites Crowd Favorite
Ingredients You Need for Cheese Bites
Cheese Base:Coating Ingredients:Seasoning Ingredients:Frying and Serving:Fried Cheese Bites, How to Make Them
Step 1: Prepare Cheese Cubes
Slice the cheese into small, uniform bite-sized pieces that will cook evenly and create the perfect crispy exterior.
Step 2: Set Up Breading Station
Create three separate bowls for your coating process:Step 3: Coat Cheese Pieces
Carefully roll each cheese cube through the coating process:Step 4: Heat Cooking Oil
Warm vegetable or canola oil in a deep pan or fryer until it reaches the perfect frying temperature of 350°F.
Step 5: Fry Cheese Bites
Gently lower cheese cubes into hot oil, cooking in small batches to maintain oil temperature:Step 6: Drain and Serve
Remove cheese bites using a slotted spoon and place on paper towels to absorb excess oil.
Serve immediately with your favorite dipping sauce like marinara, ranch, or spicy aioli.
Tips for Perfectly Crispy Cheese Bites
Flavorful Twists for Cheese Bites
Serving Suggestions for Cheese Bites
Storing Fried Cheese Bites Fresh
FAQs
Mozzarella, cheddar, or halloumi are ideal because they have good melting properties and hold their shape during frying.
Yes, you can bread the cheese cubes ahead of time and refrigerate them for up to 2 hours before frying, which helps the coating stick better.
Ensure the oil is at the correct temperature (350°F) and don’t overcrowd the pan. A thick, double-layer breading also helps seal the cheese inside.
Ranch, marinara, garlic aioli, or honey mustard are delicious and quick accompaniments that complement the crispy cheese bites.
Print
Easy Fried Cheese Bites Recipe
- Total Time: 30 minutes
- Yield: 4 1x
Description
Crispy Easy Fried Cheese Bites deliver golden, crunchy goodness that dance with irresistible flavor. Melted cheese wrapped in a perfectly seasoned coating promises a delightful snack you cannot resist.
Ingredients
Main Ingredients:
- 1 block mozzarella cheese, cubed
- 1 block cheddar cheese, cubed
- 2 eggs, beaten
- 1 cup breadcrumbs (panko or regular)
Coating Ingredients:
- 1 cup all-purpose flour
Seasoning Ingredients:
- 1/2 teaspoon (1/2 tsp) garlic powder
- 1/2 teaspoon (1/2 tsp) paprika
- 1/2 teaspoon (1/2 tsp) salt
- 1/4 teaspoon (1/4 tsp) black pepper
Additional Ingredients:
- Oil for frying
- Marinara sauce (for dipping)
- Ranch dressing (for dipping)
Instructions
- Transform cheese blocks into uniform, compact cubes approximately 1-inch in size, ensuring consistent shape for even cooking.
- Arrange three strategic preparation stations: one with flour for initial dusting, another with whisked eggs for moisture binding, and the final station featuring seasoned breadcrumbs incorporating aromatic garlic powder, vibrant paprika, mineral salt, and ground black pepper.
- Meticulously enrobe each cheese cube first with a light flour coating, then thoroughly immerse in egg mixture, followed by a comprehensive roll through seasoned breadcrumbs. Execute a secondary breadcrumb coating for enhanced crispiness and texture.
- Utilize a deep skillet or fryer, heating vegetable oil to precisely 350°F, creating an optimal frying environment for golden transformation.
- Carefully introduce cheese cubes into hot oil, working in controlled batches to maintain temperature stability. Fry for approximately 90 seconds, rotating occasionally to achieve uniform caramel-colored exterior and preventing potential burning.
- Extract cheese bites using slotted spoon, allowing excess oil to drain on absorbent paper towels. Transfer immediately to serving platter while maintaining optimal temperature and crisp texture.
- Accompany with complementary dipping sauces like marinara, ranch, or spicy aioli for enhanced gastronomic experience.
Notes
- Double-coat cheese cubes for extra crunch by dipping in egg and breadcrumbs twice, creating a thicker, crispier exterior.
- Chill coated cheese bites in freezer for 15 minutes before frying to prevent cheese from melting too quickly and maintaining shape.
- Choose hard cheeses like cheddar or parmesan that hold structure better during frying, avoiding soft cheeses that might leak.
- Try gluten-free breadcrumbs or almond flour for low-carb and celiac-friendly versions without compromising crispy texture.
- Prep Time: 20 minutes
- Cook Time: 10 minutes
- Category: Appetizer, Snacks
- Method: Frying
- Cuisine: American
Nutrition
- Serving Size: 4
- Calories: 390 kcal
- Sugar: 1 g
- Sodium: 900 mg
- Fat: 28 g
- Saturated Fat: 16 g
- Unsaturated Fat: 11 g
- Trans Fat: 0.5 g
- Carbohydrates: 20 g
- Fiber: 1.5 g
- Protein: 18 g
- Cholesterol: 120 mg



Lucas Bennett
Founder & Recipe Developer
Expertise
Education
Blue Ridge Community College – Certificate in Culinary Arts
Focused on seasonal cooking, sustainable kitchen practices, and farm-to-table techniques.
Appalachian State University – B.A. in English
Built critical thinking and analysis through diverse texts. Guided by faculty, it prepares graduates for publishing and more.
Growing up in the rolling hills of North Carolina, Lucas learned early that some of life’s best memories start around a kitchen table. After studying English at Appalachian State University and honing his culinary skills at Blue Ridge Community College, he dreamed of blending storytelling with rustic, seasonal cooking, and The Scrumptious Pumpkin was born.
Lucas focuses on easy, single-serving recipes that turn fresh, local ingredients into something special. His style is simple, heartfelt, and rooted in the beauty of the seasons. When he’s not testing a new dish, you’ll probably find him hiking in the Blue Ridge Mountains, browsing farmers’ markets, or scribbling food stories in a notebook.