Spooky & Sweet Halloween Fudge Recipe for Fun Fall Treats
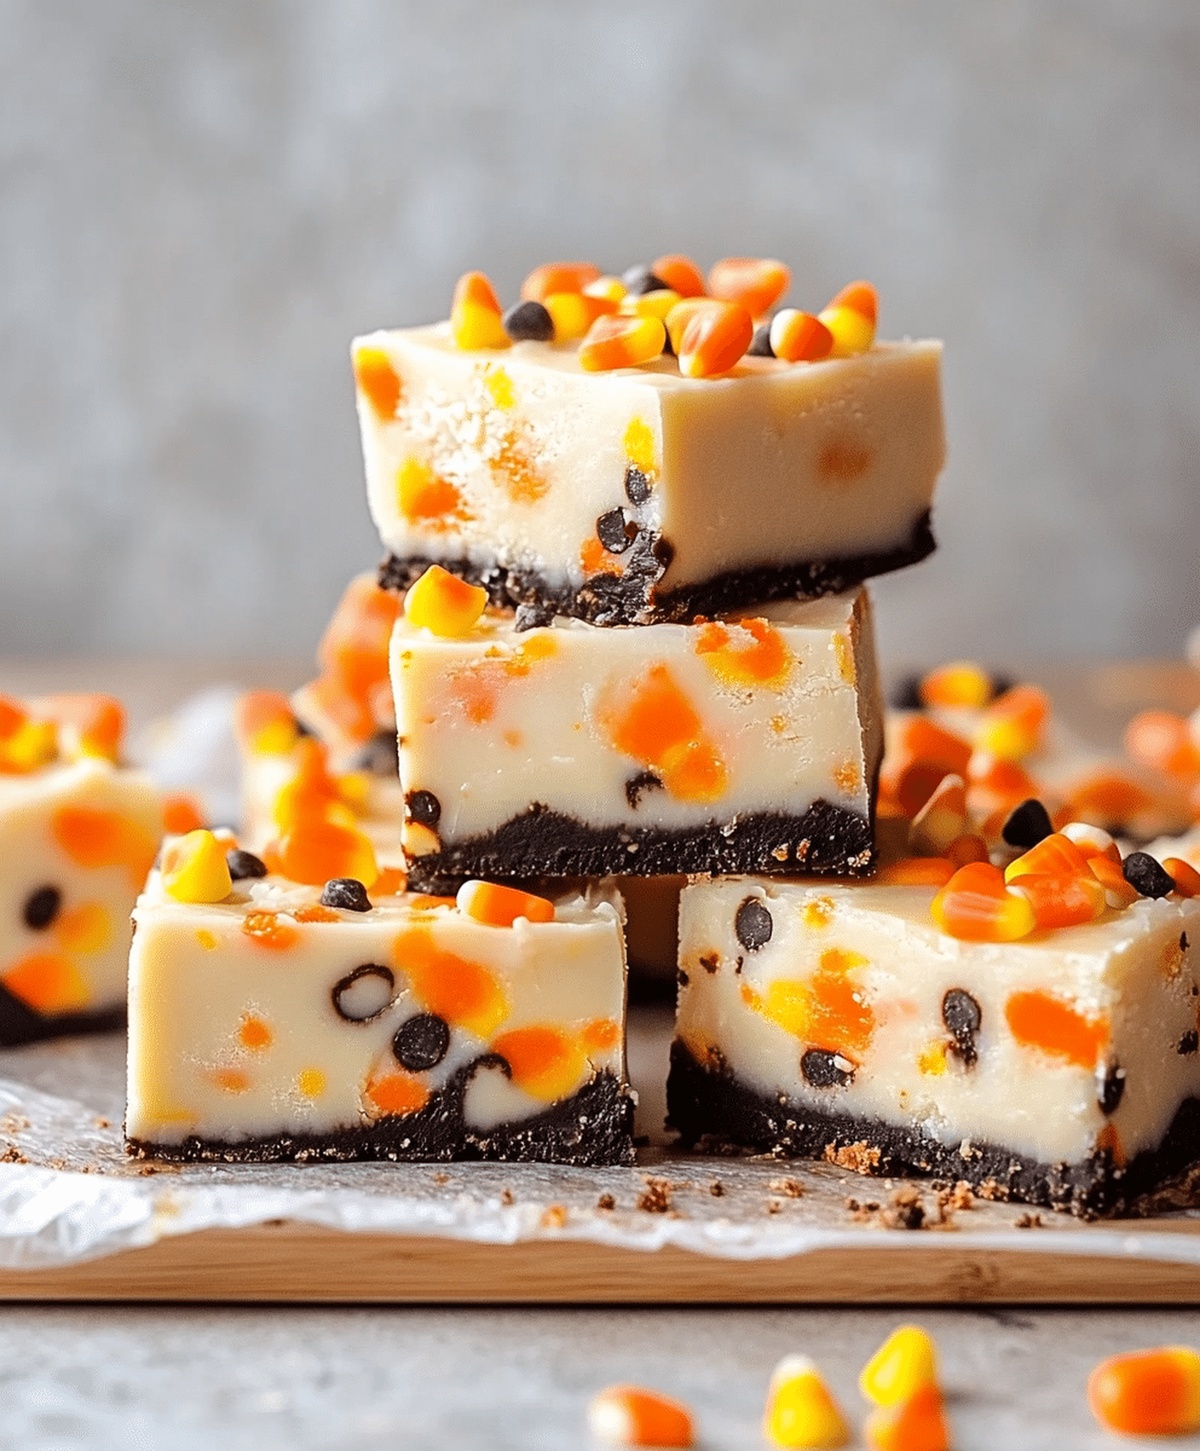
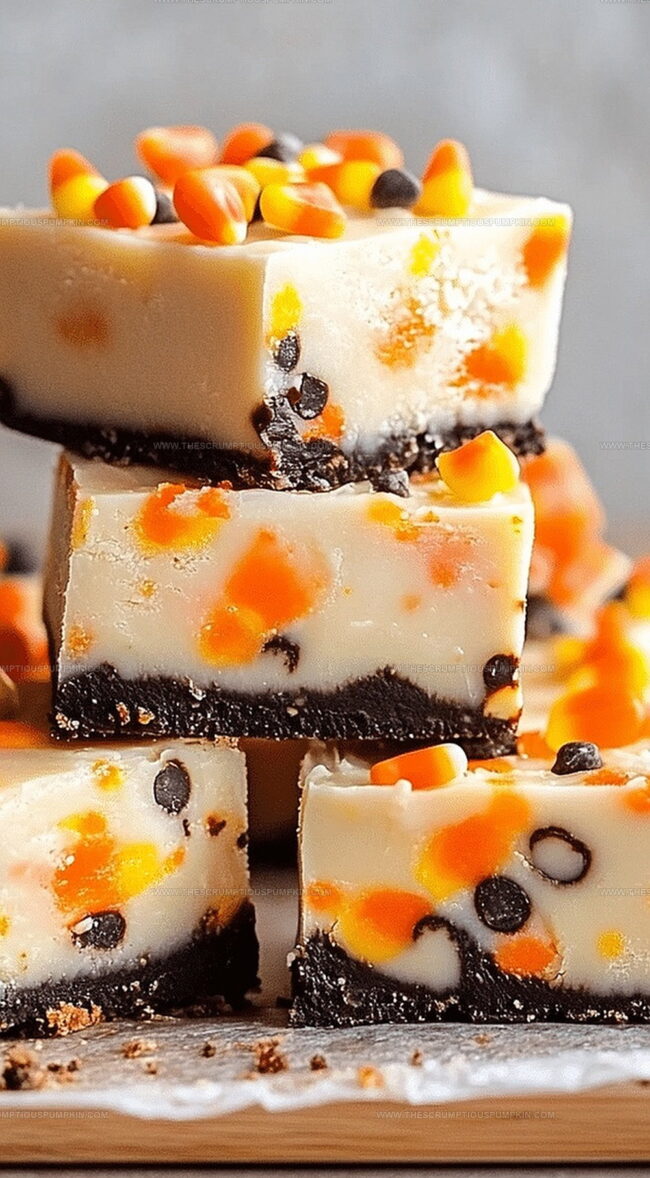
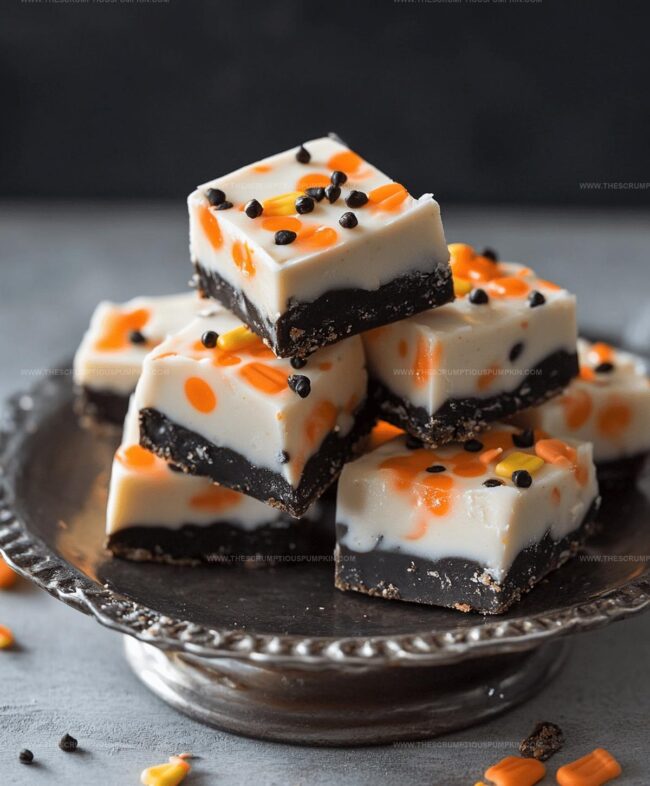
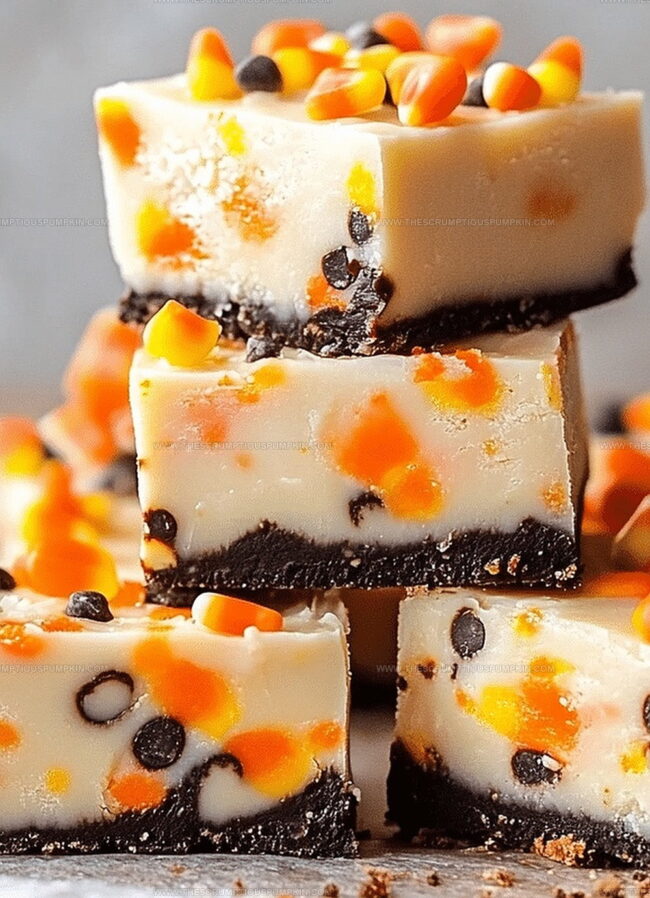
Sweet tooth cravings meet their match with this easy halloween fudge that combines playful spooky vibes and decadent chocolate magic.
Colorful sprinkles and marshmallow ghosts make this treat a festive delight for all ages.
Minimal ingredients and simple steps ensure you can whip up this dessert in minutes.
Kids and adults alike will go crazy for the creamy texture and whimsical design.
Chocolate lovers will appreciate the rich, smooth base that melts perfectly in your mouth.
Quick preparation means you can satisfy your halloween sweet tooth without complicated techniques.
You’ll be the star of any halloween party with this irresistible confection that looks as good as it tastes.
Grab your mixing bowl and let the halloween dessert adventure begin!
Easy Halloween Fudge That Everyone Will Love
Ingredients for Simple Halloween Fudge
Main Ingredients:Flavoring Ingredients:Decorative Ingredients:Additional Ingredients:Step-by-Step Guide to Halloween Fudge
Step 1: Prepare Baking Surface
Line an 8×8-inch baking dish with parchment paper, ensuring extra paper hangs over the edges for effortless removal later.
Step 2: Create Chocolate Base
In a medium saucepan, melt ingredients over low heat:Stir constantly until the mixture becomes completely smooth and glossy.
Step 3: Add Flavor Enhancer
Remove the saucepan from heat and gently mix in vanilla extract, blending thoroughly to distribute the rich flavor.
Step 4: Transfer and Spread Fudge
Pour the silky chocolate mixture into the prepared baking dish, using a spatula to spread evenly across the surface.
Step 5: Decorate with Spooky Treats
Quickly add festive Halloween decorations:Press the decorations lightly into the fudge surface so they stick nicely.
Step 6: Chill and Set
Refrigerate the fudge for 2-3 hours until it becomes firm and completely set.
Step 7: Cut and Serve
Remove the fudge from the dish using the parchment paper overhang.
Slice into perfect square pieces and get ready to enjoy your Halloween treat!
Pro Tips for Smooth Halloween Fudge
Flavor Twists for Halloween Fudge
Serving Halloween Fudge with Style
How to Store Halloween Fudge Properly
FAQs
Yes, you can swap milk, dark, or white chocolate chips based on your preference. Just ensure they’re high-quality for best results.
When stored in an airtight container in the refrigerator, the fudge will remain fresh for up to 7-10 days.
No, sweetened condensed milk is crucial for creating the creamy texture and helping the fudge set properly.
Absolutely! Kids can help add sprinkles, place candy decorations, and watch the chocolate melt, making it a fun Halloween activity.
Print
Easy Halloween Fudge Recipe
- Total Time: 30 minutes
- Yield: 12 1x
Description
Spooky Halloween Fudge brings festive cheer with its creepy chocolate swirls and playful orange-black color palette. Ghoulish guests will love this simple, wickedly delicious treat that delivers Halloween spirit in every delightful bite.
Ingredients
Main Ingredients:
- 3 cups (720 milliliters) semi-sweet chocolate chips
- 1 (14 ounces / 396 grams) can sweetened condensed milk
- 1/4 cup (60 milliliters / 57 grams) unsalted butter
Flavor Enhancers:
- 1 teaspoon (5 milliliters) vanilla extract
Decorative Ingredients:
- Halloween sprinkles
- Candy eyes
- Candy corn
Instructions
- Prepare an 8×8-inch pan by lining it with parchment paper, ensuring edges extend for easy extraction.
- Melt chocolate chips, sweetened condensed milk, and butter in a saucepan over low heat, stirring constantly until completely smooth and glossy at approximately 110°F.
- Remove melted mixture from heat and incorporate vanilla extract, mixing thoroughly to distribute evenly.
- Transfer the liquid fudge into the prepared pan, using a spatula to create an uniform surface with gentle, consistent strokes.
- Decorate the fudge immediately while still soft by sprinkling Halloween-themed embellishments like candy corn, festive sprinkles, and playful candy eyes across the surface.
- Press toppings gently into the fudge to ensure they adhere securely.
- Chill the decorated fudge in the refrigerator for 2-3 hours until completely firm and set.
- Extract the fudge from the pan using parchment paper edges and slice into precise, bite-sized squares using a sharp knife.
Notes
- Customize the fudge with different Halloween-themed decorations like spooky chocolate skulls or orange and black sprinkles for a festive touch.
- Use dairy-free chocolate chips and coconut condensed milk to make this recipe vegan-friendly and inclusive for those with dietary restrictions.
- Ensure low and slow melting to prevent chocolate from burning or becoming grainy, which can ruin the smooth fudge texture.
- Store the fudge in an airtight container in the refrigerator for up to a week, making it a perfect make-ahead treat for Halloween parties or gatherings.
- Prep Time: 20 minutes
- Cook Time: 10 minutes (excluding chilling time)
- Category: Desserts, Snacks
- Method: Simmering
- Cuisine: American
Nutrition
- Serving Size: 12
- Calories: 190
- Sugar: 22 g
- Sodium: 35 mg
- Fat: 10 g
- Saturated Fat: 6 g
- Unsaturated Fat: 4 g
- Trans Fat: 0.1 g
- Carbohydrates: 24 g
- Fiber: 1 g
- Protein: 2 g
- Cholesterol: 15 mg

Lucas Bennett
Founder & Recipe Developer
Expertise
Education
Blue Ridge Community College – Certificate in Culinary Arts
Focused on seasonal cooking, sustainable kitchen practices, and farm-to-table techniques.
Appalachian State University – B.A. in English
Built critical thinking and analysis through diverse texts. Guided by faculty, it prepares graduates for publishing and more.
Growing up in the rolling hills of North Carolina, Lucas learned early that some of life’s best memories start around a kitchen table. After studying English at Appalachian State University and honing his culinary skills at Blue Ridge Community College, he dreamed of blending storytelling with rustic, seasonal cooking, and The Scrumptious Pumpkin was born.
Lucas focuses on easy, single-serving recipes that turn fresh, local ingredients into something special. His style is simple, heartfelt, and rooted in the beauty of the seasons. When he’s not testing a new dish, you’ll probably find him hiking in the Blue Ridge Mountains, browsing farmers’ markets, or scribbling food stories in a notebook.