Sizzling Roast Beef And Cheddar Sliders Recipe For Gatherings
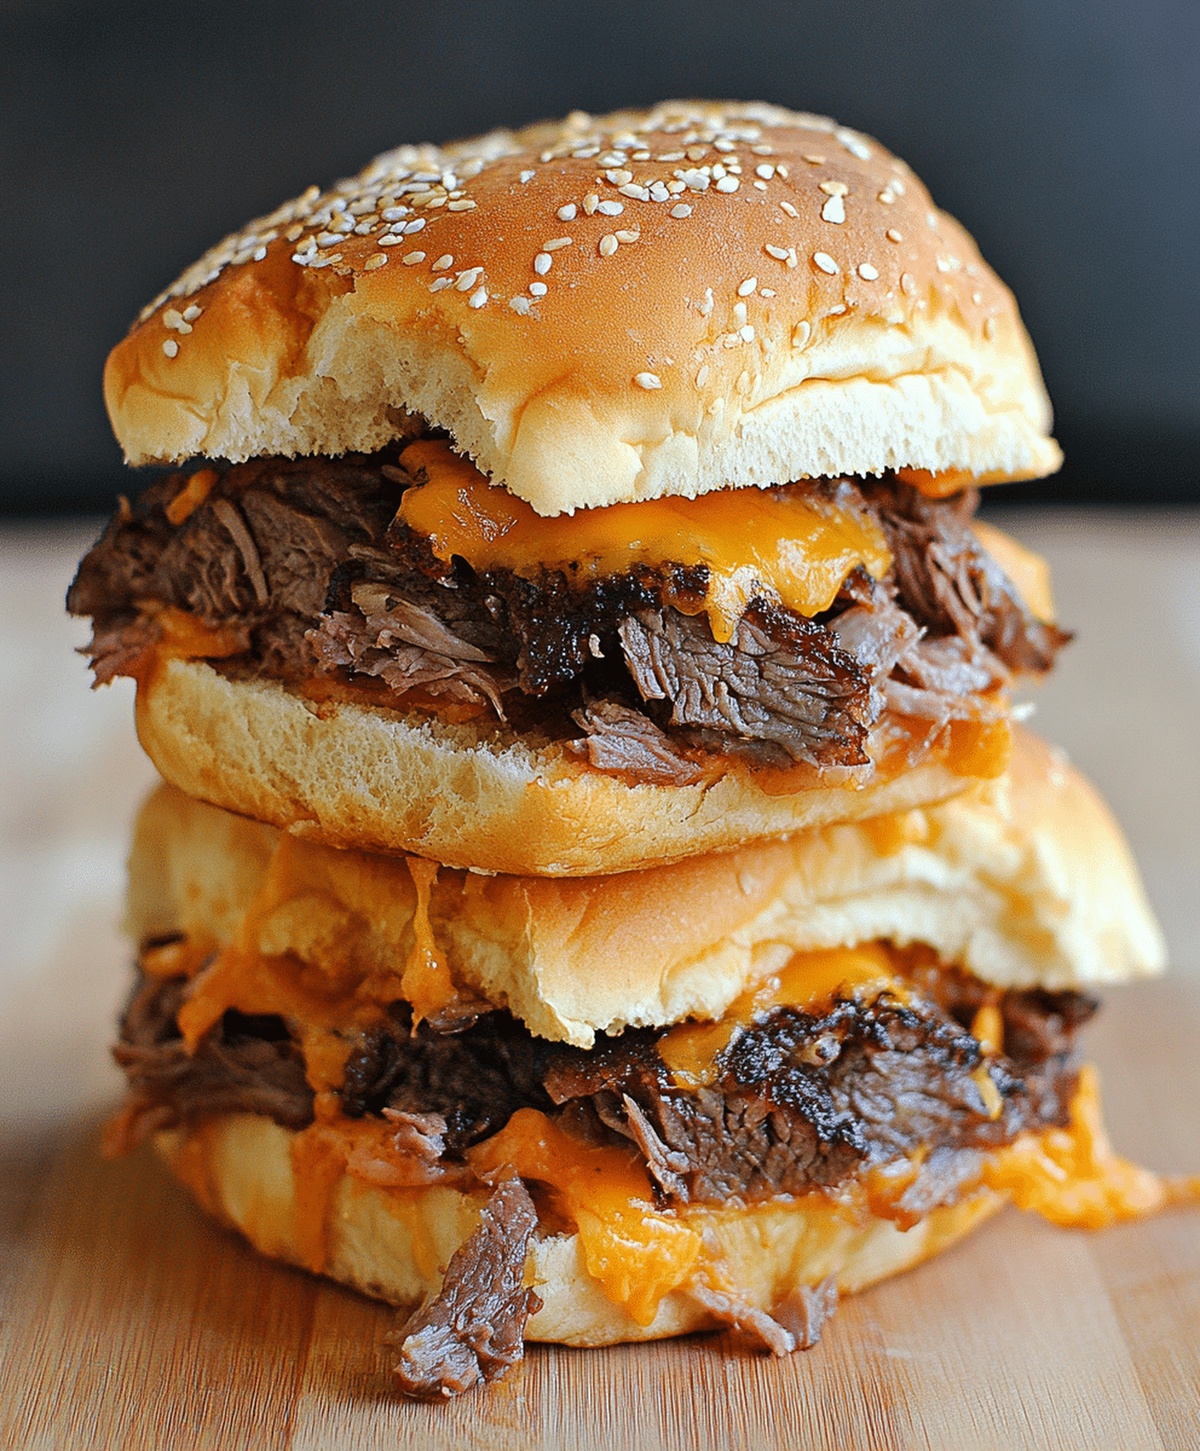
Crafting delectable roast beef and cheddar sliders can turn an ordinary meal into a mouthwatering celebration.
Soft rolls nestled with tender meat promise pure comfort.
Small sandwiches like these bring people together with minimal effort.
Layers of savory roast beef complement sharp cheddar’s rich essence perfectly.
Quick assembly means you can enjoy these delightful bites in minutes.
Hearty ingredients create a satisfying snack that feels both casual and special.
Grab these sliders and watch everyone at the table smile with delight.
Roast Beef & Cheddar Sliders: Why They Shine

What You’ll Need For Beef Cheddar Sliders
Main Ingredients:Sauce Ingredients:Seasoning Ingredients:Roast Beef Sliders – Cooking Directions
Step 1: Warm Up the Oven
Fire up your oven to a cozy 350°F (175°C), getting ready for some slider magic.
Step 2: Slice Hawaiian Rolls
Gently slice the connected Hawaiian rolls horizontally, keeping them perfectly intact.
Step 3: Layer Delicious Ingredients
Spread out the bottom half of the rolls on a baking dish and create a scrumptious layer with:Step 4: Top and Seal the Sliders
Carefully place the top half of the rolls over the layered ingredients.
Step 5: Whip Up Flavor-Packed Butter Sauce
In a small bowl, blend together:Whisk these ingredients until they’re perfectly combined.
Step 6: Brush with Flavor
Generously brush the butter mixture over the tops of the rolls, ensuring every inch gets some love.
Step 7: First Baking Session
Cover the baking dish with foil and slide into the preheated oven.
Bake for 15 minutes, letting the flavors meld together.
Step 8: Final Golden Touch
Remove the foil and return to the oven for an additional 5 minutes.
Watch for those tops to turn a beautiful golden brown.
Step 9: Serve and Devour
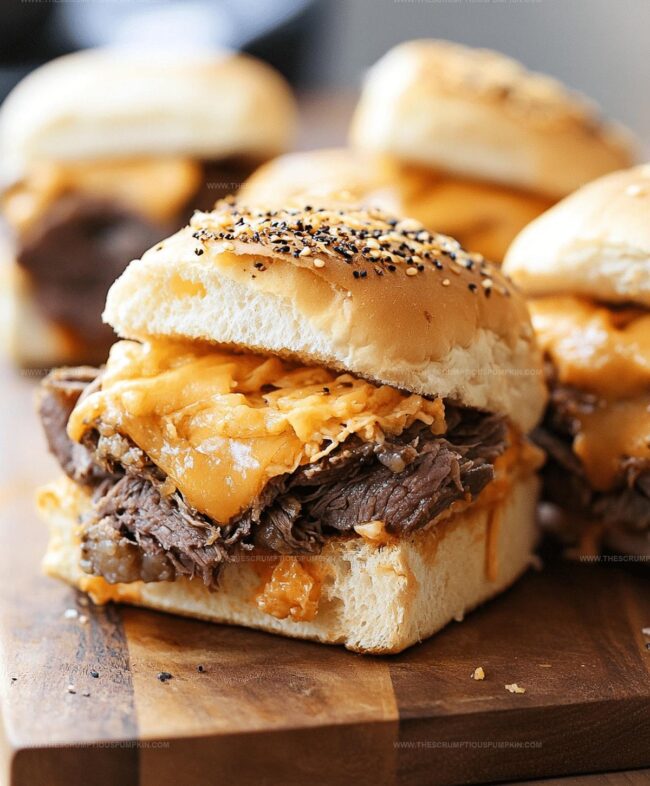
Pull out the sliders and serve them warm, ready to be demolished by hungry guests.
Beef Cheddar Slider – Chef’s Handy Tips

Sliders – Fun Fillings & Variations

Serving Roast Beef & Cheddar Sliders
Storage For Roast Beef Slider Leftovers
FAQs
Hawaiian rolls are soft, slightly sweet, and small bread rolls originating from Hawaii, typically made with ingredients like milk, butter, and sometimes pineapple juice, giving them a unique sweet flavor.
Yes, you can substitute roast beef with other deli meats like turkey, ham, or chicken depending on your preference and what you have available.
These sliders are perfect for meal prep. You can assemble them ahead of time and keep them refrigerated, then bake when ready to serve, making them convenient for quick meals or gatherings.
Print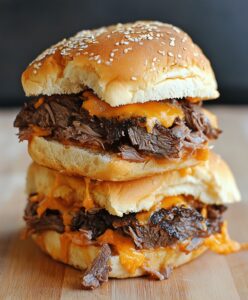
Easy Roast Beef And Cheddar Sliders Recipe
- Total Time: 35 minutes
- Yield: 12 1x
Description
Succulent roast beef and cheddar sliders bring classic comfort to your party table. Layered with savory meat, melted cheese, and zesty sauce, these mini sandwiches will vanish faster than guests can grab them.
Ingredients
Main Ingredients:
- 12 Hawaiian rolls
- 1 pound (1 lb) sliced roast beef
- 8 slices cheddar cheese
Sauce and Seasoning Ingredients:
- 1/4 cup unsalted butter, melted
- 1 tablespoon Dijon mustard
- 1 tablespoon Worcestershire sauce
- 1 teaspoon garlic powder
Garnish Ingredients:
- 1 tablespoon poppy seeds (optional)
Instructions
- Arrange the Hawaiian rolls horizontally, maintaining their interconnected structure.
- Transfer the connected roll base to a baking dish, creating a foundation for layering.
- Strategically distribute roast beef slices across the roll base, ensuring even coverage.
- Carefully place cheddar slices atop the roast beef, creating a complementary flavor profile.
- Reposition the top half of the rolls over the layered meat and cheese.
- Combine melted butter with Dijon mustard, Worcestershire sauce, garlic powder, and poppy seeds in a mixing vessel.
- Use a culinary brush to generously coat the roll surfaces with the prepared butter mixture.
- Shield the assembled sliders with aluminum foil, maintaining a sealed environment.
- Roast in a preheated 350°F (175°C) oven for 15 minutes, allowing flavors to meld and ingredients to warm thoroughly.
- Remove the foil protection and continue baking for an additional 5 minutes until the roll tops transform into a golden, crispy texture.
- Extract from the oven and serve immediately while maintaining optimal warmth and flavor integrity.
Notes
- Customize the meat by swapping roast beef for turkey, ham, or pulled chicken to suit different dietary preferences.
- Reduce butter content for a lighter version by using olive oil spray or cutting butter quantity in half.
- Prepare sliders ahead of time and refrigerate before baking for convenient party or game day appetizers.
- Use gluten-free Hawaiian rolls or regular slider buns to accommodate gluten-sensitive guests.
- Prep Time: 15 minutes
- Cook Time: 20 minutes
- Category: Lunch, Dinner, Snacks, Appetizer
- Method: Baking
- Cuisine: American
Nutrition
- Serving Size: 12
- Calories: 212 kcal
- Sugar: 2 g
- Sodium: 470 mg
- Fat: 11 g
- Saturated Fat: 5 g
- Unsaturated Fat: 5 g
- Trans Fat: 0.3 g
- Carbohydrates: 19 g
- Fiber: 1 g
- Protein: 13 g
- Cholesterol: 38 mg
Lucas Bennett
Founder & Recipe Developer
Expertise
Education
Blue Ridge Community College – Certificate in Culinary Arts
Focused on seasonal cooking, sustainable kitchen practices, and farm-to-table techniques.
Appalachian State University – B.A. in English
Built critical thinking and analysis through diverse texts. Guided by faculty, it prepares graduates for publishing and more.
Growing up in the rolling hills of North Carolina, Lucas learned early that some of life’s best memories start around a kitchen table. After studying English at Appalachian State University and honing his culinary skills at Blue Ridge Community College, he dreamed of blending storytelling with rustic, seasonal cooking, and The Scrumptious Pumpkin was born.
Lucas focuses on easy, single-serving recipes that turn fresh, local ingredients into something special. His style is simple, heartfelt, and rooted in the beauty of the seasons. When he’s not testing a new dish, you’ll probably find him hiking in the Blue Ridge Mountains, browsing farmers’ markets, or scribbling food stories in a notebook.