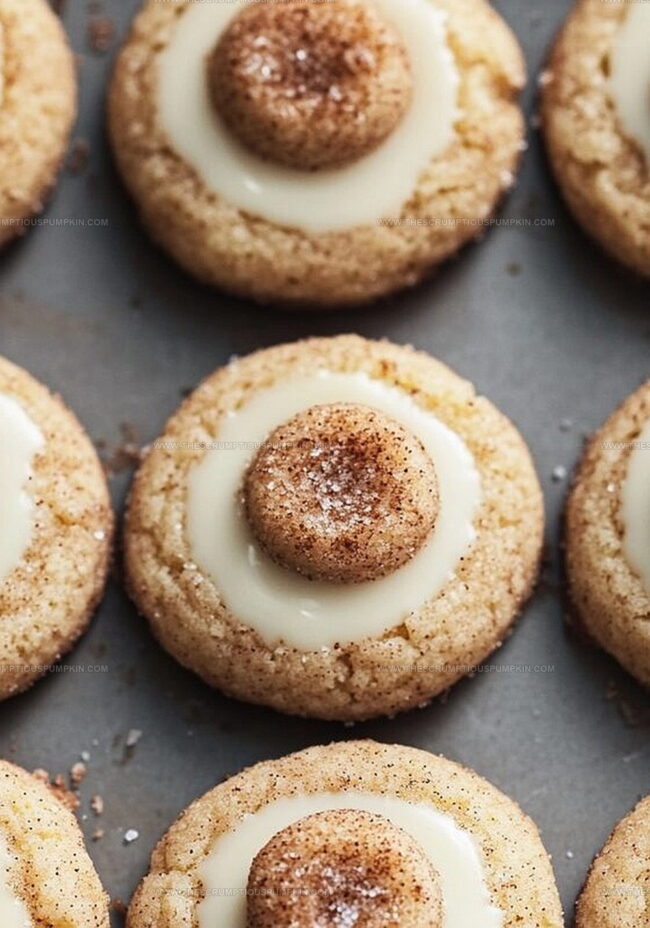
Creamy Eggnog Snickerdoodle Thumbprint Cookies Recipe
Baking delightful eggnog snickerdoodle thumbprint cookies brings festive cheer to any kitchen gathering.
Warm spices and creamy notes dance through this delectable treat.
Sweet aromas will fill your home with holiday magic.
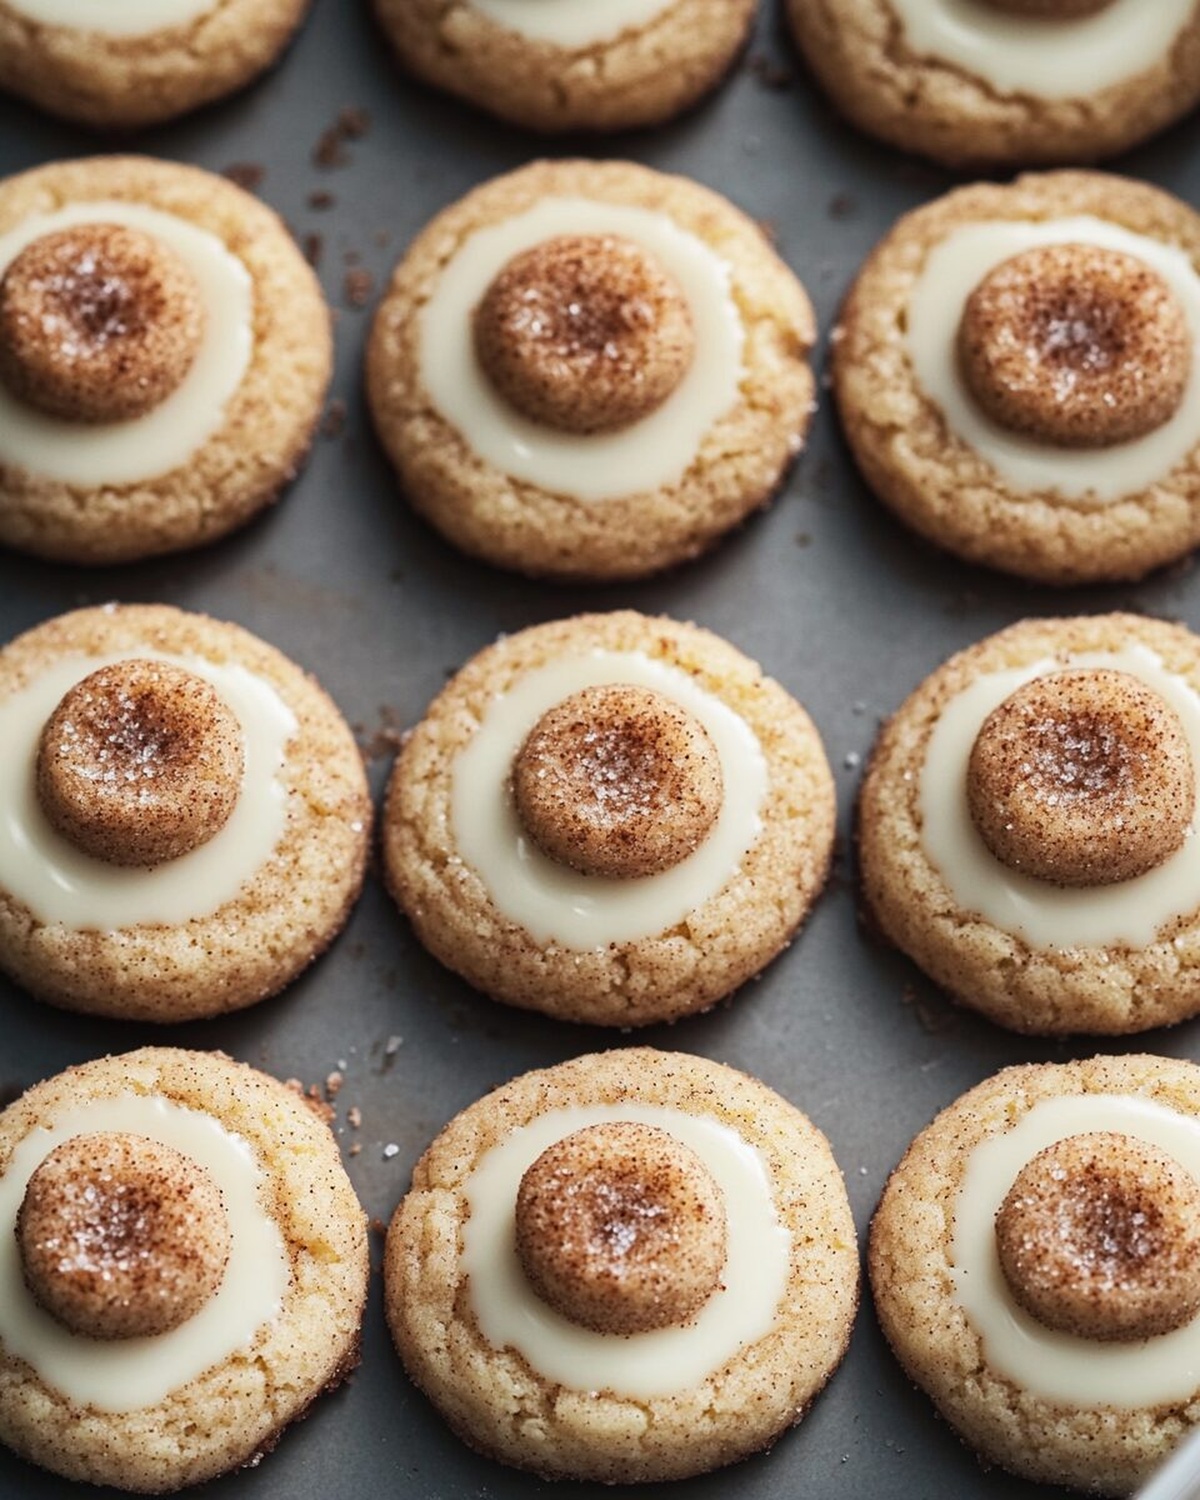
Soft, pillowy cookies cradle a rich center that melts deliciously.
Delicate edges offer a crisp contrast to the smooth filling.
Cinnamon and nutmeg whisper memories of cozy winter celebrations.
You’ll want to savor every single bite of these irresistible seasonal delights.
Why Eggnog Snickerdoodle Thumbprint Cookies Are So Fun
What Goes Into Eggnog Snickerdoodle Thumbprint Cookies
Dry Ingredients:Wet Ingredients:Coating and Topping:How To Make Eggnog Snickerdoodle Thumbprint Cookies
Step 1: Warm Up the Oven
Crank the oven to a toasty 350°F and grab a baking sheet. Line it with parchment paper for easy cookie removal.
Step 2: Blend Dry Ingredients
Grab a medium bowl and whisk together:Set this magical mixture aside.
Step 3: Cream Butter and Sugar
In a large bowl, whip the butter and granulated sugar until they transform into a fluffy cloud-like texture.
This takes about 3 minutes of serious mixing action.
Step 4: Introduce Wet Ingredients
Crack in the egg, pour the eggnog, and splash in vanilla extract.
Mix until everything becomes best friends and combines completely.
Step 5: Merge Dry and Wet Mixtures
Slowly add the dry ingredient blend to the wet ingredients.
Stir gently until just combined – don’t overmix!
Step 6: Shape Cookie Balls
Roll the dough into adorable 1-inch balls.
Give them a luxurious bath in cinnamon sugar coating.
Step 7: Prepare for Baking
Place the sugary dough balls on the prepared baking sheet.
Leave about 2 inches between each cookie to give them personal space.
Step 8: Create Cookie Dimples
Use your thumb or the back of a spoon to make a cute little indent in the center of each cookie.
Step 9: Bake to Perfection
Send the cookies into the oven for 10-12 minutes. Look for light golden edges as your signal they’re ready.
Step 10: Add Final Touches
Fresh out of the oven, gently press white chocolate chips into the warm cookie centers if you’re feeling extra indulgent.
Step 11: Cool and Serve
Let the cookies chill on a wire rack until they’re ready to be devoured.
Enjoy your festive treat!
Tips That Help With Eggnog Snickerdoodle Thumbprint Cookies
Fun Ideas For Eggnog Snickerdoodle Thumbprint Cookies
Tasty Matches For Eggnog Snickerdoodle Thumbprint Cookies
How To Store Eggnog Snickerdoodle Thumbprint Cookies
Eggnog Snickerdoodle Thumbprint Cookies FAQ
Yes, you can prepare the dough in advance and refrigerate it for up to 3 days before baking. Just make sure to let the dough come to room temperature before shaping and baking.
Create a deep indent using your thumb or the back of a spoon, and gently press again right after removing the cookies from the oven to maintain the shape.
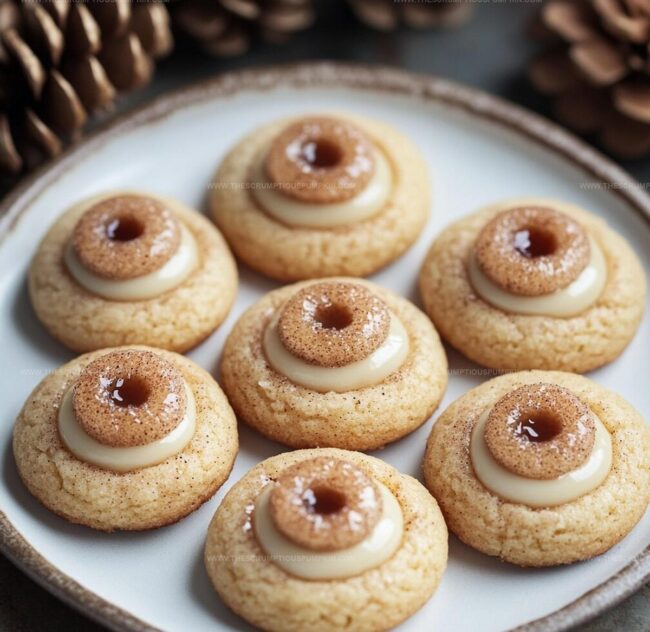
You can fill the thumbprint with caramel, jam, or even a dollop of eggnog-flavored buttercream for variety. Choose something that complements the warm spices in the cookie.
Print
Eggnog Snickerdoodle Thumbprint Cookies Recipe
- Total Time: 25-27 minutes
- Yield: 24 1x
Description
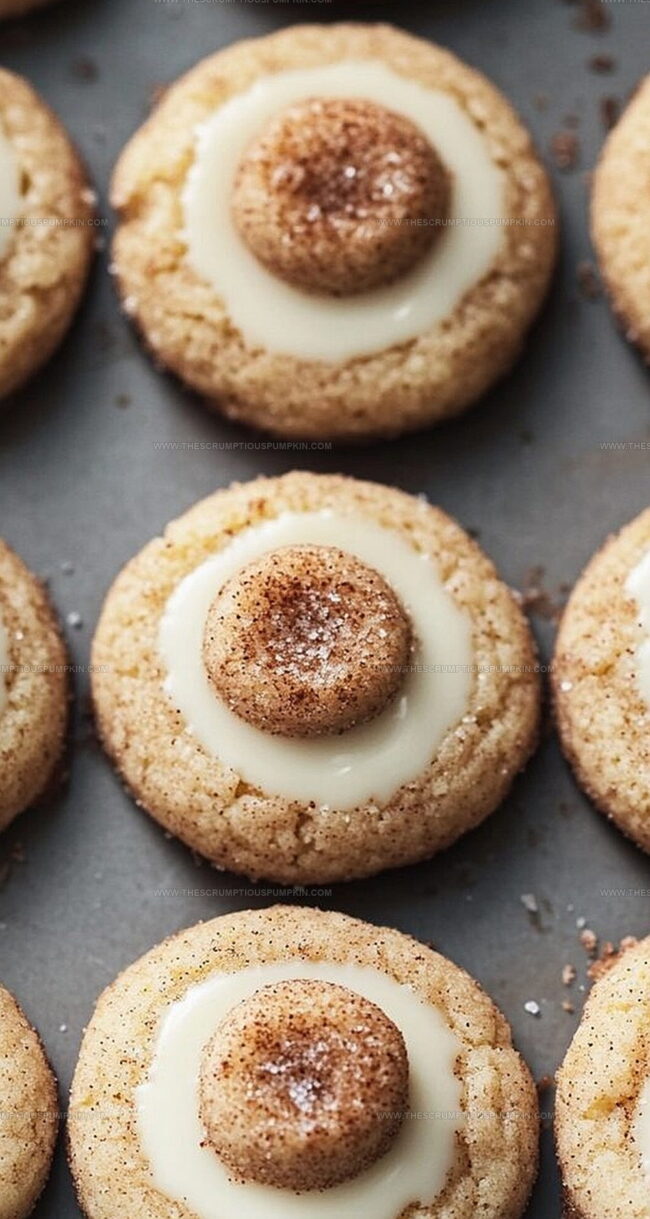
Festive holiday spirit mingles with classic eggnog snickerdoodle thumbprint cookies, creating a delightful seasonal treat that blends warm cinnamon and creamy eggnog flavors. Christmas cookie lovers will savor each sweet, spiced bite of this irresistible dessert that delivers comfort and joy in every crumbly, delectable morsel.
Ingredients
Main Ingredients:
- 2 1/4 cups (281.25 grams) all-purpose flour
- 1/2 cup (113 grams) unsalted butter, softened
- 1 cup (200 grams) granulated sugar
- 1 large egg
- 1/4 cup (60 milliliters) eggnog
Spices and Seasonings:
- 1 teaspoon baking powder
- 1/4 teaspoon salt
- 1/2 teaspoon ground cinnamon
- 1/4 teaspoon ground nutmeg
- 1 teaspoon vanilla extract
Finishing and Optional Ingredients:
- 1/4 cup (50 grams) cinnamon sugar (for rolling)
- 1/4 cup (42 grams) white chocolate chips (optional)
Instructions
- Preheat the oven to 350°F and prepare a baking sheet with parchment paper.
- Combine flour, baking powder, salt, cinnamon, and nutmeg in a mixing bowl, whisking thoroughly to distribute spices evenly.
- Cream butter and granulated sugar until the mixture becomes pale and fluffy, approximately 3 minutes using an electric mixer.
- Incorporate egg, eggnog, and vanilla extract into the butter mixture, blending until smooth and well integrated.
- Gradually fold dry ingredients into the wet ingredients, stirring gently until a consistent dough forms without overmixing.
- Shape the dough into uniform 1-inch spheres, rolling each ball generously in cinnamon sugar coating.
- Arrange cookie balls on the prepared baking sheet, maintaining about 2 inches of spacing between each to allow for spreading.
- Create a gentle indentation in the center of each cookie using your thumb or the rounded back of a spoon.
- Bake for 10-12 minutes, watching for edges to turn a delicate golden brown and centers to look slightly set.
- While cookies are still warm, optionally press white chocolate chips into the center of each thumbprint.
- Transfer cookies to a wire cooling rack, allowing them to reach room temperature before serving.
Notes
- Chill the dough for 30 minutes before rolling to prevent spreading and maintain a perfect round shape.
- Experiment with dairy-free eggnog or almond milk for a lighter, lactose-free version of the cookies.
- Use a small measuring spoon or the back of a clean cork to create uniform thumbprints without cracking the cookie surface.
- If white chocolate isn’t preferred, swap with caramel drops or festive sprinkles for added flavor and visual appeal.
- Prep Time: 15 minutes
- Cook Time: 10-12 minutes
- Category: Desserts, Snacks
- Method: Baking
- Cuisine: American
Nutrition
- Serving Size: 24
- Calories: 130
- Sugar: 10 g
- Sodium: 50 mg
- Fat: 6 g
- Saturated Fat: 4 g
- Unsaturated Fat: 2 g
- Trans Fat: 0 g
- Carbohydrates: 18 g
- Fiber: 0 g
- Protein: 1 g
- Cholesterol: 20 mg
Mia Thompson
Pastry Chef & Content Creator
Expertise
Education
Portland Community College – Baking and Pastry Arts Program
Specialized in artisanal bread, seasonal desserts, and sustainable baking methods.
National University of Natural Medicine – Bachelor of Science in Nutrition (BScN)
Focused on “Food as Medicine” philosophy, with core threads in nutrition.
Mia’s love affair with baking began in her grandmother’s kitchen, where sneaking spoonfuls of batter first sparked her curiosity. She refined her skills through Portland Community College’s Baking and Pastry Arts Program and her expertise at the National University of Natural Medicine, earning a B.Sc. in Nutrition.
At The Scrumptious Pumpkin, Mia reimagines classics with effortless seasonal treats, healthier twists on old favorites, and playful confections that feel like pure joy. Beyond the oven, she nurtures her urban garden, forages local ingredients around Portland, and leads hands‑on nutrition workshops for her community.