
Sizzling Garlic Parmesan Cheeseburger Bombs Recipe to Wow Guests
Crafting a mouthwatering garlic parmesan cheeseburger bombs recipe promises pure culinary delight.
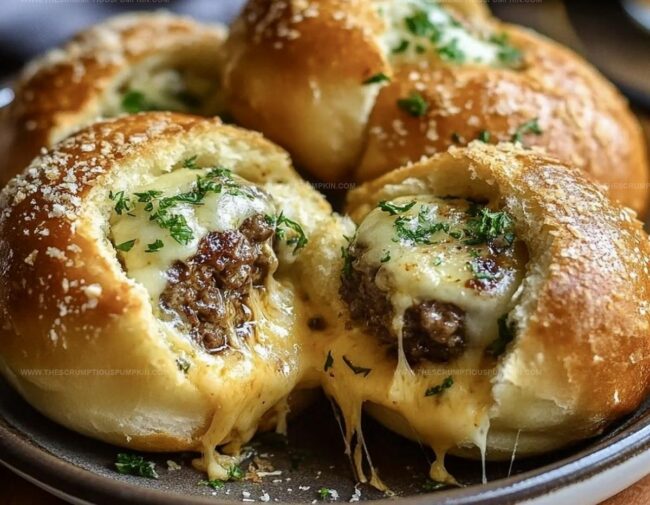
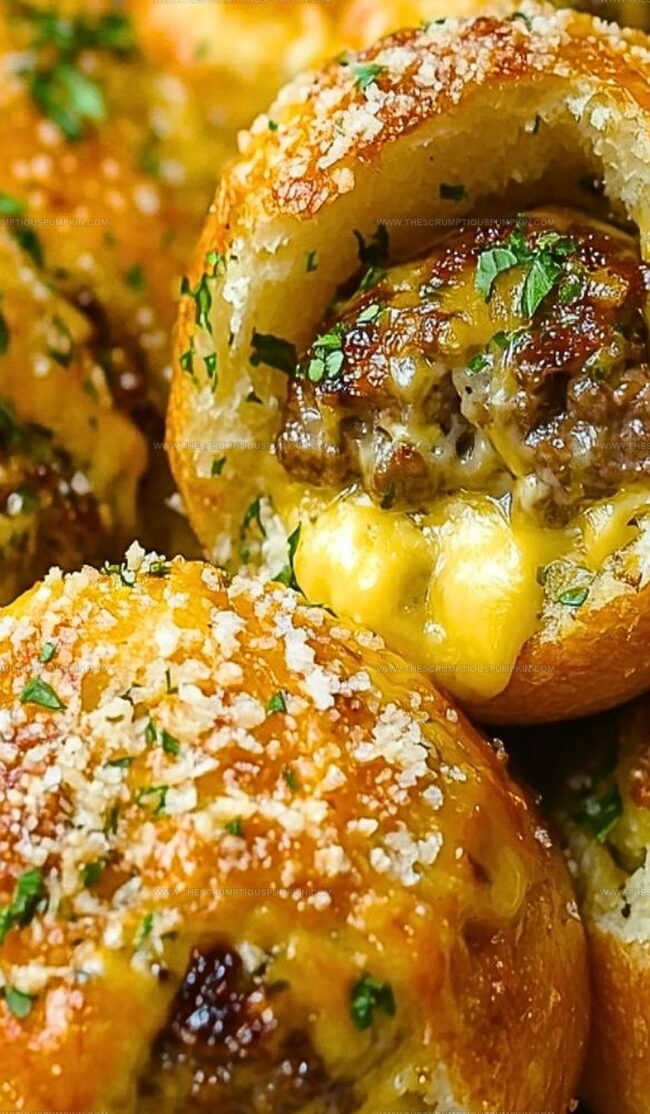
Melted cheese oozes from crispy, golden parcels that burst with savory flavors.
Juicy ground beef mingles with fragrant garlic and sharp parmesan for an irresistible combination.
Home cooks adore these compact flavor bombs that transform ordinary meals into extraordinary experiences.
Small gatherings or weekend cookouts become memorable with these delectable treats.
Every bite delivers a perfect balance of rich, comforting ingredients.
Prepare to impress everyone at the table with this simple yet spectacular dish.
Why Garlic Parmesan Cheeseburger Bombs Are So Addictive

What You’ll Need for Cheeseburger Bombs
Main Ingredients:Seasonings and Flavor Enhancers:Additional Components:How to Make Garlic Parmesan Cheeseburger Bombs
Step 1: Prep the Cooking Space
Warm up your oven to 375°F and cover a baking sheet with parchment paper for easy cleanup.
Step 2: Sizzle the Beef
Heat a skillet and cook ground beef until it turns beautifully brown.
Season with:Cook until the garlic releases its aromatic magic, then let the mixture cool down slightly.
Step 3: Create the Cheesy Beef Filling
Combine the cooled beef with shredded cheddar cheese, mixing until perfectly blended.
Step 4: Prepare the Dough
Gently roll out your biscuit or pizza dough and slice into 3-inch squares with a sharp knife.
Step 5: Stuff the Dough Squares
Spoon a generous portion of the beef and cheese mixture onto each dough square.
Step 6: Shape the Bombs
Carefully fold and pinch the dough edges, transforming each square into a smooth, sealed ball.
Step 7: Arrange for Baking
Place the dough balls seam-side down on the prepared baking sheet, giving each one some breathing room.
Step 8: Add Flavor Boost
Whisk together:Brush this magical mixture over each dough ball, ensuring maximum flavor coverage.
Step 9: Sprinkle the Topping
Generously dust the balls with:Step 10: Bake to Golden Perfection
Slide the baking sheet into the oven and bake for 15-18 minutes until the bombs turn a gorgeous golden brown.
Step 11: Serve and Enjoy
Pull out these delectable bombs and serve them piping hot with your favorite dipping sauces.
Watch them disappear in minutes!
Tips for Golden, Cheesy Cheeseburger Bombs

How to Store and Reheat Cheeseburger Bombs
What to Pair with Cheeseburger Bombs
Fun Variations on Cheeseburger Bomb Recipes
FAQs
Yes, you can substitute ground beef with ground turkey, chicken, or even plant-based meat alternatives. Just ensure the meat is fully cooked before mixing with cheese.
Absolutely! Kids love these cheesy, handheld bombs. They’re easy to eat and packed with flavors that children typically enjoy. Plus, they can be a fun meal or snack.
Work with cold dough and use gentle, even pressure when folding and sealing. If the dough becomes too soft, refrigerate it for a few minutes to make handling easier.
You can prepare the bombs and refrigerate them, unbaked, for up to 24 hours. When ready to serve, brush with garlic butter and bake as directed. They can also be frozen before baking for up to a month.
Print
Garlic Parmesan Cheeseburger Bombs Recipe
- Total Time: 35 minutes
- Yield: 4 1x
Description
Garlic parmesan cheeseburger bombs explode with savory goodness, blending juicy ground beef and melted cheese in a crispy, golden package. Loaded with irresistible flavors, these bombs will make you the hero of any gathering.
Ingredients
Main Protein:
- 1 pound (1 lb) ground beef
Cheese:
- 1 cup shredded cheddar cheese
- 1/4 cup grated parmesan cheese
Dough and Seasoning:
- 1 package biscuit or pizza dough
- 2 tablespoons butter, melted
- 2 cloves garlic, minced
- 1 tablespoon fresh parsley, chopped (optional)
- Salt and pepper to taste
Instructions
- Prepare workstation by preheating oven to 375°F and lining baking sheet with parchment paper.
- Sauté ground beef in skillet over medium heat, seasoning with salt and pepper until thoroughly browned.
- Add minced garlic to beef and cook until aromatic, then remove from heat and allow mixture to cool slightly.
- Incorporate shredded cheddar cheese into the cooled beef mixture, ensuring even distribution.
- Gently roll out biscuit dough and divide into roughly 3-inch square sections.
- Carefully place a generous spoonful of beef and cheese filling into the center of each dough square.
- Carefully gather dough edges, pinching and folding to create sealed, compact spherical shapes.
- Position stuffed dough balls seam-side down on prepared baking sheet, maintaining slight separation.
- Create garlic butter glaze by combining melted butter with finely chopped garlic.
- Generously brush each dough ball with garlic butter mixture, ensuring complete coverage.
- Sprinkle grated parmesan cheese and chopped fresh parsley over glazed dough balls.
- Bake in preheated oven for 15-18 minutes until exterior turns golden brown and crispy.
- Remove from oven and let rest momentarily before serving alongside preferred dipping sauces.
Notes
- Check meat temperature carefully to ensure ground beef is fully cooked at 160°F for food safety.
- Use lean ground beef to reduce excess grease and prevent soggy dough bottoms.
- Choose refrigerated biscuit dough for easier handling and consistent shape when sealing.
- Make extra batches and freeze unbaked bombs for quick future meals by wrapping tightly in plastic wrap before freezing.
- Prep Time: 15 minutes
- Cook Time: 20 minutes
- Category: Dinner, Appetizer, Snacks
- Method: Baking
- Cuisine: American
Nutrition
- Serving Size: 4
- Calories: 400
- Sugar: 1g
- Sodium: 600mg
- Fat: 25g
- Saturated Fat: 12g
- Unsaturated Fat: 13g
- Trans Fat: 0g
- Carbohydrates: 30g
- Fiber: 1g
- Protein: 20g
- Cholesterol: 75mg
Lucas Bennett
Founder & Recipe Developer
Expertise
Education
Blue Ridge Community College – Certificate in Culinary Arts
Focused on seasonal cooking, sustainable kitchen practices, and farm-to-table techniques.
Appalachian State University – B.A. in English
Built critical thinking and analysis through diverse texts. Guided by faculty, it prepares graduates for publishing and more.
Growing up in the rolling hills of North Carolina, Lucas learned early that some of life’s best memories start around a kitchen table. After studying English at Appalachian State University and honing his culinary skills at Blue Ridge Community College, he dreamed of blending storytelling with rustic, seasonal cooking, and The Scrumptious Pumpkin was born.
Lucas focuses on easy, single-serving recipes that turn fresh, local ingredients into something special. His style is simple, heartfelt, and rooted in the beauty of the seasons. When he’s not testing a new dish, you’ll probably find him hiking in the Blue Ridge Mountains, browsing farmers’ markets, or scribbling food stories in a notebook.