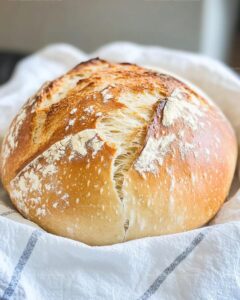
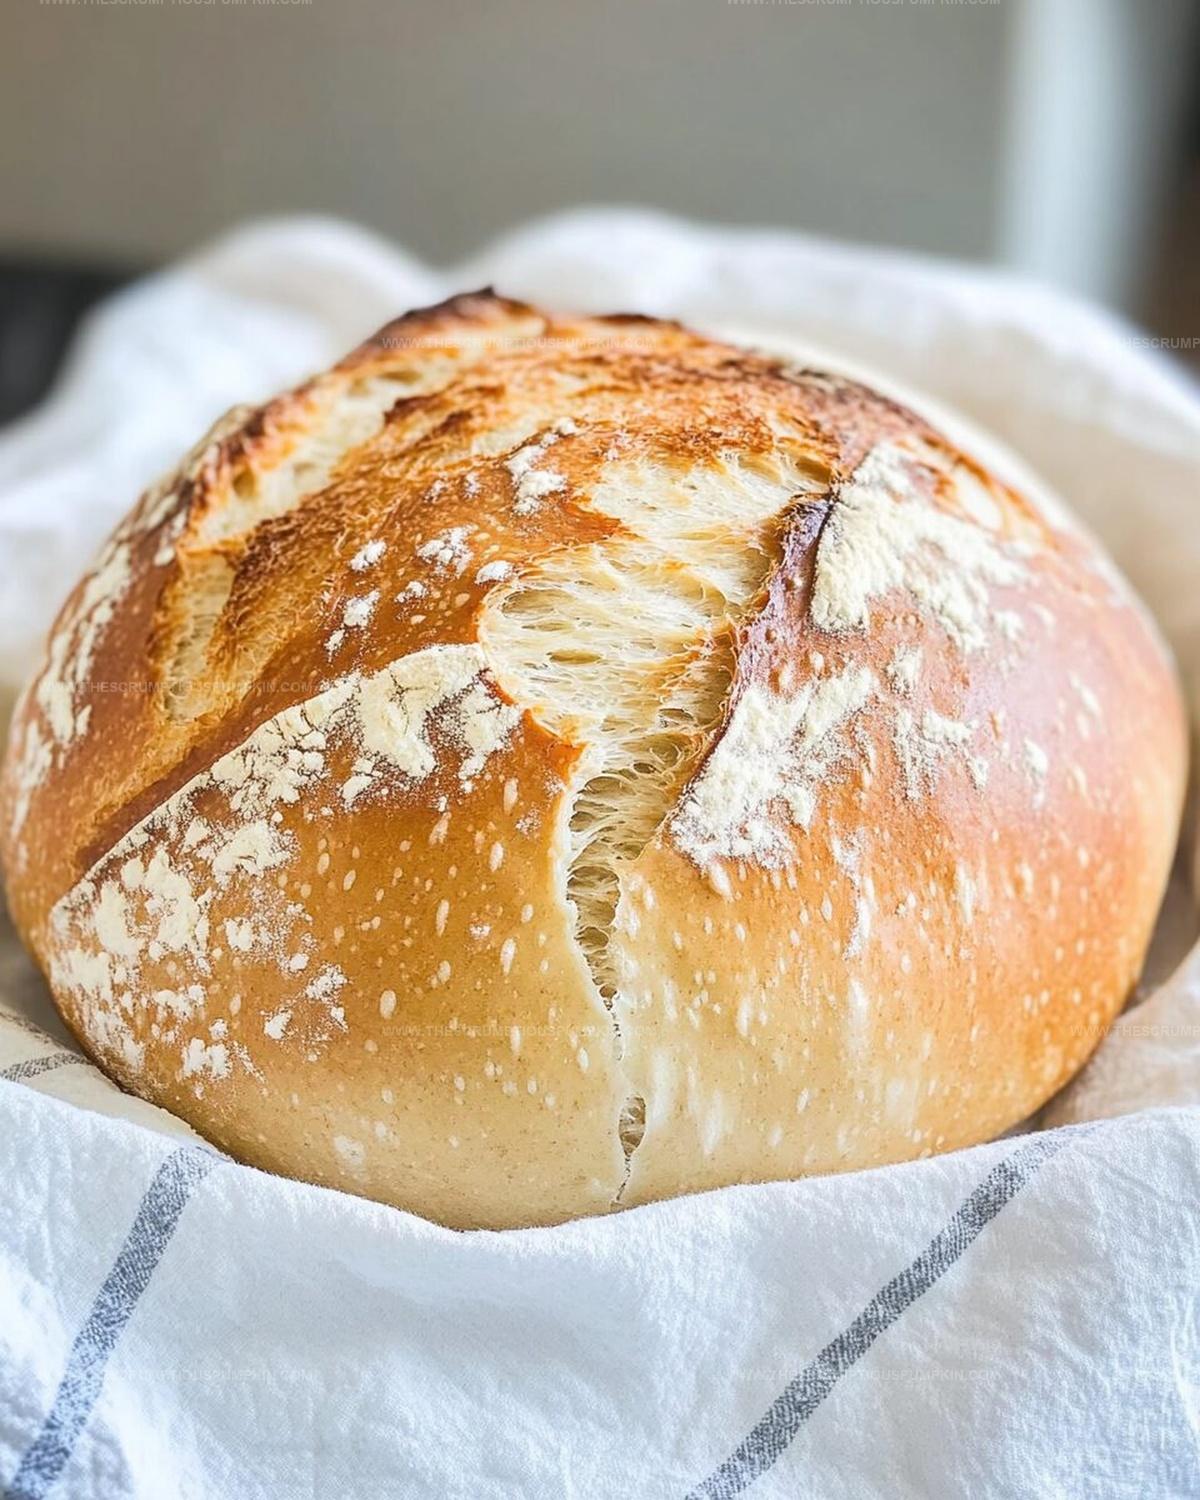
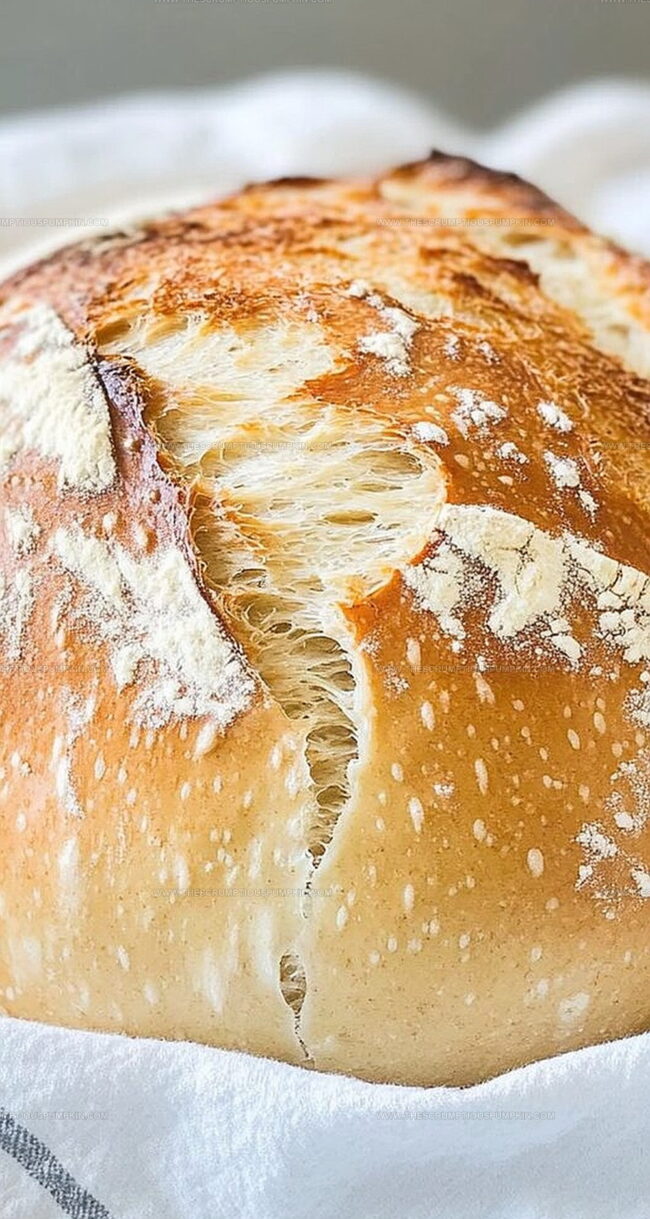
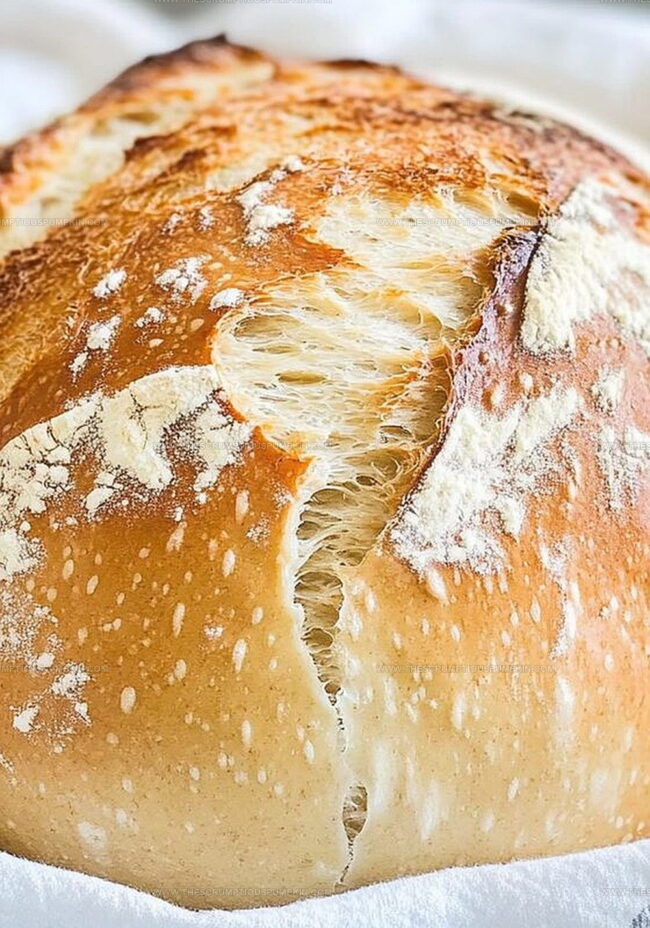
Easy Golden Crusty Artisan Bread Loaf Recipe That Wows
Fresh from the oven, this golden crusty artisan bread loaf promises a sensory adventure that will make your kitchen smell incredible.
Flour, water, and salt combine in a magical transformation rarely seen in home baking.
Professional bakers guard these techniques like treasured secrets.
Natural fermentation develops complex flavors that commercial breads never achieve.
Crisp exterior and soft, pillowy interior await you with each slice.
Kneading becomes meditation, connecting you to centuries-old baking traditions.
Slice this bread and watch how its rustic charm makes everyone gather around the table.
Why Everyone’s Obsessed With This Artisan Bread Loaf
Key Ingredients Behind That Golden Artisan Crust
Dry Ingredients:Liquid Ingredient:Baking Equipment:Easy Steps to Craft Artisan Bread Like a Pro
Step 1: Mix Dry Ingredients
In a spacious mixing bowl, blend together:Thoroughly combine these ingredients using a whisk or wooden spoon until evenly distributed.
Step 2: Create Dough Base
Pour warm water into the dry ingredient mixture.
Stir continuously with a wooden spoon until a shaggy, sticky dough emerges. The consistency should look rough and slightly uneven.
Step 3: Allow Fermentation
Cover the bowl completely with plastic wrap or a clean kitchen towel. Let the dough sit at room temperature for 12-18 hours.
During this time, the dough will develop complex flavors and rise significantly, becoming bubbly and puffy.
Step 4: Prepare Baking Equipment
Set your oven to 450°F.
Place a Dutch oven with its lid inside the oven to heat for 30 minutes. The intense heat will help create a crispy, golden exterior.
Step 5: Shape Bread Dough
Transfer the risen dough onto a generously floured surface. Gently shape the dough into a round loaf using soft, careful movements.
Allow the shaped dough to rest for 30 minutes, which helps develop structure.
Step 6: Bake Covered
Remove the scorching hot Dutch oven from the oven.
Carefully place the dough inside, cover with the lid, and bake for 30 minutes. This trapped steam creates a magnificent crust.
Step 7: Finish Browning
Remove the Dutch oven lid and continue baking for 10-15 minutes. Watch for a deep golden-brown color that signals a perfectly crisp exterior.
Step 8: Cool and Serve
Move the freshly baked bread to a wire cooling rack. Let it cool completely before slicing to maintain internal moisture and texture.
Top Tips for That Rustic Bread Finish
Tasty Bread Twists for a Custom Bake
What to Serve With Your Artisan Bread Creation
Keep Your Artisan Loaf Fresh and Crunchy
Artisan Bread FAQs—All Your Bread Questions Answered
This artisan bread uses a long, slow fermentation process that develops deeper flavor and creates a more complex taste profile compared to quick-rise commercial breads.
You’ll need a Dutch oven, which helps create steam and produces the signature crispy, golden crust that makes artisan bread unique.
Yes! The recipe requires minimal hands-on time and uses simple ingredients, making it perfect for bread-making novices who want to try homemade bread.
The dough should look puffy, have visible bubbles, and roughly double in size after 12-18 hours of resting at room temperature.
Print
Golden Crusty Artisan Bread Loaf Recipe
- Total Time: 12–18 hours and 40–45 minutes
- Yield: 8 1x
Description
Rustic golden crusty artisan bread loaf reveals Mediterranean baking magic with simple ingredients and classic techniques. Professional bakers and home cooks will relish creating this authentic, crackling-crusted masterpiece that connects you directly to generations of traditional bread making.
Ingredients
Bread Base:
- 3 cups (375 grams) all-purpose flour
- 1 1/2 cups (360 milliliters) warm water
Leavening and Seasoning:
- 1/2 teaspoon instant yeast
- 2 teaspoons salt
Instructions
- In a spacious mixing vessel, thoroughly combine the dry ingredients, ensuring an even distribution of flour, salt, and instant yeast.
- Create a hydration environment by gently introducing warm water, using a wooden utensil to transform the mixture into a cohesive, tacky dough.
- Seal the bowl completely with plastic wrap or a pristine kitchen cloth, allowing the dough to undergo fermentation at ambient temperature for 12–18 hours until it visibly expands and develops a bubbly texture.
- Prepare the oven by heating to 450°F (230°C) and positioning a Dutch oven with its lid inside to reach optimal temperature for 30 minutes.
- Gently transfer the fermented dough onto a liberally floured surface, carefully shaping it into a rounded artisan form without excessive manipulation.
- Allow the shaped dough to rest and relax for 30 minutes, developing surface tension and preparing for baking.
- Extract the scorching hot Dutch oven from the oven with extreme caution, delicately placing the dough inside and covering with the lid.
- Bake for precisely 30 minutes, creating an initial steam environment for crust development.
- Remove the lid to expose the bread, continuing baking for an additional 10–15 minutes until the exterior achieves a rich, golden-brown complexion.
- Immediately transfer the freshly baked loaf to a wire cooling rack, permitting complete cooling before slicing to preserve internal moisture and texture.
Notes
- Flour Selection Matters: Choose high-protein bread flour for a chewier, more robust texture that guarantees a perfect artisan-style loaf.
- Fermentation Magic: Longer resting time develops deeper, more complex flavor profiles and improves bread’s digestibility through natural fermentation.
- Moisture Management: Keep dough consistently sticky but not wet, using minimal flour during shaping to maintain the bread’s signature airy crumb.
- Temperature Control: Ensure warm water is between 100-110°F to activate yeast without killing it, creating optimal rising conditions for a light, springy loaf.
- Prep Time: 12–18 hours
- Cook Time: 40–45 minutes
- Category: Dinner, Snacks, Appetizer
- Method: Baking
- Cuisine: American
Nutrition
- Serving Size: 8
- Calories: 150
- Sugar: 0 g
- Sodium: 300 mg
- Fat: 0.5 g
- Saturated Fat: 0 g
- Unsaturated Fat: 0.5 g
- Trans Fat: 0 g
- Carbohydrates: 31 g
- Fiber: 1 g
- Protein: 4 g
- Cholesterol: 0 mg


Mia Thompson
Pastry Chef & Content Creator
Expertise
Education
Portland Community College – Baking and Pastry Arts Program
Specialized in artisanal bread, seasonal desserts, and sustainable baking methods.
National University of Natural Medicine – Bachelor of Science in Nutrition (BScN)
Focused on “Food as Medicine” philosophy, with core threads in nutrition.
Mia’s love affair with baking began in her grandmother’s kitchen, where sneaking spoonfuls of batter first sparked her curiosity. She refined her skills through Portland Community College’s Baking and Pastry Arts Program and her expertise at the National University of Natural Medicine, earning a B.Sc. in Nutrition.
At The Scrumptious Pumpkin, Mia reimagines classics with effortless seasonal treats, healthier twists on old favorites, and playful confections that feel like pure joy. Beyond the oven, she nurtures her urban garden, forages local ingredients around Portland, and leads hands‑on nutrition workshops for her community.