
The Perfect Grilled Cheese Patty Melts Recipe: Cozy Comfort Food
Crafting the ultimate grilled cheese patty melts requires more than just bread and cheese.
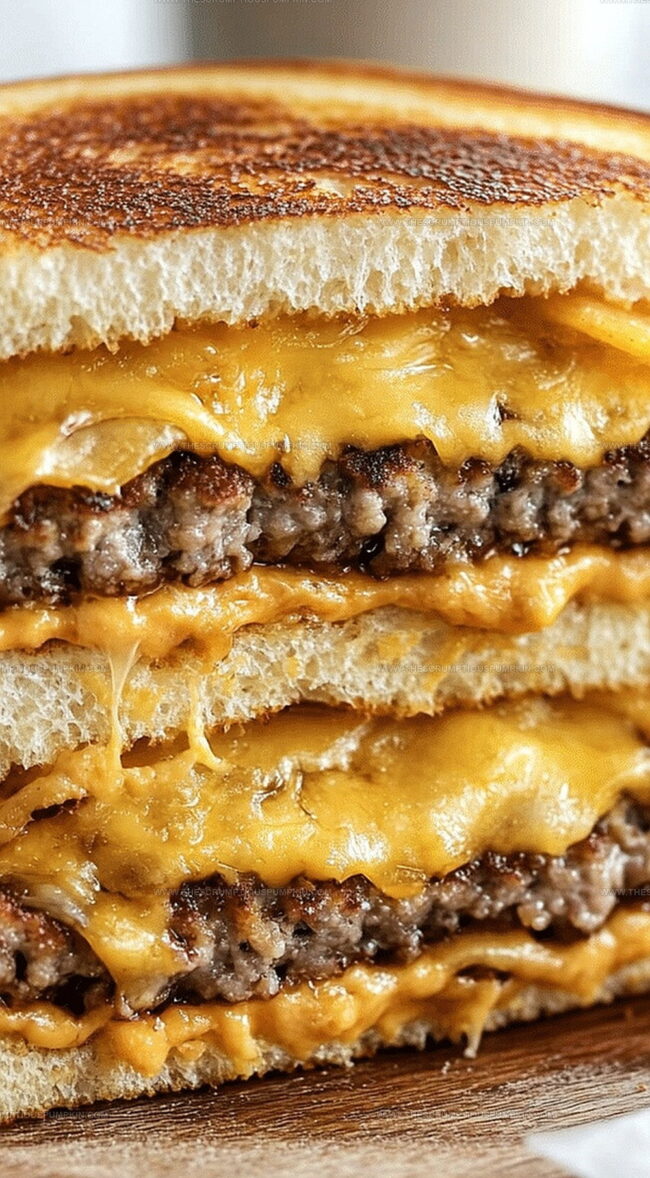
Melted goodness meets classic diner comfort in this nostalgic sandwich adventure.
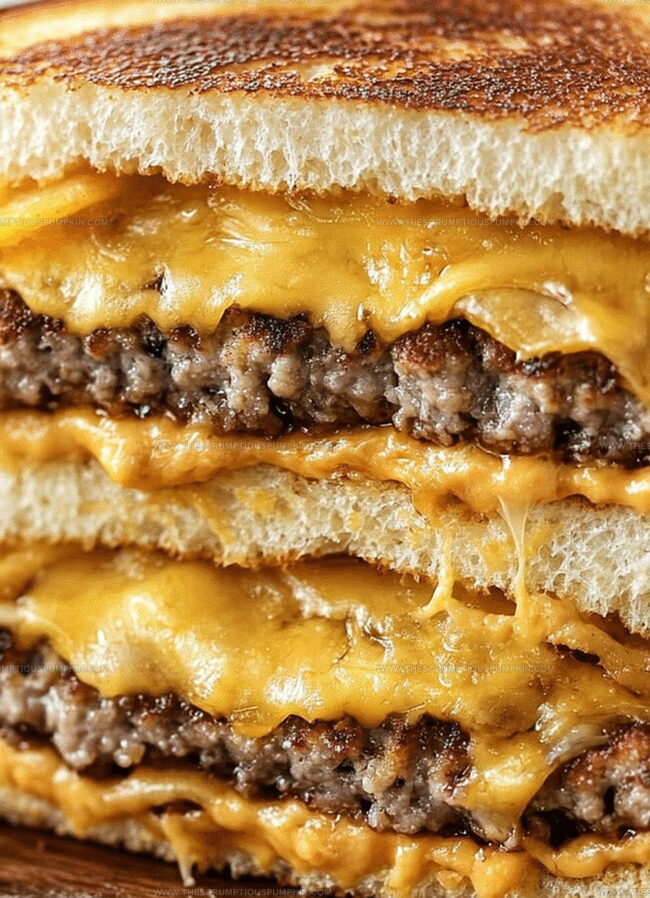
Crispy edges and gooey centers create a magical combination that satisfies deep hunger pangs.
Caramelized onions and perfectly seasoned beef elevate this humble dish into something extraordinary.
Comfort food enthusiasts will appreciate the simple yet sophisticated approach to a beloved classic.
Melts like these connect us to childhood memories while offering a grown-up twist.
Grilled Cheese Patty Melts Overview
Patty Melts Ingredients
Main Protein:Dairy and Cheese:Bread and Grilling Ingredients:Flavor Enhancers:Patty Melts Preparation
Step 1: Sizzle Beef Patties
Heat a skillet over medium flame.
Gently place ground beef patties onto the cooking surface.
Sprinkle with salt and black pepper.
Cook each side until a delicious golden-brown crust forms and the meat reaches your desired doneness.
Step 2: Transform Onions
Slice onions into thin, delicate rings.
Pour a splash of olive oil into another pan.
Slowly cook onions over low heat, stirring occasionally.
Watch them caramelize and turn a rich, amber color, developing a sweet and mellow flavor.
Step 3: Prepare Bread Canvas
Grab soft sourdough or rye bread slices.
Spread softened butter generously on one side of each slice.
This will create a crispy, golden exterior when grilled.
Step 4: Build Flavor Layers
Place buttered bread side down on a hot griddle or skillet.
Carefully layer each slice with:Step 5: Grill to Perfection
Press sandwich gently with a spatula.
Grill until bread turns a gorgeous golden-brown and cheese melts into gooey deliciousness.
Flip carefully to ensure even cooking.
Step 6: Serve and Enjoy
Transfer patty melts to a cutting board.
Slice diagonally and serve immediately while hot and crispy.
Pair with crisp pickles or tangy coleslaw for a complete meal.
Tips for Grilled Cheese Patty Melts
Patty Melts Variations
Serving Suggestions for Patty Melts
Storage Guidelines for Patty Melts
FAQs
Swiss or American cheese melts perfectly, creating that classic gooey texture that makes patty melts irresistible.
Absolutely! Ground turkey is a lean alternative that still delivers great flavor when seasoned well and cooked to golden perfection.
Use medium-low heat and spread softened butter evenly on the bread’s exterior to ensure a golden, crispy crust without scorching.
You can prepare the beef patties and caramelized onions in advance, making assembly quick and easy when you’re ready to grill the sandwiches.
Print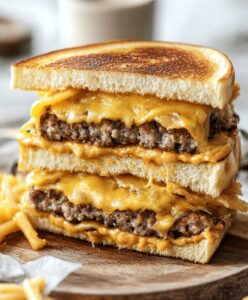
Grilled Cheese Patty Melts Recipe
- Total Time: 45 minutes
- Yield: 4 1x
Description
Comfort meets gourmet in these classic grilled cheese patty melts, blending juicy beef patties with melted cheese between golden-brown sourdough slices. Rich flavors and crispy textures unite, promising a satisfying meal you’ll crave again and again.
Ingredients
Main Proteins:
- 1 pound ground beef
- 4 slices cheddar cheese
Bread and Base:
- 8 slices rye or sourdough bread
- 1/2 cup butter
Seasonings and Additional Ingredients:
- 1 large onion, sliced
- 1 teaspoon salt
- 1/2 teaspoon ground black pepper
Instructions
- Prepare beef patties by seasoning with salt and pepper, then cook over medium-high heat until desired doneness, approximately 3-4 minutes per side.
- In a separate skillet, slowly caramelize sliced onions over low heat, stirring occasionally until they turn rich golden brown and develop a sweet, soft texture, about 15-20 minutes.
- Generously spread butter on one side of each bread slice, creating an even, golden-brown surface for grilling.
- Place bread slices butter-side down in a preheated skillet, allowing them to crisp and turn a deep golden color.
- Layer the grilled bread with cooked beef patties, melting cheese, and caramelized onions, creating a decadent sandwich stack.
- Return the assembled sandwiches to the skillet, grilling each side until the cheese completely melts and the bread achieves a crispy, toasted exterior.
- Remove from heat, slice diagonally, and serve immediately while warm and cheese is still gooey.
Notes
- Select ground beef with 80/20 fat content for juicier, more flavorful patties that won’t dry out during grilling.
- Caramelize onions slowly over low-medium heat to develop rich, sweet flavor without burning them.
- Experiment with different cheese varieties like Swiss, provolone, or sharp cheddar to customize the melt’s taste profile.
- Use room temperature butter for even spreading and achieving a perfectly golden, crispy bread exterior.
- Prep Time: 10 minutes
- Cook Time: 35 minutes
- Category: Lunch, Dinner, Snacks
- Method: Grilling
- Cuisine: American
Nutrition
- Serving Size: 4
- Calories: 400 kcal
- Sugar: 2 g
- Sodium: 600 mg
- Fat: 28 g
- Saturated Fat: 12 g
- Unsaturated Fat: 14 g
- Trans Fat: 1 g
- Carbohydrates: 25 g
- Fiber: 2 g
- Protein: 20 g
- Cholesterol: 70 mg
Lucas Bennett
Founder & Recipe Developer
Expertise
Education
Blue Ridge Community College – Certificate in Culinary Arts
Focused on seasonal cooking, sustainable kitchen practices, and farm-to-table techniques.
Appalachian State University – B.A. in English
Built critical thinking and analysis through diverse texts. Guided by faculty, it prepares graduates for publishing and more.
Growing up in the rolling hills of North Carolina, Lucas learned early that some of life’s best memories start around a kitchen table. After studying English at Appalachian State University and honing his culinary skills at Blue Ridge Community College, he dreamed of blending storytelling with rustic, seasonal cooking, and The Scrumptious Pumpkin was born.
Lucas focuses on easy, single-serving recipes that turn fresh, local ingredients into something special. His style is simple, heartfelt, and rooted in the beauty of the seasons. When he’s not testing a new dish, you’ll probably find him hiking in the Blue Ridge Mountains, browsing farmers’ markets, or scribbling food stories in a notebook.