Spooky Halloween Bloodshot Eyeballs Candy Recipe for Treats
Crafting spooky halloween bloodshot eyeballs candy will make your party guests shriek with delight!
Ghoulish treats spark conversation and create memorable moments among friends.
Edible eyeballs bring unexpected humor to seasonal celebrations.
Creepy confections combine sweet ingredients with playful presentation.
Watching people’s reactions becomes half the entertainment when serving these delightful delicacies.
Kids and adults alike will marvel at your creative culinary skills.
You cannot resist making these wickedly fun sweets that perfectly capture halloween’s mischievous spirit.
Why Halloween Bloodshot Eyeballs Candy Is Creepy Fun
Halloween Bloodshot Eyeballs Candy Ingredients
Base Ingredients:Decorative Ingredients:Additional Ingredients:How to Make Halloween Bloodshot Eyeballs Candy
Step 1: Prepare Melting Station
Set up a double boiler or microwave-safe bowl for melting white candy coating.
Ensure all utensils are completely dry to prevent chocolate from seizing.
Step 2: Create Smooth Candy Base
Gently melt the white candy coating, stirring frequently to achieve a silky, lump-free consistency.
Stir slowly to avoid introducing air bubbles that could ruin the smooth surface.
Step 3: Shape Eyeball Rounds
Use a spoon or piping bag to carefully pour melted coating into circular molds or create free-form round shapes on a parchment-lined baking sheet.
Tap the surface gently to release any trapped air bubbles.
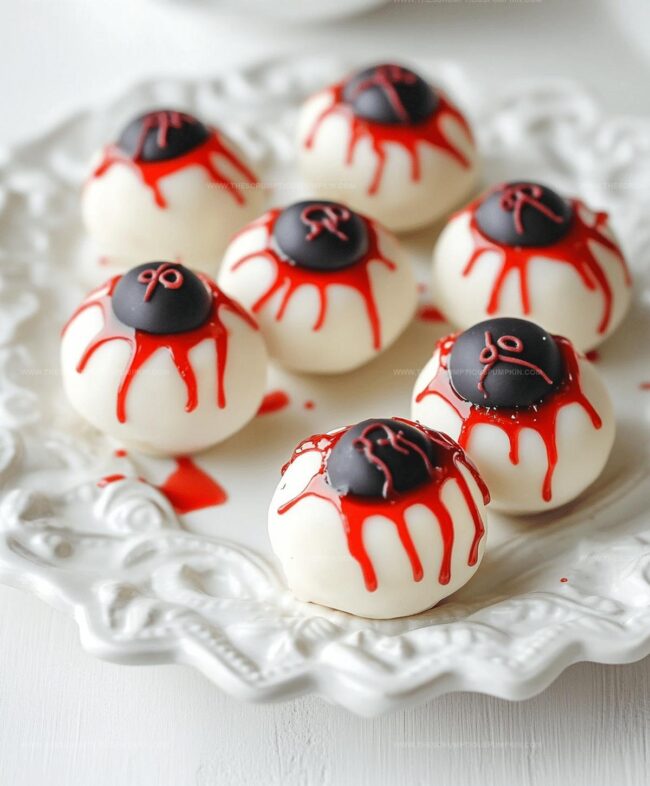
Step 4: Add Pupil Accent
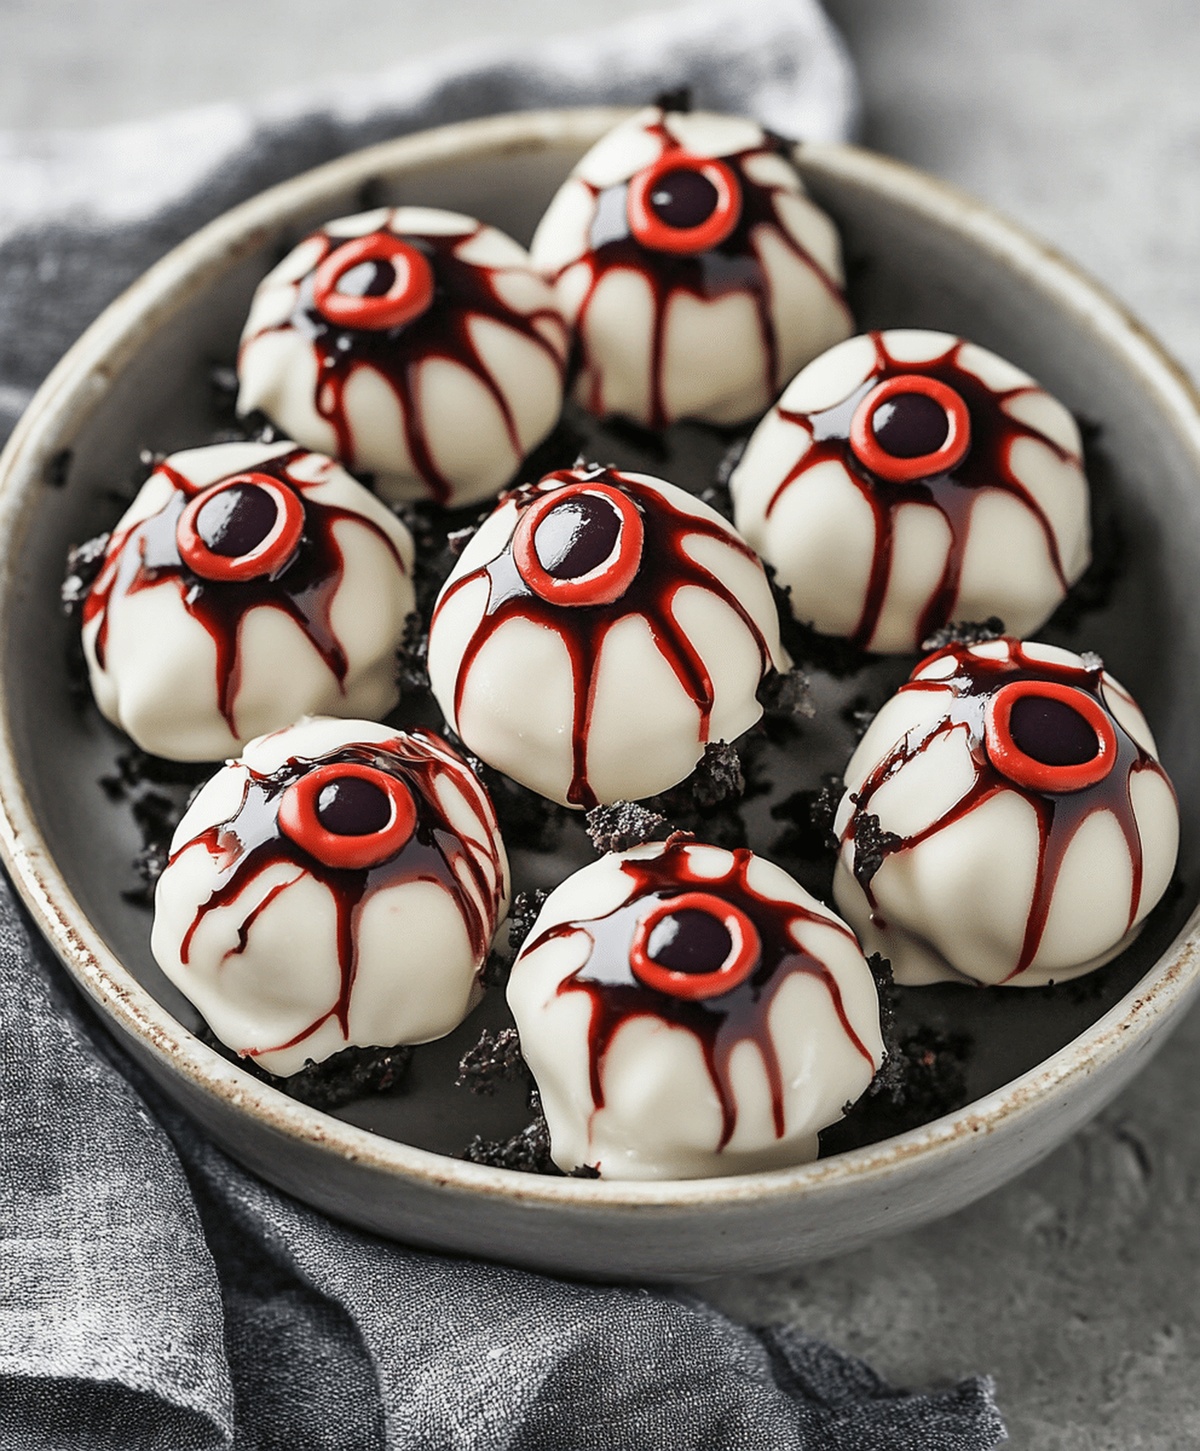
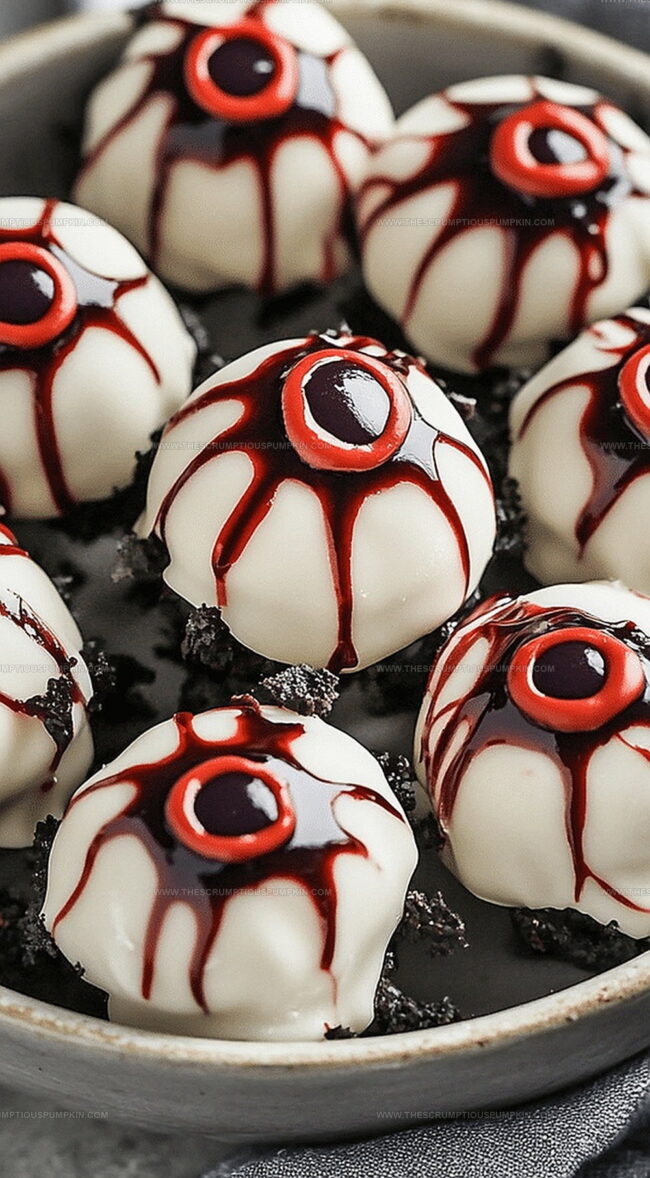
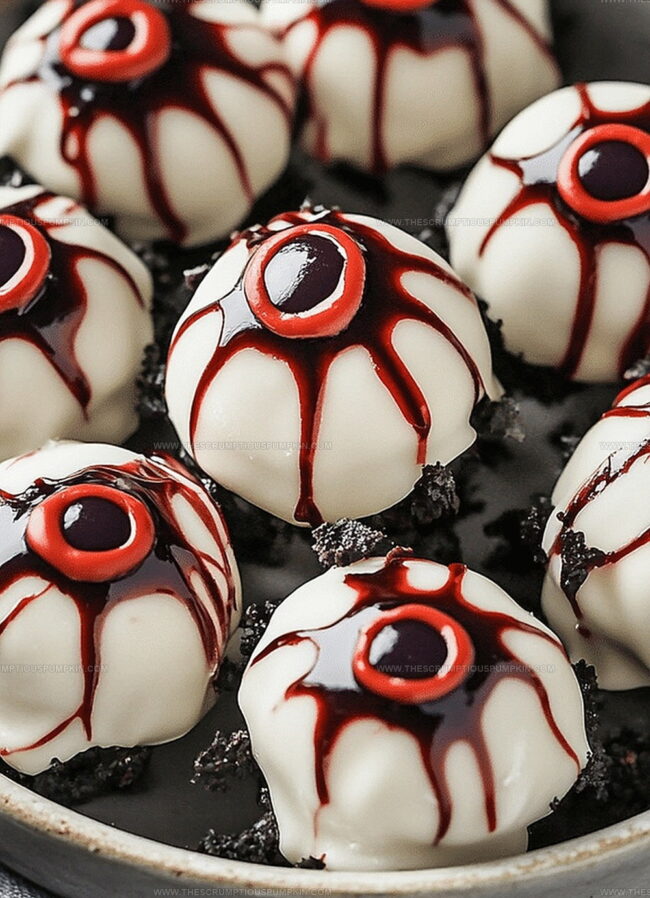
While the candy coating remains soft and glossy:Step 5: Design Spooky Veins
Use a food-safe red marker or thin paintbrush with edible red coloring to draw wispy, branching lines radiating from the pupil.
Create irregular, slightly curved lines to mimic bloodshot eye effect.
Step 6: Allow Complete Setting
Place eyeball candies in a cool, dry area away from direct sunlight.
Let them rest undisturbed until fully hardened and glossy, approximately 15-20 minutes.
Step 7: Final Presentation
Transfer the creepy eyeball treats to a serving platter.
Store in an airtight container if not serving immediately to maintain their spooky appearance.
Pro Tips for Halloween Bloodshot Eyeballs Candy
Variations of Halloween Bloodshot Eyeballs Candy
Serving Halloween Bloodshot Eyeballs Candy
Storing Halloween Bloodshot Eyeballs Candy
FAQs
Tap the mold gently on the counter after pouring to release any trapped air bubbles and ensure a smooth surface.
Absolutely! You can use different colored candies like Smarties, chocolate chips, or even colored candy pieces to create unique eyeball designs.
Use red food coloring gel or a thin paintbrush with red candy melts to carefully draw the veins onto the white candy surface.
When stored in an airtight container at room temperature, these candies will remain fresh for up to 2 weeks.
Print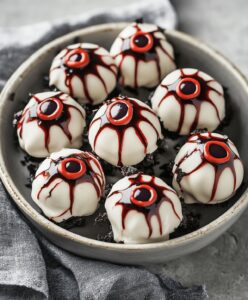
Halloween Bloodshot Eyeballs Candy Recipe
- Total Time: 20 minutes
- Yield: 12 1x
Description
Spooky Halloween bloodshot eyeballs candy bring ghoulish delight to festive gatherings. Creamy white chocolate and red gel create eerily realistic eye details that will startle and surprise party guests.
Ingredients
Main Ingredients:
- 1 package white candy melts
- 1 package M&M or chocolate candies
Decorative Ingredients:
- 1 edible red food marker
Instructions
- Carefully liquefy white confectionery coating using recommended melting techniques, ensuring smooth and consistent texture.
- Meticulously pour molten coating into circular molds, creating uniform spherical shapes that resemble realistic eyeball structures.
- While coating remains pliable, strategically position a chocolate candy or M&M precisely in the center, representing the pupil with precision.
- Allow confectionery pieces to solidify completely at room temperature, maintaining their rounded anatomical form.
- Utilize edible crimson food-safe marker to artfully craft intricate vascular lines radiating outward from the central pupil, enhancing the haunting visual aesthetic.
- Permit decorated candies to thoroughly dry and stabilize before presenting or serving, ensuring maximum dramatic Halloween presentation.
Notes
- Always use low, steady heat when melting candy melts to prevent burning or seizing.
- Keep a consistent circular shape by using silicone spherical molds or carefully pouring candy onto a smooth, flat surface.
- Select a contrasting candy color for the pupil to create a dramatic, realistic eyeball appearance.
- Work quickly when adding the pupil and drawing veins, as melted candy sets rapidly at room temperature.
- Prep Time: 20 minutes
- Cook Time: 0 minutes
- Category: Snacks, Desserts
- Method: Melting
- Cuisine: American
Nutrition
- Serving Size: 12
- Calories: 50 kcal
- Sugar: 6 g
- Sodium: 10 mg
- Fat: 2 g
- Saturated Fat: 1.5 g
- Unsaturated Fat: 0.4 g
- Trans Fat: 0 g
- Carbohydrates: 7 g
- Fiber: 0.1 g
- Protein: 0.3 g
- Cholesterol: 0 mg
Lucas Bennett
Founder & Recipe Developer
Expertise
Education
Blue Ridge Community College – Certificate in Culinary Arts
Focused on seasonal cooking, sustainable kitchen practices, and farm-to-table techniques.
Appalachian State University – B.A. in English
Built critical thinking and analysis through diverse texts. Guided by faculty, it prepares graduates for publishing and more.
Growing up in the rolling hills of North Carolina, Lucas learned early that some of life’s best memories start around a kitchen table. After studying English at Appalachian State University and honing his culinary skills at Blue Ridge Community College, he dreamed of blending storytelling with rustic, seasonal cooking, and The Scrumptious Pumpkin was born.
Lucas focuses on easy, single-serving recipes that turn fresh, local ingredients into something special. His style is simple, heartfelt, and rooted in the beauty of the seasons. When he’s not testing a new dish, you’ll probably find him hiking in the Blue Ridge Mountains, browsing farmers’ markets, or scribbling food stories in a notebook.