The Dreamiest Homemade Banana Cream Pie Recipe Ever
Crafting a delectable banana cream pie at home brings pure culinary magic to your kitchen.
Sweet bananas and silky custard create an irresistible combination that sparks joy.
Creamy layers nestled between flaky pastry promise a dessert experience beyond ordinary expectations.
Subtle hints of vanilla and a cloud-like whipped topping make each bite heavenly.
Grandma’s classic recipe gets a modern twist with simple techniques anyone can master.
Prepare to savor a slice of comfort that connects generations through delicious tradition.
You’ll find this pie so enchanting that sharing becomes optional – but highly recommended.
Why Homemade Banana Cream Pie Is Comfort Food
Homemade Banana Cream Pie Ingredients
Pie Crust Base:Filling Ingredients:Fruit and Topping:How to Make Homemade Banana Cream Pie
Step 1: Create Creamy Custard Base
Grab a medium saucepan and mix together:Slowly pour in milk while stirring continuously.
Cook over medium heat, keeping your whisk moving constantly until the mixture transforms into a thick, bubbling delight.
Step 2: Perfect The Custard Texture
Lower the heat and continue cooking for two minutes.
This gentle simmering helps develop a smooth, luxurious consistency.
Step 3: Incorporate Egg Richness
Gradually blend beaten egg yolks into the warm custard.
Return the pan to heat and cook for another two minutes, ensuring a silky, rich texture.
Step 4: Enhance Flavor Profile
Remove from heat and stir in:These ingredients will add depth and richness to your custard.
Step 5: Prepare Pie Crust
Allow the custard to cool slightly while preparing your pre-baked pie crust.
Step 6: Layer Banana Goodness
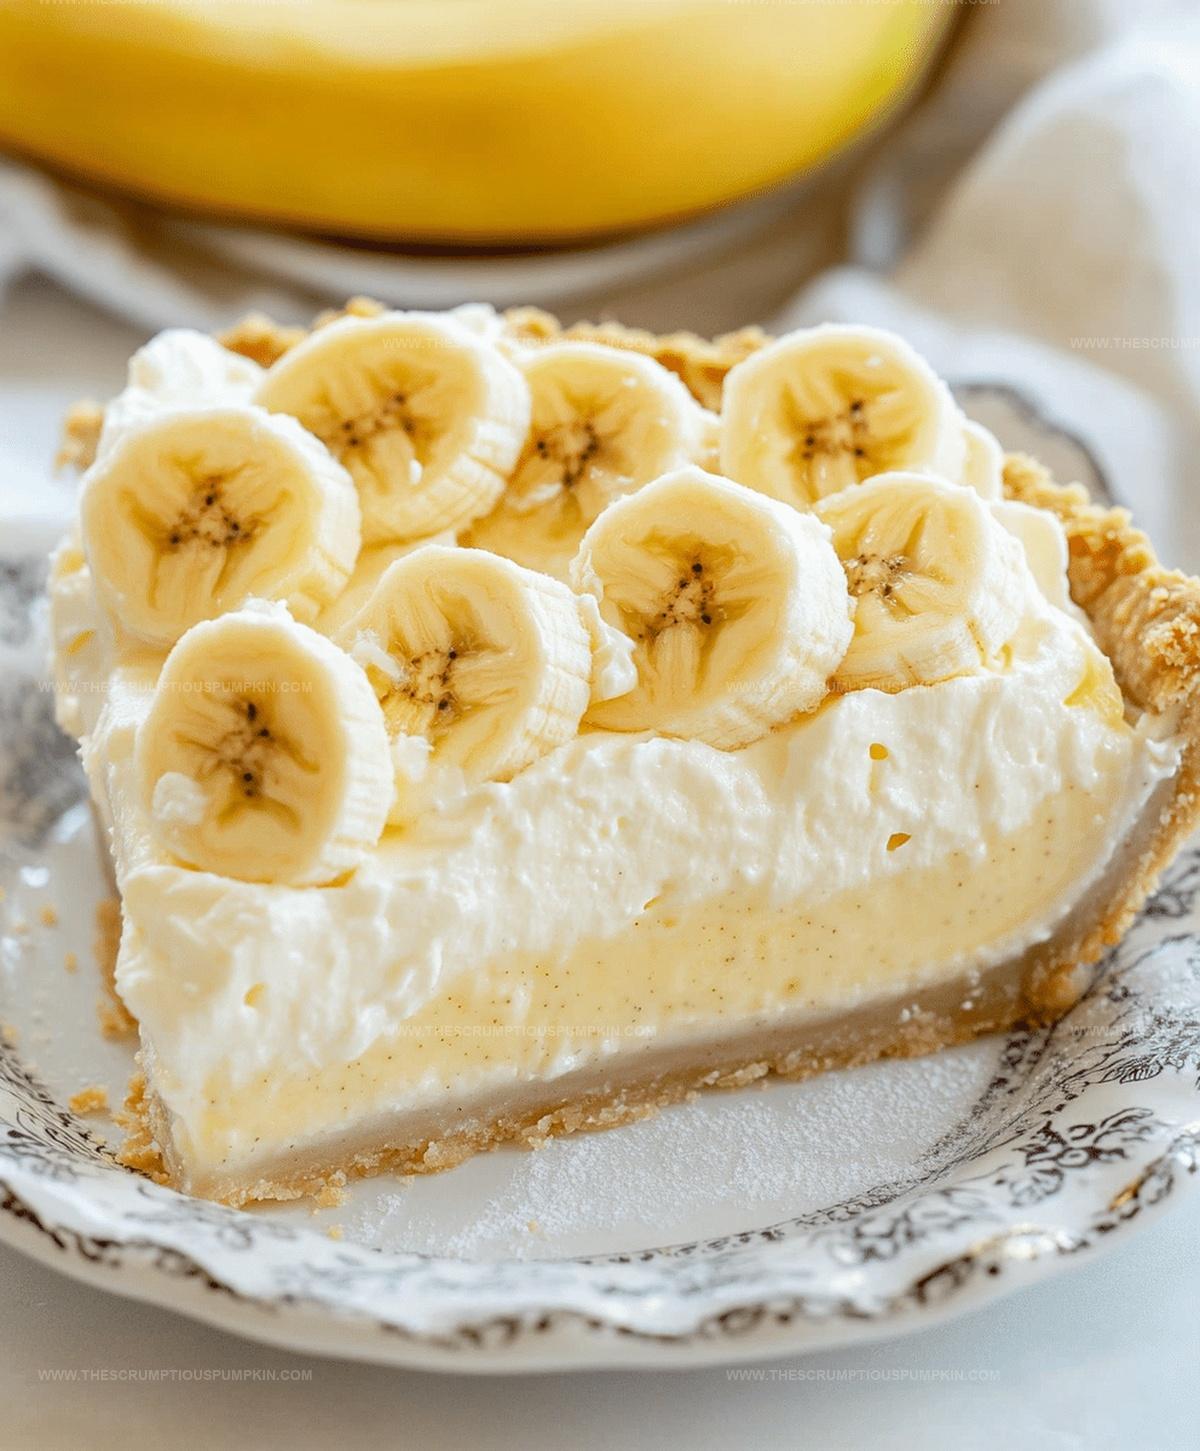
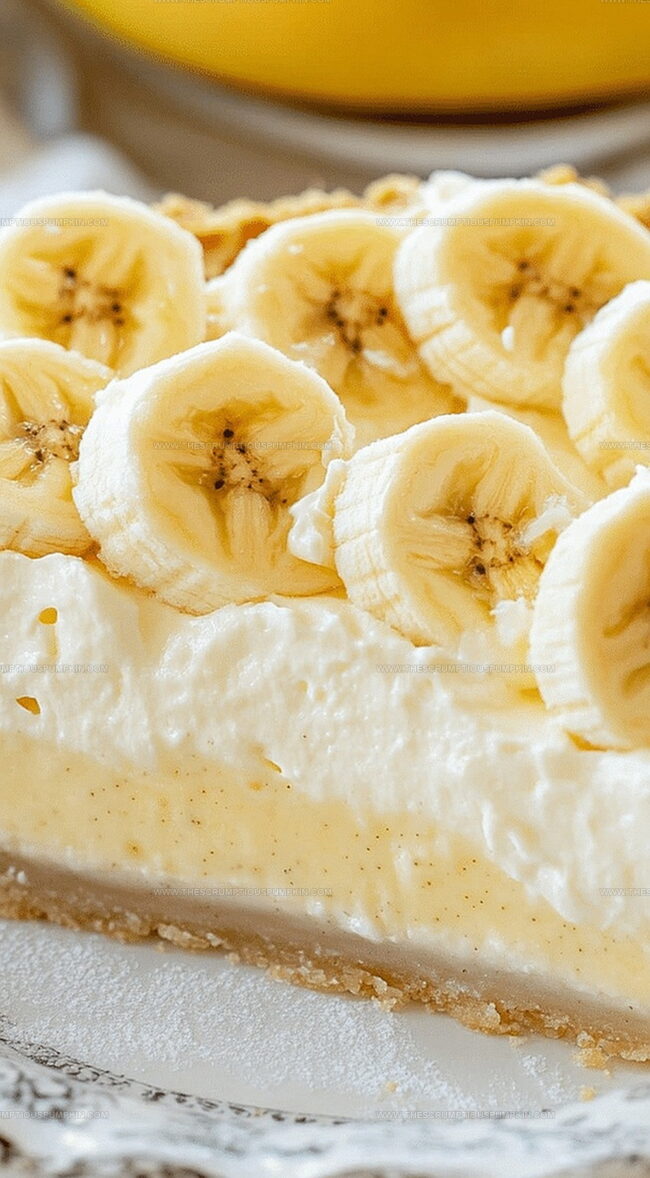
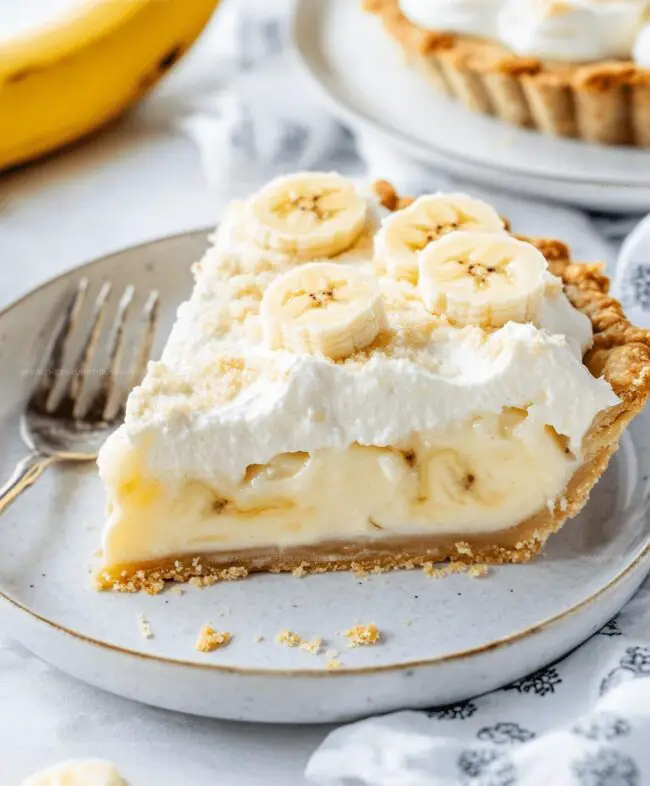
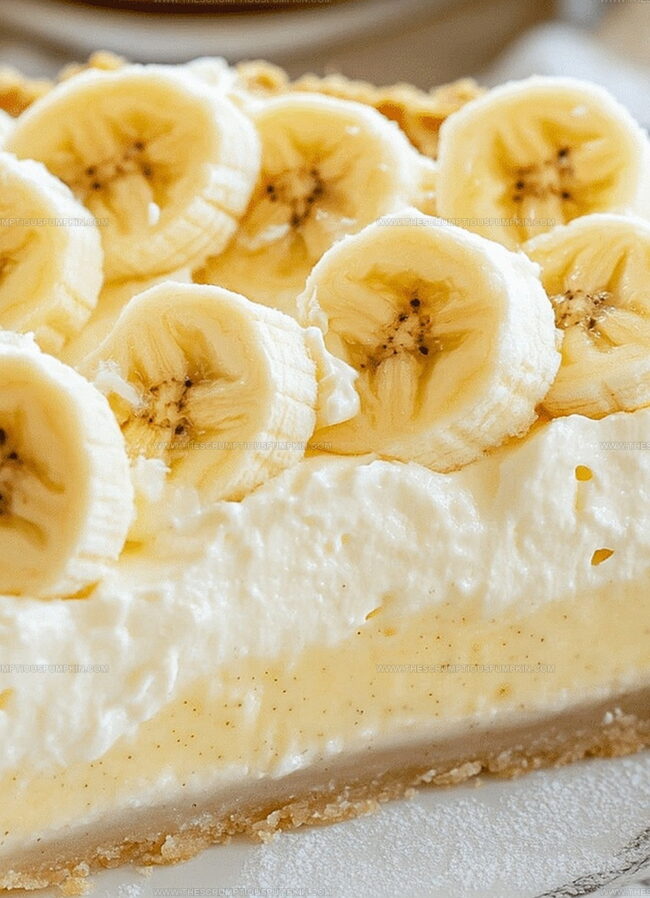
Arrange fresh banana slices across the bottom of the pie crust.
Pour the slightly cooled custard over the bananas, ensuring even coverage.
Step 7: Chill And Set
Refrigerate the pie for at least four hours, allowing the custard to firm up and flavors to meld together.
Step 8: Finishing Touch
Before serving, crown your pie with:Slice, serve, and enjoy your homemade banana cream pie!
Pro Tips for Homemade Banana Cream Pie
Variations of Homemade Banana Cream Pie
Serving Homemade Banana Cream Pie
Storing Homemade Banana Cream Pie
FAQs
The constant stirring while cooking and gradually adding egg yolks helps create a silky, lump-free custard with a rich, velvety texture.
No, use ripe bananas with yellow peels and few brown spots for the best sweetness and flavor in your banana cream pie.
Blind bake the pie crust before adding the filling and let it cool completely to create a barrier that prevents moisture from making the crust soggy.
Use a sharp knife to cut ripe bananas into uniform, thin slices to ensure even distribution and a consistent texture throughout the pie.
Print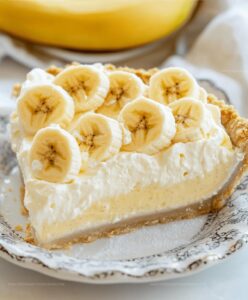
Homemade Banana Cream Pie Recipe
- Total Time: 30 minutes
- Yield: 8 1x
Description
Creamy, dreamy Banana Cream Pie brings classic comfort straight from grandma’s kitchen to your table. Rich layers of fresh bananas, silky custard, and buttery crust promise a nostalgic slice of pure dessert bliss you’ll savor with every heavenly bite.
Ingredients
Main Ingredients:
- 3–4 ripe bananas (sliced)
- 1 pie crust (baked)
- 2 cups whole milk
Custard Ingredients:
- 3/4 cup sugar
- 1/3 cup all-purpose flour
- 3 large egg yolks (beaten)
- 1/4 teaspoon salt
- 2 tablespoons butter
- 1 teaspoon vanilla extract
Topping:
- Whipped cream
Instructions
- Whisk together dry ingredients (sugar, flour, salt) in a saucepan, creating a smooth base for the creamy filling.
- Slowly incorporate milk, stirring continuously to prevent lumps and ensure even distribution.
- Heat mixture over medium temperature, constantly stirring until it transforms into a thick, bubbling consistency (approximately 5-7 minutes).
- Reduce heat and simmer for an additional 2 minutes, allowing flavors to meld and custard to develop depth.
- Carefully integrate beaten egg yolks, mixing thoroughly to create a rich, silky texture.
- Return to heat briefly, cooking for 2 minutes to ensure egg yolks are fully incorporated and safe to consume.
- Remove from heat and fold in butter and vanilla, creating a luxurious, aromatic custard.
- Allow custard to cool slightly, preventing potential crust sogginess.
- Arrange fresh banana slices evenly across prepared pie crust, creating a uniform layer.
- Gently pour warm custard over banana slices, ensuring complete coverage.
- Refrigerate pie for minimum 4 hours, allowing filling to set and flavors to intensify.
- Before serving, garnish with delicate whipped cream and additional banana slices for visual appeal and extra flavor.
Notes
- Prevent banana browning by tossing fresh banana slices in a bit of lemon juice before layering in the pie crust.
- Create a gluten-free version by using almond flour or gluten-free graham cracker crust instead of traditional pie crust.
- Enhance custard’s richness by using whole milk or adding a splash of heavy cream for extra smoothness.
- Keep pie stabilized by chilling the custard completely before pouring over bananas to maintain distinct layers and prevent sogginess.
- Prep Time: 15 minutes
- Cook Time: 15 minutes
- Category: Desserts
- Method: Simmering
- Cuisine: American
Nutrition
- Serving Size: 8
- Calories: 255 kcal
- Sugar: 17 g
- Sodium: 180 mg
- Fat: 11 g
- Saturated Fat: 6 g
- Unsaturated Fat: 3 g
- Trans Fat: 0.2 g
- Carbohydrates: 36 g
- Fiber: 2 g
- Protein: 4 g
- Cholesterol: 85 mg
Lucas Bennett
Founder & Recipe Developer
Expertise
Education
Blue Ridge Community College – Certificate in Culinary Arts
Focused on seasonal cooking, sustainable kitchen practices, and farm-to-table techniques.
Appalachian State University – B.A. in English
Built critical thinking and analysis through diverse texts. Guided by faculty, it prepares graduates for publishing and more.
Growing up in the rolling hills of North Carolina, Lucas learned early that some of life’s best memories start around a kitchen table. After studying English at Appalachian State University and honing his culinary skills at Blue Ridge Community College, he dreamed of blending storytelling with rustic, seasonal cooking, and The Scrumptious Pumpkin was born.
Lucas focuses on easy, single-serving recipes that turn fresh, local ingredients into something special. His style is simple, heartfelt, and rooted in the beauty of the seasons. When he’s not testing a new dish, you’ll probably find him hiking in the Blue Ridge Mountains, browsing farmers’ markets, or scribbling food stories in a notebook.