Fluffy Homemade Pierogi Recipe: A Cozy Polish Comfort Classic
Crafting delectable homemade pierogi brings comfort and nostalgia straight to your kitchen table.
Polish culinary traditions shine through these delightful dumplings packed with hearty fillings.
Soft dough embraces savory potato, cheese, or meat mixtures that melt in your mouth.
Generations of home cooks have perfected this beloved recipe, passing down techniques from grandmothers to eager learners.
Creating these delicate parcels requires patience and love, transforming simple ingredients into memorable meals.
Delicate wrappers folded with care promise a culinary adventure that connects you to rich cultural roots.
Let’s roll up our sleeves and embark on a pierogi-making journey that will delight every palate.
Why Homemade Pierogi Feels Like A Hug From Grandma
Everything That Goes In Homemade Pierogi
Dough Ingredients:Filling Ingredients:Garnish and Finishing Ingredients:Make Homemade Pierogi With Love And Ease

Step 1: Whip Up the Dough Base
Mix flour and salt in a spacious mixing bowl. Create a central well and crack an egg into it. Slowly pour water into the well, blending ingredients until a smooth, pliable dough emerges. Knead thoroughly until the texture becomes elastic and consistent. Let the dough rest and relax at room temperature for half an hour.
Step 2: Craft Creamy Potato Filling
Combine ingredients for the filling:Mix ingredients thoroughly until well blended and uniform in texture.
Step 3: Roll and Shape the Dough
Sprinkle flour on a clean work surface. Roll out the rested dough until extremely thin, approximately 1/8-inch thick. Use a round cookie cutter or drinking glass to create perfect circular dough shapes.
Step 4: Stuff and Seal Pierogi
Place a small dollop of potato-cheese mixture in the center of each dough circle. Carefully fold the dough over, creating a half-moon shape. Press edges firmly with fingertips to seal completely, preventing filling from escaping during cooking.
Step 5: Boil the Pierogi
Fill a large pot with water and add a pinch of salt. Bring to a gentle boil. Carefully drop pierogi into the water in small batches. Cook for 3-4 minutes until they float to the surface, indicating they are fully cooked.
Step 6: Create Golden Crispy Exterior
Melt butter in a large skillet over medium heat. Gently transfer boiled pierogi into the skillet. Fry each side for 2-3 minutes until achieving a beautiful golden-brown color and crispy texture.
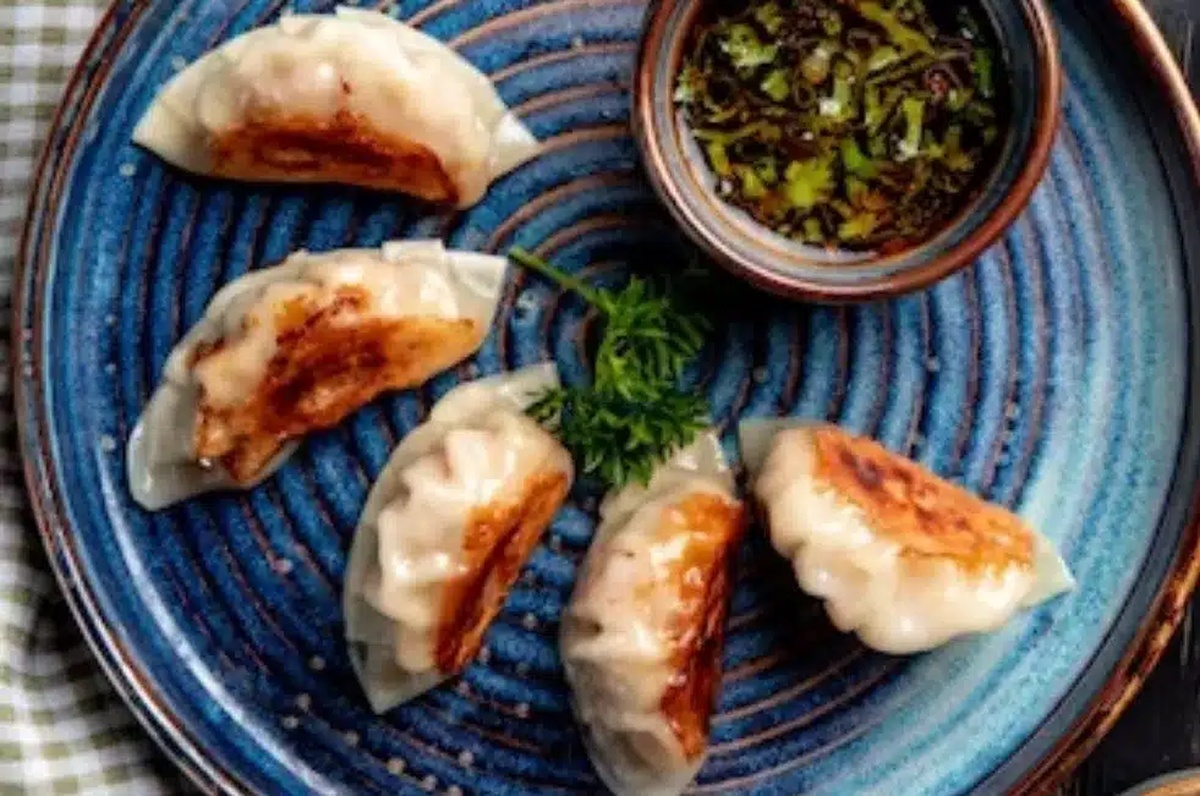
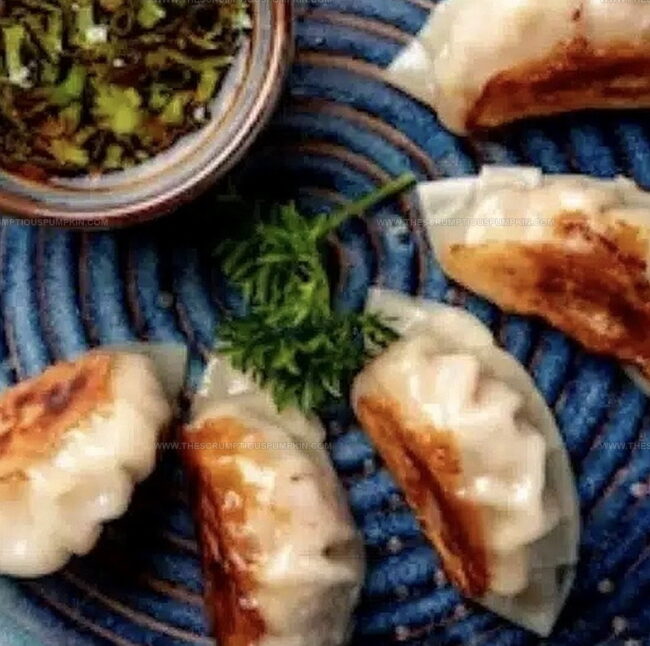
Step 7: Serve and Garnish
Transfer pierogi to serving plates. Top with a dollop of sour cream. Sprinkle chopped chives over the top. Season with salt and black pepper to taste. Serve immediately while warm and crispy.
Tips To Get Homemade Pierogi Dough Just Right
Creative Twists On Homemade Pierogi Fillings
Perfect Pairings For Homemade Pierogi
How To Store Homemade Pierogi Without Drying Out
Common Homemade Pierogi Questions, Answered
Yes, you can prepare the dough up to 24 hours in advance. Wrap it tightly in plastic wrap and refrigerate. Allow the dough to come to room temperature before rolling and filling.
Starchy potatoes like Russet or Idaho are ideal. They create a smooth, creamy texture that holds together well in the pierogi filling.
Ensure edges are pinched tightly and sealed completely. Avoid overfilling, and handle gently when dropping into boiling water. Use a slotted spoon to remove them carefully.
Absolutely! Place uncooked pierogi on a baking sheet, freeze until solid, then transfer to a freezer bag.
Print
Homemade Pierogi Recipe
- Total Time: 40-44 minutes
- Yield: 4 1x
Description
Polish pierogi deliver comfort wrapped in delicate dough pockets filled with hearty potato, cheese, and caramelized onions. Savor these traditional Eastern European dumplings that connect generations through rich, satisfying flavors you’ll want to share with loved ones.
Ingredients
Main Ingredients:
- 2 cups all-purpose flour
- 1/2 cup water
- 1 egg
- 1/2 tsp salt
Filling Ingredients:
- 2 cups mashed potatoes
- 1 cup shredded cheddar cheese
- 1/2 cup diced onions
Cooking and Finishing Ingredients:
- 4 tbsp butter
- 1/4 cup sour cream
- 2 tbsp chopped chives
- Salt to taste
- Black pepper to taste
Instructions
- Craft the dough by combining flour and salt in a large mixing bowl, creating a well in the center for the egg and water.
- Gradually incorporate liquid ingredients into the flour mixture, kneading until a smooth, elastic dough forms. Cover and let rest for 30 minutes at room temperature.
- Prepare the filling by thoroughly mixing mashed potatoes, shredded cheddar cheese, and diced onions until well combined.
- Roll out the rested dough on a lightly floured surface to approximately 1/8-inch thickness.
- Use a circular cookie cutter or glass to cut uniform dough circles, approximately 3 inches in diameter.
- Place a small spoonful of potato-cheese mixture in the center of each dough circle.
- Carefully fold dough over the filling, creating a half-moon shape, and pinch edges firmly to seal completely.
- Bring a large pot of salted water to a gentle boil and carefully drop pierogi in batches.
- Cook for 3-4 minutes, or until pierogi float to the surface, indicating they are fully cooked.
- Remove pierogi with a slotted spoon and drain excess water.
- Melt butter in a large skillet over medium heat and gently pan-fry pierogi until golden brown on both sides, about 2-3 minutes per side.
- Transfer to serving plates and garnish with sour cream, chopped chives, salt, and black pepper.
- Serve immediately while warm and crispy.
Notes
- Make extra dough for practice and potential mistakes during first-time pierogi making.
- Create a tight seal by pressing edges with a fork to prevent filling from leaking during boiling.
- Experiment with alternative fillings like sauerkraut, mushrooms, or ground meat for variety.
- Freeze uncooked pierogi on a baking sheet before transferring to freezer bags for longer storage and quick future meals.
- Prep Time: 30 minutes
- Cook Time: 10-14 minutes
- Category: Dinner, Appetizer, Snacks
- Method: Boiling
- Cuisine: Polish
Nutrition
- Serving Size: 4
- Calories: 350
- Sugar: 2 g
- Sodium: 400 mg
- Fat: 15 g
- Saturated Fat: 9 g
- Unsaturated Fat: 4 g
- Trans Fat: 0 g
- Carbohydrates: 42 g
- Fiber: 3 g
- Protein: 10 g
- Cholesterol: 70 mg
Mia Thompson
Pastry Chef & Content Creator
Expertise
Education
Portland Community College – Baking and Pastry Arts Program
Specialized in artisanal bread, seasonal desserts, and sustainable baking methods.
National University of Natural Medicine – Bachelor of Science in Nutrition (BScN)
Focused on “Food as Medicine” philosophy, with core threads in nutrition.
Mia’s love affair with baking began in her grandmother’s kitchen, where sneaking spoonfuls of batter first sparked her curiosity. She refined her skills through Portland Community College’s Baking and Pastry Arts Program and her expertise at the National University of Natural Medicine, earning a B.Sc. in Nutrition.
At The Scrumptious Pumpkin, Mia reimagines classics with effortless seasonal treats, healthier twists on old favorites, and playful confections that feel like pure joy. Beyond the oven, she nurtures her urban garden, forages local ingredients around Portland, and leads hands‑on nutrition workshops for her community.