Sizzling Homemade Sweet Chili Sauce Recipe: Tangy Flavor Magic
Crafting a delectable homemade sweet chili sauce brings unexpected joy to kitchen adventures.
Spicy and tangy flavors dance across your taste buds with every vibrant drop.
Bold home cooks can easily master this condiment using simple ingredients.
Fresh chilies and natural sweeteners create a magical blend that surpasses store-bought versions.
Complex yet approachable, this sauce adds excitement to countless dishes from appetizers to main courses.
Vibrant colors and intense aromatics promise a culinary experience that will impress anyone who tries it.
Give this recipe a chance and watch your meals transform with just one delicious drizzle.
Why Homemade Sweet Chili Sauce Is a Pantry Staple
Ingredients for Homemade Sweet Chili Sauce
Base Ingredients:Flavor Enhancers:How to Make Homemade Sweet Chili Sauce
Step 1: Blend Sweet Liquid Base
Grab a small saucepan and pour in vinegar, water, and sugar.
Gently warm the mixture over medium heat, stirring continuously until the sugar completely melts and transforms into a smooth, clear liquid.
Step 2: Infuse Spicy Flavor Explosion
Introduce these flavor-packed ingredients into the simmering liquid:Crank up the heat and let the mixture bubble and dance, creating an aromatic blend that will make your kitchen smell incredible.
Step 3: Simmer and Thicken Sauce
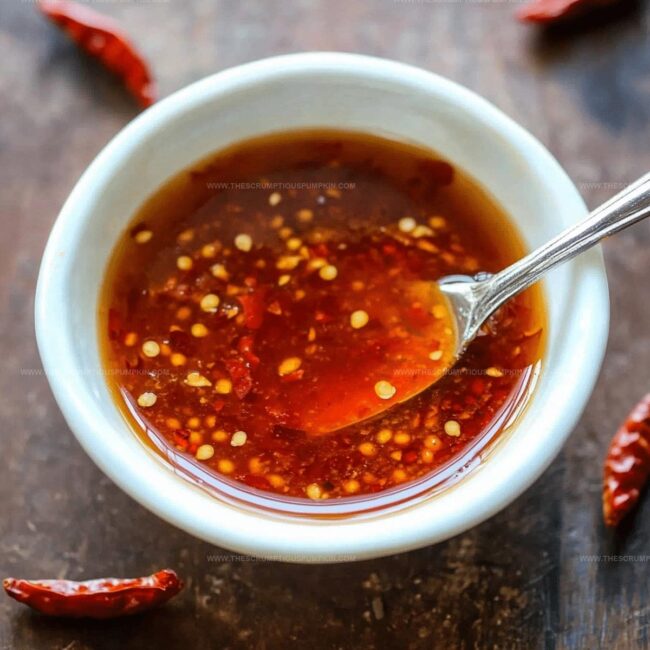
Reduce the heat to low and let the sauce gently simmer.
Watch as it slowly transforms, becoming more concentrated and rich.
Keep stirring occasionally to prevent sticking.
Continue simmering for 5-7 minutes until the sauce reaches a gorgeous, slightly syrupy consistency that coats the back of a spoon.
Step 4: Cool and Preserve Sauce
Carefully remove the saucepan from the heat.
Allow the sweet chili sauce to cool completely at room temperature.
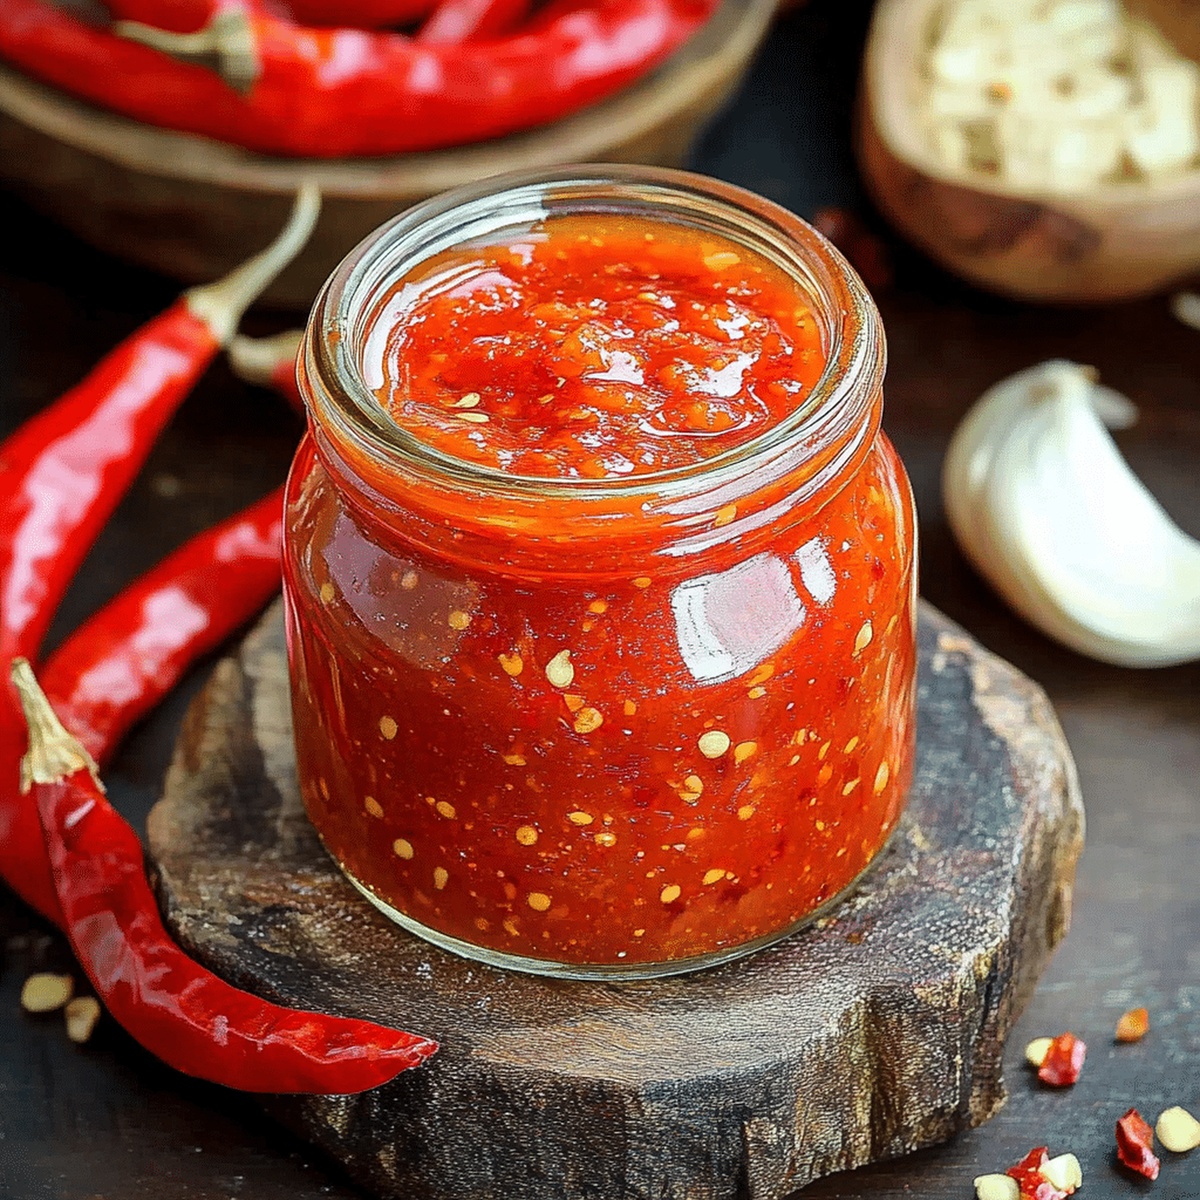
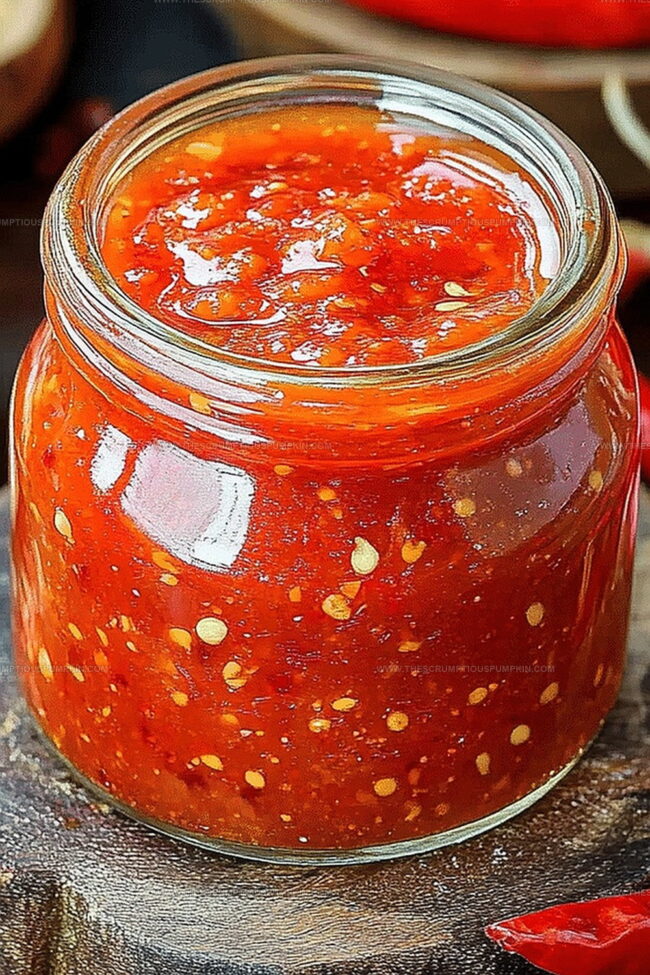
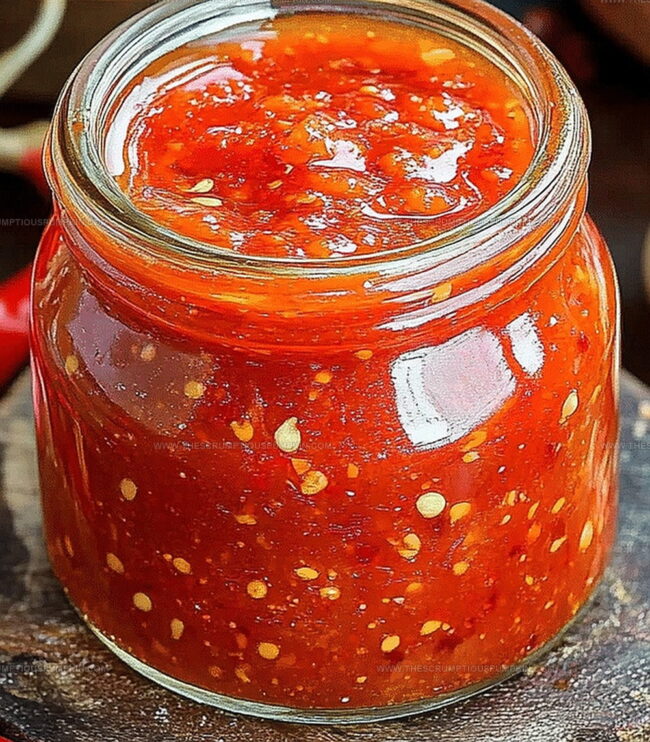
Once cooled, transfer to a clean glass jar or container with a tight-fitting lid.
The sauce will continue to thicken as it cools, creating a perfect condiment for dipping, drizzling, or marinading.
Pro Tips for Perfect Sweet Chili Sauce
Variations of Sweet Chili Sauce to Try
Serving Ideas for Sweet Chili Sauce
How to Store Homemade Sweet Chili Sauce
FAQs
This homemade sauce offers fresher ingredients, no preservatives, and allows you to control the spice and sweetness levels precisely.
Yes, simply increase or decrease the amount of red chili flakes to match your heat preference. Start with less and add more gradually.
When stored in an airtight container in the refrigerator, the sauce will stay fresh for about 2-3 weeks.
The recipe contains soy sauce, which typically has gluten. To make it gluten-free, use tamari or a gluten-free soy sauce alternative.
Print
Homemade Sweet Chili Sauce Recipe
- Total Time: 15 minutes
- Yield: 4 1x
Description
Sweet and spicy homemade sweet chili sauce brings fiery Thai-inspired flavors to your kitchen. Zesty ingredients blend seamlessly, creating a versatile condiment that elevates grilled meats, dips, and appetizers you’ll crave again and again.
Ingredients
Main Ingredients:
- 1 cup white sugar
- 1/2 cup rice vinegar or white wine vinegar
- 1/2 cup water
Flavor Enhancers:
- 1 tablespoon garlic, minced
- 1 tablespoon light soy sauce (or coconut aminos for gluten-free version)
Spice Component:
- 4 teaspoons red chili flakes or red pepper flakes
Instructions
- Combine vinegar, water, and sugar in a small saucepan, stirring continuously over medium heat until sugar completely dissolves and creates a clear liquid base.
- Introduce minced garlic, soy sauce, and red chili flakes to the mixture, allowing ingredients to meld and intensify flavor profile.
- Elevate heat and bring the sauce to a rolling boil, ensuring all components are thoroughly integrated and releasing their aromatic qualities.
- Reduce temperature to low, allowing sauce to gently simmer for 5-7 minutes, watching carefully as liquid gradually condenses and thickens into a rich, glossy consistency.
- Test sauce’s texture by observing its coating ability on the back of a spoon – it should smoothly cling without being overly sticky.
- Carefully remove saucepan from heat source, letting sauce cool naturally to room temperature, which will further enhance its viscosity and flavor complexity.
- Transfer cooled sauce to a clean glass container with a tight-sealing lid, ready for immediate use or refrigeration for future culinary adventures.
Notes
- Adjust sweetness by gradually adding sugar, tasting as you go to achieve the perfect balance of sweet and spicy.
- Use fresh garlic for a more vibrant flavor, and consider roasting the garlic first for a deeper, mellower taste.
- For a gluten-free version, replace soy sauce with tamari or coconut aminos to maintain the umami depth.
- Customize heat levels by increasing or decreasing red chili flakes, allowing you to control the sauce’s spiciness according to your preference.
- Prep Time: 5 minutes
- Cook Time: 10 minutes
- Category: Appetizer, Snacks
- Method: Simmering
- Cuisine: Asian
Nutrition
- Serving Size: 4
- Calories: 205 kcal
- Sugar: 51 g
- Sodium: 850 mg
- Fat: 0 g
- Saturated Fat: 0 g
- Unsaturated Fat: 0 g
- Trans Fat: 0 g
- Carbohydrates: 53 g
- Fiber: 2 g
- Protein: 1 g
- Cholesterol: 0 mg
Lucas Bennett
Founder & Recipe Developer
Expertise
Education
Blue Ridge Community College – Certificate in Culinary Arts
Focused on seasonal cooking, sustainable kitchen practices, and farm-to-table techniques.
Appalachian State University – B.A. in English
Built critical thinking and analysis through diverse texts. Guided by faculty, it prepares graduates for publishing and more.
Growing up in the rolling hills of North Carolina, Lucas learned early that some of life’s best memories start around a kitchen table. After studying English at Appalachian State University and honing his culinary skills at Blue Ridge Community College, he dreamed of blending storytelling with rustic, seasonal cooking, and The Scrumptious Pumpkin was born.
Lucas focuses on easy, single-serving recipes that turn fresh, local ingredients into something special. His style is simple, heartfelt, and rooted in the beauty of the seasons. When he’s not testing a new dish, you’ll probably find him hiking in the Blue Ridge Mountains, browsing farmers’ markets, or scribbling food stories in a notebook.