Cozy Chicken Pot Pie Pasta Recipe: A Heartwarming Twist
Comfort meets creativity in this delightful chicken pot pie pasta that combines two classic favorites into one mouthwatering dish.
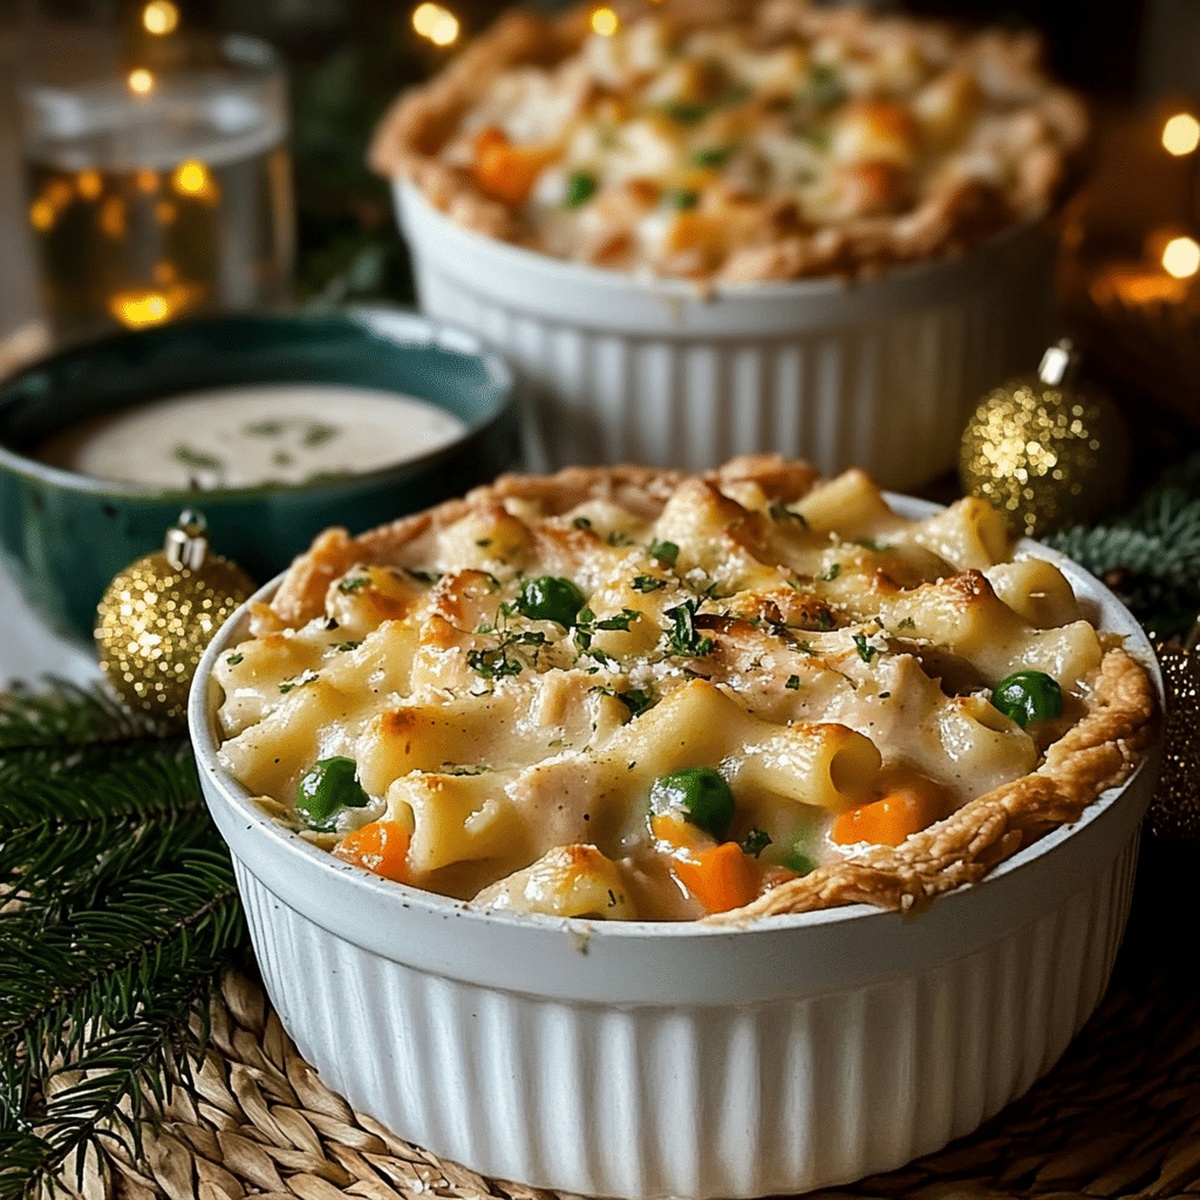
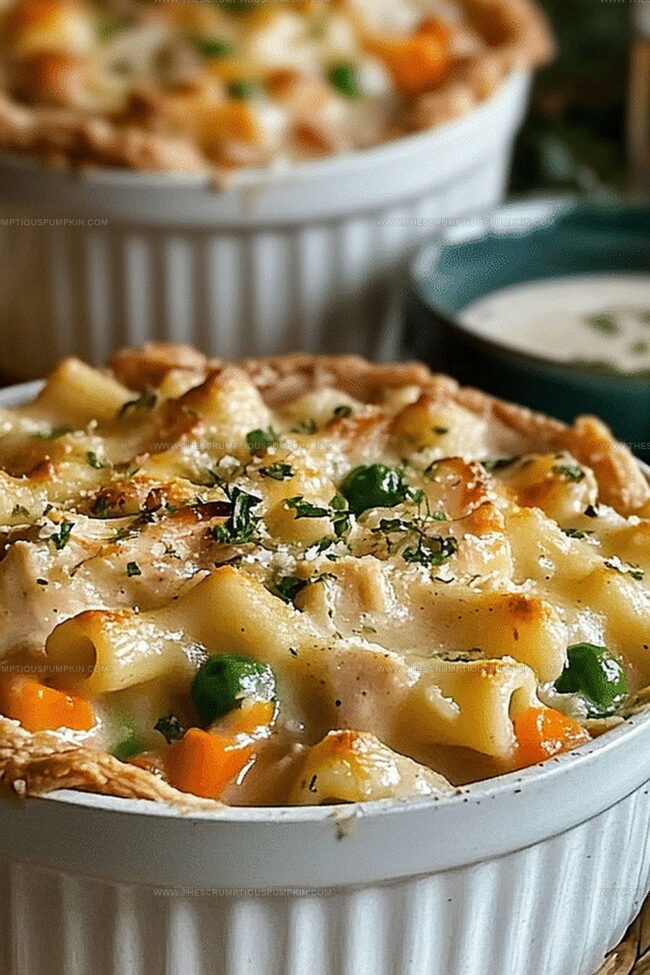
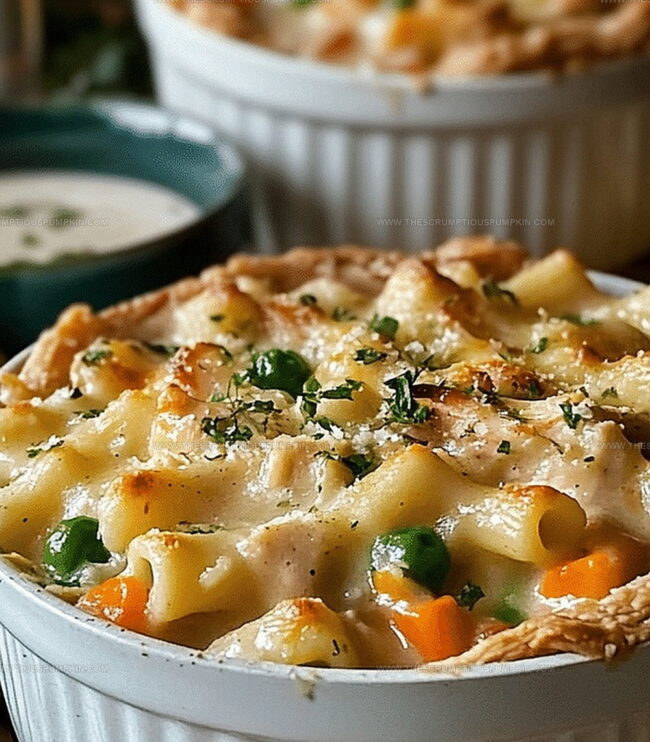
Creamy sauce and tender chicken nestle between perfectly cooked noodles, creating a symphony of flavors.
Hearty ingredients dance together, promising a meal that feels like a warm hug.
Familiar yet unexpected, this recipe reimagines traditional comfort food with a playful twist.
Weeknight dinners just got a serious upgrade with this crowd-pleasing option.
Ingredients waiting in your pantry can quickly become a memorable meal that sparks conversation and brings smiles.
You’ll want to bookmark this recipe for those moments when only pure, soul-satisfying comfort will do.
Why Chicken Pot Pie Pasta Is A Family Favorite
What Goes Into Chicken Pot Pie Pasta
For the Main Proteins:For the Pasta and Starch:For the Vegetables and Aromatics:For the Dairy and Liquids:For the Seasonings and Herbs:Cooking Directions For Chicken Pot Pie Pasta
Step 1: Fire Up The Oven
Crank the oven to a toasty 375°F and lightly spray a large baking dish with cooking spray.
Step 2: Crisp The Bacon
Cook bacon in a skillet over medium heat until golden and crispy. Transfer to a paper towel-lined plate to drain excess grease.
Step 3: Sauté Aromatic Vegetables
Using the same skillet with bacon drippings, cook:Sauté until they become soft and translucent, about 4-5 minutes.
Step 4: Create A Silky Roux
Add olive oil to the skillet and sprinkle flour. Whisk continuously to form a smooth base for the sauce.
Step 5: Build The Creamy Sauce
Slowly pour in:Stir constantly to prevent lumps and create a velvety texture.
Step 6: Season The Sauce
Introduce herbs and seasonings:Allow the herbs to release their fragrant flavors into the sauce.
Step 7: Mix In Protein And Vegetables
Fold in:Ensure everything is evenly coated with the creamy sauce.
Step 8: Cook The Pasta
Boil pasta shells in a separate pot according to package directions until perfectly al dente. Drain completely.
Step 9: Combine Pasta And Sauce
Gently mix the cooked pasta with the creamy chicken mixture, making sure each shell gets a good coating.
Step 10: Prepare For Baking
Transfer the pasta mixture to the prepared baking dish, spreading it out evenly.
Step 11: Add Bacon Topping
Sprinkle crispy bacon pieces across the top of the pasta.
Step 12: Create A Crunchy Topping
Combine:Distribute this crunchy mixture evenly over the dish.
Step 13: Bake To Perfection
Slide the dish into the preheated oven and bake for 20-25 minutes. Look for a golden-brown top and bubbling edges.
Step 14: Rest And Serve
Remove from the oven and let sit for 5 minutes. This allows the sauce to settle and flavors to blend beautifully before serving.
Tips To Make Chicken Pot Pie Pasta Easy
Fun Variations For Chicken Pot Pie Pasta
Best Pairings With Chicken Pot Pie Pasta
How To Store Chicken Pot Pie Pasta The Right Way
Chicken Pot Pie Pasta Q&A
Yes, you can substitute shells with penne, rotini, or medium-sized pasta shapes that hold sauce well.
Absolutely! This dish can be prepared ahead and stored in the refrigerator for 2-3 days before baking.
Use rotisserie chicken instead of cooking chicken from scratch, and opt for frozen vegetables to reduce costs.
Replace regular flour with gluten-free flour and use gluten-free breadcrumbs to adapt the recipe for gluten-sensitive diets.
Print
Homey Chicken Pot Pie Pasta Recipe
- Total Time: 40 minutes
- Yield: 4 1x
Description
Comfort meets creativity in this chicken pot pie pasta, blending classic American casserole flavors with hearty pasta. Creamy sauce, tender chicken, and flaky pie crust crumbles promise a satisfying meal you’ll crave again and again.
Ingredients
Proteins:
- 2 cups shredded chicken
- 1/2 cup diced bacon
Vegetables:
- 1 cup frozen mixed vegetables (peas, carrots, corn)
- 1/2 cup diced onions
- 1/2 cup diced celery
Pasta and Sauce:
- 12 oz (340 g) pasta shells
- 2 cups chicken broth
- 1 cup heavy cream
- 1/4 cup all-purpose flour
- 2 tbsp (30 ml) olive oil
- 1 tsp dried thyme
- 1 tsp dried rosemary
- 1/2 tsp salt
- 1/4 tsp black pepper
Topping:
- 1 cup breadcrumbs
- 1/2 cup grated parmesan cheese
Instructions
- Preheat the oven to 375°F (190°C) and prepare a large baking dish with a light coating of cooking spray.
- In a spacious skillet, crisp the bacon over medium heat until golden and rendered, then transfer to a paper towel-lined plate.
- Using the same skillet with bacon drippings, sauté onions and celery until translucent and fragrant, approximately 4-5 minutes.
- Introduce olive oil to the skillet and sprinkle flour, whisking continuously to create a smooth roux that will thicken the sauce.
- Gradually pour in chicken broth and heavy cream, stirring consistently to prevent lumps and create a velvety sauce.
- Add dried thyme, rosemary, salt, and pepper to the sauce, allowing the herbs to infuse their aromatic flavors.
- Incorporate shredded chicken and frozen mixed vegetables into the creamy sauce, stirring to ensure even distribution.
- Cook pasta shells in a separate pot according to package instructions until al dente, then drain thoroughly.
- Combine the cooked pasta with the creamy chicken mixture, gently folding to coat each shell evenly.
- Transfer the pasta mixture to the prepared baking dish, spreading it into an even layer.
- Sprinkle crispy bacon pieces over the top of the pasta.
- Combine breadcrumbs and grated parmesan cheese, then evenly distribute this crunchy topping across the dish.
- Bake in the preheated oven for 20-25 minutes, or until the top turns golden brown and the edges are bubbling.
- Remove from oven and let rest for 5 minutes before serving to allow the sauce to set and flavors to meld.
Notes
- Gluten-Free Adaptation: Swap regular flour with cornstarch or gluten-free flour blend to create a roux that maintains the creamy texture without wheat.
- Vegetarian Swap: Replace chicken with plant-based protein like tofu, tempeh, or roasted cauliflower for a meat-free version that still delivers rich flavor.
- Healthier Cream Alternative: Substitute heavy cream with Greek yogurt or half-and-half to reduce calories while keeping the sauce luxuriously creamy.
- Make-Ahead Magic: Prepare the entire dish up to the baking stage, cover tightly, and refrigerate for up to 24 hours, allowing flavors to intensify before baking.
- Prep Time: 15 minutes
- Cook Time: 25 minutes
- Category: Lunch, Dinner
- Method: Baking
- Cuisine: American
Nutrition
- Serving Size: 4
- Calories: 648
- Sugar: 2 g
- Sodium: 850 mg
- Fat: 32 g
- Saturated Fat: 13 g
- Unsaturated Fat: 18 g
- Trans Fat: 0 g
- Carbohydrates: 62 g
- Fiber: 3 g
- Protein: 31 g
- Cholesterol: 105 mg
Mia Thompson
Pastry Chef & Content Creator
Expertise
Education
Portland Community College – Baking and Pastry Arts Program
Specialized in artisanal bread, seasonal desserts, and sustainable baking methods.
National University of Natural Medicine – Bachelor of Science in Nutrition (BScN)
Focused on “Food as Medicine” philosophy, with core threads in nutrition.
Mia’s love affair with baking began in her grandmother’s kitchen, where sneaking spoonfuls of batter first sparked her curiosity. She refined her skills through Portland Community College’s Baking and Pastry Arts Program and her expertise at the National University of Natural Medicine, earning a B.Sc. in Nutrition.
At The Scrumptious Pumpkin, Mia reimagines classics with effortless seasonal treats, healthier twists on old favorites, and playful confections that feel like pure joy. Beyond the oven, she nurtures her urban garden, forages local ingredients around Portland, and leads hands‑on nutrition workshops for her community.