The Foolproof Cheesecake Water Bath Recipe for Creamy Success
Mastering the perfect cheesecake water bath technique can elevate your baking game from amateur to professional.
Moisture matters immensely when creating that silky, crack-free dessert everyone dreams about.
Professional bakers swear by this gentle cooking method to ensure creamy, smooth results.
Water bath cooking creates an even temperature environment that protects delicate ingredients from direct heat.
Steam helps prevent surface cracks and maintains a luxurious texture throughout your cheesecake.
Specialized equipment isn’t necessary – just a large roasting pan and some aluminum foil can work magic.
You’ll find this method transforms an ordinary dessert into an extraordinary culinary experience that impresses guests and satisfies sweet cravings.
Why Cheesecake Water Bath Is Essential
Unlock Cheesecake Perfection: Foolproof Baking Technique
Cheesecake Water Bath Ingredients
Crust Ingredients:Filling Ingredients:Baking Accessories:How to Make Cheesecake Water Bath
Step 1: Create Buttery Crust Foundation
Blend graham cracker crumbs with melted butter until thoroughly combined.
Press the mixture firmly into the bottom of a springform pan, creating an even layer that will serve as the delicious base for your cheesecake.
Step 2: Secure Pan With Protective Wrap
Carefully wrap the exterior of the springform pan with aluminum foil, ensuring complete coverage.
This protective barrier prevents water from infiltrating the delicate cheesecake during the baking process.
Step 3: Whip Creamy Cheesecake Filling
In a large mixing bowl, blend cream cheese and sugar until silky smooth.
Incorporate eggs and vanilla extract, gently mixing until just combined.
Avoid overmixing to maintain a luxurious texture.
Step 4: Assemble Cheesecake For Baking
Gently pour the creamy filling over the prepared crust, spreading evenly to create a perfect surface.
Step 5: Create Water Bath Environment
Position the springform pan inside a larger roasting pan.
Carefully pour hot water into the roasting pan, filling it approximately halfway up the sides of the springform pan.
Step 6: Bake To Perfection
Place the water bath setup in a preheated oven at 325°F (163°C).
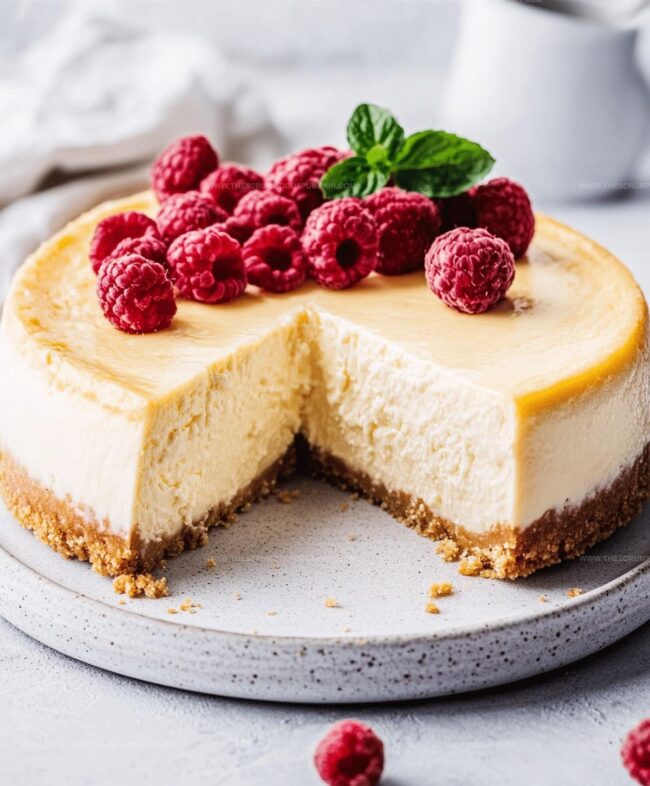
Bake for 60-70 minutes, watching for slightly set edges with a subtle jiggle in the center.
Step 7: Gentle Cooling Process
Turn off the oven, leaving the cheesecake inside with the door slightly open.
Allow it to rest for one hour, promoting a smooth, crack-free surface.
Step 8: Final Chilling
Remove the cheesecake from the water bath and let it cool to room temperature.
Refrigerate for a minimum of 4 hours, allowing the texture to set and flavors to develop fully.
Pro Tips for Cheesecake Water Bath
Variations of Cheesecake Water Bath
Serving Cheesecake Water Bath
Storing Cheesecake Water Bath
FAQs
A water bath provides gentle, even heat that prevents the cheesecake from cracking and helps create a smooth, creamy texture by maintaining a consistent temperature during baking.
Wrap the outside of the pan completely with aluminum foil, making sure to cover the bottom and sides tightly to create a waterproof barrier that keeps water from seeping into the cheesecake.
This gradual cooling process helps prevent sudden temperature changes that can cause cracking, allowing the cheesecake to set slowly and maintain its smooth, creamy consistency.
Print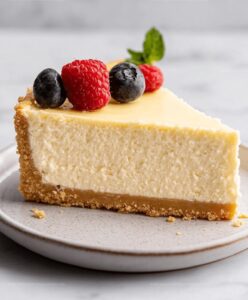
How To Make A Cheesecake Water Bath Recipe
- Total Time: 1 hour 50 minutes
- Yield: 8 1x
Description
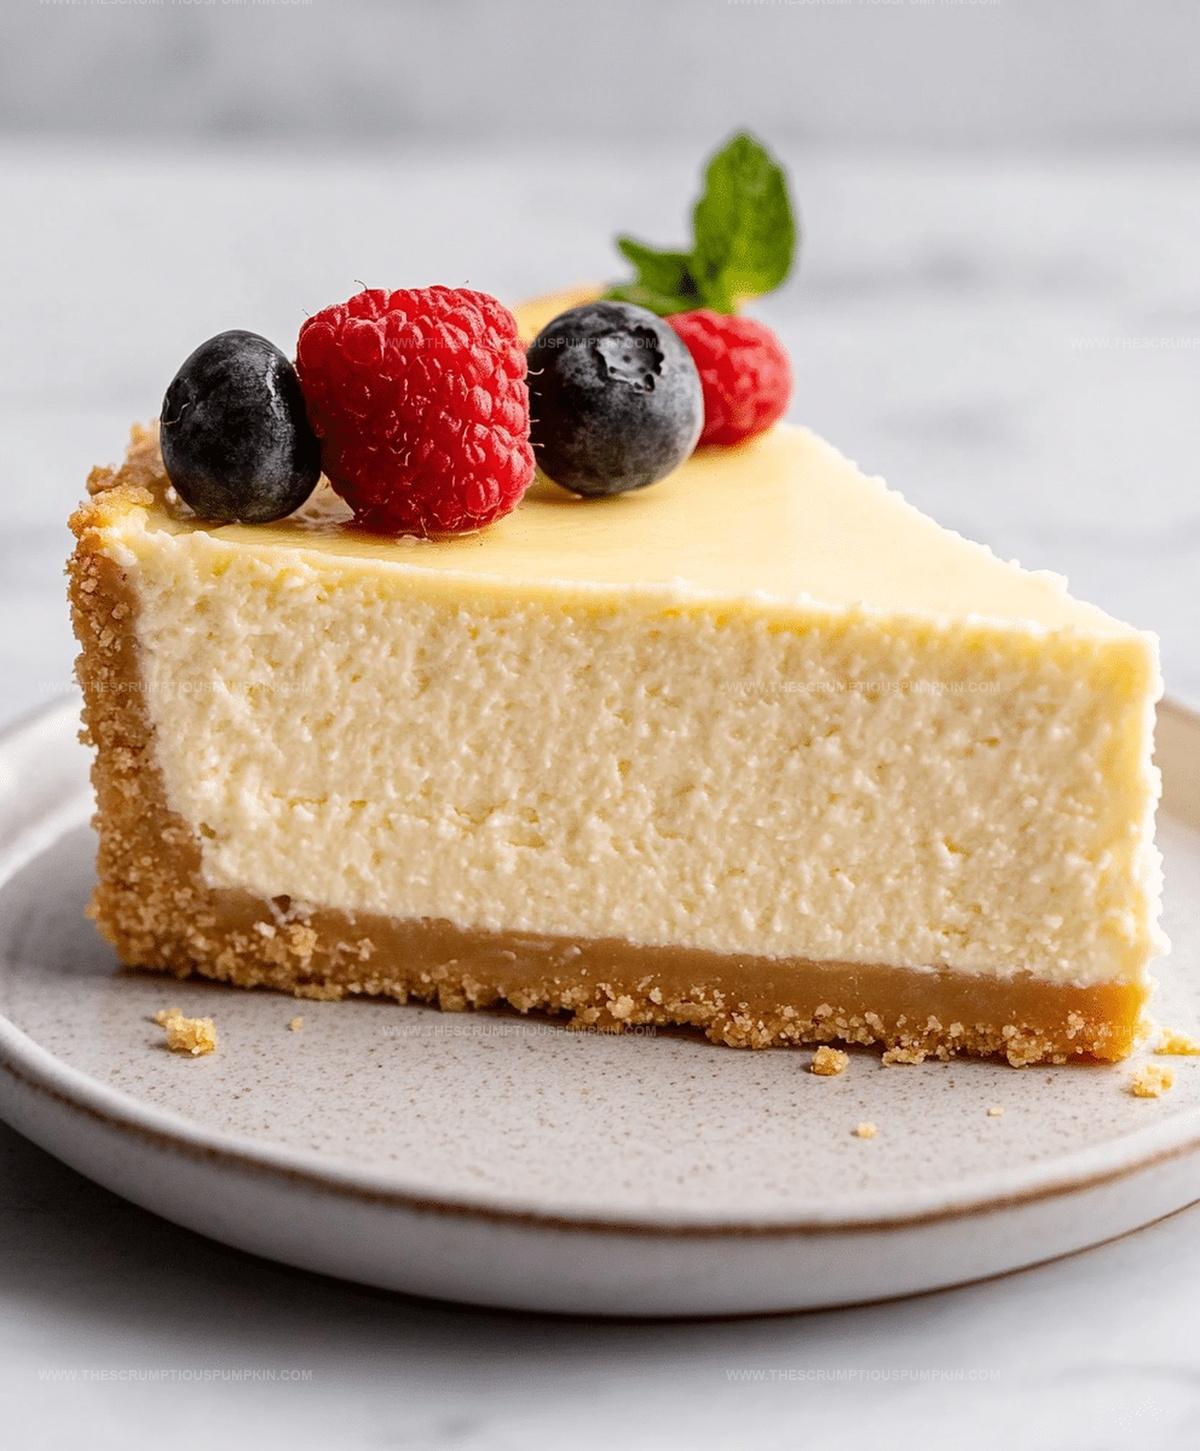
Silky smooth New York-style cheesecake emerges perfectly from this foolproof water bath method. Water bath baking ensures creamy texture without cracks, delivering restaurant-quality dessert right from your kitchen.
Ingredients
Main Ingredients:
- 24 ounces (680 grams) cream cheese
- 1 cup (200 grams) sugar
- 3 large eggs
- 1 teaspoon vanilla extract
Crust Ingredients:
- 1.5 cups (180 grams) graham cracker crumbs
- 1/3 cup (75 grams) butter, melted
Water Bath Ingredient:
- 4 cups (946 milliliters) water
Instructions
- Calibrate the oven to 325F (163C) with a rack positioned in the center to ensure even heat distribution.
- Craft the foundation by blending graham cracker crumbs with melted butter until thoroughly combined, then firmly compress the mixture into the base of a springform pan.
- Create a protective barrier by meticulously enveloping the exterior of the pan with aluminum foil, ensuring complete coverage to block water infiltration.
- Whip cream cheese and sugar in a mixing bowl until achieving a silky, lump-free consistency, then gently incorporate eggs and vanilla, mixing just until harmonized.
- Delicately transfer the creamy mixture over the prepared crust, smoothing the surface for an elegant finish.
- Nestle the springform pan inside a larger roasting pan and carefully pour scalding water approximately halfway up the pan’s exterior.
- Slide the water bath into the preheated oven and bake for 60-70 minutes, monitoring until the perimeter appears set while the center maintains a subtle wobble.
- Deactivate the oven and allow the cheesecake to rest undisturbed for one hour, leaving the door slightly ajar to facilitate gradual cooling.
- Extract the pan from the water bath, let it normalize to room temperature, then refrigerate for a minimum of 4 hours to achieve optimal texture and flavor development.
Notes
- Wrap the springform pan carefully with multiple layers of heavy-duty aluminum foil to ensure no water leaks into the delicate crust.
- Use room temperature ingredients to achieve a smooth, lump-free cheesecake filling that blends perfectly.
- Avoid overmixing the batter after adding eggs to prevent introducing too much air, which can cause cracking during baking.
- The water bath technique helps create a moist, even baking environment, preventing the cheesecake from developing unsightly cracks and ensuring a silky-smooth texture.
- Prep Time: 20 minutes
- Cook Time: 1 hour 30 minutes
- Category: Desserts
- Method: Baking
- Cuisine: American
Nutrition
- Serving Size: 8
- Calories: 350 kcal
- Sugar: 20 g
- Sodium: 250 mg
- Fat: 28 g
- Saturated Fat: 16 g
- Unsaturated Fat: 10 g
- Trans Fat: 0.5 g
- Carbohydrates: 22 g
- Fiber: 1 g
- Protein: 6 g
- Cholesterol: 90 mg
Lucas Bennett
Founder & Recipe Developer
Expertise
Education
Blue Ridge Community College – Certificate in Culinary Arts
Focused on seasonal cooking, sustainable kitchen practices, and farm-to-table techniques.
Appalachian State University – B.A. in English
Built critical thinking and analysis through diverse texts. Guided by faculty, it prepares graduates for publishing and more.
Growing up in the rolling hills of North Carolina, Lucas learned early that some of life’s best memories start around a kitchen table. After studying English at Appalachian State University and honing his culinary skills at Blue Ridge Community College, he dreamed of blending storytelling with rustic, seasonal cooking, and The Scrumptious Pumpkin was born.
Lucas focuses on easy, single-serving recipes that turn fresh, local ingredients into something special. His style is simple, heartfelt, and rooted in the beauty of the seasons. When he’s not testing a new dish, you’ll probably find him hiking in the Blue Ridge Mountains, browsing farmers’ markets, or scribbling food stories in a notebook.