
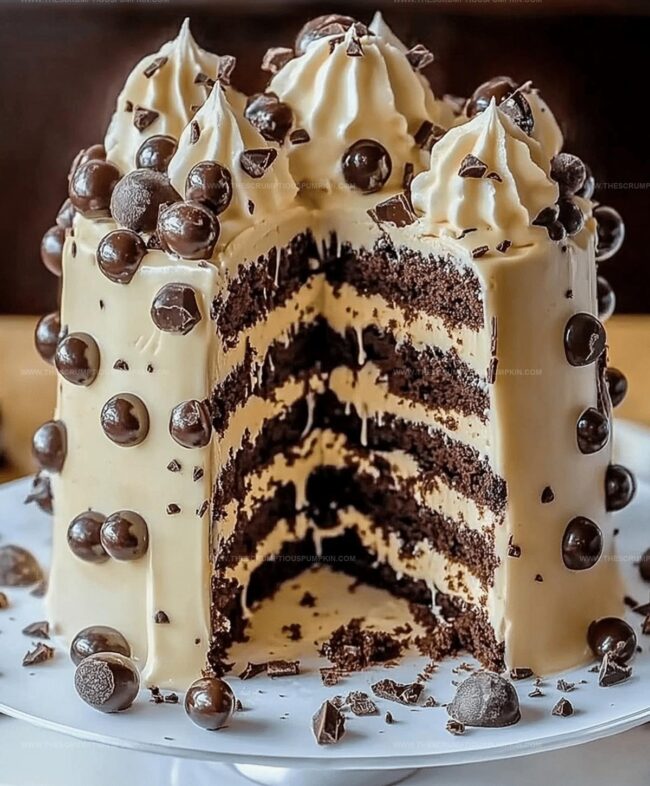
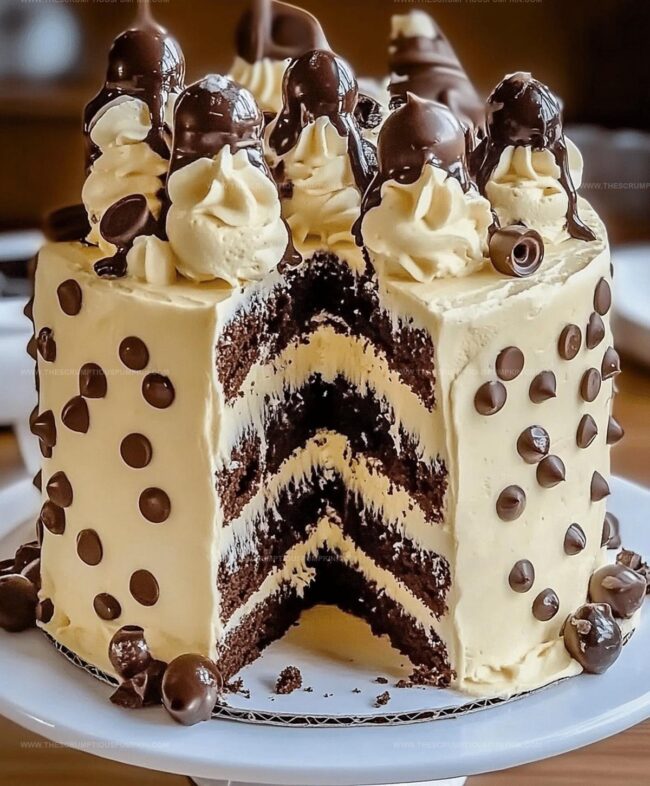
The Ultimate Ice Crime Chocolate Overload Explosion Cake Recipe
Chocolate lovers will absolutely adore this incredible ice crime chocolate overload explosion cake that promises pure dessert magic.
Sweet dreams become reality with every decadent slice of this mind-blowing creation.
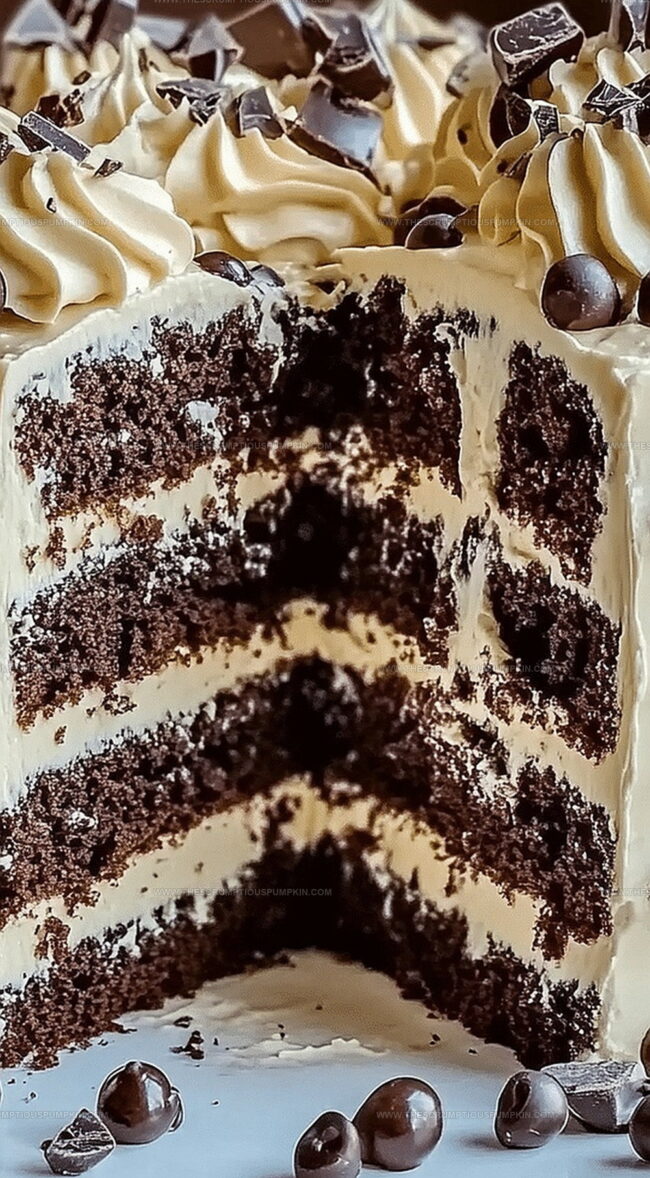
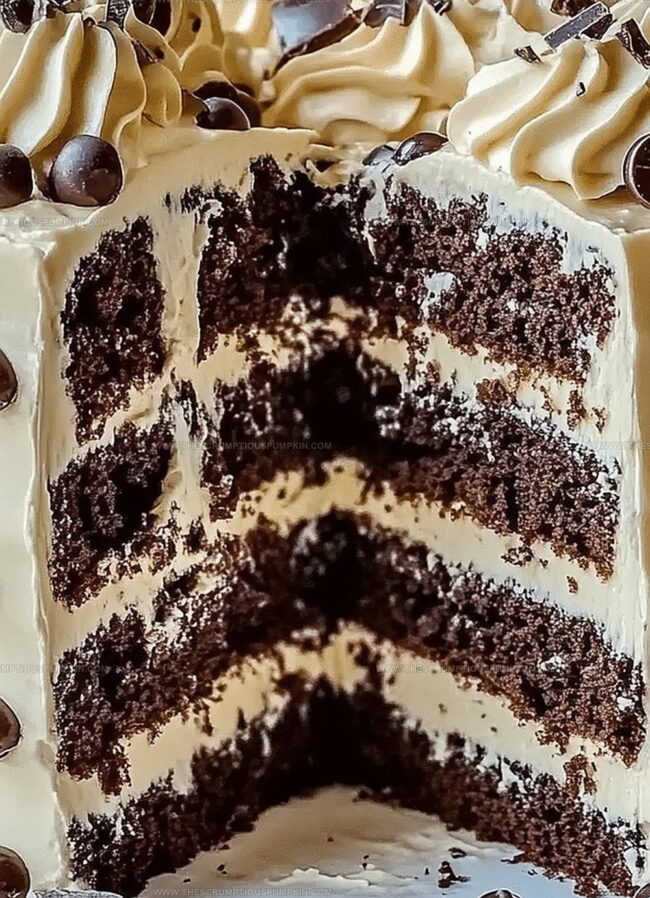
Layers of rich chocolate meld together in a symphony of intense flavors.
Creamy textures dance across your palate, delivering an experience that goes beyond ordinary desserts.
Indulgence reaches new heights through carefully balanced ingredients and masterful techniques.
Unexpected combinations spark culinary excitement and challenge traditional cake expectations.
Make this extraordinary cake and watch everyone’s eyes light up with pure delicious excitement.
Why You’ll Love Ice Crime Chocolate Overload Explosion Cake
Essential Ingredients for Chocolate Overload Cake
Cake Base Ingredients:Wet Ingredients:Decoration and Filling Ingredients:How to Make Chocolate Explosion Cake
Step 1: Prepare Baking Station
Set your oven to a toasty 350F (175C).
Grab two round cake pans and generously coat them with cooking spray or butter to prevent sticking.
Step 2: Mix Dry Ingredients
Grab a spacious mixing bowl and combine:Whisk these dry ingredients until they’re perfectly blended and no lumps remain.
Step 3: Introduce Wet Components
Pour into the dry mixture:Mix everything with a hand mixer or whisk until the batter looks smooth and silky.
Step 4: Add Secret Moisture
Slowly pour hot water into the batter, stirring continuously.
This will create an incredibly moist cake texture that melts in your mouth.
Step 5: Bake The Cake Layers
Divide the batter evenly between the prepared pans.
Slide into the preheated oven and bake for 30-35 minutes.
Check doneness by inserting a toothpick – it should come out clean.
Step 6: Cool Cake Layers
Remove cakes from oven and let them rest at room temperature.
Complete cooling is crucial for perfect assembly.
Step 7: Create Luxurious Ganache
Warm heavy cream until it’s steamy but not boiling.
Pour over chocolate chips and stir until the mixture transforms into a glossy, smooth ganache.
Step 8: Build Cake Layers
Place first cake layer on serving plate.
Spread a generous layer of ganache and sprinkle crushed chocolate cookies for extra crunch.
Step 9: Final Chocolate Flourish
Top with second cake layer.
Cover entire cake with remaining ganache.
Garnish with chocolate shavings and a drizzle of chocolate syrup.
Step 10: Serve And Indulge
Cut into decadent slices and surrender to pure chocolate bliss.
Tips to Perfect Chocolate Cake Texture
Exciting Twists for Chocolate Cake Fans
Delicious Ways to Serve Chocolate Cake
Best Practices to Keep Cake Fresh
FAQs
Buttermilk helps create a tender, moist cake texture. If you don’t have buttermilk, mix 1 tablespoon of white vinegar or lemon juice with 1 cup of regular milk and let it sit for 5 minutes before using.
Dutch-processed cocoa powder provides a richer, deeper chocolate flavor. If you only have natural cocoa powder, it will still work, but the taste might be slightly less intense.
Always grease your cake pans thoroughly with butter or cooking spray, and consider lining the bottom with parchment paper for easy removal.
Print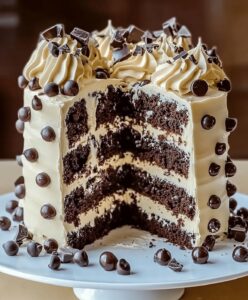
Ice Crime Chocolate Overload Explosion Cake Recipe
- Total Time: 55 minutes
- Yield: 12 1x
Description
Chocolate lovers rejoice with this Ice Crime Chocolate Overload Explosion Cake, a sinful dessert that promises pure indulgence. Rich layers of intense chocolate and creamy textures will transport you to dessert paradise, leaving your taste buds craving more with each decadent bite.
Ingredients
Cake Base:
- 2 cups (280 grams) all-purpose flour
- 1 3/4 cups (350 grams) granulated sugar
- 3/4 cup (75 grams) unsweetened cocoa powder
- 2 teaspoons baking soda
- 1 teaspoon baking powder
- 1/2 teaspoon salt
- 2 large eggs
- 1 cup (240 milliliters) buttermilk
- 1/2 cup (120 milliliters) vegetable oil
- 2 teaspoons vanilla extract
- 1 cup (240 milliliters) hot water
Chocolate Elements:
- 1 1/2 cups (255 grams) chocolate chips
- 1/2 cup (60 grams) chocolate shavings
- 1/2 cup (60 grams) crushed chocolate cookies
Ganache Topping:
- 1 cup (240 milliliters) heavy cream
Instructions
- Heat the oven to 350°F (175°C) and thoroughly coat two 9-inch cake pans with non-stick spray.
- Combine all dry ingredients in a spacious mixing bowl, creating a uniform chocolate powder mixture.
- Incorporate wet ingredients into the dry mixture, whisking vigorously until the batter achieves a silky, consistent texture.
- Slowly stream hot water into the batter, stirring continuously to maintain a smooth, glossy consistency.
- Evenly distribute the chocolate batter between the prepared cake pans, ensuring equal depth.
- Bake for 30-35 minutes, rotating pans halfway through to guarantee uniform cooking.
- Remove from oven and allow cakes to cool completely on a wire rack, preventing moisture accumulation.
- Prepare ganache by gently warming heavy cream and pouring over chocolate chips, stirring until achieving a glossy, liquid finish.
- Position the first cake layer on a serving plate, generously spreading ganache and sprinkling crushed cookies for added texture.
- Carefully place the second cake layer atop the first, completely enrobing the cake with remaining ganache.
- Embellish the cake’s exterior with chocolate shavings and a decadent drizzle of chocolate syrup.
- Slice, serve, and indulge in this rich chocolate masterpiece.
Notes
- Adjust cocoa intensity by using dark or milk chocolate for personalized flavor depth.
- Replace buttermilk with dairy-free alternatives like almond milk mixed with vinegar for vegan version.
- Ensure ingredients are room temperature to create smoother, more consistent cake batter.
- Use parchment paper rounds in cake pans to prevent sticking and guarantee easy cake removal.
- Prep Time: 20 minutes
- Cook Time: 35 minutes
- Category: Desserts
- Method: Baking
- Cuisine: American
Nutrition
- Serving Size: 12
- Calories: 371 kcal
- Sugar: 32 g
- Sodium: 234 mg
- Fat: 18 g
- Saturated Fat: 7 g
- Unsaturated Fat: 10 g
- Trans Fat: 0.2 g
- Carbohydrates: 50 g
- Fiber: 4 g
- Protein: 5 g
- Cholesterol: 44 mg
Lucas Bennett
Founder & Recipe Developer
Expertise
Education
Blue Ridge Community College – Certificate in Culinary Arts
Focused on seasonal cooking, sustainable kitchen practices, and farm-to-table techniques.
Appalachian State University – B.A. in English
Built critical thinking and analysis through diverse texts. Guided by faculty, it prepares graduates for publishing and more.
Growing up in the rolling hills of North Carolina, Lucas learned early that some of life’s best memories start around a kitchen table. After studying English at Appalachian State University and honing his culinary skills at Blue Ridge Community College, he dreamed of blending storytelling with rustic, seasonal cooking, and The Scrumptious Pumpkin was born.
Lucas focuses on easy, single-serving recipes that turn fresh, local ingredients into something special. His style is simple, heartfelt, and rooted in the beauty of the seasons. When he’s not testing a new dish, you’ll probably find him hiking in the Blue Ridge Mountains, browsing farmers’ markets, or scribbling food stories in a notebook.