The Ultimate Italian Garlic Bread Recipe: Cheesy Herb Butter Magic
Crafting the perfect italian garlic bread becomes a delightful culinary adventure that transforms simple ingredients into something magical.
Fragrant herbs dance with melted butter, creating an irresistible aroma that fills your kitchen.
Mozzarella adds a creamy, luxurious touch to this classic side dish.
Crusty bread provides the ideal canvas for rich, savory flavors.
Minimal ingredients combine to produce maximum satisfaction with every single bite.
Warm, golden slices promise a mouthwatering experience that will have everyone asking for seconds.
Don’t miss the chance to elevate your meal with this simple yet spectacular recipe.
Why Italian Garlic Bread with Mozzarella Is the Real Deal
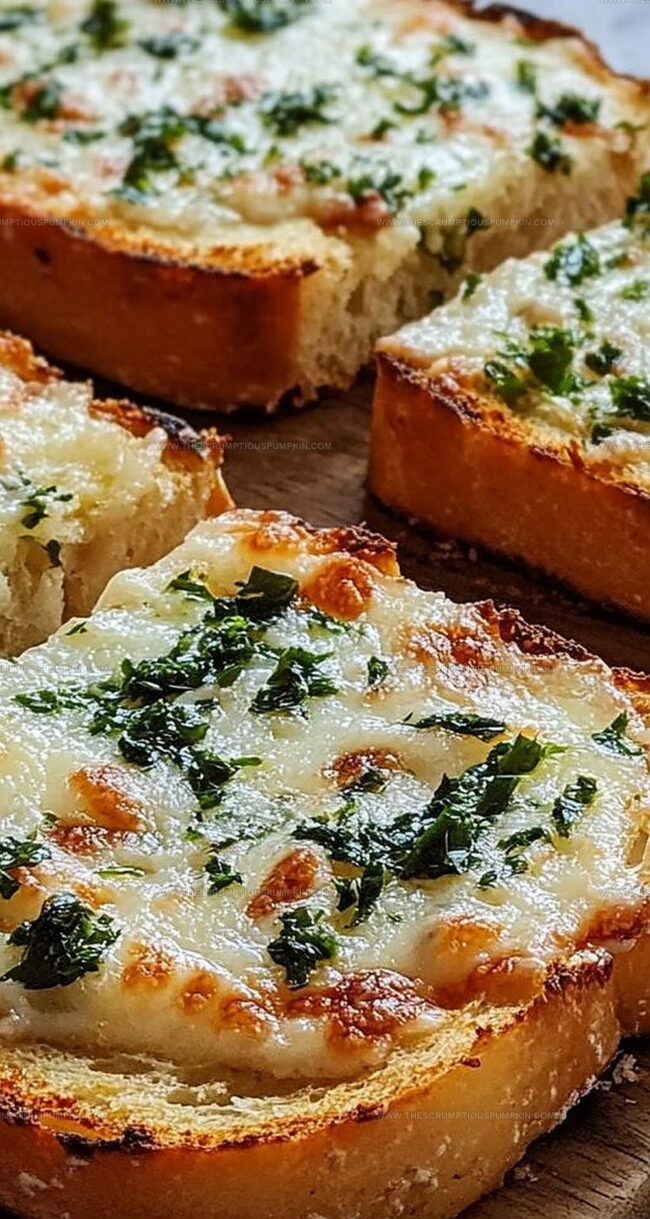
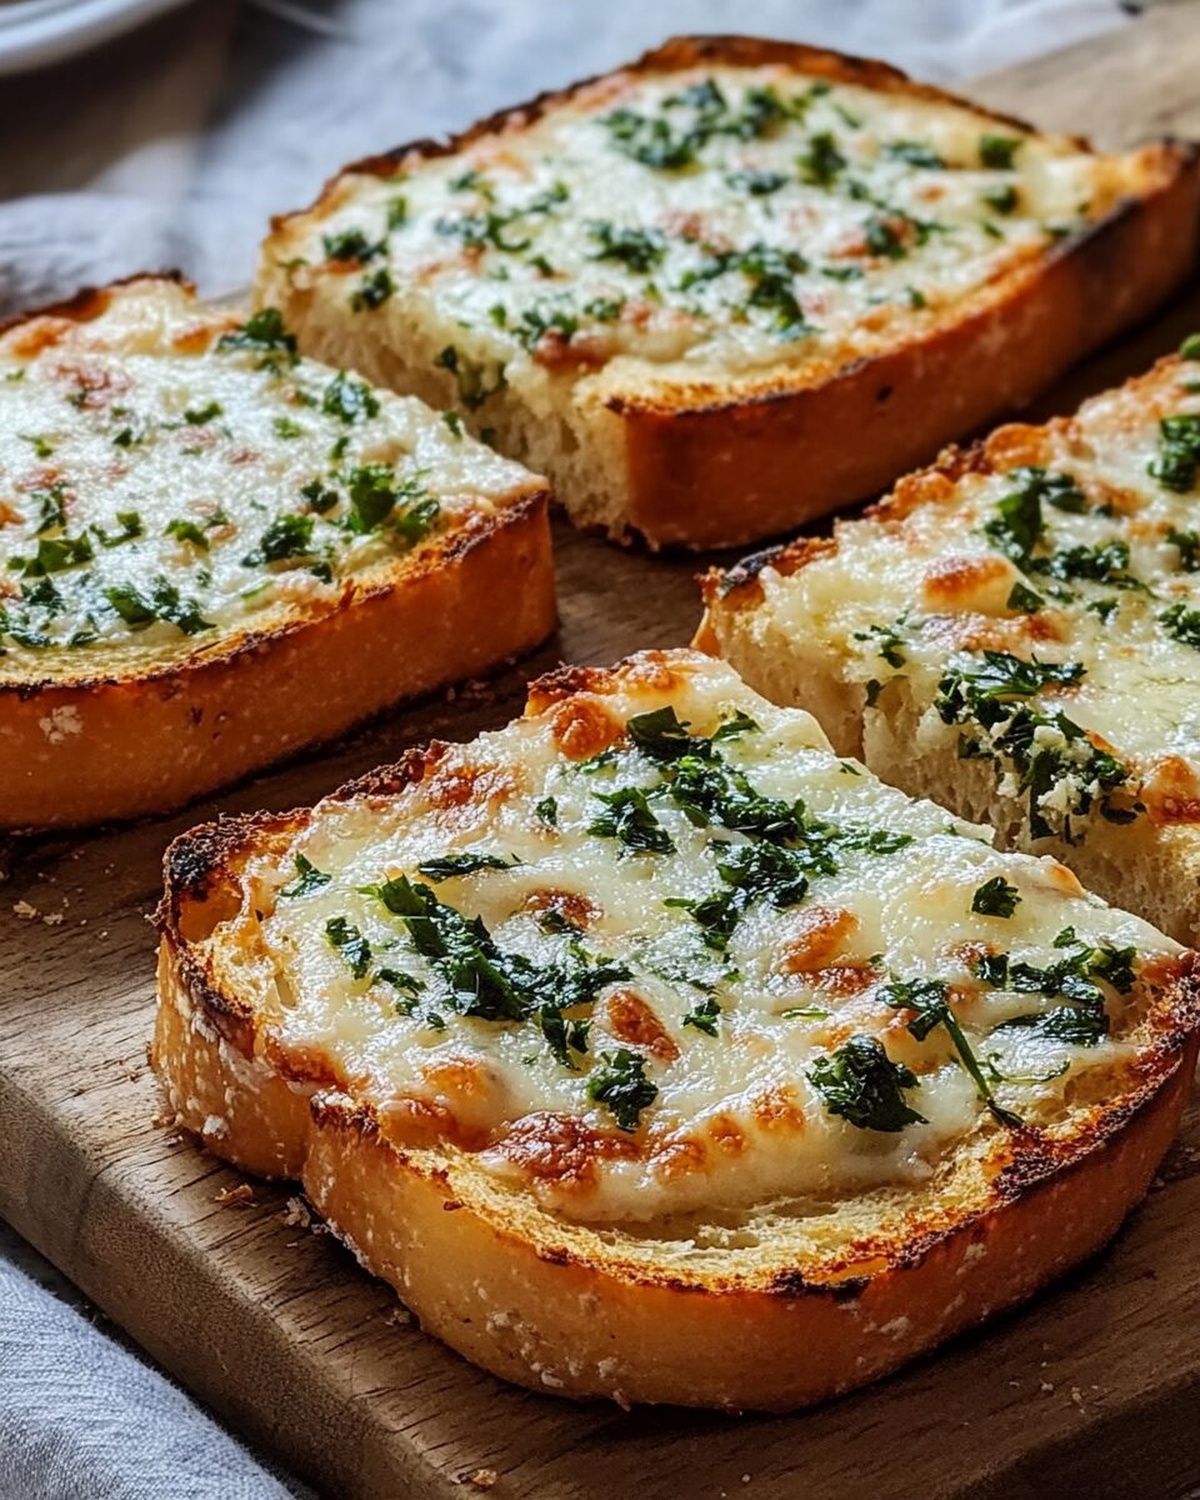
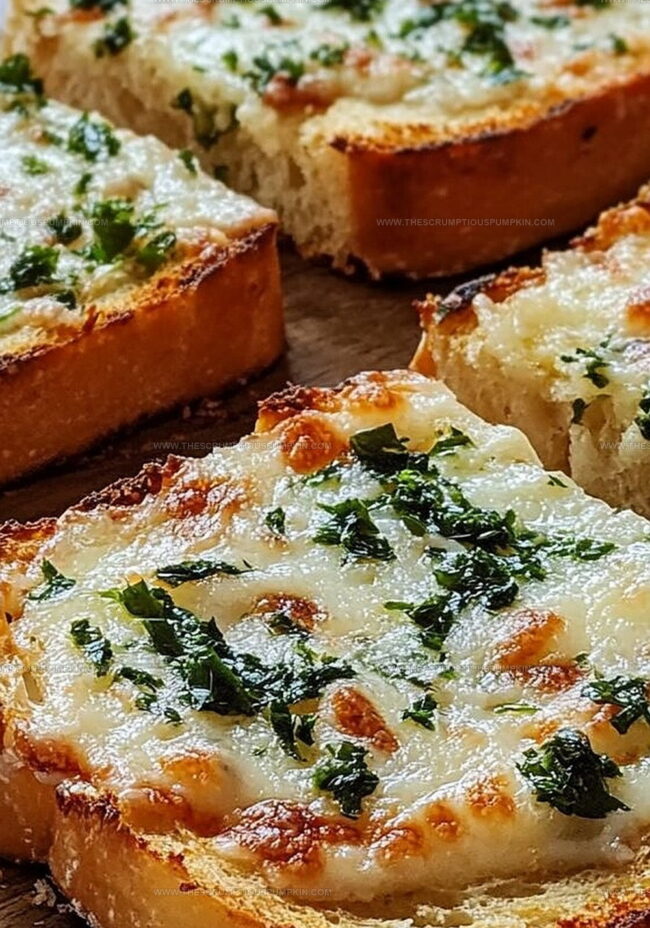
What Makes This Garlic Bread So Cheesy & Savory
Bread Base:Butter and Cheese Components:Seasoning Blend:How to Bake the Dreamiest Cheesy Garlic Bread
Step 1: Warm Up the Oven
Fire up your oven to a cozy 350°F. This temperature will transform your bread into a crispy, golden delight.
Step 2: Create Magical Herb Butter
In a small saucepan, melt butter over medium heat. Whisk in:Stir the ingredients until they dance together into a fragrant mixture.
Step 3: Prepare Bread Slices
Lay out bread slices on a baking sheet. Using a basting brush, lavishly coat each slice with the herb butter mixture.
Make sure every inch gets some love.
Step 4: First Bake for Crispiness
Slide the baking sheet into the oven.
Bake for 10 minutes until the bread edges turn a beautiful light golden color and become wonderfully crisp.
Step 5: Add Cheesy Goodness
Sprinkle shredded mozzarella generously over each bread slice.
Drizzle any remaining herb butter across the top for extra flavor.
Step 6: Final Melty Bake
Return the baking sheet to the oven.
Bake for another 5 minutes until the cheese becomes gloriously melted, bubbly, and the bread reaches a deep golden brown.
Serve hot and enjoy your mouthwatering creation!
Garlic Bread Tips to Get That Gooey Finish
Savory Twists to Try with This Classic Bread
Perfect Pairings for Mozzarella Garlic Bread
Keeping Mozzarella Garlic Bread Tasty After Baking
Got Questions About This Garlic Bread? Let’s Answer Them
Dried parsley is classic, but you can also use oregano, basil, or Italian seasoning blend for extra flavor.
Yes, mince 2-3 fresh garlic cloves and sauté them in butter before brushing on the bread for a more intense garlic taste.
A French baguette or Italian bread works best, providing a crispy exterior and soft interior when toasted.
Prepare the butter mixture in advance and brush on bread just before baking to maintain maximum freshness and crunch.
Print
Italian Garlic Bread with Herb Butter and Mozzarella Recipe
- Total Time: 25 minutes
- Yield: 6 1x
Description
Savory Italian garlic bread dances with herb-infused butter and melted mozzarella, creating a mouthwatering symphony of flavors. Crispy edges and gooey cheese invite you to indulge in this irresistible side dish that elevates any meal with authentic Italian charm.
Ingredients
Main Ingredients:
- 1 loaf French bread
- 1 cup (226 grams) mozzarella cheese, shredded
Butter and Seasoning:
- 1/2 cup (113 grams) unsalted butter
- 1 teaspoon garlic powder
- 1 teaspoon dried parsley
Instructions
- Warm the oven to 350°F (175°C) and prepare a baking sheet with parchment paper for easy cleanup.
- Create a flavorful herb butter by gently melting butter in a small saucepan over medium heat, then whisk in garlic powder and dried parsley until fully incorporated.
- Arrange bread slices evenly on the prepared baking sheet, ensuring they do not overlap.
- Using a pastry brush, coat each bread slice thoroughly with the aromatic herb butter mixture, making sure to cover the entire surface.
- Place the baking sheet in the preheated oven and toast the bread for approximately 10 minutes until edges turn light golden and crisp.
- Remove the bread from the oven and generously sprinkle shredded mozzarella over each slice, allowing some cheese to cascade onto the baking sheet.
- Drizzle any remaining herb butter across the cheese-topped bread for extra flavor intensity.
- Return the baking sheet to the oven and bake for an additional 5 minutes, watching carefully until the cheese melts completely and develops a bubbly, golden-brown surface.
- Remove from the oven and let the garlic bread rest for 2-3 minutes before serving to allow the cheese to set and flavors to meld.
Notes
- Choose a sturdy, crusty Italian or French bread for the best texture and flavor absorption.
- Experiment with fresh herbs like basil or thyme instead of dried parsley to elevate the taste profile.
- For a lighter version, use olive oil instead of butter and reduce the amount of cheese used.
- Customize the garlic intensity by adjusting the amount of garlic powder or using fresh minced garlic for a more robust flavor.
- Prep Time: 10 minutes
- Cook Time: 15 minutes
- Category: Appetizer, Snacks
- Method: Baking
- Cuisine: Italian
Nutrition
- Serving Size: 6
- Calories: 313
- Sugar: 1 g
- Sodium: 300 mg
- Fat: 24 g
- Saturated Fat: 15 g
- Unsaturated Fat: 7 g
- Trans Fat: 0 g
- Carbohydrates: 22 g
- Fiber: 1 g
- Protein: 7 g
- Cholesterol: 61 mg
Mia Thompson
Pastry Chef & Content Creator
Expertise
Education
Portland Community College – Baking and Pastry Arts Program
Specialized in artisanal bread, seasonal desserts, and sustainable baking methods.
National University of Natural Medicine – Bachelor of Science in Nutrition (BScN)
Focused on “Food as Medicine” philosophy, with core threads in nutrition.
Mia’s love affair with baking began in her grandmother’s kitchen, where sneaking spoonfuls of batter first sparked her curiosity. She refined her skills through Portland Community College’s Baking and Pastry Arts Program and her expertise at the National University of Natural Medicine, earning a B.Sc. in Nutrition.
At The Scrumptious Pumpkin, Mia reimagines classics with effortless seasonal treats, healthier twists on old favorites, and playful confections that feel like pure joy. Beyond the oven, she nurtures her urban garden, forages local ingredients around Portland, and leads hands‑on nutrition workshops for her community.