
Irresistibly Cheesy Italian Sliders Recipe for Game Day Fun
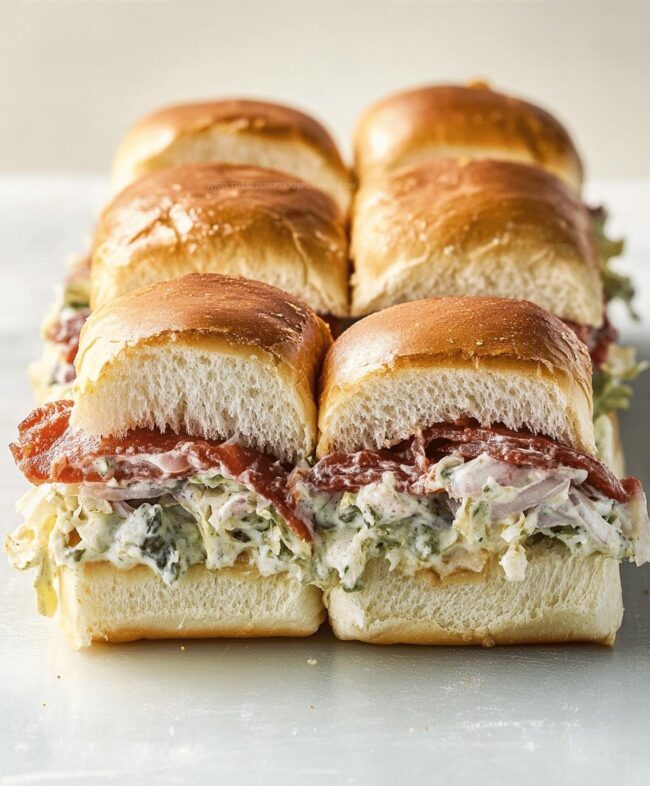
Crafting delectable italian sliders becomes an art form that transforms ordinary gatherings into memorable culinary experiences.
Small yet mighty, these bite-sized delights pack intense flavor into every morsel.
Layers of savory ingredients nestle between soft, pillowy rolls that beckon you closer.
Mediterranean-inspired spices dance across tender meat, creating a symphony of taste sensations.
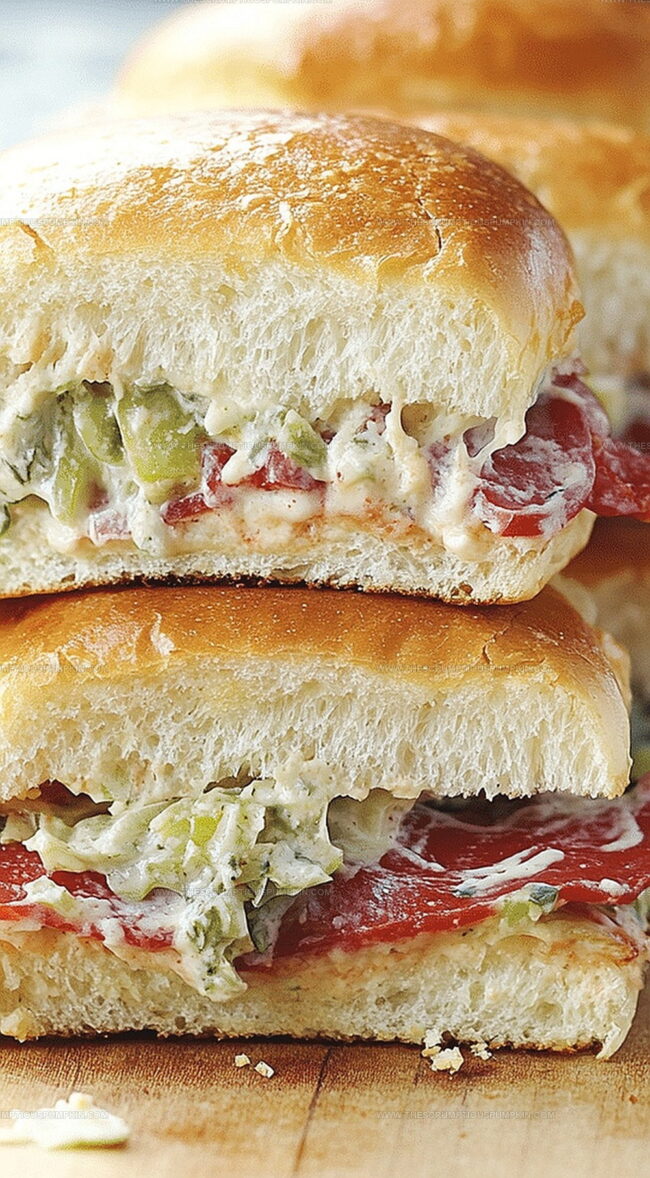
Crisp vegetables and melted cheese complement the robust protein, ensuring each slider delivers maximum satisfaction.
Minimal effort yields maximum enjoyment, making these sliders perfect for casual get-togethers or weekend celebrations.
You’ll love how quickly these miniature masterpieces come together, promising to impress even the most discerning palates.
Why Italian Sliders Deserve Your Attention
Ingredients For Tempting Italian Sliders
Bread Base:Meat and Cheese Layer:Topping and Seasoning:Optional Serving Suggestion:Steps For Crafting Italian Sliders At Home
Step 1: Warm Up The Oven
Fire up your oven to a cozy 350 degrees Fahrenheit, creating the perfect toasty environment for these delectable mini sandwiches.
Step 2: Slice And Prepare Rolls
Gently slice your slider rolls right down the middle, creating two perfect halves.
Place the bottom portions on a baking dish, ready for layering.
Step 3: Create Delicious Meat And Cheese Layer
Build an incredible flavor foundation by stacking these tasty ingredients:Spread these ingredients evenly across the bottom roll sections.
Step 4: Cover With Roll Tops
Carefully place the top halves of the rolls over the meat and cheese layers, creating cute little sandwich packages.
Step 5: Whip Up Flavor Burst Butter
In a small mixing bowl, combine:Mix these ingredients until they’re perfectly blended.
Step 6: Brush With Flavor Magic
Use a pastry brush to generously coat the slider tops with the seasoned butter mixture, ensuring every inch gets some delicious love.
Step 7: First Baking Round
Cover the baking dish with aluminum foil and slide into the preheated oven.
Bake for 10-12 minutes, allowing flavors to meld together.
Step 8: Final Golden Touch
Remove the foil and return the sliders to the oven.
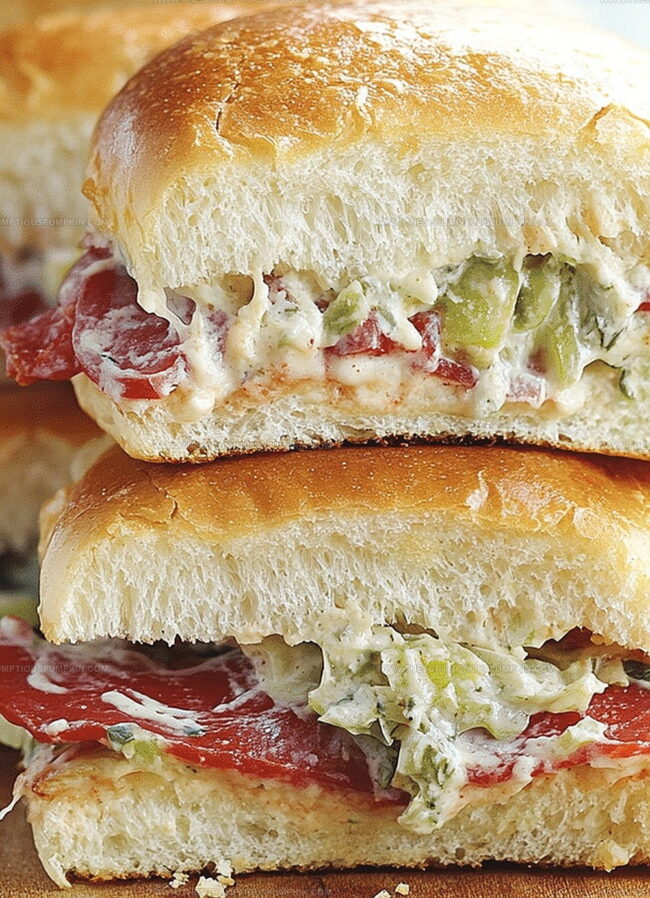
Bake for an additional 5 minutes until the tops turn beautifully golden and the cheese becomes irresistibly melted.
Step 9: Serve And Enjoy
Plate these hot, mouthwatering sliders immediately.
Optional: Serve with marinara sauce for extra dipping deliciousness.
Smart Tips For Slider Perfection Every Time
Italian Sliders: Flavorful Combos & Twists
Serve Up Italian Sliders Like A Pro
Storing Italian Sliders For Next Time
FAQs
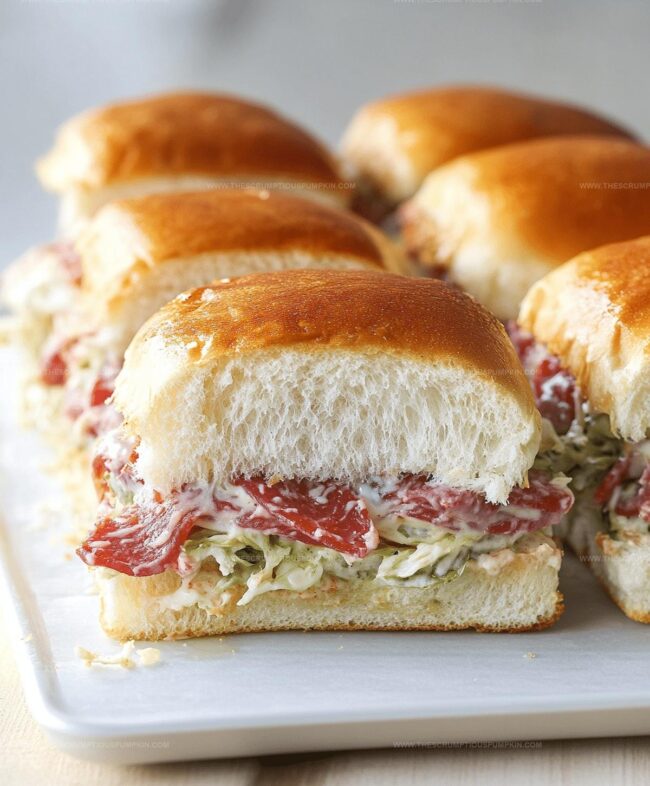
The combination of classic Italian cold cuts like salami, pepperoni, and ham, plus provolone and mozzarella cheeses, creates a traditional Italian flavor profile.
Yes, you can substitute with similar Italian cheeses like fontina or asiago if provolone and mozzarella aren’t available, maintaining the authentic Italian taste.
While the Italian seasoning adds depth and traditional flavor, you can make your own blend using dried oregano, basil, thyme, and rosemary if you don’t have a pre-mixed version.
Use fresh slider rolls and don’t overly saturate with butter mixture. Baking with foil initially helps maintain the bread’s texture while melting the cheese.
Print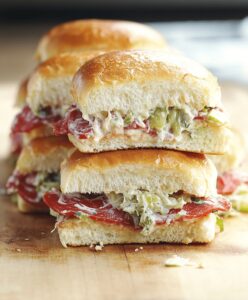
Italian Sliders Recipe
- Total Time: 32 minutes
- Yield: 8 1x
Description
Savory Italian sliders bring Mediterranean zest to your appetizer game, merging classic flavors with miniature sandwich perfection. Crisp pancetta, melted provolone, and herbed aioli create irresistible bites you’ll crave at every gathering.
Ingredients
Meat and Protein:
- 1/2 pound sliced salami
- 1/2 pound sliced pepperoni
- 1/2 pound sliced ham
Cheese:
- 8 ounces provolone cheese
- 8 ounces mozzarella cheese
- 1/4 cup grated Parmesan cheese
Bread and Seasonings:
- 12 slider rolls or small buns
- 1/4 cup butter (melted)
- 1 tablespoon Italian seasoning
- 1 teaspoon garlic powder
Optional:
- Marinara sauce for dipping
Instructions
- Prepare the oven to 350F (175C) and position a rack in the middle.
- Carefully slice the slider rolls horizontally, creating a top and bottom layer.
- Arrange the bottom half of rolls in a baking dish, creating a stable base for layering.
- Create a savory meat and cheese foundation by strategically placing salami, pepperoni, ham, provolone, and mozzarella across the bottom rolls.
- Gently position the top half of the rolls over the layered meats and cheeses.
- Combine melted butter with Italian seasoning, garlic powder, and grated Parmesan in a small mixing bowl.
- Using a pastry brush, evenly distribute the aromatic butter mixture over the entire surface of the sliders.
- Shield the baking dish with aluminum foil and bake for 10-12 minutes, allowing the flavors to meld and cheese to soften.
- Remove the foil and continue baking for an additional 5 minutes until the tops turn golden and the cheese becomes irresistibly bubbly.
- Remove from the oven and let rest for 2-3 minutes before serving warm, optionally accompanied by marinara sauce for dipping.
Notes
- Swap meats effortlessly by using turkey pepperoni or prosciutto for a lighter protein option.
- Gluten-sensitive guests can enjoy these sliders by using gluten-free slider rolls or lettuce wraps.
- Prep sliders ahead of time and refrigerate before baking to develop deeper flavor profiles and save last-minute cooking stress.
- Reduce butter quantity by half and use olive oil spray for a healthier alternative without compromising delicious taste.
- Prep Time: 15 minutes
- Cook Time: 17 minutes
- Category: Lunch, Dinner, Appetizer, Snacks
- Method: Baking
- Cuisine: Italian
Nutrition
- Serving Size: 8
- Calories: 320 kcal
- Sugar: 3 g
- Sodium: 900 mg
- Fat: 22 g
- Saturated Fat: 9 g
- Unsaturated Fat: 11 g
- Trans Fat: 0.5 g
- Carbohydrates: 18 g
- Fiber: 1.5 g
- Protein: 15 g
- Cholesterol: 50 mg
Lucas Bennett
Founder & Recipe Developer
Expertise
Education
Blue Ridge Community College – Certificate in Culinary Arts
Focused on seasonal cooking, sustainable kitchen practices, and farm-to-table techniques.
Appalachian State University – B.A. in English
Built critical thinking and analysis through diverse texts. Guided by faculty, it prepares graduates for publishing and more.
Growing up in the rolling hills of North Carolina, Lucas learned early that some of life’s best memories start around a kitchen table. After studying English at Appalachian State University and honing his culinary skills at Blue Ridge Community College, he dreamed of blending storytelling with rustic, seasonal cooking, and The Scrumptious Pumpkin was born.
Lucas focuses on easy, single-serving recipes that turn fresh, local ingredients into something special. His style is simple, heartfelt, and rooted in the beauty of the seasons. When he’s not testing a new dish, you’ll probably find him hiking in the Blue Ridge Mountains, browsing farmers’ markets, or scribbling food stories in a notebook.