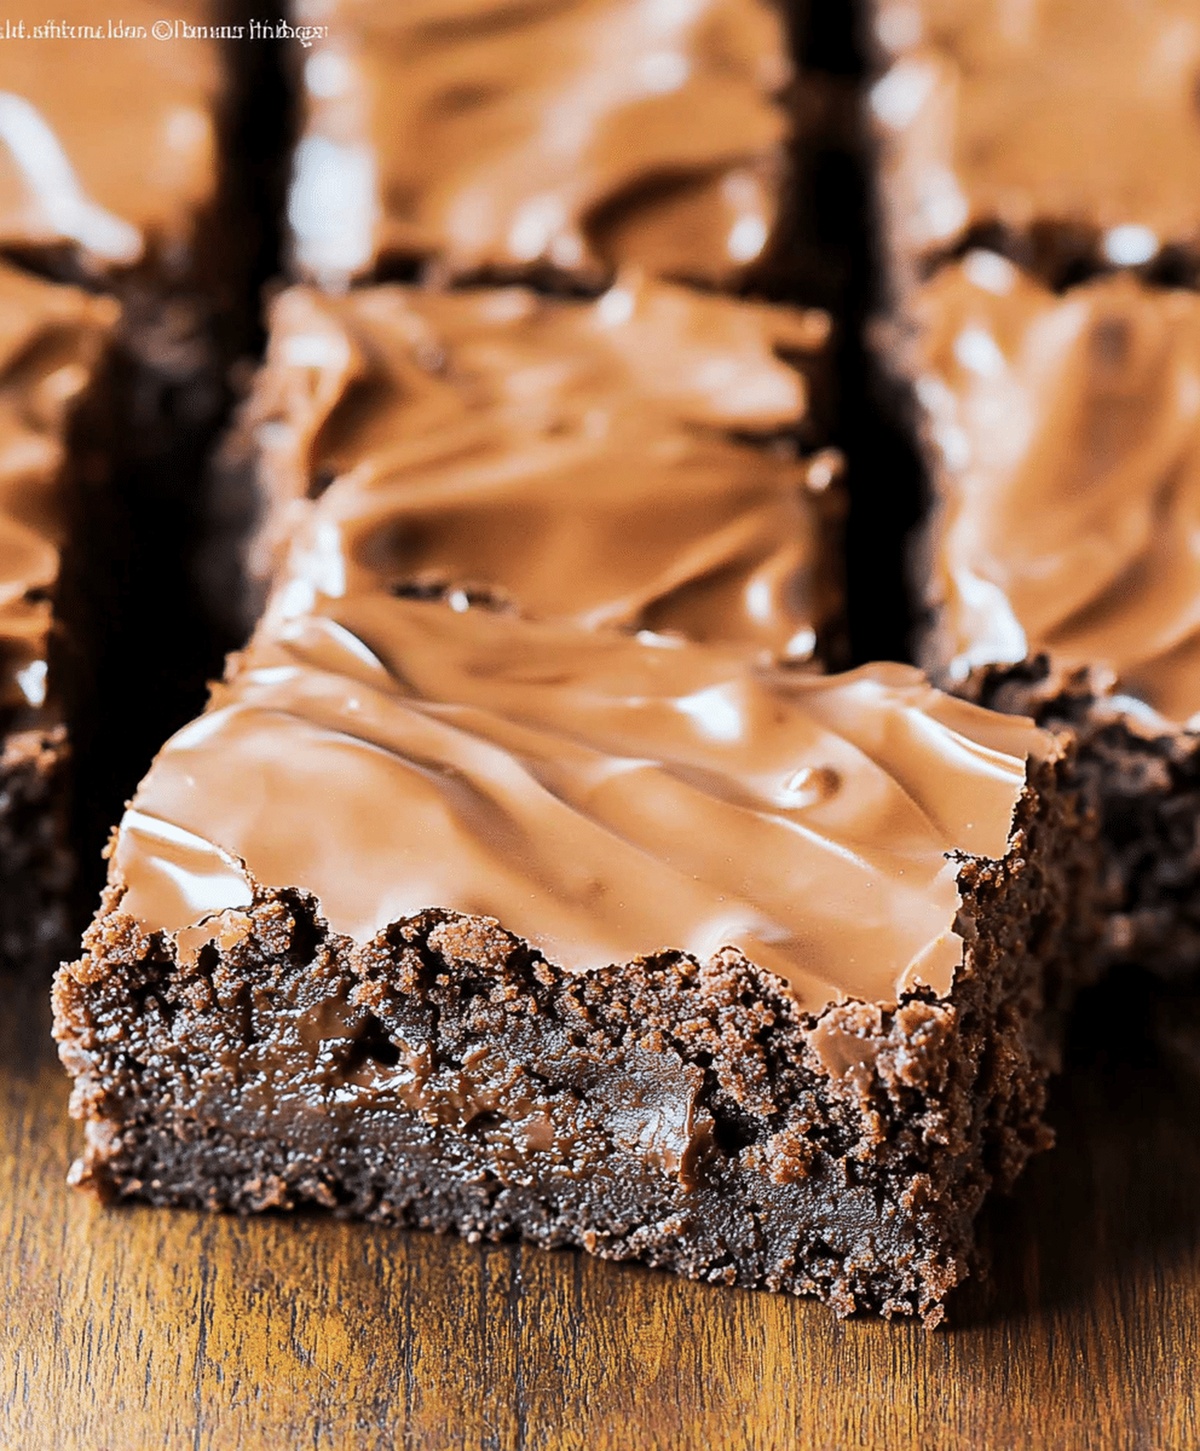
The Famous Lunchroom Ladies Brownies Recipe: A Golden Oldie
School cafeterias hold magical chocolate brownies that generations have adored since the 1970s.
Lunch servers crafted these remarkable treats with simple ingredients and pure love.
Chocolate squares melted into rich batter created dense, fudgy squares that students couldn’t resist.
Grandmothers and home bakers have whispered about these legendary brownies for decades.
Classic recipes sometimes emerge as unexpected culinary treasures waiting to delight hungry dessert enthusiasts.
Small-town kitchens preserved this nostalgic recipe through careful handwritten notes passed between friends.
Savor each decadent bite and reconnect with a sweet slice of delicious memories.
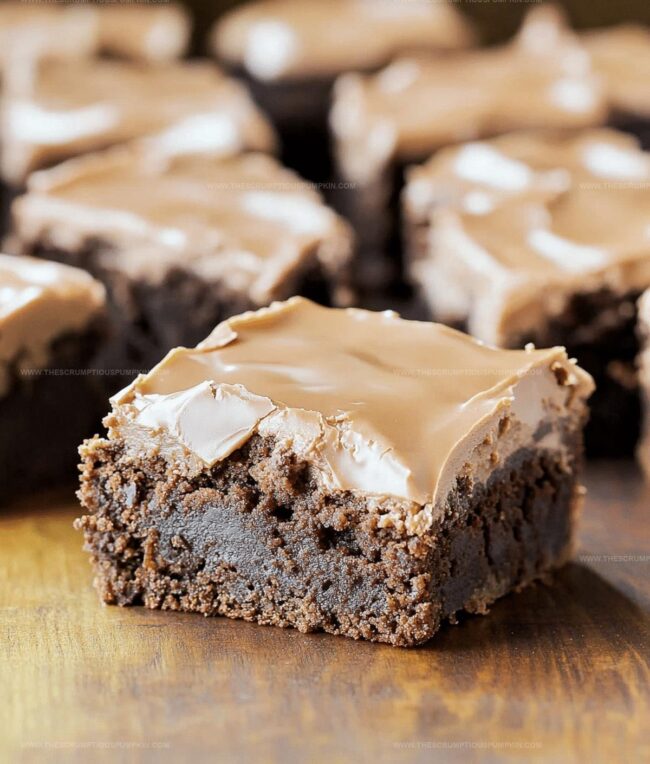
Lunchroom Ladies Brownies Classic Treat Appeal
Brownie Ingredients for Lunchroom Nostalgia
Base Ingredients:Flour Ingredients:Optional Add-In:Frosting Ingredients:Baking Legendary Lunchroom Brownies
Step 1: Fire Up the Oven
Turn your oven to 350F (175C).
Grab a 9×13-inch baking pan and coat it generously with cooking spray or butter to prevent sticking.
Step 2: Create Chocolate Base
In a roomy mixing bowl, combine melted butter and cocoa powder.
Whisk until the mixture looks silky and completely blended with no lumps.
Step 3: Build the Brownie Foundation
Add these ingredients to your chocolate base:Stir everything together until well incorporated and looking glossy.
Step 4: Incorporate Dry Ingredients
Gently fold flour into the wet mixture.
Mix just until combined – don’t overmix.
If you want extra crunch, sprinkle in chopped nuts and fold softly.
Step 5: Prepare for Baking
Pour the batter into your prepared pan.
Use a spatula to spread it evenly, making sure the mixture reaches all corners.
Step 6: Bake to Perfection
Slide the pan into the preheated oven.
Bake for 25-30 minutes.
Check doneness by inserting a toothpick – it should come out with a few moist crumbs.
Step 7: Craft Decadent Frosting
While brownies are baking, whip up the frosting by mixing:Gradually add powdered sugar, stirring until the frosting becomes smooth and glossy.
Step 8: Finish with Frosting Flair
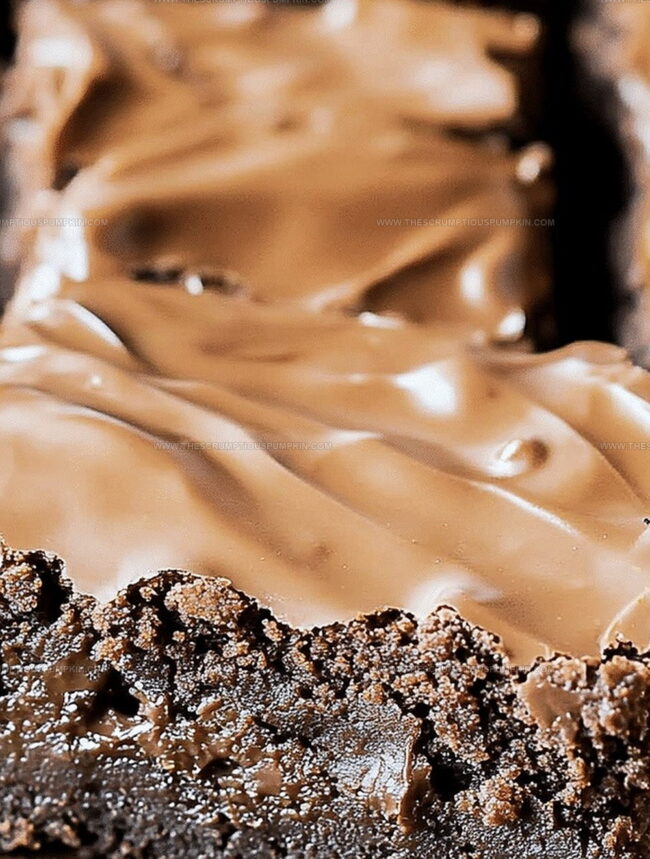
Once brownies are out of the oven and still warm, spread the frosting evenly across the top.
Let the brownies cool completely before slicing into delectable squares.
Brownie Tips Passed Down Through Time
New Ideas for Classic Brownie Treats
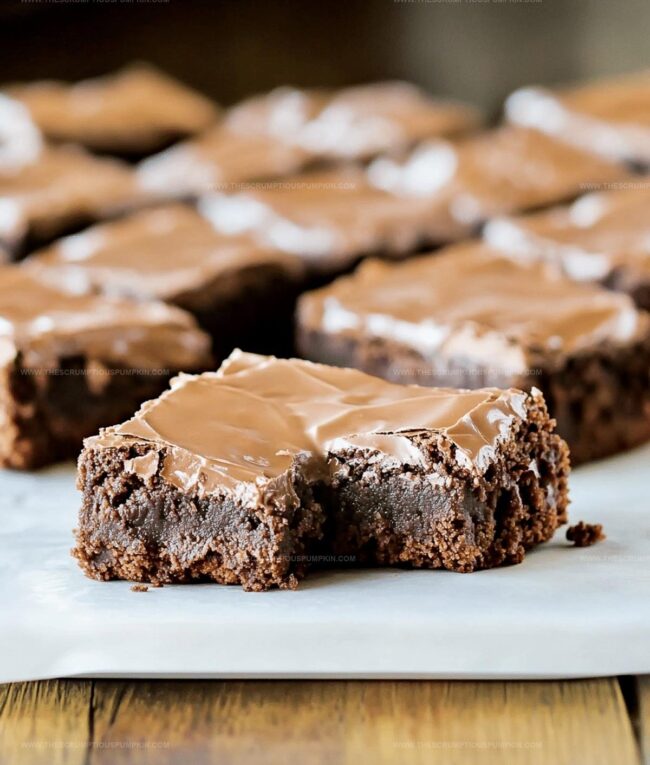
Lunchroom Brownies Served for Sweet Moments
Brownie Storage for Snack Time Ease
FAQs
These brownies are a nostalgic recipe from school cafeterias, originally created by dedicated lunch staff who made homemade desserts for students decades ago.
These classic brownies use a simple, straightforward method with basic ingredients, resulting in an incredibly rich, fudgy texture that’s been loved for generations.
Absolutely! The nuts are optional, so you can easily skip them or substitute with chocolate chips if you prefer a different add-in.
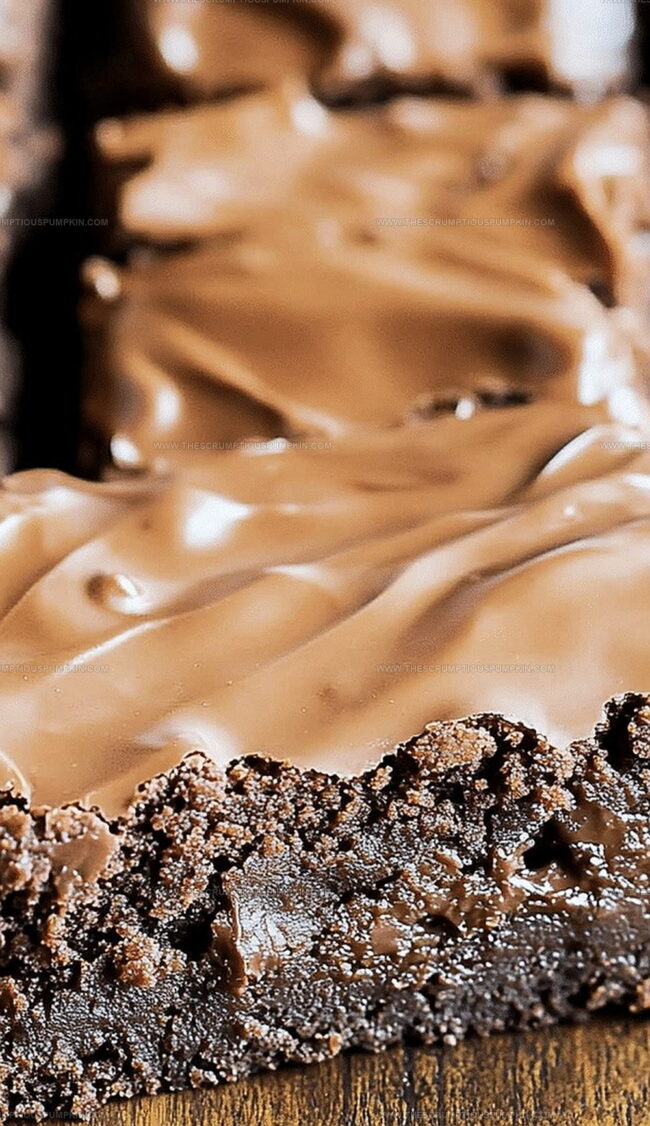
Look for a toothpick with a few moist crumbs when inserted – this ensures they’re fudgy and not overbaked, which would make them dry.
Print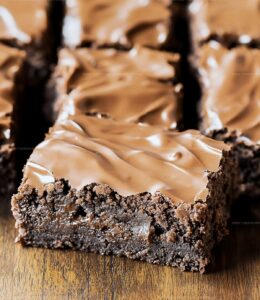
Lunchroom Ladies Brownies-50 Year Old Recipe
- Total Time: 50 minutes
- Yield: 16 1x
Description
Classic lunchroom ladies brownies deliver nostalgic chocolate comfort straight from school cafeteria memories. Rich chocolate squares offer a sweet reminder of cherished childhood desserts you’ll savor with pure delight.
Ingredients
Main Ingredients:
- 2 cups all-purpose flour
- 2 cups granulated sugar
- 4 large eggs
- 1 cup butter, melted
Chocolatey Components:
- 1/2 cup cocoa powder
Flavor Enhancers:
- 4 teaspoons vanilla extract
- 1 cup chopped nuts (optional)
Instructions
- Warm the oven to 350F (175C) and coat a 9×13-inch baking dish with a light layer of grease.
- Combine melted butter and cocoa powder in a large mixing bowl, whisking until the mixture achieves a silky, uniform consistency.
- Incorporate sugar, eggs, and vanilla extract into the butter-cocoa base, blending thoroughly to create a rich, glossy batter.
- Gently fold flour into the wet ingredients, stirring minimally to prevent overmixing. If desired, fold chopped nuts into the batter for added texture.
- Transfer the batter to the prepared baking dish, using a spatula to distribute evenly and create a smooth surface.
- Place in the preheated oven and bake for 25-30 minutes, checking doneness by inserting a toothpick – it should emerge with a few moist crumbs clinging to it.
- While brownies are baking, craft the frosting by blending butter, milk, and cocoa powder until smooth, then gradually whisk in powdered sugar until the mixture reaches a creamy, spreadable consistency.
- Once brownies are removed from the oven, immediately spread the prepared frosting across the warm surface, allowing it to set and create a glossy topping before cutting into squares.
Notes
- Test brownie doneness by inserting a toothpick at an angle, ensuring a few moist crumbs remain for ultimate fudgy texture.
- Swap nuts with chocolate chips or dried fruit to customize and add exciting flavor variations.
- Use room temperature eggs for smoother batter integration and more consistent brownie consistency.
- For gluten-free option, replace all-purpose flour with almond or gluten-free flour blend without compromising rich chocolate taste.
- Prep Time: 20 minutes
- Cook Time: 30 minutes
- Category: Desserts, Snacks
- Method: Baking
- Cuisine: American
Nutrition
- Serving Size: 16
- Calories: 246
- Sugar: 20 g
- Sodium: 22 mg
- Fat: 14 g
- Saturated Fat: 8 g
- Unsaturated Fat: 6 g
- Trans Fat: 0.5 g
- Carbohydrates: 29 g
- Fiber: 2 g
- Protein: 3 g
- Cholesterol: 47 mg
Lucas Bennett
Founder & Recipe Developer
Expertise
Education
Blue Ridge Community College – Certificate in Culinary Arts
Focused on seasonal cooking, sustainable kitchen practices, and farm-to-table techniques.
Appalachian State University – B.A. in English
Built critical thinking and analysis through diverse texts. Guided by faculty, it prepares graduates for publishing and more.
Growing up in the rolling hills of North Carolina, Lucas learned early that some of life’s best memories start around a kitchen table. After studying English at Appalachian State University and honing his culinary skills at Blue Ridge Community College, he dreamed of blending storytelling with rustic, seasonal cooking, and The Scrumptious Pumpkin was born.
Lucas focuses on easy, single-serving recipes that turn fresh, local ingredients into something special. His style is simple, heartfelt, and rooted in the beauty of the seasons. When he’s not testing a new dish, you’ll probably find him hiking in the Blue Ridge Mountains, browsing farmers’ markets, or scribbling food stories in a notebook.