Dreamy No Bake Oreo Cheesecake Recipe for Sweet Cravings
Crafting a delectable no bake oreo cheesecake requires minimal effort and maximum flavor.
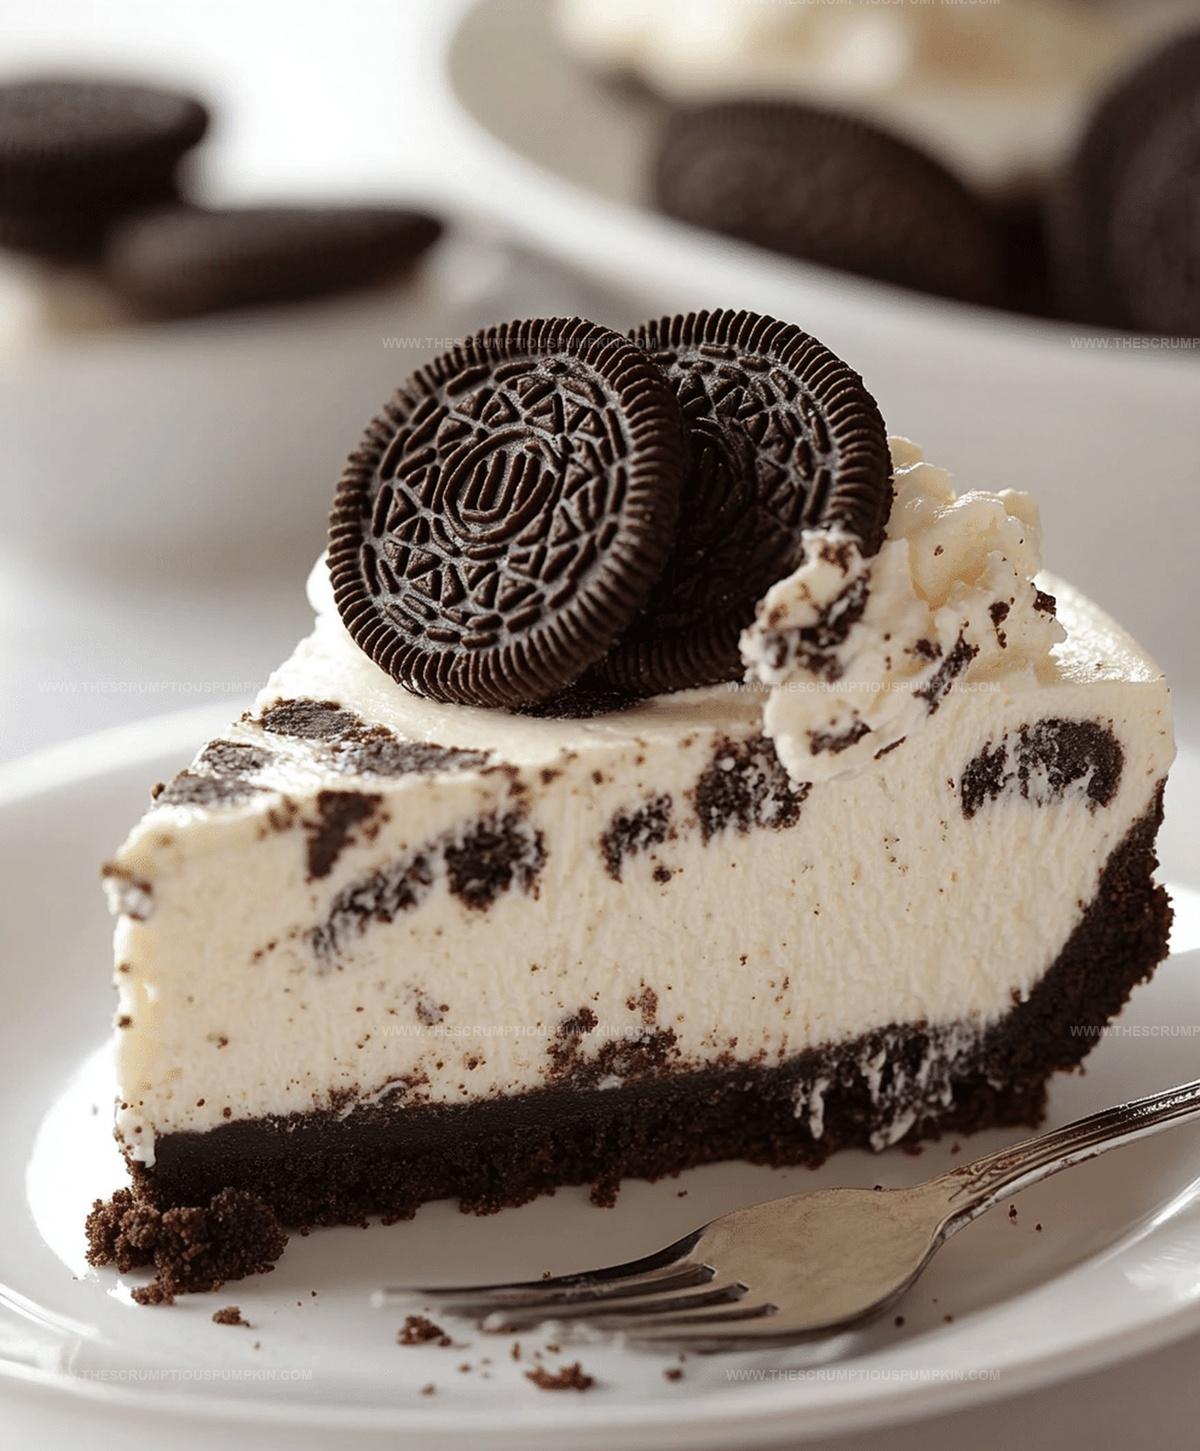
Smooth cream cheese blends perfectly with crushed cookie crumbles for an irresistible dessert.
Rich chocolate sandwich cookies provide a crunchy base that melts in your mouth.
Cool and creamy textures create a heavenly experience without turning on the oven.
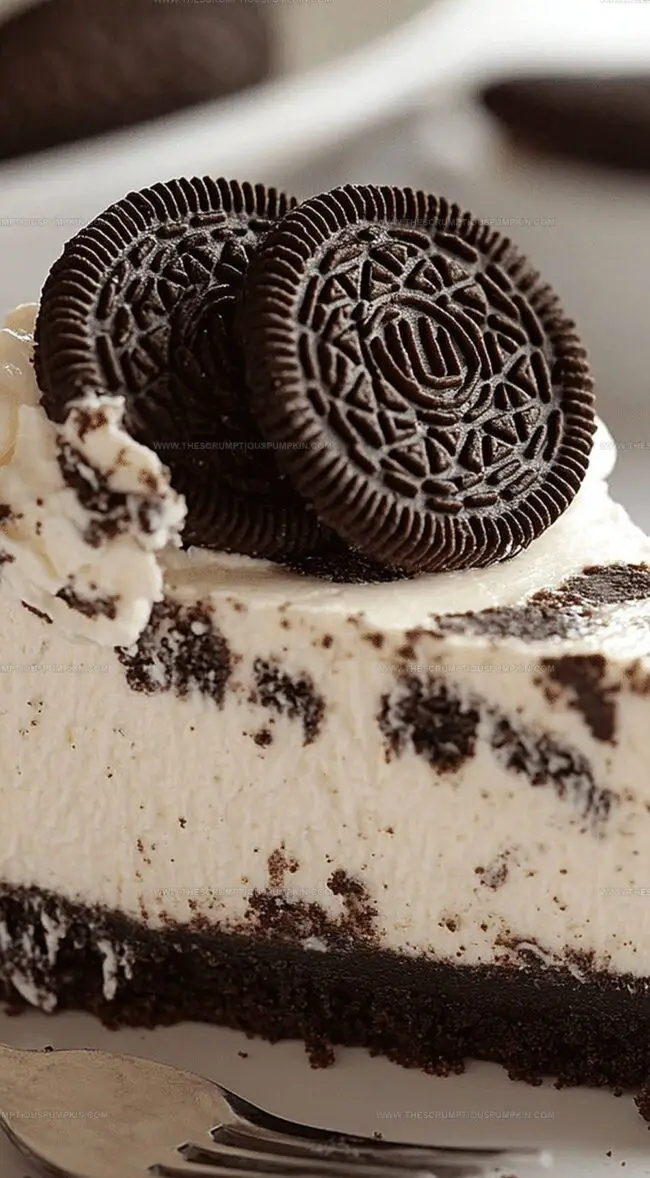
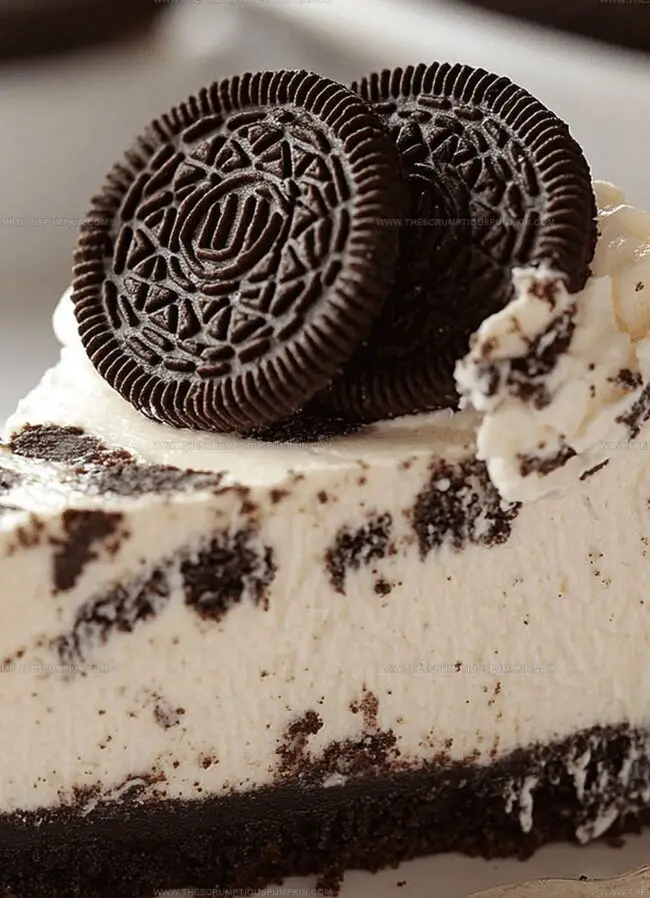
Each bite promises pure indulgence with its velvety filling and crisp oreo crust.
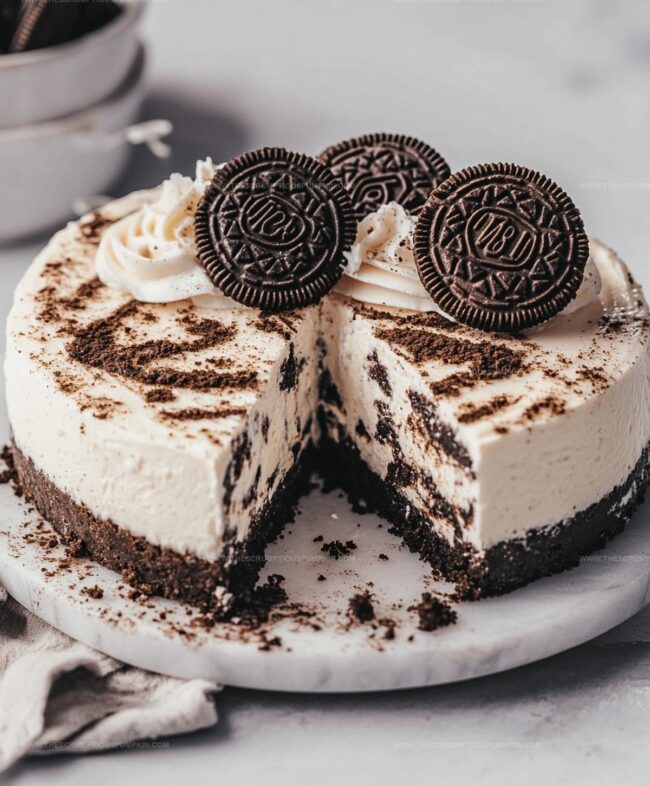
Chilling helps set the cheesecake, intensifying its decadent profile and allowing flavors to meld beautifully.
Impress everyone at your next gathering with this simple yet stunning dessert that comes together in minutes.
No-Bake Oreo Cheesecake Recipe Overview
Ingredients For No-Bake Oreo Cheesecake
Crust:Filling:Garnish:How To Make No-Bake Oreo Cheesecake
Step 1: Crush Oreo Cookies for Crust
Grab a bunch of Oreo cookies and pulverize them into fine crumbs using a food processor or by placing them in a sealed plastic bag and crushing with a rolling pin.
The goal is to create a smooth, even texture that will form the base of your delightful dessert.
Step 2: Create Crust Foundation
Mix the Oreo cookie crumbs with melted butter until the mixture becomes sticky and holds together.
Press this delectable mixture firmly into the bottom of a springform pan, creating an even layer that will serve as the perfect foundation for your cheesecake.
Step 3: Whip Cream Cheese Mixture
In a large mixing bowl, blend cream cheese until it becomes silky smooth.
Add powdered sugar and vanilla extract, continuing to mix until the ingredients are fully incorporated and create a luxurious, creamy texture.
Step 4: Prepare Whipped Cream
In a separate bowl, whip heavy cream until it forms stiff, fluffy peaks.
This will add incredible lightness and volume to your cheesecake filling.
Step 5: Combine Filling Components
Gently fold the whipped cream into the cream cheese mixture, creating a cloud-like, airy filling.
Be careful not to deflate the whipped cream while mixing.
Step 6: Add Oreo Chunks
Roughly chop additional Oreo cookies and fold them into the creamy mixture, distributing the cookie pieces evenly throughout the filling.
Step 7: Pour and Smooth
Transfer the Oreo-studded filling into the prepared crust, using a spatula to spread it evenly and create a smooth top surface.
Step 8: Chill and Set
Refrigerate the cheesecake for at least 4 hours, or preferably overnight, allowing it to firm up and develop rich, creamy flavors.
Step 9: Garnish and Serve
Before serving, sprinkle extra crushed Oreo cookies on top for a beautiful and delicious finishing touch.
Slice and enjoy your no-bake Oreo cheesecake!
Pro Tips For Oreo Cheesecake Success
Variations For No-Bake Oreo Cheesecake
Serving Suggestions For Oreo Cheesecake
Storage Guidelines For Oreo Cheesecake
FAQs
Yes, you can substitute reduced-fat cream cheese, but the texture might be slightly less creamy and rich compared to full-fat cream cheese.
A springform pan is recommended for easy removal, but you can use a regular cake pan lined with parchment paper if needed.
The cheesecake will stay fresh in the refrigerator for up to 5 days when stored in an airtight container.
Yes, you can freeze the cheesecake for up to 2 months. Wrap it tightly in plastic wrap and aluminum foil before freezing.
Print
No Bake Oreo Cheesecake Recipe
- Total Time: 4 hours 25 minutes
- Yield: 8 1x
Description
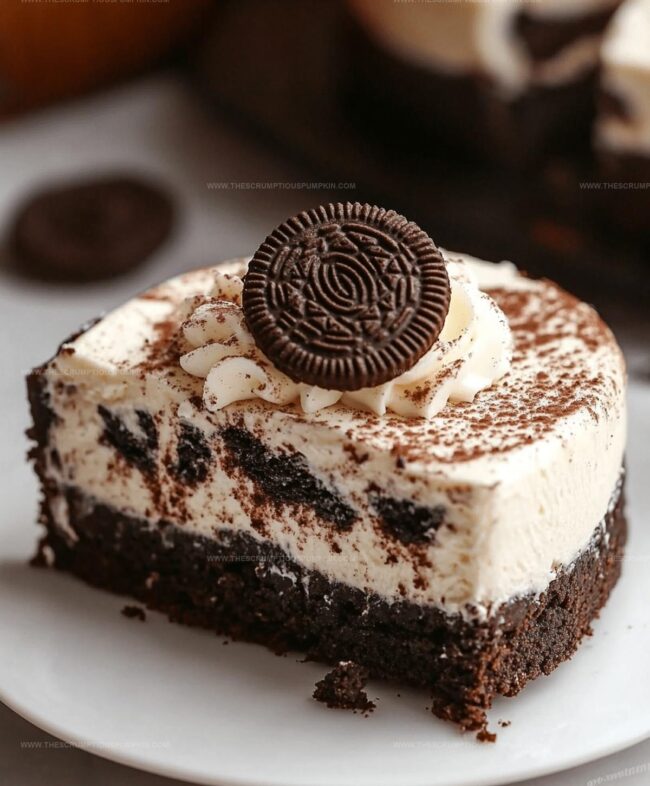
Creamy No Bake Oreo Cheesecake promises a delightful dessert adventure without turning on the oven. Chocolate cookie crumbs and silky cream cheese blend into a dreamy treat that melts in your mouth, making sweet memories with each indulgent bite.
Ingredients
Main Ingredients:
- 16 ounces (454 grams) cream cheese, softened
- 1 1/2 cups (360 milliliters) heavy whipping cream
- 1 cup (120 grams) powdered sugar
Crust Ingredients:
- 24 Oreo cookies, finely crushed
- 1/4 cup (57 grams) unsalted butter, melted
Filling and Topping Ingredients:
- 12–15 Oreo cookies, chopped
- 1 teaspoon vanilla extract
Instructions
- Crush Oreo cookies into fine crumbs and blend thoroughly with melted butter, creating a compact mixture.
- Press the cookie-butter blend firmly into the bottom of a springform pan, ensuring an even, smooth base.
- Refrigerate the crust for 15 minutes to set while preparing the filling.
- Using an electric mixer, whip cream cheese until ultra-smooth and creamy, eliminating any lumps.
- Gradually incorporate powdered sugar and vanilla extract, mixing until the cream cheese mixture becomes light and fluffy.
- In a separate chilled bowl, whip heavy cream until it forms distinct, stiff peaks that hold their shape.
- Carefully fold the whipped cream into the cream cheese mixture, maintaining the airy texture and ensuring complete integration.
- Gently fold chopped Oreo cookies into the filling, distributing them evenly throughout the mixture.
- Pour the Oreo-studded filling over the chilled crust, using a spatula to create a perfectly smooth surface.
- Refrigerate the cheesecake for a minimum of 4 hours, preferably overnight, to allow complete setting and flavor development.
- Before serving, optionally garnish with additional crushed Oreo cookies for extra crunch and visual appeal.
Notes
- Use a food processor for uniform, fine Oreo crumbs to ensure a consistent, compact crust that holds together perfectly.
- Let cream cheese soften at room temperature for 30-45 minutes to achieve a smoother, lump-free filling without overmixing.
- Chill your mixing bowl and beaters beforehand to help heavy cream whip faster and reach stiffer peaks more efficiently.
- Swap regular cream cheese and heavy cream with dairy-free alternatives like coconut cream and vegan cream cheese to make the dessert suitable for lactose-intolerant guests.
- Prep Time: 25 minutes
- Cook Time: 4 hours
- Category: Desserts
- Method: Chilling
- Cuisine: American
Nutrition
- Serving Size: 8
- Calories: 414
- Sugar: 30 g
- Sodium: 170 mg
- Fat: 29 g
- Saturated Fat: 18 g
- Unsaturated Fat: 9 g
- Trans Fat: 0.5 g
- Carbohydrates: 36 g
- Fiber: 1 g
- Protein: 6 g
- Cholesterol: 90 mg
Lucas Bennett
Founder & Recipe Developer
Expertise
Education
Blue Ridge Community College – Certificate in Culinary Arts
Focused on seasonal cooking, sustainable kitchen practices, and farm-to-table techniques.
Appalachian State University – B.A. in English
Built critical thinking and analysis through diverse texts. Guided by faculty, it prepares graduates for publishing and more.
Growing up in the rolling hills of North Carolina, Lucas learned early that some of life’s best memories start around a kitchen table. After studying English at Appalachian State University and honing his culinary skills at Blue Ridge Community College, he dreamed of blending storytelling with rustic, seasonal cooking, and The Scrumptious Pumpkin was born.
Lucas focuses on easy, single-serving recipes that turn fresh, local ingredients into something special. His style is simple, heartfelt, and rooted in the beauty of the seasons. When he’s not testing a new dish, you’ll probably find him hiking in the Blue Ridge Mountains, browsing farmers’ markets, or scribbling food stories in a notebook.