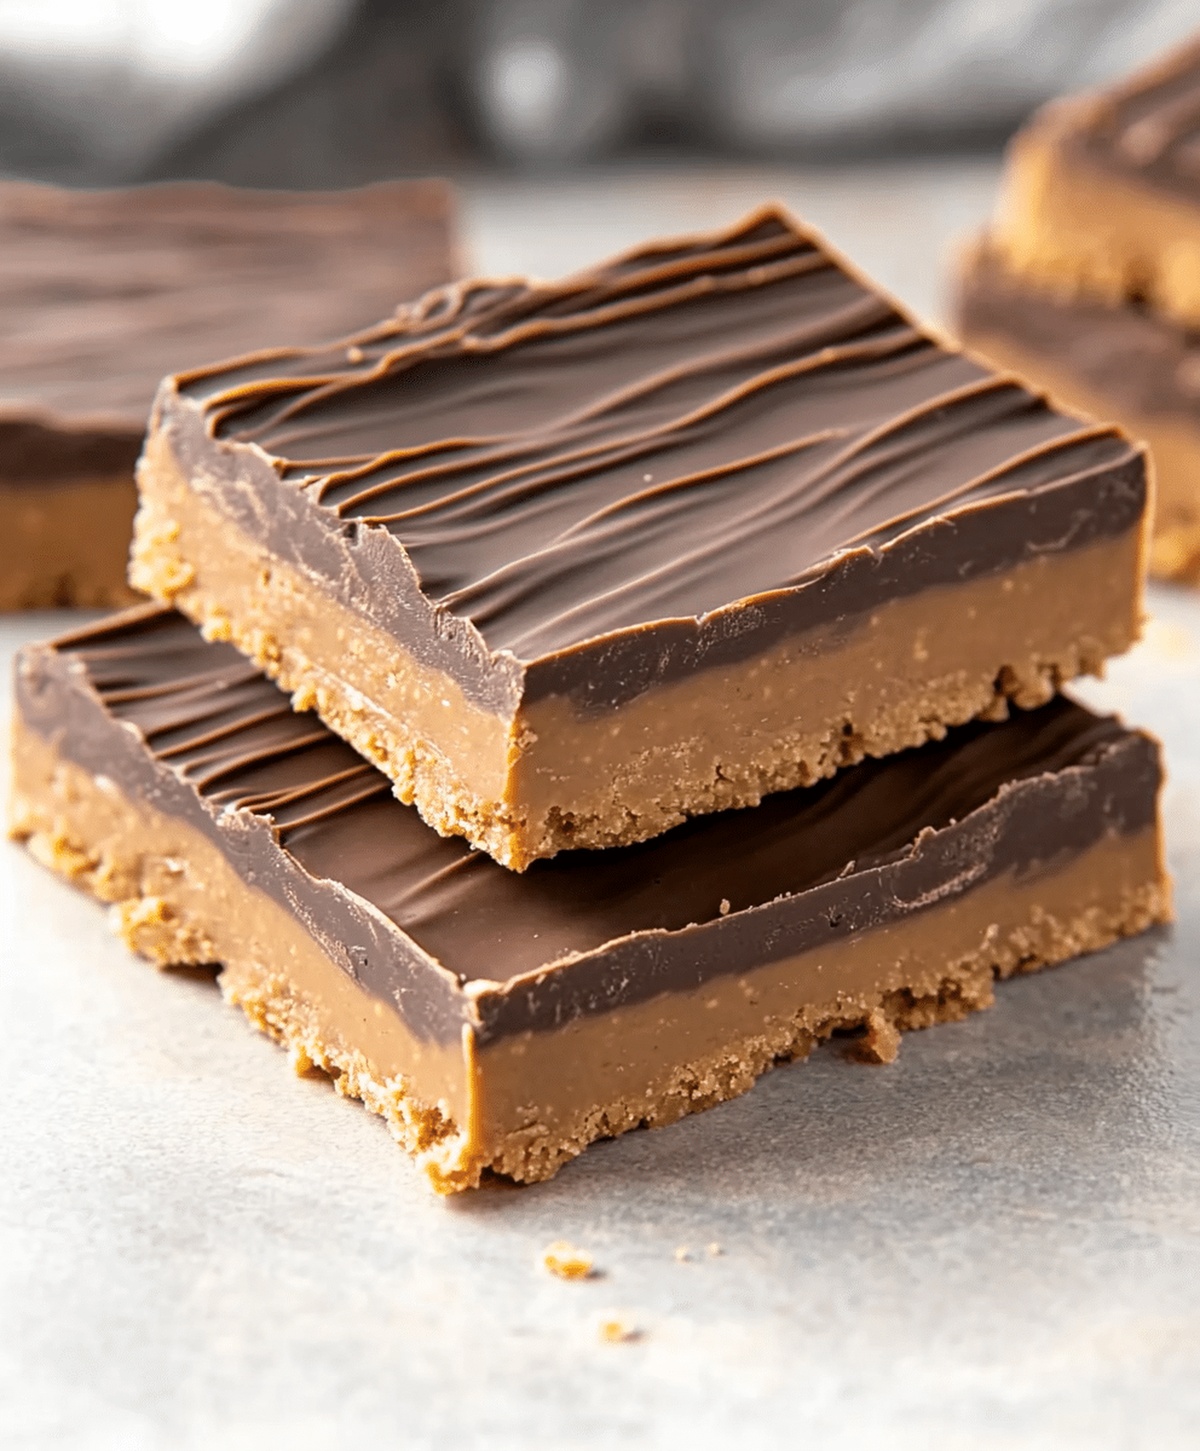
The Dreamiest No-Bake Chocolate Peanut Butter Bars Recipe
Chocolate peanut butter bars offer a delightful twist on classic dessert combinations that dance across your taste buds.
Sweet memories of childhood treats blend perfectly with these simple ingredients.
Creamy peanut butter mingles with rich chocolate in a no-fuss recipe anyone can master.
Kitchen novices and seasoned bakers alike will adore this effortless creation.
No oven required means minimal cleanup and maximum enjoyment.
Each bite promises a smooth, decadent experience that satisfies deep chocolate cravings.
Go ahead and whip up these irresistible bars – your sweet tooth will thank you.
Why No-Bake Chocolate Peanut Butter Bars Are Ideal
No-Bake Chocolate Peanut Butter Bars Ingredients
Base Ingredients:Binding Ingredients:Topping Ingredients:How to Make No-Bake Chocolate Peanut Butter Bars

Step 1: Prepare the Peanut Butter Base
In a spacious mixing bowl, combine smooth peanut butter, melted butter, powdered sugar, and crushed graham cracker crumbs.
Stir the ingredients thoroughly until they form a uniform, slightly sticky mixture that holds together well.
Step 2: Create the Bottom Layer
Transfer the peanut butter mixture into a lightly greased 9×13-inch baking dish.
Use clean hands or a spatula to press the mixture firmly and evenly across the entire surface, creating a compact and smooth base layer.
Step 3: Craft the Chocolate Topping
Place chocolate chips and extra peanut butter in a microwave-safe bowl.
Heat in 30-second intervals, stirring between each interval, until the mixture becomes completely smooth and glossy with no lumps remaining.
Step 4: Cover with Chocolate Layer
Carefully pour the melted chocolate and peanut butter mixture over the prepared base.
Use a spatula to spread the chocolate evenly, ensuring complete coverage of the peanut butter layer.
Step 5: Chill and Set
Place the baking dish in the refrigerator for approximately 2 hours.
The bars are ready when the chocolate topping has hardened completely and feels firm to the touch.
Step 6: Slice and Serve
Remove the dish from the refrigerator.
Using a sharp knife, cut the chilled bars into square or rectangular pieces.
Serve immediately or store in an airtight container in the refrigerator.
Tips for No-Bake Chocolate Peanut Butter Bars
Variations of No-Bake Chocolate Peanut Butter Bars
Serving No-Bake Chocolate Peanut Butter Bars
Storing No-Bake Chocolate Peanut Butter Bars
FAQs
No, these bars are super easy and require no baking. Anyone with basic kitchen skills can make them quickly with just a few simple steps and minimal ingredients.
Yes, you can use creamy or crunchy peanut butter. Just ensure it’s smooth enough to mix well with other ingredients. Natural or commercial brands both work great.
These bars can stay fresh in the refrigerator for up to a week when stored in an airtight container. Always keep them chilled to maintain their texture and taste.
No special equipment is needed. You just need a large mixing bowl, a microwave, a 9×13-inch baking dish, and basic measuring tools like cups and spoons.
Print
No-bake Chocolate Peanut Butter Bars Recipe
- Total Time: 2 hours 15 minutes
- Yield: 12 1x
Description
Mouthwatering no-bake chocolate peanut butter bars blend creamy richness with irresistible sweet-salty magic. Chocolate and peanut butter lovers will discover pure bliss in this simple, quick dessert that satisfies intense cravings without turning on the oven.
Ingredients
Main Ingredients:
- 1 cup peanut butter
- 1 1/4 cups semi-sweet chocolate chips
- 1 1/2 cups graham cracker crumbs
Binding Ingredients:
- 1/2 cup unsalted butter, melted
- 1 3/4 cups powdered sugar
Topping:
- 1/4 cup peanut butter
Instructions
- Combine creamy peanut butter, melted butter, powdered sugar, and graham cracker crumbs in a mixing bowl, stirring until a uniform, slightly crumbly consistency forms.
- Transfer the mixture into a lightly greased 9×13-inch baking dish, using clean hands or a spatula to firmly press and create an even, compact layer.
- Place chocolate chips and additional peanut butter in a microwave-safe bowl, heating in 30-second increments and stirring between each interval until completely smooth and glossy.
- Carefully pour the molten chocolate-peanut butter mixture over the prepared base, using a spatula to distribute evenly and create a uniform top layer.
- Transfer the baking dish to the refrigerator, allowing the bars to set and solidify for approximately 2 hours or until the chocolate layer becomes firm to the touch.
- Remove from refrigerator and slice into rectangular bars using a sharp knife, creating consistent portion sizes.
- Serve chilled and store any remaining bars in an airtight container in the refrigerator for up to one week.
Notes
- Swap graham crackers with gluten-free alternatives like almond flour or oat flour for a celiac-friendly version.
- Use dark chocolate chips for a richer, less sweet topping that adds antioxidant benefits.
- Chill bars completely before cutting to ensure clean, precise edges and prevent crumbling.
- Store in an airtight container in the refrigerator for up to a week, separating layers with parchment paper to maintain texture.
- Prep Time: 15 minutes
- Cook Time: 2 hours
- Category: Snacks, Desserts
- Method: Refrigerating
- Cuisine: American
Nutrition
- Serving Size: 12
- Calories: 285 kcal
- Sugar: 18 g
- Sodium: 110 mg
- Fat: 22 g
- Saturated Fat: 6 g
- Unsaturated Fat: 14 g
- Trans Fat: 0.2 g
- Carbohydrates: 21 g
- Fiber: 2 g
- Protein: 7 g
- Cholesterol: 15 mg
Lucas Bennett
Founder & Recipe Developer
Expertise
Education
Blue Ridge Community College – Certificate in Culinary Arts
Focused on seasonal cooking, sustainable kitchen practices, and farm-to-table techniques.
Appalachian State University – B.A. in English
Built critical thinking and analysis through diverse texts. Guided by faculty, it prepares graduates for publishing and more.
Growing up in the rolling hills of North Carolina, Lucas learned early that some of life’s best memories start around a kitchen table. After studying English at Appalachian State University and honing his culinary skills at Blue Ridge Community College, he dreamed of blending storytelling with rustic, seasonal cooking, and The Scrumptious Pumpkin was born.
Lucas focuses on easy, single-serving recipes that turn fresh, local ingredients into something special. His style is simple, heartfelt, and rooted in the beauty of the seasons. When he’s not testing a new dish, you’ll probably find him hiking in the Blue Ridge Mountains, browsing farmers’ markets, or scribbling food stories in a notebook.