
Quick & Zesty No-bake Key Lime Cheesecake Jars Recipe
Cool summers call for a delightful no-bake key lime cheesecake jars treat that promises pure refreshment.
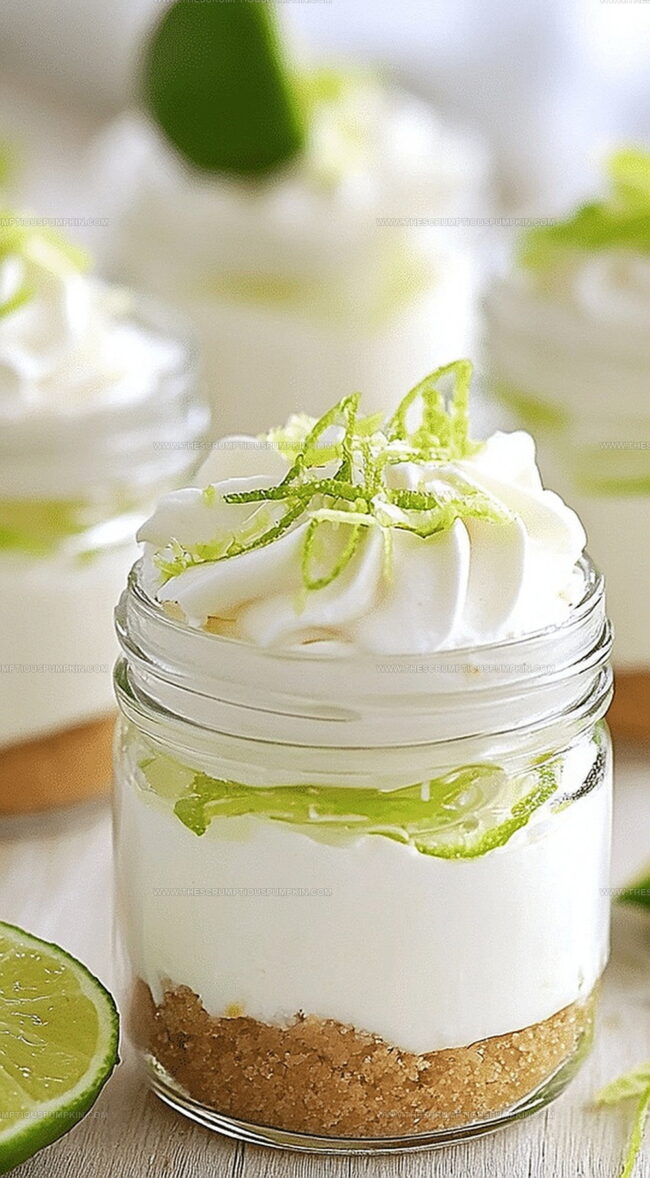
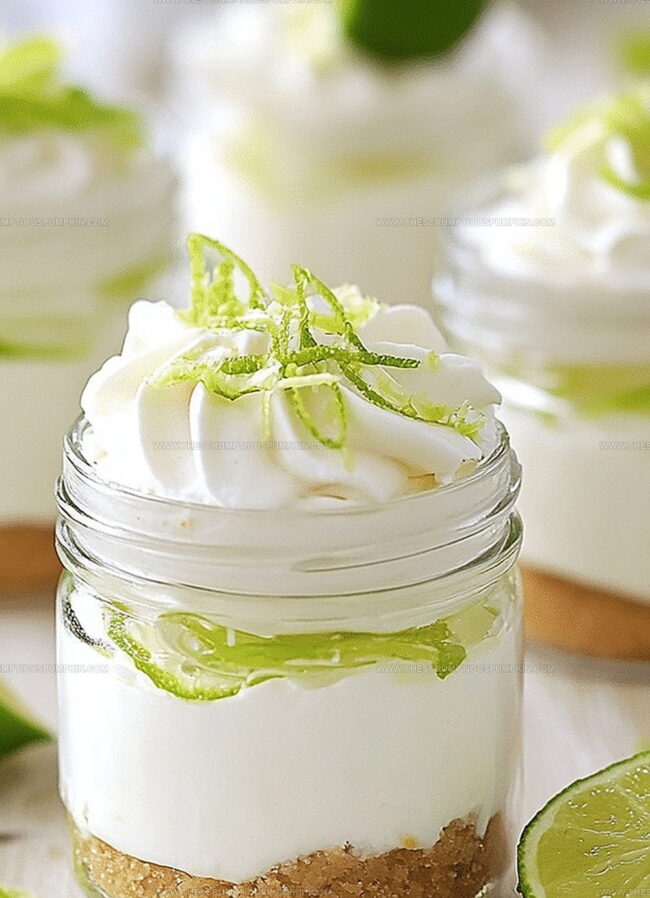
Creamy layers of zesty citrus and smooth cream cheese create an irresistible dessert perfect for lazy afternoons.
Sweet graham cracker crusts provide a crunchy foundation beneath silky filling.
Minimal kitchen effort means maximum flavor enjoyment with this simple recipe.
Each jar becomes a personal paradise of tangy and sweet sensations.
Chilled and light, these mini desserts will make you the star of any gathering.
Whip up these jars and watch smiles bloom around the table.
No-Bake Key Lime Cheesecake Jars Benefits
Ingredients for Key Lime Cheesecake Jars
Crust Base:Cheesecake Filling:Topping (Optional):How to Make No-Bake Key Lime Cheesecake

Step 1: Create Crumbly Crust Base
Grab your graham crackers and crush them into fine crumbs.
Melt some butter and mix thoroughly with the cracker crumbs.
Carefully distribute the buttery mixture evenly into each jar.
Use the back of a spoon to press down and create a firm, compact base that will hold your cheesecake layers.
Step 2: Whip Creamy Filling
Take your cream cheese and beat it until super smooth and free of any lumps.
Slowly incorporate the sweetened condensed milk, stirring gently.
Add fresh key lime juice and zest to create a tangy, vibrant flavor.
Mix all ingredients until they become a silky, consistent mixture that looks light and fluffy.
Step 3: Layer Cheesecake Goodness
Gently spoon the creamy key lime mixture over the graham cracker crust in each jar.
Make sure to distribute the filling evenly, creating a beautiful, even layer that reaches almost to the top of the jar.
Use a small spatula to smooth the surface and create a clean, professional look.
Step 4: Chill and Set
Place the filled jars in the refrigerator and let them cool and set for at least 2 hours.
This will help the cheesecake firm up and develop a rich, creamy texture.
For an extra touch of indulgence, top each jar with a dollop of fresh whipped cream just before serving.
Pro Tips for Key Lime Cheesecake Jars
Variations to Try for Lime Cheesecake Jars
Serving Suggestions for Key Lime Cheesecake Jars
Storage Advice for Key Lime Cheesecake Jars
FAQs
Key limes are smaller, rounder, and more aromatic than Persian limes. They have a more tart and intense flavor, which gives this cheesecake its distinctive tangy taste.
Yes, bottled key lime juice works well if fresh key limes are unavailable. Just ensure it’s 100% key lime juice for the most authentic flavor.
Mason jars or any clear glass jars work perfectly. The transparent jars showcase the beautiful layers of crust and creamy filling.
Print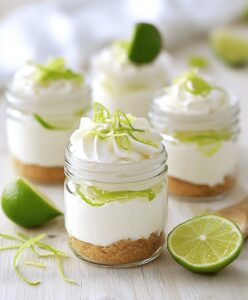
No-bake Key Lime Cheesecake Jars Recipe
- Total Time: 2 hours 20 minutes
- Yield: 4 1x
Description
Creamy Key Lime Cheesecake Jars bring tropical Florida flavors into a delightful dessert experience. Smooth graham cracker crust and zesty lime filling create a perfect summer treat you’ll crave again and again.
Ingredients
Cheesecake Base:
- 1 1/2 cups (180 grams) graham cracker crumbs
- 1/3 cup (75 grams) butter, melted
Cheesecake Filling:
- 16 ounces (454 grams) cream cheese, softened
- 1 can (14 ounces/396 grams) sweetened condensed milk
- 1/3 cup (80 milliliters) key lime juice
- 2 tablespoons lime zest
Topping:
- Whipped cream (optional)
Instructions
- Pulverize graham crackers and blend thoroughly with melted butter, creating a uniform crumbly mixture.
- Carefully distribute the buttery cracker base evenly across individual serving jars, firmly pressing down to form a compact foundation.
- Whip cream cheese in a mixing bowl until achieving a silky, lump-free consistency.
- Incorporate sweetened condensed milk, freshly squeezed key lime juice, and finely grated lime zest into the cream cheese, stirring until the mixture becomes smooth and fully integrated.
- Gently cascade the creamy lime filling over the prepared graham cracker base in each jar, ensuring an even distribution.
- Refrigerate the assembled desserts for a minimum of 2 hours, allowing the filling to set and flavors to meld.
- Optional: Crown each chilled jar with a delicate swirl of whipped cream just before serving to enhance visual appeal and add an extra layer of indulgence.
Notes
- Swap regular graham crackers with gluten-free alternatives for a celiac-friendly version.
- Use reduced-fat cream cheese to create a lighter, lower-calorie dessert option.
- Enhance the tangy flavor by adding extra lime zest or a splash of lime extract for more intense citrus notes.
- Prepare jars in advance and store in the refrigerator up to 3 days before serving for convenient entertaining.
- Prep Time: 20 minutes
- Cook Time: 2 hours
- Category: Desserts
- Method: Chilling
- Cuisine: American
Nutrition
- Serving Size: 4
- Calories: 350 kcal
- Sugar: 30 g
- Sodium: 220 mg
- Fat: 22 g
- Saturated Fat: 14 g
- Unsaturated Fat: 7 g
- Trans Fat: 0.5 g
- Carbohydrates: 28 g
- Fiber: 1 g
- Protein: 6 g
- Cholesterol: 70 mg
Lucas Bennett
Founder & Recipe Developer
Expertise
Education
Blue Ridge Community College – Certificate in Culinary Arts
Focused on seasonal cooking, sustainable kitchen practices, and farm-to-table techniques.
Appalachian State University – B.A. in English
Built critical thinking and analysis through diverse texts. Guided by faculty, it prepares graduates for publishing and more.
Growing up in the rolling hills of North Carolina, Lucas learned early that some of life’s best memories start around a kitchen table. After studying English at Appalachian State University and honing his culinary skills at Blue Ridge Community College, he dreamed of blending storytelling with rustic, seasonal cooking, and The Scrumptious Pumpkin was born.
Lucas focuses on easy, single-serving recipes that turn fresh, local ingredients into something special. His style is simple, heartfelt, and rooted in the beauty of the seasons. When he’s not testing a new dish, you’ll probably find him hiking in the Blue Ridge Mountains, browsing farmers’ markets, or scribbling food stories in a notebook.