Dreamy No-bake Peanut Butter Buckeye Bars Recipe for Sweet Lovers
Crafting delightful no-bake peanut butter buckeye bars brings pure magic to your dessert table.
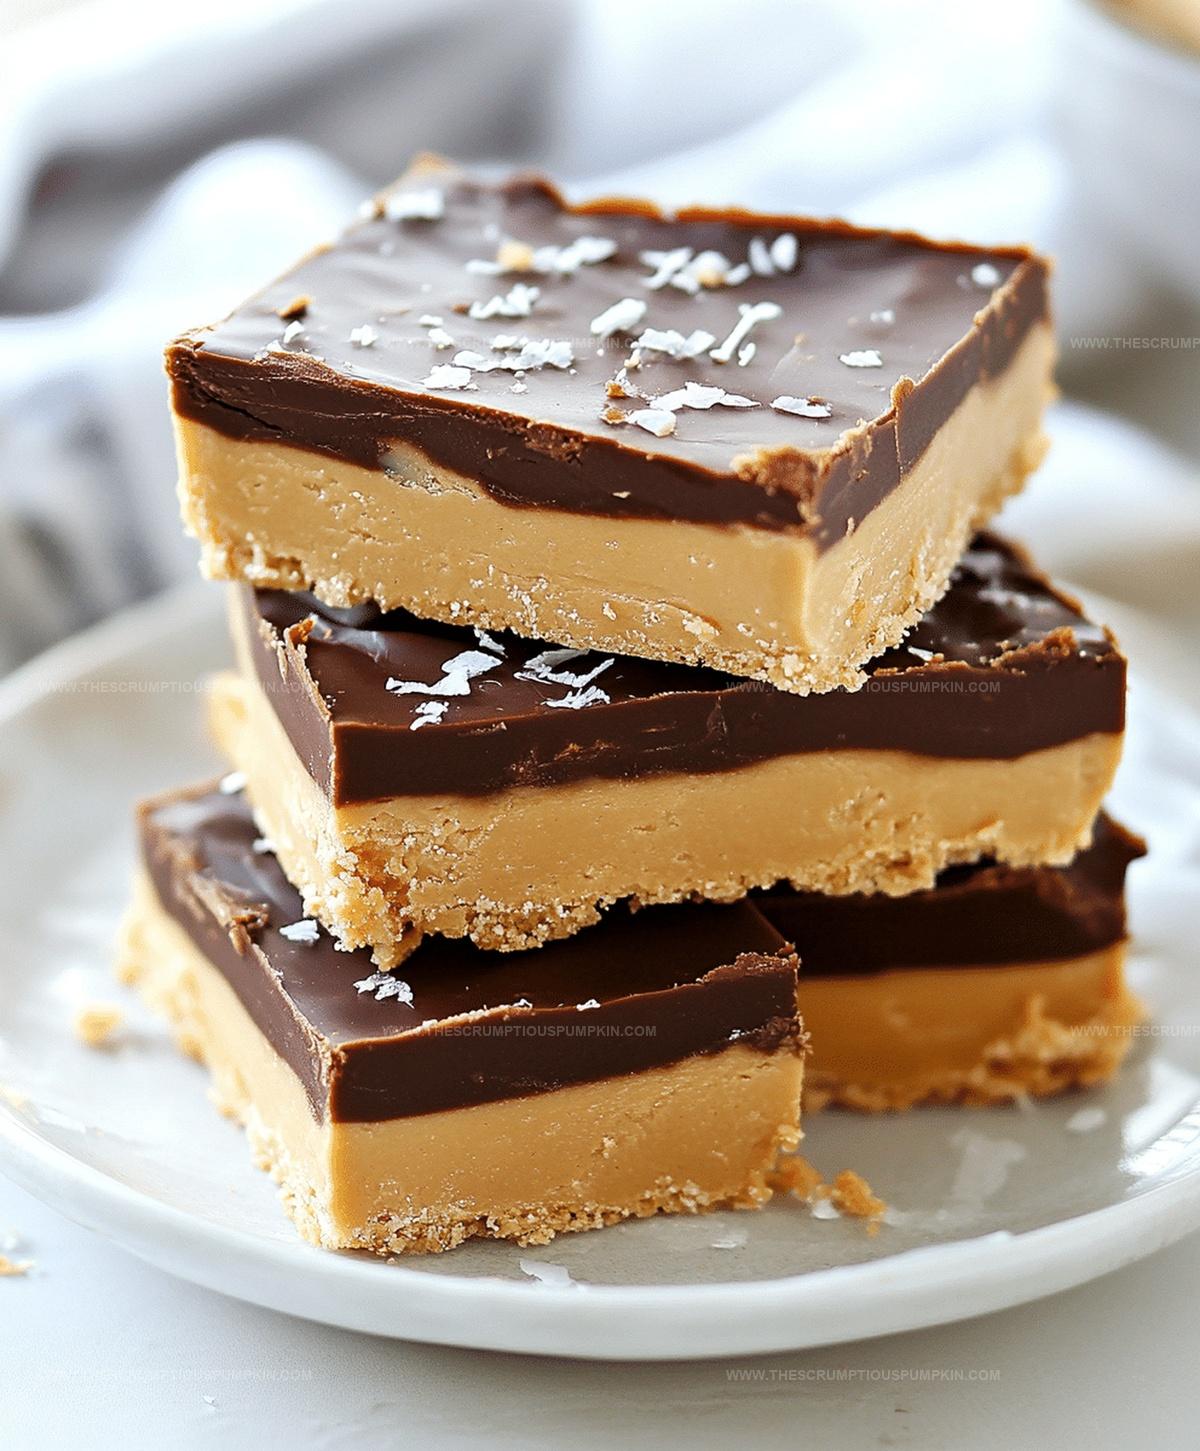
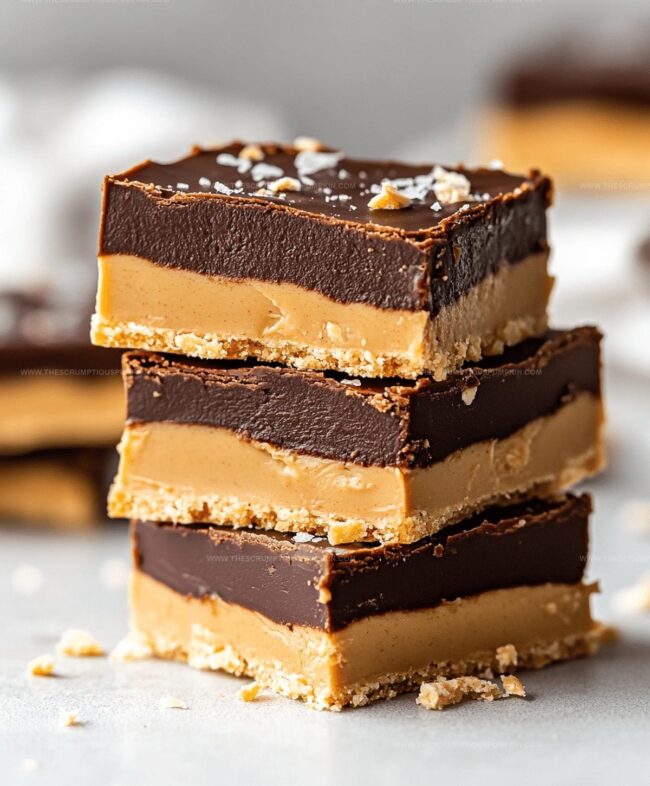
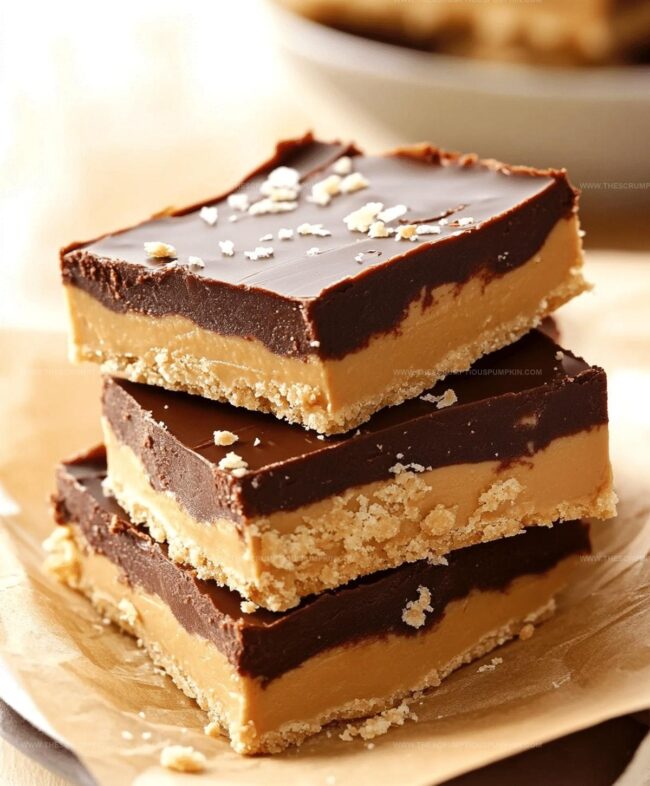
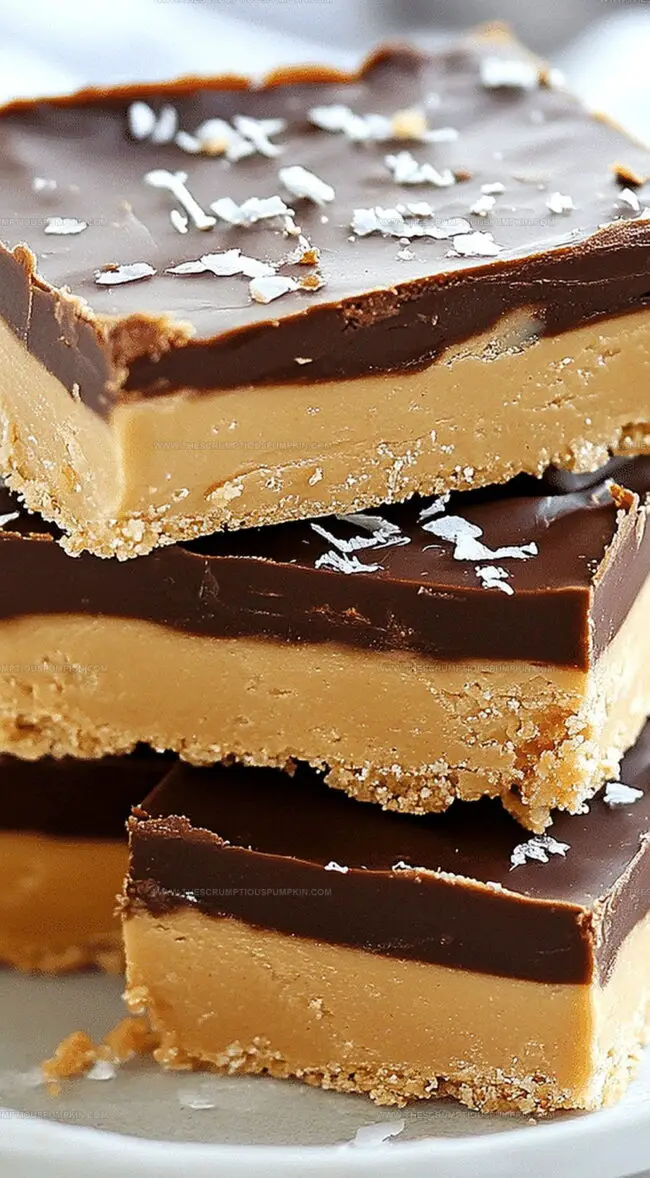
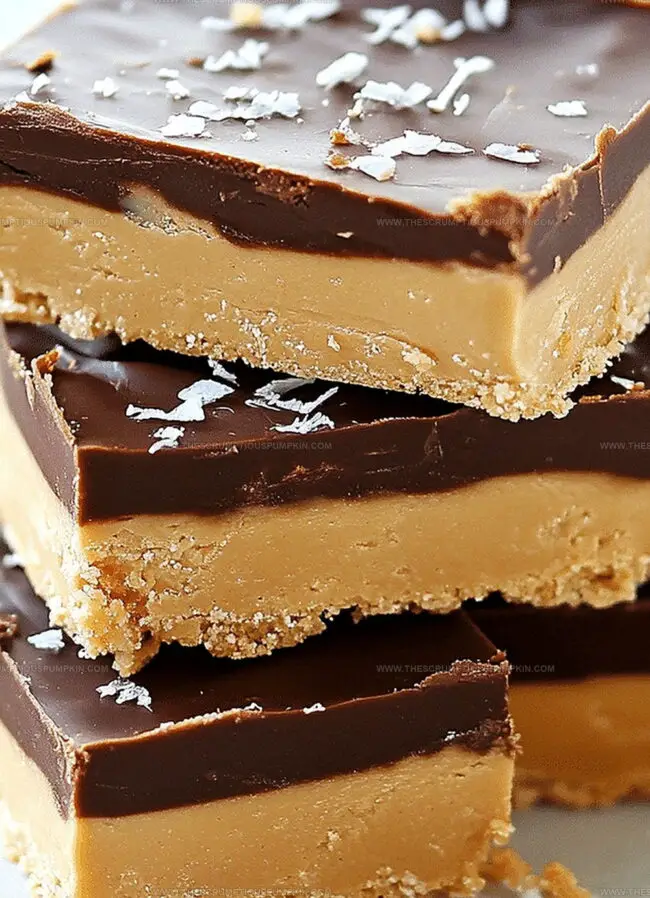
Sweet chocolate and creamy peanut butter create an irresistible combination that melts in your mouth.
Midwestern charm meets classic confectionery in this simple yet decadent treat.
Rich layers promise indulgence without turning on the oven.
Minimal ingredients and quick preparation make these bars a crowd-pleasing favorite for any gathering.
Chocolate lovers will adore the smooth, velvety texture and deep flavor profile.
Each bite delivers a perfect balance of nutty richness and cocoa sweetness.
Whip up these incredible bars and watch everyone ask for seconds!
No-Bake Peanut Butter Buckeye Bars Overview
Ingredients For Peanut Butter Buckeye Bars
Base Ingredients:Chocolate Topping:Optional Garnish:How To Make Peanut Butter Buckeye Bars
Step 1: Whip Up Creamy Peanut Butter Base
In a spacious mixing bowl, combine the following ingredients:Stir and blend everything together until the mixture becomes silky smooth and well-incorporated.
Step 2: Create the Perfect Foundation
Grab a 9×13 inch baking dish and line it with parchment paper.
Gently press the peanut butter mixture into the dish, ensuring an even and compact layer that covers the entire surface.
Step 3: Craft the Chocolate Topping
Take a microwave-safe bowl and prepare the chocolate layer by:Microwave in short 20-second bursts, stirring between each interval until the mixture becomes completely smooth and glossy.
Step 4: Spread the Chocolate Magic
Pour the melted chocolate over the peanut butter base, using a spatula to create an even, seamless coating that covers every inch of the peanut butter layer.
Step 5: Chill and Set
Place the dish in the refrigerator and let it rest for about 1 hour.
The bars will firm up and develop a delightful, slice-able texture.
Step 6: Slice and Serve
Remove from the refrigerator and cut into delectable squares.
These no-bake buckeye bars are ready to delight your taste buds and impress your friends!
Pro Tips For Buckeye Bars Success
Variations For Peanut Butter Buckeye Bars
Serving Suggestions For Buckeye Bars
Storage Guidelines For Buckeye Bars
FAQs
These bars are a simplified, easier version of classic buckeye balls. Instead of rolling individual balls, you create a layered bar dessert with the same delicious peanut butter and chocolate combination.
Absolutely! While peanut butter is traditional, you can substitute almond butter, cashew butter, or sunflower seed butter for a different flavor or dietary preference.
Let the bars sit at room temperature for 5-10 minutes before cutting. Use a sharp knife and clean it between cuts for smooth, clean edges.
Print
No-bake Peanut Butter Buckeye Bars Recipe
- Total Time: 1 hour 15 minutes
- Yield: 12 1x
Description
Creamy peanut butter buckeye bars merge chocolate and nutty goodness into an irresistible dessert straight from Ohio. Sweet layers of rich chocolate and smooth peanut butter create a quick, no-bake treat you’ll crave again and again.
Ingredients
Main Ingredients:
- 1 cup creamy peanut butter
- 1 1/2 cups graham cracker crumbs
- 1 1/2 cups semi-sweet chocolate chips
Base and Binding Ingredients:
- 1/2 cup unsalted butter, melted (113 grams)
- 2 cups powdered sugar
Finishing Ingredient:
- 2 tablespoons peanut butter (for chocolate layer)
Instructions
- Combine creamy peanut butter, softened butter, powdered sugar, and finely crushed graham crackers in a mixing bowl, stirring until the mixture forms a uniform, velvety consistency.
- Transfer the blended mixture into a parchment-lined 9×13 inch baking dish, using a spatula to create an even, compact layer.
- Prepare the chocolate topping by microwaving chocolate chips with a touch of peanut butter, heating in short 20-second bursts and stirring between intervals until completely smooth and glossy.
- Carefully pour the melted chocolate over the peanut butter base, using a spatula to distribute it evenly across the surface, ensuring complete coverage.
- Chill the dessert in the refrigerator for approximately 60 minutes, or until the chocolate sets completely and becomes firm to the touch.
- Remove from refrigerator and slice into neat, uniform squares using a sharp knife, creating individual servings ready to enjoy.
Notes
- Opt for natural peanut butter with no added sugar for a healthier twist and more authentic flavor.
- Use gluten-free graham crackers to make this dessert suitable for those with gluten sensitivities.
- Chill the bars completely before cutting to ensure clean, precise squares that hold their shape perfectly.
- Experiment with dark chocolate or milk chocolate chips depending on your preferred sweetness level for the topping.
- Prep Time: 15 minutes
- Cook Time: 1 hour
- Category: Snacks, Desserts
- Method: Blending
- Cuisine: American
Nutrition
- Serving Size: 12
- Calories: 273 kcal
- Sugar: 18 g
- Sodium: 99 mg
- Fat: 20 g
- Saturated Fat: 7 g
- Unsaturated Fat: 11 g
- Trans Fat: 0.1 g
- Carbohydrates: 23 g
- Fiber: 2 g
- Protein: 6 g
- Cholesterol: 16 mg
Lucas Bennett
Founder & Recipe Developer
Expertise
Education
Blue Ridge Community College – Certificate in Culinary Arts
Focused on seasonal cooking, sustainable kitchen practices, and farm-to-table techniques.
Appalachian State University – B.A. in English
Built critical thinking and analysis through diverse texts. Guided by faculty, it prepares graduates for publishing and more.
Growing up in the rolling hills of North Carolina, Lucas learned early that some of life’s best memories start around a kitchen table. After studying English at Appalachian State University and honing his culinary skills at Blue Ridge Community College, he dreamed of blending storytelling with rustic, seasonal cooking, and The Scrumptious Pumpkin was born.
Lucas focuses on easy, single-serving recipes that turn fresh, local ingredients into something special. His style is simple, heartfelt, and rooted in the beauty of the seasons. When he’s not testing a new dish, you’ll probably find him hiking in the Blue Ridge Mountains, browsing farmers’ markets, or scribbling food stories in a notebook.