
Irresistible Oreo Balls Recipe: Effortless Sweet Treats
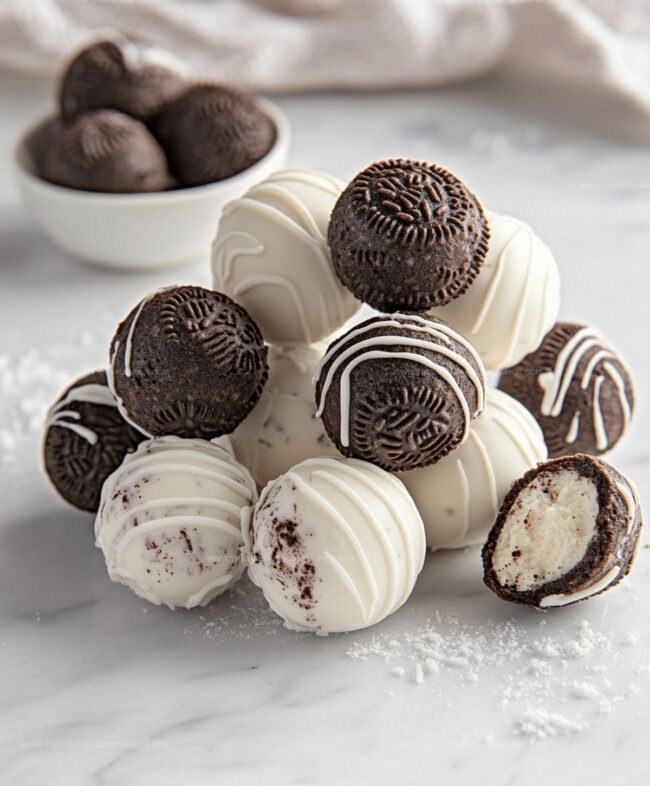
Sweet indulgence meets playful oreo balls that transform a classic cookie into a decadent treat.
Creamy chocolate and crunchy cookie crumbs dance together in perfect harmony.
Minimal ingredients create maximum flavor in these irresistible bite-sized delights.
No baking required means you can whip up these delectable morsels in minutes.
Cool refrigeration sets the magic, giving each ball a silky smooth texture.
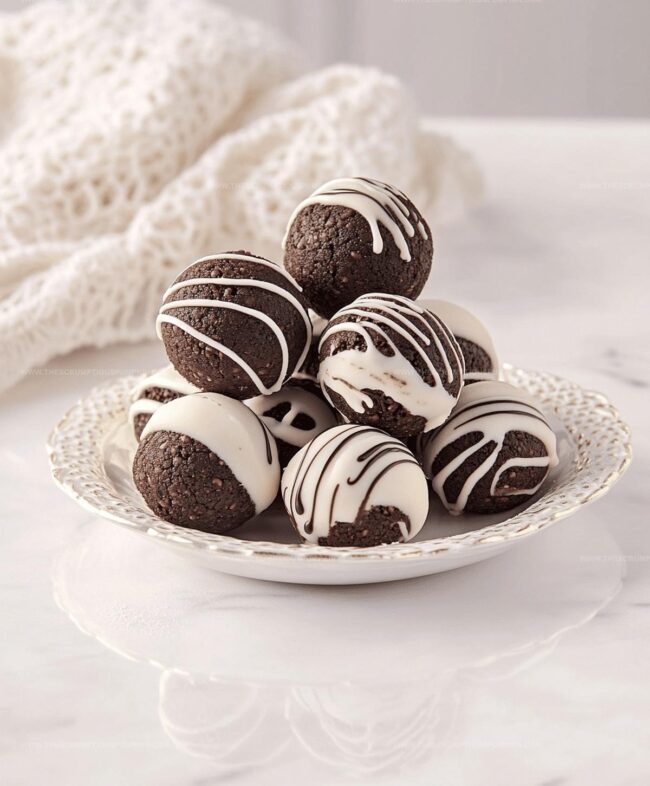
Chocolate coating adds an elegant finish that makes these treats look professionally crafted.
Serve these crowd-pleasing oreo balls at your next gathering, and watch them disappear in seconds.
Oreo Balls Recipe Overview And Details
Ingredients Required For Oreo Balls Treat
Cookies:Binding Ingredient:Coating Ingredient:How To Make Oreo Balls Easily
Step 1: Pulverize Chocolate Cookies
Toss Oreo cookies into a food processor and blitz until they transform into ultra-fine, sandy crumbs.
The goal is a consistent, powdery texture that will create smooth Oreo balls.
Step 2: Blend Creamy Mixture
In a mixing bowl, combine:Stir and knead the ingredients until they merge into a uniform, moldable mixture with no visible cream cheese streaks.
Step 3: Shape Delectable Spheres
Use your hands to roll the mixture into perfectly round, bite-sized balls.
Gently place each sphere onto a parchment-lined baking sheet, ensuring they’re evenly spaced.
Step 4: Chill and Firm
Transfer the baking sheet to the freezer.
Allow the Oreo balls to solidify for 15-20 minutes, which helps them maintain their shape during the chocolate coating process.
Step 5: Chocolate Dipping Delight
Melt chocolate in a double boiler or microwave.
Carefully submerge each chilled Oreo ball into the liquid chocolate, using a fork to lift and drain excess coating.
Return the chocolate-covered spheres to the parchment-lined sheet.
Step 6: Let Chocolate Set
Allow the chocolate coating to harden completely at room temperature or briefly in the refrigerator.
Once set, these decadent treats are ready to devour and share.
Pro Tips For Perfect Oreo Balls
Oreo Balls Recipe Creative Twists

Serving Suggestions For Oreo Balls Snack
Storage Guidelines For Oreo Balls Treat
FAQs
No, they’re super easy! You only need three ingredients and basic kitchen tools like a food processor and baking sheet.
Absolutely! You can crush Oreo cookies in a sealed plastic bag using a rolling pin or bottom of a heavy pan.
When stored in an airtight container in the refrigerator, they’ll remain delicious for up to one week.
Yes! You can use milk chocolate, white chocolate, dark chocolate, or even colored candy melts for variety.
Print
Oreo Balls Recipe
- Total Time: 55 minutes
- Yield: 24 1x
Description
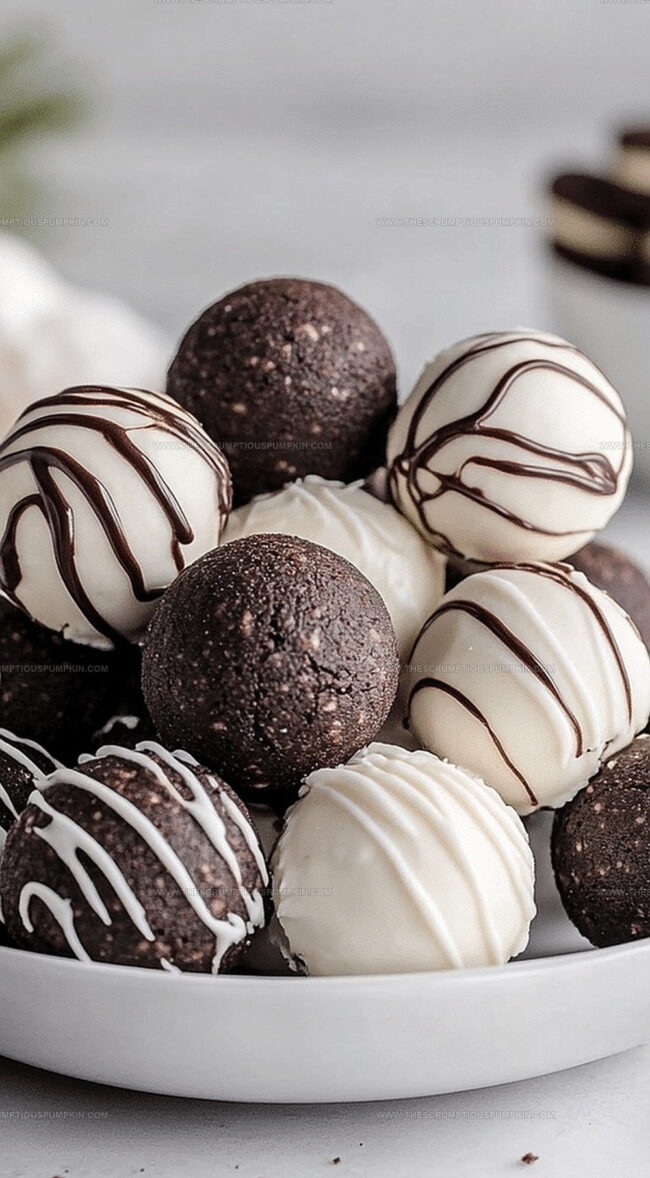
Chocolate-covered Oreo Balls bring indulgent sweetness to dessert tables everywhere. Creamy crushed cookies blend with cream cheese, then dip in melted chocolate for an irresistible treat you’ll crave again and again.
Ingredients
Main Ingredients:
- 36 Oreo cookies (crushed)
- 8 ounces (226 grams) cream cheese, softened
- 12 ounces (340 grams) chocolate (dark or milk), melted
Coating/Topping:
- Optional chocolate sprinkles or additional crushed Oreo cookies for decoration
Instructions
- Pulverize Oreo cookies into ultrafine crumbs using a food processor, ensuring no large chunks remain.
- Transfer cookie crumbs to a mixing bowl and incorporate softened cream cheese, thoroughly blending until a uniform consistency develops.
- Shape the mixture into compact, uniform spheres approximately one inch in diameter, positioning each carefully on a parchment-lined baking sheet.
- Transfer the baking sheet to the freezer and chill for 15-20 minutes, allowing the balls to solidify and maintain their structured form.
- Melt chocolate using a double boiler or microwave, maintaining a smooth, glossy texture.
- Delicately immerse each chilled Oreo ball into the melted chocolate, ensuring complete and even coating using a dipping fork or spoon.
- Return chocolate-coated balls to the parchment-lined baking sheet, allowing excess chocolate to drip off.
- Refrigerate for 10-15 minutes at 40°F until chocolate hardens completely, creating a crisp exterior shell.
- Once set, transfer Oreo balls to a serving platter and store in a cool environment until ready to serve.
Notes
- Select full-fat cream cheese for the creamiest texture and best binding of Oreo crumbs.
- Use a cookie scoop or melon baller to create uniform, perfectly round Oreo balls that look professional.
- Chill the mixture before rolling to prevent sticky hands and ensure easier ball formation.
- Melt chocolate using a double boiler or microwave in short bursts to prevent burning, stirring until smooth for an even coating.
- For gluten-free version, swap regular Oreos with gluten-free chocolate sandwich cookies.
- Add festive sprinkles or drizzle contrasting chocolate immediately after dipping for elegant decoration.
- Keep Oreo balls refrigerated to maintain their shape and prevent chocolate from melting.
- Prep Time: 20 minutes
- Cook Time: 35 minutes
- Category: Snacks, Desserts
- Method: Freezing
- Cuisine: American
Nutrition
- Serving Size: 24
- Calories: 129
- Sugar: 9 g
- Sodium: 45 mg
- Fat: 7 g
- Saturated Fat: 4 g
- Unsaturated Fat: 3 g
- Trans Fat: 0.1 g
- Carbohydrates: 15 g
- Fiber: 1 g
- Protein: 1 g
- Cholesterol: 8 mg
Lucas Bennett
Founder & Recipe Developer
Expertise
Education
Blue Ridge Community College – Certificate in Culinary Arts
Focused on seasonal cooking, sustainable kitchen practices, and farm-to-table techniques.
Appalachian State University – B.A. in English
Built critical thinking and analysis through diverse texts. Guided by faculty, it prepares graduates for publishing and more.
Growing up in the rolling hills of North Carolina, Lucas learned early that some of life’s best memories start around a kitchen table. After studying English at Appalachian State University and honing his culinary skills at Blue Ridge Community College, he dreamed of blending storytelling with rustic, seasonal cooking, and The Scrumptious Pumpkin was born.
Lucas focuses on easy, single-serving recipes that turn fresh, local ingredients into something special. His style is simple, heartfelt, and rooted in the beauty of the seasons. When he’s not testing a new dish, you’ll probably find him hiking in the Blue Ridge Mountains, browsing farmers’ markets, or scribbling food stories in a notebook.