
The Magic of Paula Deen’s Speedy Fudge Recipe: Pure Chocolate Joy
Creamy, decadent fudge can transport you to a world of pure indulgence in just five minutes with Paula Deen’s magical recipe.
Sweet tooths everywhere will fall in love with this lightning-fast dessert.
Chocolate lovers know the power of a quick treat that satisfies deep cravings.
Minimal ingredients and super simple steps make this fudge a game-changer for anyone who wants instant dessert gratification.
No complicated techniques or long waiting times stand between you and pure sugary bliss.
Whipping up this mouthwatering fudge feels like culinary magic that happens right in your kitchen.
Let’s uncover how these few ingredients can create such an incredible chocolate experience that will leave everyone begging for more.
Why Paula Deen’s 5-Minute Fudge is Legendary
Ingredients for Paula Deen’s Quick Fudge
Core Ingredients:Fat and Flavor Enhancers:Preparation Helpers:How to Make Paula Deen’s 5-Minute Fudge
Step 1: Prepare Baking Dish
Line an 8-inch square baking dish with aluminum foil or parchment paper.
Lightly grease the lined surface to ensure easy removal of the fudge later.
Step 2: Create Chocolate Base
Grab a microwave-safe bowl and toss in chocolate chips, sweetened condensed milk, and butter.
This combination will create the rich, creamy foundation of your fudge.
Step 3: Melt Chocolate Mixture
Place the bowl in the microwave and heat on high power.
Zap the ingredients in 30-second bursts, stirring thoroughly after each interval.
Continue until the chocolate transforms into a silky, smooth mixture with no lumps.
Step 4: Enhance Fudge Flavor
Introduce vanilla extract to the melted chocolate blend.
If desired, add your favorite nuts:Stir gently to distribute the flavors evenly throughout the mixture.
Step 5: Shape And Chill Fudge
Pour the glossy chocolate mixture into the prepared baking dish.
Use a spatula to spread the fudge evenly across the surface, creating a smooth top.
Step 6: Set The Fudge
Transfer the dish to the refrigerator.
Allow the fudge to firm up for at least 2 hours, or until it reaches a solid, sliceable consistency.
Step 7: Serve Delicious Treat
Remove the fudge from the refrigerator.
Lift it out of the dish using the foil or parchment paper edges.
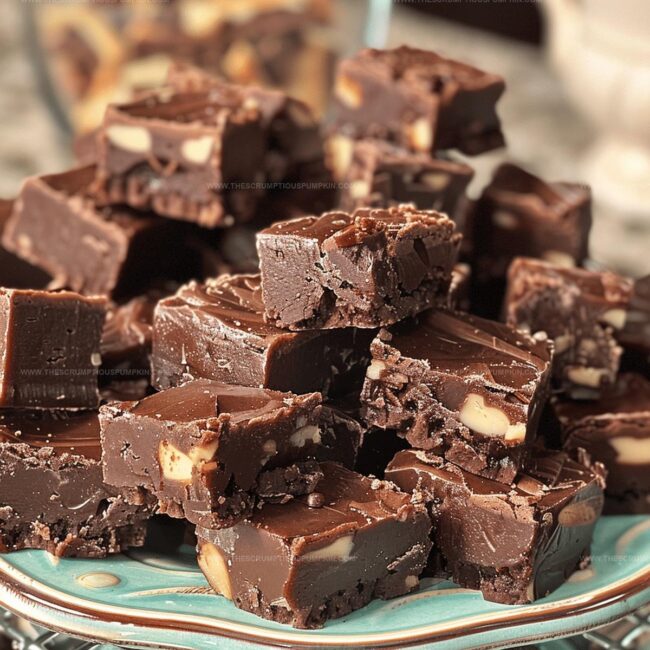
Slice into perfect squares and enjoy your quick, decadent dessert.
Tips for Perfect 5-Minute Fudge Every Time
Flavor Variations for Paula Deen’s Fudge
Serving Suggestions for Paula Deen’s Fudge
Storage Advice for Quick Fudge
FAQs
Yes, you can substitute milk, dark, or semi-sweet chocolate chips based on your preference. Each type will create a slightly different flavor profile.
No, this recipe is foolproof and doesn’t require a candy thermometer. The microwave method makes it simple and quick.
Always use high-quality ingredients and stir thoroughly during melting. Ensure the chocolate is completely smooth before adding other ingredients.
Absolutely! The nuts are optional. You can leave them out entirely or replace them with other mix-ins like dried fruit or additional chocolate chips if you prefer.
Print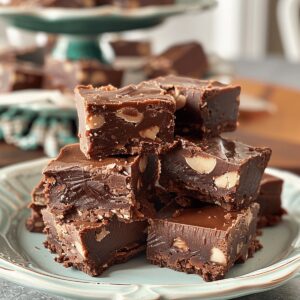
Paula Deens 5 Minute Fudge Recipe
- Total Time: 2 hours 15 minutes
- Yield: 16 1x
Description
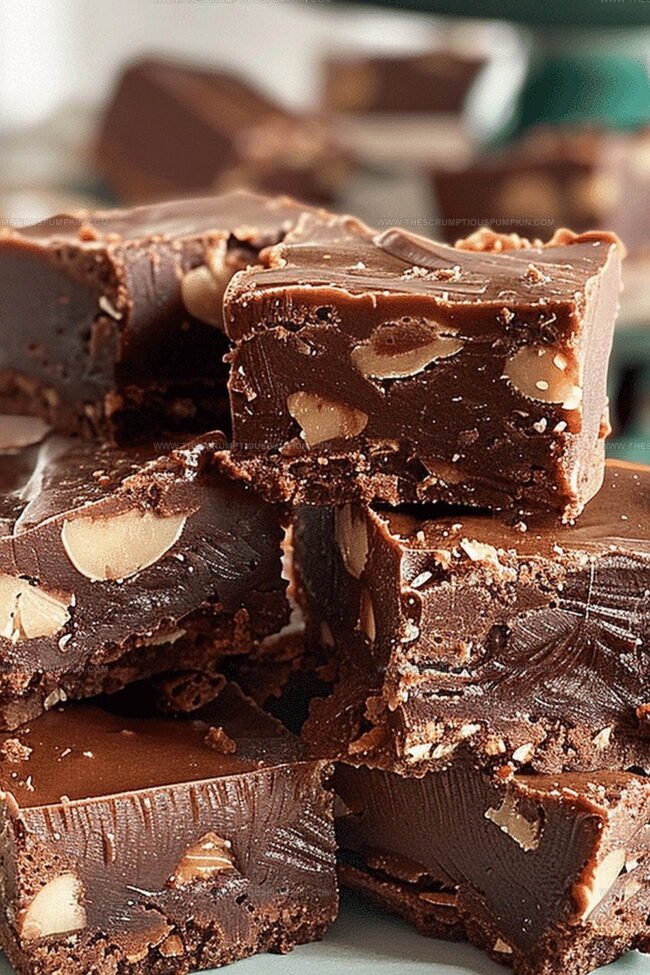
Delightful Paula Deen’s 5-minute fudge creates a quick sweet indulgence for chocolate enthusiasts. Rich chocolate melts together with condensed milk and marshmallow cream for an irresistible homemade treat you can enjoy in minutes.
Ingredients
Main Ingredients:
- 1 package (12 oz/340g) semisweet chocolate chips
- 1 cup (240ml) sweetened condensed milk
- 1/4 cup (60g) unsalted butter
Flavoring:
- 1 teaspoon vanilla extract
Optional Add-ins:
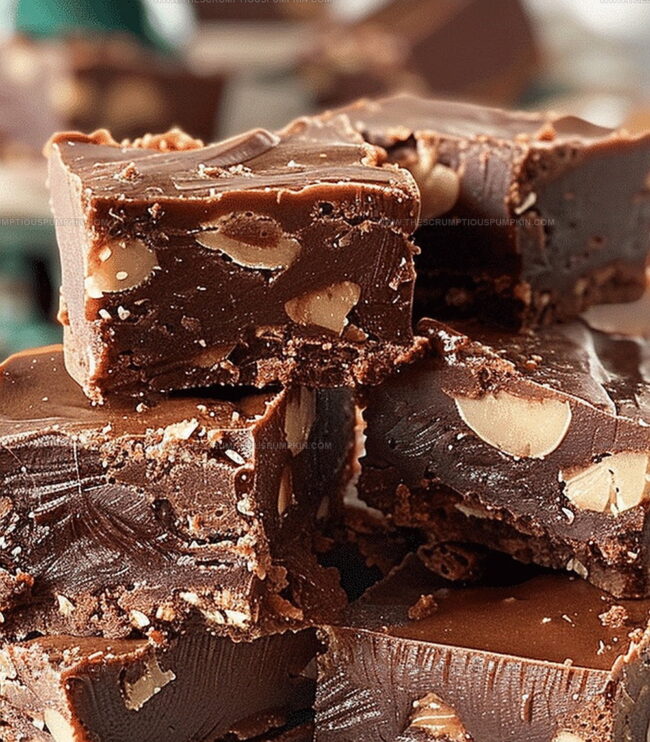
- 1 cup (120g) chopped nuts
Instructions
- Prepare an 8-inch square baking dish by lining it with foil or parchment paper, applying a light grease to ensure easy removal of the fudge.
- Select a microwave-safe bowl and combine chocolate chips, sweetened condensed milk, and butter for melting.
- Microwave the mixture at high power, using 30-second intervals and stirring thoroughly between each heating cycle to prevent burning and ensure smooth consistency.
- Continue microwaving until the chocolate chips are completely melted and the mixture appears glossy and well-integrated.
- Introduce vanilla extract and chopped nuts, stirring gently to distribute ingredients evenly throughout the fudge base.
- Transfer the molten fudge mixture into the prepared baking dish, using a spatula to spread it uniformly and create an even surface.
- Place the dish in the refrigerator, allowing the fudge to set and solidify for a minimum of 2 hours or until it reaches a firm, sliceable texture.
- Once chilled, carefully lift the fudge from the dish using the overhanging foil or parchment paper edges.
- Using a sharp knife, slice the fudge into neat, bite-sized squares for serving and enjoying.
Notes
- Ensure the foil or parchment paper is smooth to create perfectly square fudge pieces with clean edges.
- Chop nuts finely for better distribution and a more consistent texture throughout the fudge.
- Use high-quality chocolate chips for a richer, more luxurious flavor profile that elevates the entire dessert.
- Swap nuts with dried fruit or alternative mix-ins like crushed candy canes for seasonal variations that keep the recipe exciting and adaptable.
- Prep Time: 15 minutes
- Cook Time: 2 hours
- Category: Desserts, Snacks
- Method: Microwaving
- Cuisine: American
Nutrition
- Serving Size: 16
- Calories: 198
- Sugar: 19 g
- Sodium: 22 mg
- Fat: 12 g
- Saturated Fat: 7 g
- Unsaturated Fat: 4 g
- Trans Fat: 0.2 g
- Carbohydrates: 23 g
- Fiber: 1 g
- Protein: 2 g
- Cholesterol: 20 mg
Lucas Bennett
Founder & Recipe Developer
Expertise
Education
Blue Ridge Community College – Certificate in Culinary Arts
Focused on seasonal cooking, sustainable kitchen practices, and farm-to-table techniques.
Appalachian State University – B.A. in English
Built critical thinking and analysis through diverse texts. Guided by faculty, it prepares graduates for publishing and more.
Growing up in the rolling hills of North Carolina, Lucas learned early that some of life’s best memories start around a kitchen table. After studying English at Appalachian State University and honing his culinary skills at Blue Ridge Community College, he dreamed of blending storytelling with rustic, seasonal cooking, and The Scrumptious Pumpkin was born.
Lucas focuses on easy, single-serving recipes that turn fresh, local ingredients into something special. His style is simple, heartfelt, and rooted in the beauty of the seasons. When he’s not testing a new dish, you’ll probably find him hiking in the Blue Ridge Mountains, browsing farmers’ markets, or scribbling food stories in a notebook.