
Irresistible Pepperoni Pizza Bombs Recipe: Cheesy Handheld Joy
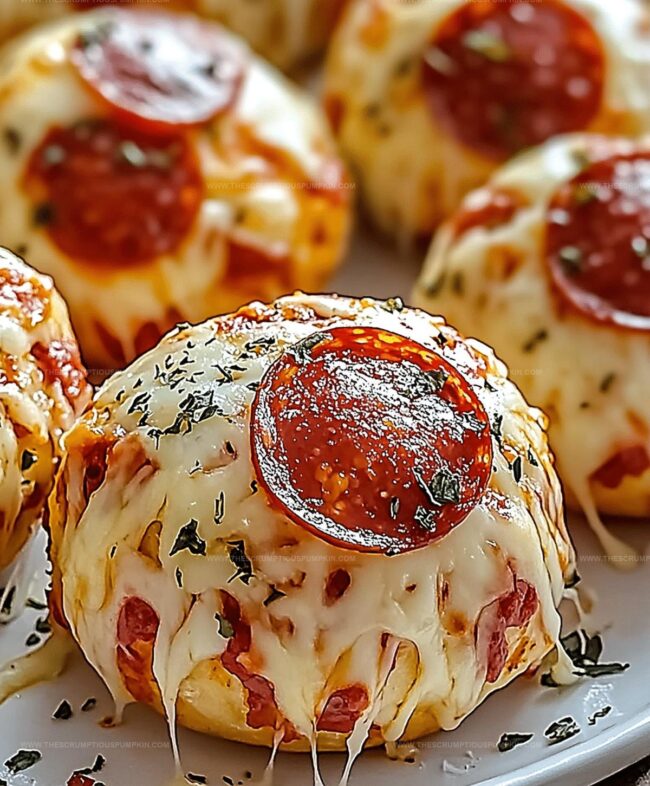
Crispy, golden pepperoni pizza bombs burst with cheesy, savory goodness that’ll make your taste buds dance.
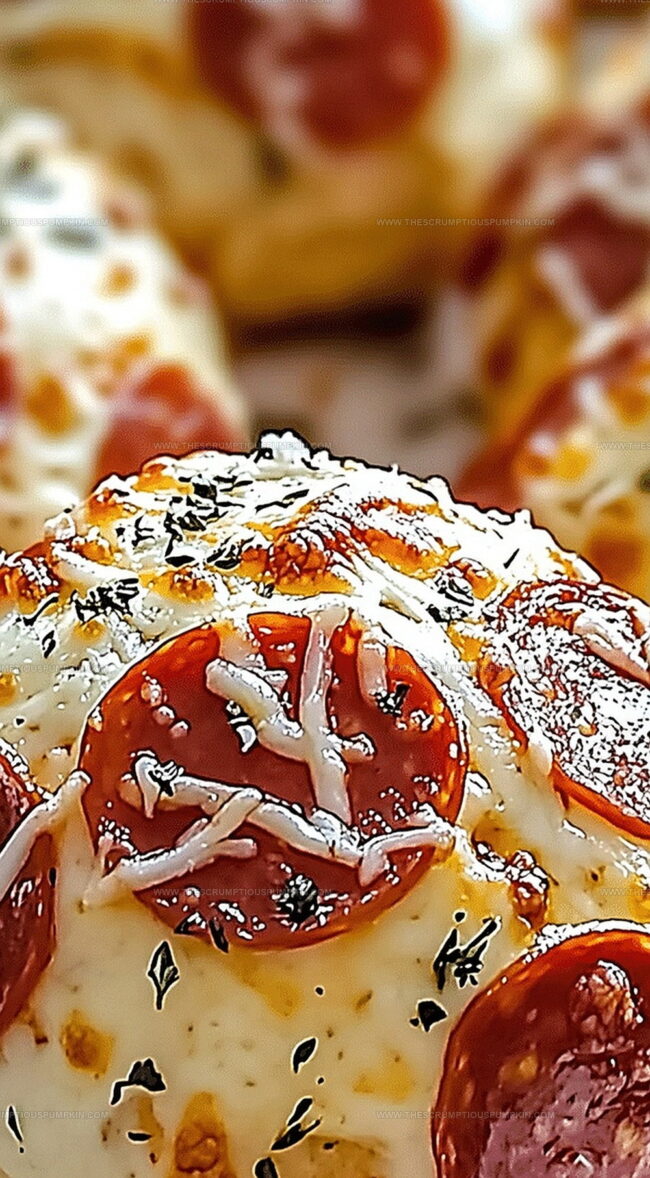
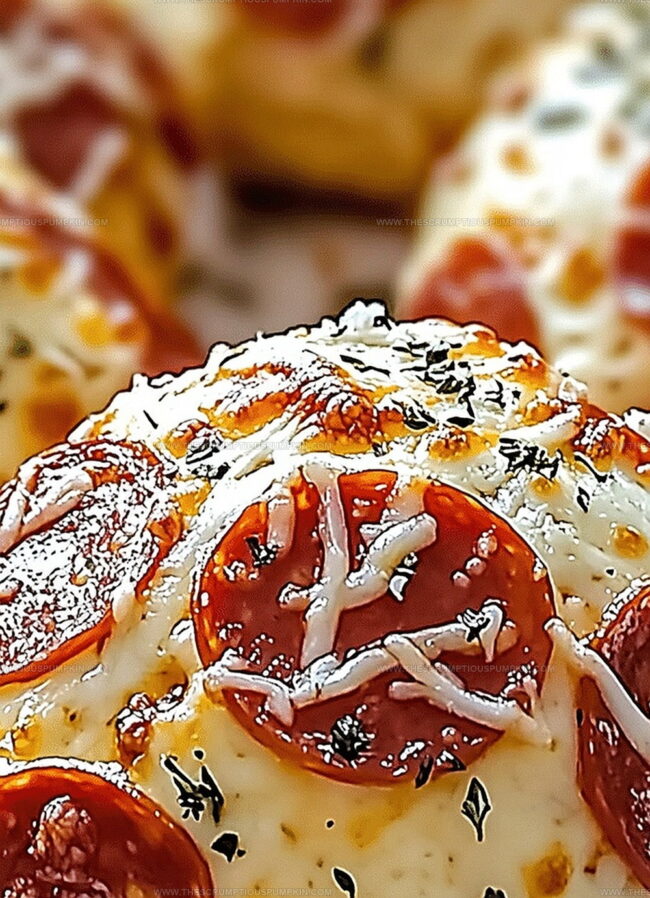
Melted mozzarella oozes inside each delectable bite-sized morsel.
Wrapped in soft, pillowy dough, these little flavor explosions pack a serious punch.
Homemade comfort food doesn’t get more satisfying than these handheld delights.
Snack time just got a serious upgrade with this irresistible treat.
Every single bomb promises a perfect blend of classic pizza flavors.
Grab a plate and prepare for a mouthwatering adventure that screams pure deliciousness.
Bite-Sized Pizza Bombs for Everyone
What Goes Into These Cheesy Bombs
Main Ingredients:Seasoning Ingredients:Finishing Ingredients:Directions to Bake Bombs Just Right

Step 1: Fire Up the Oven
Crank the oven to 375°F (190°C).
Cover a baking sheet with parchment paper to prevent sticking and make cleanup a breeze.
Step 2: Craft the Flavor Pockets
Gently press each biscuit dough round flat.
In the center of each round, add:Step 3: Wrap and Seal the Goodies
Carefully fold the dough around the filling, pinching the edges tightly to create a perfect seal.
Place each pizza bomb seam-side down on the prepared baking sheet.
Step 4: Add Flavor Boosters
Brush the tops of the pizza bombs with melted butter for a golden, crispy finish.
Sprinkle generously with:Step 5: Bake to Perfection
Slide the baking sheet into the oven and bake for 12-15 minutes.
Watch for a beautiful golden-brown color that signals they’re ready to devour.
Step 6: Serve and Enjoy
Pull the pizza bombs out of the oven and let them cool for a moment.
Serve alongside marinara sauce for dipping, creating a crowd-pleasing snack that’ll disappear in minutes.
Tips That Help Prevent Soggy Dough
Mix and Match Toppings for Variety
Serve Pizza Bombs Hot and Fresh
Best Way to Keep Bombs Tasty
FAQs
Yes, you can substitute homemade pizza dough or even crescent roll dough for a similar result.
You can prepare the pizza bombs and refrigerate them unbaked for up to 24 hours before baking, or freeze them for up to a month.
Mozzarella is ideal, but you can also use cheddar, provolone, or a blend of cheeses for different flavor profiles.
Absolutely! Consider adding sliced olives, chopped bell peppers, or cooked sausage to customize your pizza bombs.
Print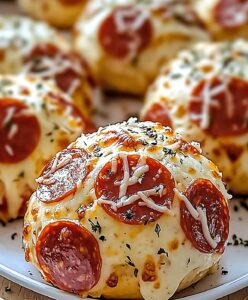
Pepperoni Pizza Bombs Recipe
- Total Time: 30 minutes
- Yield: 8 1x
Description
Savory pepperoni pizza bombs explode with cheesy, zesty goodness, offering a mouthwatering twist on classic Italian flavors. Melted mozzarella and spicy pepperoni nestled in golden, crispy dough will make you crave these irresistible bite-sized delights.
Ingredients
Main Ingredients:
- 1 can refrigerated biscuit dough
- 20 slices pepperoni
- 1 cup (240 milliliters) shredded mozzarella cheese
Flavor Enhancers:
- 1 teaspoon garlic powder
- 1 teaspoon Italian seasoning
Finishing Ingredients:
- 2 tablespoons (30 milliliters) melted butter
Instructions
- Prepare oven at 375F (190C) and cover a baking tray with parchment paper for optimal cooking surface.
- Gently press each biscuit dough into a thin circle, creating a smooth foundation for the filling.
- Position a pepperoni slice and cheese piece precisely in the center of each dough round, ensuring balanced distribution.
- Carefully wrap the dough around the filling, using gentle pressing motions to completely seal the edges and prevent leakage.
- Arrange the sealed pizza bombs on the prepared baking sheet with the sealed side facing downward to maintain structural integrity.
- Lavishly coat the exterior of each bomb with melted butter using a pastry brush for enhanced flavor and golden appearance.
- Generously dust the buttered surface with garlic powder and Italian seasoning, ensuring even coverage for consistent taste.
- Transfer the tray to the preheated oven and bake for 12-15 minutes, watching for a rich golden-brown coloration indicating perfect doneness.
- Remove from oven and allow a brief cooling period to prevent burning.
- Serve immediately alongside warm marinara sauce for a delectable dipping experience.
Notes
- Carefully seal dough edges completely to prevent cheese leakage during baking.
- Choose room temperature ingredients for easier dough handling and consistent melting.
- Experiment with alternative fillings like ham, vegetarian cheese, or spinach for dietary variations.
- Use pre-shredded mozzarella to save time and ensure even cheese distribution inside pizza bombs.
- Prep Time: 15 minutes
- Cook Time: 15 minutes
- Category: Lunch, Dinner, Appetizer, Snacks
- Method: Baking
- Cuisine: Italian
Nutrition
- Serving Size: 8
- Calories: 250 kcal
- Sugar: 2 g
- Sodium: 500 mg
- Fat: 15 g
- Saturated Fat: 7 g
- Unsaturated Fat: 6 g
- Trans Fat: 0.5 g
- Carbohydrates: 20 g
- Fiber: 1 g
- Protein: 10 g
- Cholesterol: 35 mg
Lucas Bennett
Founder & Recipe Developer
Expertise
Education
Blue Ridge Community College – Certificate in Culinary Arts
Focused on seasonal cooking, sustainable kitchen practices, and farm-to-table techniques.
Appalachian State University – B.A. in English
Built critical thinking and analysis through diverse texts. Guided by faculty, it prepares graduates for publishing and more.
Growing up in the rolling hills of North Carolina, Lucas learned early that some of life’s best memories start around a kitchen table. After studying English at Appalachian State University and honing his culinary skills at Blue Ridge Community College, he dreamed of blending storytelling with rustic, seasonal cooking, and The Scrumptious Pumpkin was born.
Lucas focuses on easy, single-serving recipes that turn fresh, local ingredients into something special. His style is simple, heartfelt, and rooted in the beauty of the seasons. When he’s not testing a new dish, you’ll probably find him hiking in the Blue Ridge Mountains, browsing farmers’ markets, or scribbling food stories in a notebook.