Crispy Golden Beef and Cheese Chimichangas Recipe to Wow Guests
Crispy, golden beef and cheese chimichangas bring a burst of mexican-inspired flavor to your dinner table.
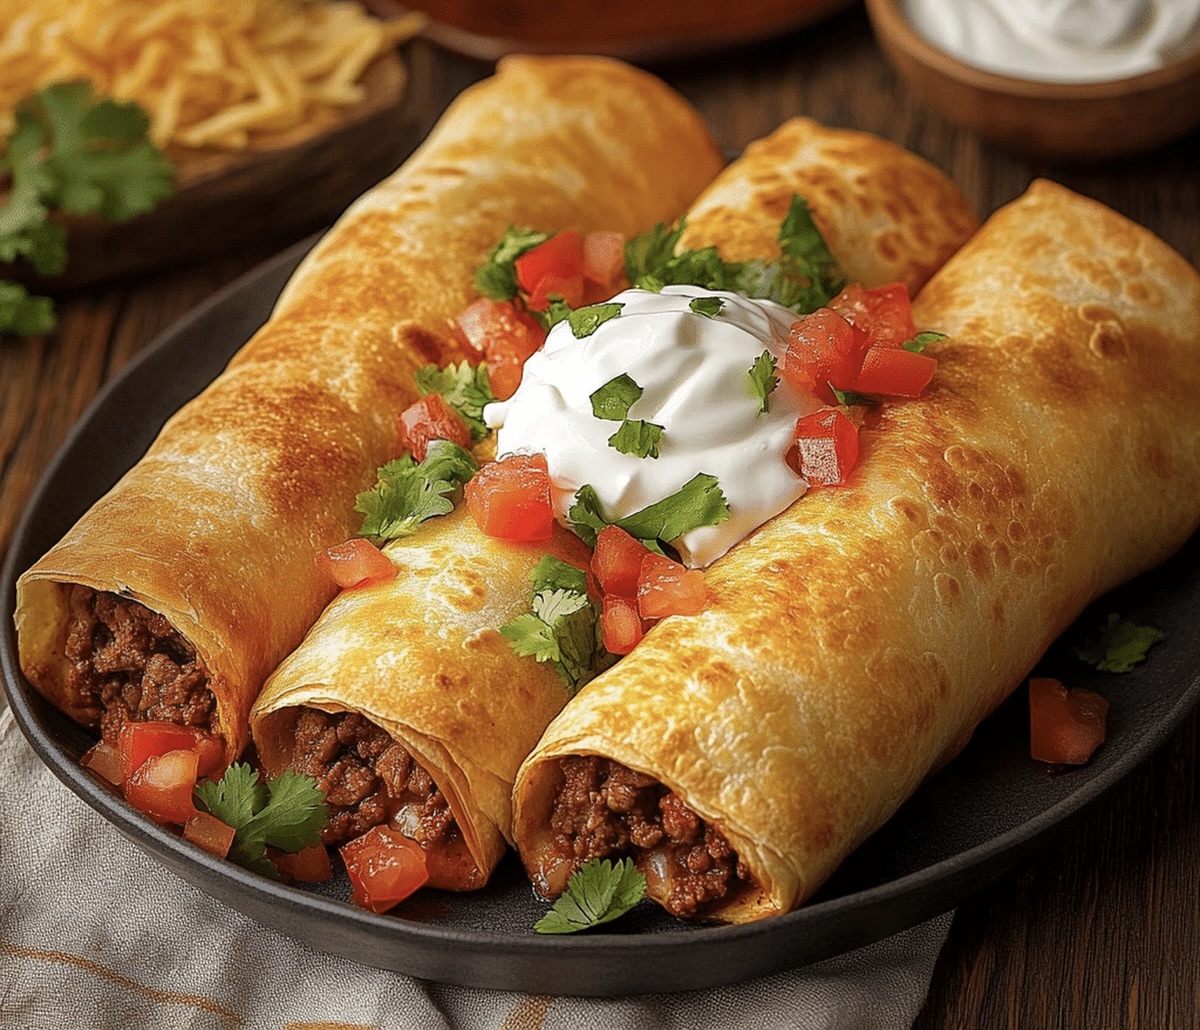
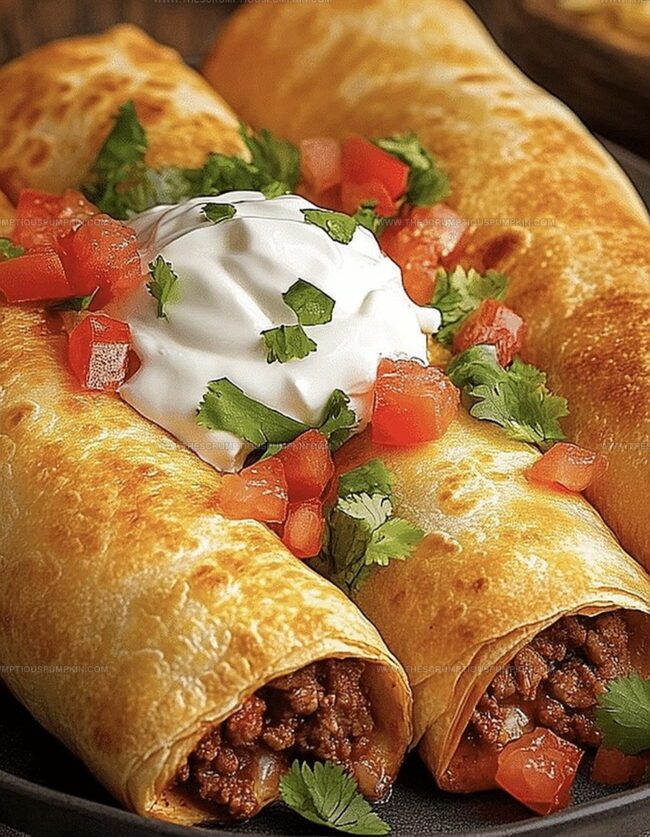
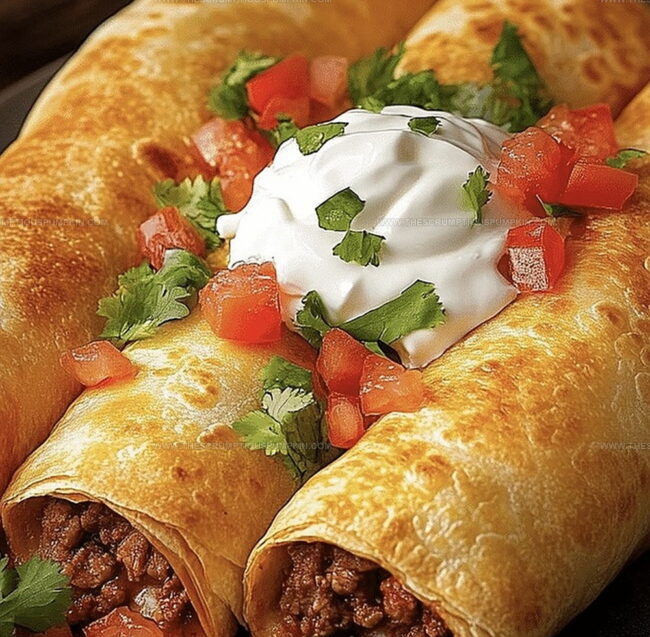
Packed with savory goodness, these delightful pockets combine tender meat and melted cheese in a perfectly crisp tortilla.
Southwestern spices dance through each bite, creating a mouthwatering experience that feels like a culinary celebration.
Home cooks adore how simple ingredients can produce such an impressive meal.
Sour cream and fresh salsa make incredible companions to these delectable parcels.
Quick to prepare and absolutely scrumptious, these chimichangas will have everyone asking for seconds.
You’ll want to add this recipe to your weekly rotation for an instant crowd-pleaser.
Why Beef and Cheese Chimichangas Are So Filling
Ingredients For Beef and Cheese Chimichangas
For the Main Protein:For the Cheese:For the Tortillas and Wrap:For the Aromatics and Seasonings:For the Cooking and Finishing:For the Serving Accompaniments:How To Make Beef and Cheese Chimichangas
Step 1: Warm Up The Oven
Crank the oven to a toasty 400°F and line a baking sheet with parchment paper for super easy cleanup.
Step 2: Sizzle The Onions
Grab a large skillet and toss in diced onions, cooking over medium heat until they turn soft and release their delicious aroma.
Step 3: Brown The Beef
Tumble in minced garlic and ground beef, breaking the meat into tiny crumbles while cooking until it’s completely browned with zero pink showing.
Step 4: Spice It Up
Sprinkle in a flavor explosion of:Stir everything until the spices dance throughout the meat mixture.
Step 5: Drain The Fat
Pull the skillet off the heat and get rid of any extra grease from the beef.
Step 6: Melt The Cheese
Shower the seasoned beef with:Mix until the cheese starts to get all melty and delicious.
Step 7: Warm The Tortillas
Quickly heat flour tortillas for a quick 10-15 seconds to make them super flexible.
Step 8: Roll The Chimichangas
Plop a generous heap of cheesy beef mixture in the center of each tortilla. Fold the sides in and roll tightly to create perfect sealed bundles.
Step 9: Oil The Exterior
Brush each chimichanga with vegetable oil, making sure every inch gets covered for gorgeous golden browning.
Step 10: Arrange For Baking
Place the rolled chimichangas seam-side down on the prepared baking sheet.
Step 11: Bake To Perfection
Slide into the oven and bake for 20-25 minutes. Spin the pan halfway through to ensure even browning until the tortillas turn beautifully crisp and golden.
Step 12: Rest And Cool
Pull out of the oven and let them chill for 2-3 minutes.
Step 13: Serve With Flair
Sprinkle with fresh chopped cilantro and serve alongside sour cream and salsa for an epic meal.
Tips To Make Beef and Cheese Chimichangas Even Better
Flavor Twists For Beef and Cheese Chimichangas
What Goes Best With Beef and Cheese Chimichangas
How To Store Beef and Cheese Chimichangas
FAQs About Beef and Cheese Chimichangas
Ground beef, flour tortillas, cheddar and monterey jack cheese, onions, garlic, and essential spices like chili powder and cumin create the authentic flavor profile.
Absolutely! Shredded chicken or pulled pork work wonderfully as alternative protein options while maintaining the classic chimichanga taste.
Fold the tortillas tightly, ensuring the edges are sealed completely, and place them seam-side down on the baking sheet to maintain their structure during cooking.
Yes, baking reduces the overall oil content and provides a crispy exterior while being a lighter cooking method compared to traditional deep-frying techniques.
Print
Peppery Beef And Cheese Chimichangas Recipe
- Total Time: 40 minutes
- Yield: 6 1x
Description
Sizzling beef and cheese chimichangas bring Mexican street cuisine straight to home kitchens with crispy golden perfection. Savory seasoned meat wrapped in warm tortillas creates an irresistible meal you’ll crave again and again.
Ingredients
Protein:
- 1 lb ground beef
- 1/2 cup shredded cheddar cheese
- 1/2 cup shredded monterey jack cheese
Vegetables and Seasonings:
- 1 small onion, diced
- 2 cloves garlic, minced
- 1 tsp chili powder
- 1 tsp ground cumin
- 1/2 tsp salt
- 1/4 tsp black pepper
Wrap and Cooking:
- 6 large flour tortillas
- 2 tbsp vegetable oil
- Optional: sour cream for serving
- Optional: salsa for serving
- Optional: chopped cilantro for garnish
Instructions
- Preheat the oven to 400°F and prepare a baking sheet with parchment paper for easy cleanup.
- In a large skillet, sauté diced onions over medium heat until translucent and fragrant, about 3-4 minutes.
- Add minced garlic and ground beef to the skillet, breaking the meat into small crumbles while cooking until completely browned and no pink remains.
- Incorporate chili powder, cumin, salt, and black pepper into the meat mixture, stirring thoroughly to distribute the spices evenly.
- Remove the skillet from heat and drain any excess fat from the beef mixture.
- Sprinkle cheddar and monterey jack cheeses into the seasoned beef, mixing until the cheese begins to melt slightly.
- Warm the flour tortillas for 10-15 seconds to make them more pliable and easier to fold.
- Place a generous portion of the beef and cheese mixture in the center of each tortilla, folding the sides inward and rolling tightly to create sealed chimichangas.
- Brush each chimichanga with vegetable oil, ensuring complete coverage to promote even browning.
- Arrange the rolled chimichangas seam-side down on the prepared baking sheet.
- Bake for 20-25 minutes, rotating the pan halfway through, until the tortillas turn golden brown and crispy.
- Remove from oven and let rest for 2-3 minutes before serving.
- Garnish with optional chopped cilantro and serve with sour cream and salsa on the side.
Notes
- Customize spice levels by adjusting chili powder and cumin to suit personal heat preferences.
- Prevent soggy chimichangas by thoroughly draining beef and using minimal liquid ingredients.
- Create healthier alternatives by substituting ground beef with lean turkey or plant-based protein crumbles.
- Enhance flavor complexity by adding finely diced bell peppers or jalapeños during meat sautéing stage.
- Prep Time: 15 minutes
- Cook Time: 25 minutes
- Category: Lunch, Dinner, Snacks, Appetizer
- Method: Baking
- Cuisine: Mexican
Nutrition
- Serving Size: 6
- Calories: 500
- Sugar: 1 g
- Sodium: 600 mg
- Fat: 25 g
- Saturated Fat: 10 g
- Unsaturated Fat: 12 g
- Trans Fat: 0 g
- Carbohydrates: 40 g
- Fiber: 2 g
- Protein: 30 g
- Cholesterol: 80 mg
Mia Thompson
Pastry Chef & Content Creator
Expertise
Education
Portland Community College – Baking and Pastry Arts Program
Specialized in artisanal bread, seasonal desserts, and sustainable baking methods.
National University of Natural Medicine – Bachelor of Science in Nutrition (BScN)
Focused on “Food as Medicine” philosophy, with core threads in nutrition.
Mia’s love affair with baking began in her grandmother’s kitchen, where sneaking spoonfuls of batter first sparked her curiosity. She refined her skills through Portland Community College’s Baking and Pastry Arts Program and her expertise at the National University of Natural Medicine, earning a B.Sc. in Nutrition.
At The Scrumptious Pumpkin, Mia reimagines classics with effortless seasonal treats, healthier twists on old favorites, and playful confections that feel like pure joy. Beyond the oven, she nurtures her urban garden, forages local ingredients around Portland, and leads hands‑on nutrition workshops for her community.