Jolly Pineapple Christmas Balls Recipe: Sweet Holiday Magic
Sweet holiday memories often revolve around surprising pineapple christmas balls that spark instant joy at gatherings.
Festive treats like these become conversation starters during seasonal celebrations.
Delicate and bite-sized, these confections blend tropical fruit with classic dessert traditions.
Coconut and crushed pineapple create magical textures that melt in your mouth.
Each small sphere carries a burst of tropical cheer, perfect for spreading warmth.
Guests will adore these simple yet elegant confections that feel both familiar and unexpected.
Come discover how simple ingredients can transform an ordinary moment into something truly special.
Why Pineapple Christmas Balls Taste Like Holiday Joy
What You’ll Need For Pineapple Christmas Balls
For the Base:For the Creamy Components:For the Flavor and Coating:How To Make Pineapple Christmas Balls Easily
Step 1: Drain Pineapple Completely
Grab your crushed pineapple and drain every single drop of liquid. Use a fine mesh strainer or cheesecloth to remove maximum moisture. Squeeze gently to ensure the pineapple is as dry as possible.
Step 2: Mix Dry Ingredients
Grab a large mixing bowl and combine:Stir these ingredients until they’re perfectly blended and look like a uniform mixture.
Step 3: Blend Creamy Components
Add softened butter and cream cheese to the dry ingredients. Mix thoroughly until the mixture becomes slightly sticky and everything is well incorporated. Use a hand mixer or wooden spoon to create a smooth consistency.
Step 4: Incorporate Fruity Flavor
Fold in the drained pineapple and vanilla extract. Gently mix to distribute the ingredients evenly throughout the mixture. Make sure no large clumps remain.
Step 5: Chill and Set
Place the mixture in the refrigerator for 30 minutes. This helps the flavors meld together and makes the mixture easier to handle when shaping.
Step 6: Shape Tropical Treats
Using clean hands, roll the chilled mixture into small balls. Each ball should be about one inch in diameter. Work quickly to prevent the mixture from warming up.
Step 7: Add Coconut Coating
Roll each ball in the remaining shredded coconut. Ensure each ball is completely and evenly covered with the white coconut flakes.
Step 8: Arrange and Prepare
Place the coconut-covered balls on a parchment-lined tray. Leave a small space between each ball to prevent sticking.
Step 9: Final Chill
Refrigerate the Pineapple Christmas Balls for at least one hour. This helps them set and enhances their delicious tropical flavor.
Step 10: Store and Serve
Keep the treats in an airtight container in the refrigerator. They’ll stay fresh and delicious for up to 5 days. Enjoy these tropical delights as a sweet holiday snack!
Pro Tips For Pineapple Christmas Balls Success
Tasty Variations Of Pineapple Christmas Balls
Perfect Pairings For Pineapple Christmas Balls
Best Way To Store Pineapple Christmas Balls
FAQs About Pineapple Christmas Balls
Thoroughly draining pineapple prevents excess moisture, which could make the Christmas balls soggy and lose their desired texture. Removing liquid ensures the mixture holds its shape and maintains a firm consistency.
Canned crushed pineapple works best because it’s already processed and easier to drain. Fresh pineapple contains more water and might require extra effort to remove moisture, potentially affecting the recipe’s overall success.
Chilling the mixture for 30 minutes helps firm up the ingredients, making it easier to roll into uniform balls. The cold temperature allows butter and cream cheese to set, providing better handling and preventing the mixture from becoming too sticky.
Print
Pineapple Christmas Balls Recipe
- Total Time: 1 hour 30 minutes
- Yield: 8 1x
Description
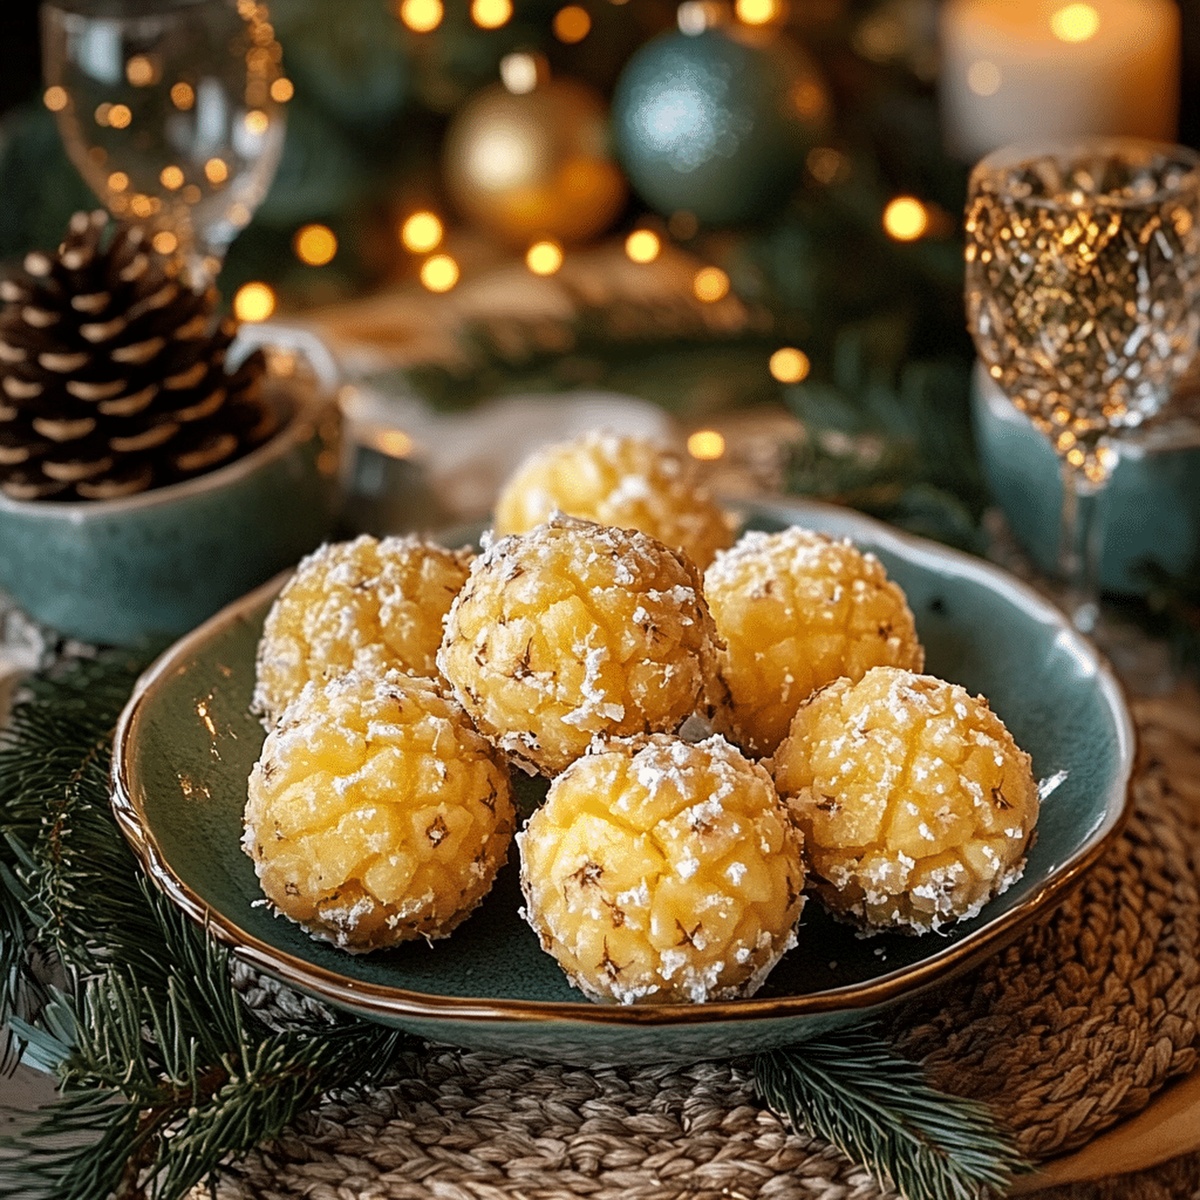
Sweet holiday magic happens when Pineapple Christmas Balls bring tropical cheer to festive gatherings. Coconut-rolled spheres of creamy pineapple goodness offer delightful Caribbean-inspired dessert bites you’ll savor with joyful celebration.
Ingredients
Pineapple Base:
- 2 cups crushed pineapple
- 1/2 cup pineapple juice
Dry Ingredients:
- 2 cups vanilla wafer crumbs
- 1 cup powdered sugar
- 1/2 cup sweetened shredded coconut
Coating and Binding:
- 1/4 cup butter, softened
- 2 tbsp cream cheese
- 1 tsp vanilla extract
- 1/4 cup additional shredded coconut (for rolling)
Instructions
- Drain the crushed pineapple thoroughly, ensuring minimal moisture remains to prevent soggy texture in the final confection.
- In a spacious mixing bowl, combine vanilla wafer crumbs, powdered sugar, and initial batch of shredded coconut, creating a uniform dry mixture.
- Incorporate softened butter and cream cheese into the dry ingredients, blending until a cohesive, slightly sticky consistency develops.
- Fold in drained pineapple and vanilla extract, gently mixing to distribute ingredients evenly throughout the mixture.
- Refrigerate the mixture for 30 minutes, allowing flavors to meld and texture to firm up, making it easier to shape.
- Using clean hands, roll the chilled mixture into small, uniform spheres approximately 1-inch in diameter.
- Delicately roll each ball in the reserved shredded coconut, ensuring a complete and even coating.
- Place the coconut-covered balls on a parchment-lined tray, maintaining slight separation between each confection.
- Chill the completed Pineapple Christmas Balls for at least 1 hour before serving to enhance flavor and set the texture.
- Store in an airtight container in the refrigerator for up to 5 days, preserving their delightful tropical essence.
Notes
- Pat pineapple completely dry to prevent soggy, crumbly texture that could ruin the delicate treat’s consistency.
- Use room temperature butter and cream cheese for smoother, easier blending without lumpy patches.
- Consider toasting coconut beforehand for enhanced nutty flavor and extra crunch that elevates the entire dessert experience.
- Experiment with alternative coatings like crushed pecans or graham cracker crumbs for different textural and flavor variations.
- Prep Time: 30 minutes
- Cook Time: 0 minutes
- Category: Snacks, Desserts
- Method: Rolling
- Cuisine: American
Nutrition
- Serving Size: 8
- Calories: 190
- Sugar: 20 g
- Sodium: 70 mg
- Fat: 8 g
- Saturated Fat: 5 g
- Unsaturated Fat: 3 g
- Trans Fat: 0 g
- Carbohydrates: 29 g
- Fiber: 1 g
- Protein: 2 g
- Cholesterol: 15 mg
Mia Thompson
Pastry Chef & Content Creator
Expertise
Education
Portland Community College – Baking and Pastry Arts Program
Specialized in artisanal bread, seasonal desserts, and sustainable baking methods.
National University of Natural Medicine – Bachelor of Science in Nutrition (BScN)
Focused on “Food as Medicine” philosophy, with core threads in nutrition.
Mia’s love affair with baking began in her grandmother’s kitchen, where sneaking spoonfuls of batter first sparked her curiosity. She refined her skills through Portland Community College’s Baking and Pastry Arts Program and her expertise at the National University of Natural Medicine, earning a B.Sc. in Nutrition.
At The Scrumptious Pumpkin, Mia reimagines classics with effortless seasonal treats, healthier twists on old favorites, and playful confections that feel like pure joy. Beyond the oven, she nurtures her urban garden, forages local ingredients around Portland, and leads hands‑on nutrition workshops for her community.