Fluffy Pizza Hut-Inspired Homemade Dough Recipe for Pros
Crafting an authentic pizza hut-inspired homemade dough brings restaurant-quality magic right into your kitchen.
Crispy edges and soft centers start with understanding basic flour chemistry.
Kneading techniques matter more than most people realize.
Professional pizzaiolos know precise ingredient ratios create exceptional results.
Salt, yeast, and flour interact like delicate dance partners developing complex flavors.
Perfectly stretched dough requires patience and gentle handling.
You’ll want to master this technique for unforgettable pizza nights that impress everyone around your table.
What Makes Pizza Hut-Inspired Homemade Dough Awesome
Pizza Hut-Inspired Homemade Dough Ingredient List
For the Dough Base:For the Liquid Components:For the Flavor Enhancers and Texture Improvers:How To Prepare Pizza Hut-Inspired Homemade Dough
Step 1: Activate Yeast
Grab warm water and sprinkle yeast, letting it sit and become bubbly and alive for 5 minutes until foamy.
Step 2: Create Dry Mixture
In a large bowl, blend flour, salt, sugar, and garlic powder, creating a soft crater in the center for wet ingredients.
Step 3: Mix Wet and Dry Ingredients
Pour yeast liquid and olive oil into flour mixture, stirring gently with a wooden spoon until a rough dough emerges.
Step 4: Knead the Dough
Transfer dough onto a floured surface and work it vigorously, pushing and folding for 8-10 minutes until smooth and stretchy.
Step 5: Let Dough Rise
Move kneaded dough into a lightly oiled bowl, drape with a damp cloth, and let it rest in a cozy spot for about 1 hour until it doubles in size.
Step 6: Prepare Dough for Shaping
Gently deflate the risen dough, releasing trapped air bubbles, and divide into desired pizza portions.
Step 7: Prepare Work Surface
Dust your workspace with cornmeal and semolina flour to prevent sticking and add delightful texture to the pizza base.
Step 8: Shape the Dough
Stretch or roll out dough to your preferred thickness, creating an even canvas for toppings.
Step 9: Store for Later
If not using immediately, wrap dough in plastic wrap and store in refrigerator for 24 hours or freeze for future pizza adventures.
Tips For Pizza Hut-Inspired Homemade Dough Success
Fun Dough Twists For Pizza Hut-Inspired Homemade Dough
Pairings With Pizza Hut-Inspired Homemade Dough
How To Store Pizza Hut-Inspired Homemade Dough
Questions On Pizza Hut-Inspired Homemade Dough
Warm water (around 110°F) helps yeast wake up and become active, ensuring proper fermentation and rise of the dough. Cold water slows down yeast activity, while hot water can kill the yeast.
Kneading develops gluten, which creates the dough’s stretchy and elastic texture. It helps create a strong structure that allows the dough to rise properly and gives the pizza crust its signature chewiness.
Yes, you can refrigerate the dough for up to 24 hours or freeze it for future use. This allows the flavors to develop and makes meal preparation more convenient.
Print
Pizza Hut-Inspired Homemade Dough Recipe
- Total Time: 1 hour 15 minutes
- Yield: 4 1x
Description
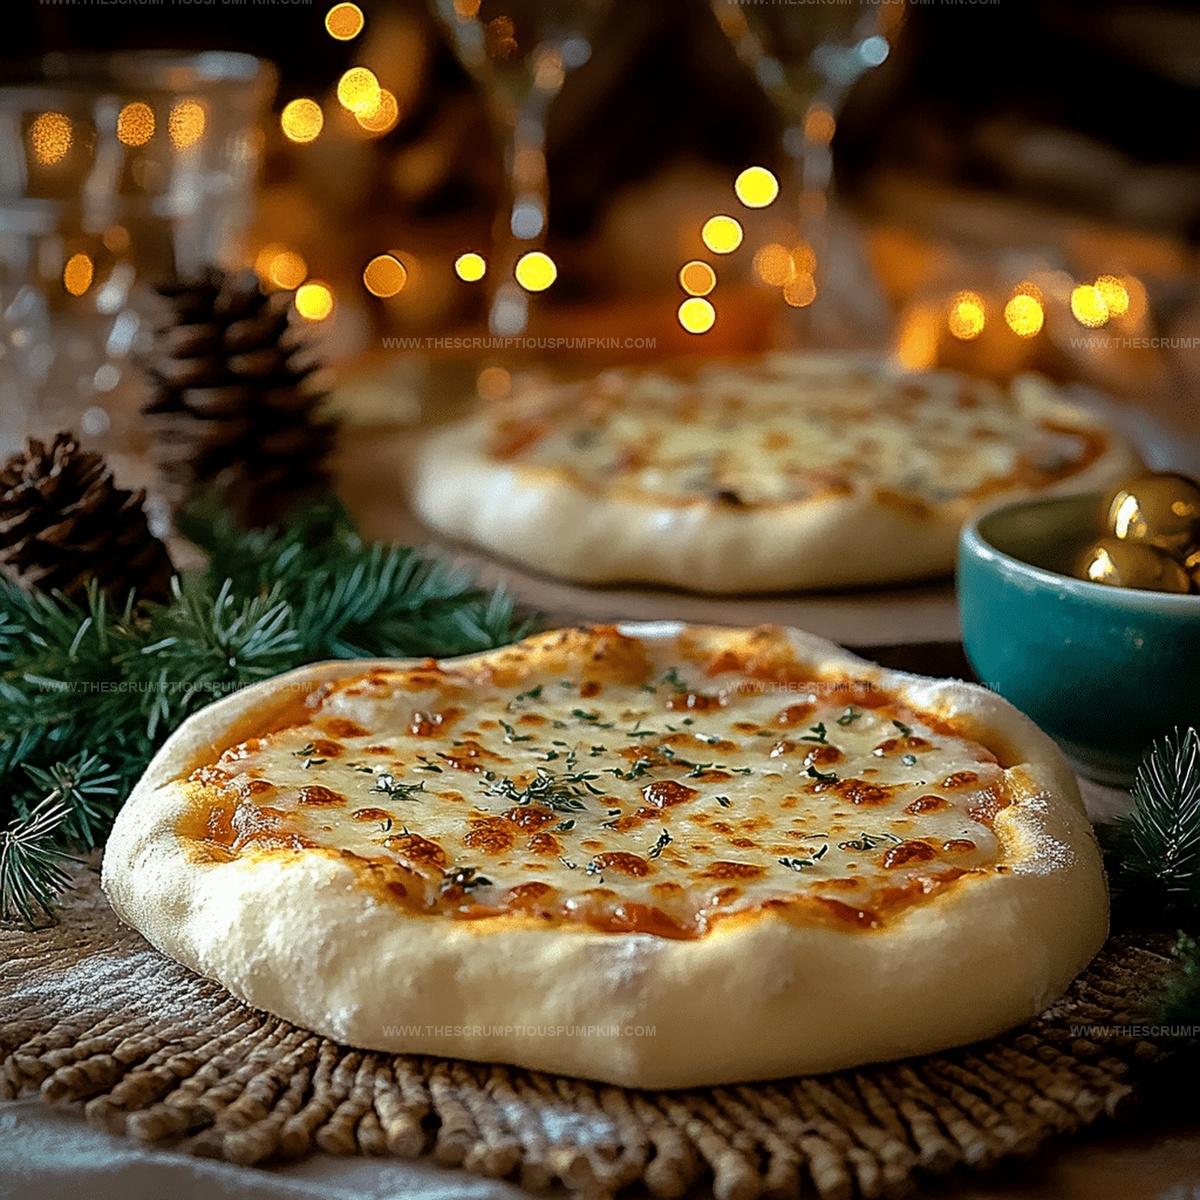
Homemade Pizza Hut-Style Dough brings restaurant-quality flavor straight to kitchen counters with simple ingredients and straightforward techniques. Crispy crusts and authentic tastes await passionate home chefs ready to craft restaurant-worthy pizzas without leaving comfort zones.
Ingredients
Pizza Dough:
- 3.5 cups bread flour
- 1 packet active dry yeast
- 1.25 cups warm water
- 2 tbsp olive oil
Seasonings:
- 1 tsp salt
- 1 tsp sugar
- 1/2 tsp garlic powder
Optional Dusting:
- 2 tbsp cornmeal
- 1 tbsp semolina flour
Instructions
- Dissolve yeast in warm water (around 110°F) and let it sit for 5 minutes until it becomes frothy and activated.
- In a large mixing bowl, combine bread flour, salt, sugar, and garlic powder, creating a well in the center for the liquid ingredients.
- Pour the yeast mixture and olive oil into the flour mixture, stirring gradually with a wooden spoon until a shaggy dough begins to form.
- Transfer the dough onto a lightly floured surface and knead vigorously for 8-10 minutes, developing the gluten and creating a smooth, elastic texture.
- Place the kneaded dough in a lightly oiled bowl, cover with a damp kitchen towel, and allow it to rise in a warm, draft-free area for approximately 1 hour or until doubled in size.
- After rising, punch down the dough to release air bubbles and divide it into desired portions for pizza making.
- Sprinkle cornmeal and semolina flour on your work surface to prevent sticking and add a delightful textural element to the pizza base.
- Stretch or roll out the dough to your preferred thickness, ensuring an even surface for toppings.
- If not using immediately, wrap the dough in plastic and refrigerate for up to 24 hours or freeze for future use.
Notes
- Control yeast temperature precisely by using a thermometer to ensure optimal activation without killing the microorganisms.
- Develop richer flavor by allowing longer cold fermentation in the refrigerator, which enhances the dough’s complexity and texture.
- Experiment with alternative flour blends like adding whole wheat or semolina for unique nutritional profiles and more interesting taste dimensions.
- Create gluten-free variations by substituting bread flour with a blend of gluten-free flour mixes and adding xanthan gum for structural integrity.
- Prep Time: 15 minutes
- Cook Time: 0 minutes
- Category: Lunch, Dinner, Snacks
- Method: Baking
- Cuisine: Italian
Nutrition
- Serving Size: 4
- Calories: 220
- Sugar: 1 g
- Sodium: 200 mg
- Fat: 5 g
- Saturated Fat: 0.5 g
- Unsaturated Fat: 4.5 g
- Trans Fat: 0 g
- Carbohydrates: 40 g
- Fiber: 2 g
- Protein: 6 g
- Cholesterol: 0 mg
Mia Thompson
Pastry Chef & Content Creator
Expertise
Education
Portland Community College – Baking and Pastry Arts Program
Specialized in artisanal bread, seasonal desserts, and sustainable baking methods.
National University of Natural Medicine – Bachelor of Science in Nutrition (BScN)
Focused on “Food as Medicine” philosophy, with core threads in nutrition.
Mia’s love affair with baking began in her grandmother’s kitchen, where sneaking spoonfuls of batter first sparked her curiosity. She refined her skills through Portland Community College’s Baking and Pastry Arts Program and her expertise at the National University of Natural Medicine, earning a B.Sc. in Nutrition.
At The Scrumptious Pumpkin, Mia reimagines classics with effortless seasonal treats, healthier twists on old favorites, and playful confections that feel like pure joy. Beyond the oven, she nurtures her urban garden, forages local ingredients around Portland, and leads hands‑on nutrition workshops for her community.