The Cozy Comfort of Pizza Pot Pies Recipe: A Family Favorite
Nestled in a world of comfort, these pizza pot pies capture culinary magic with unexpected charm.
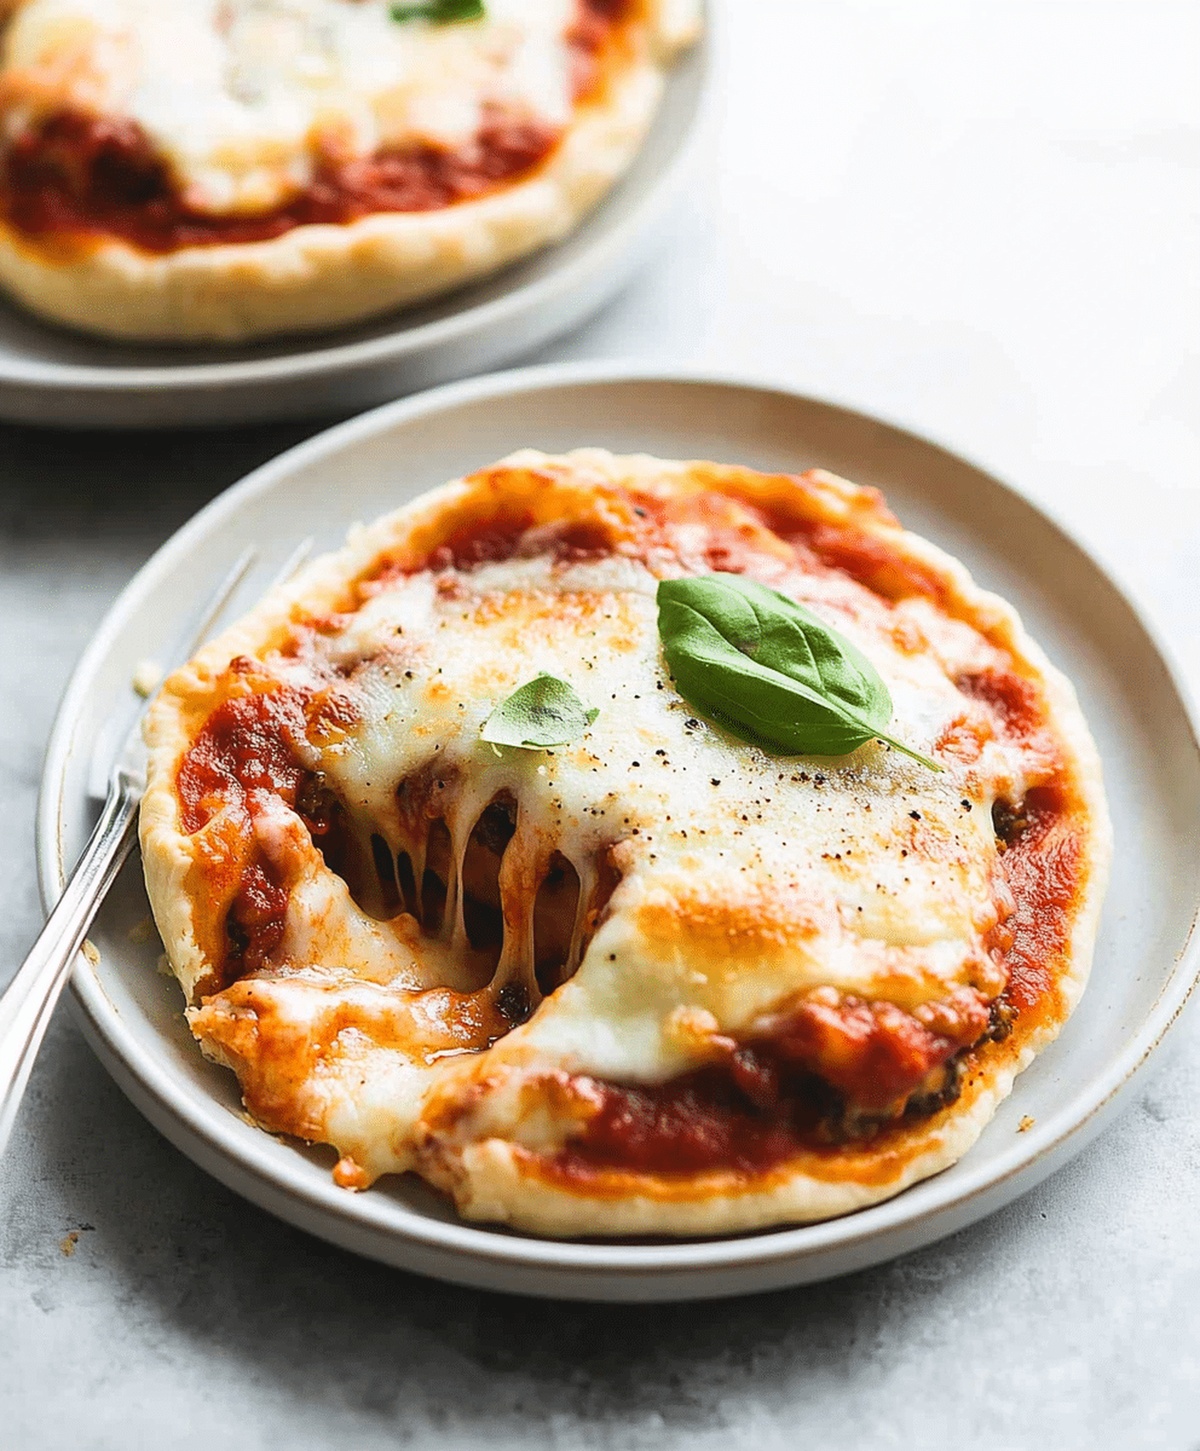
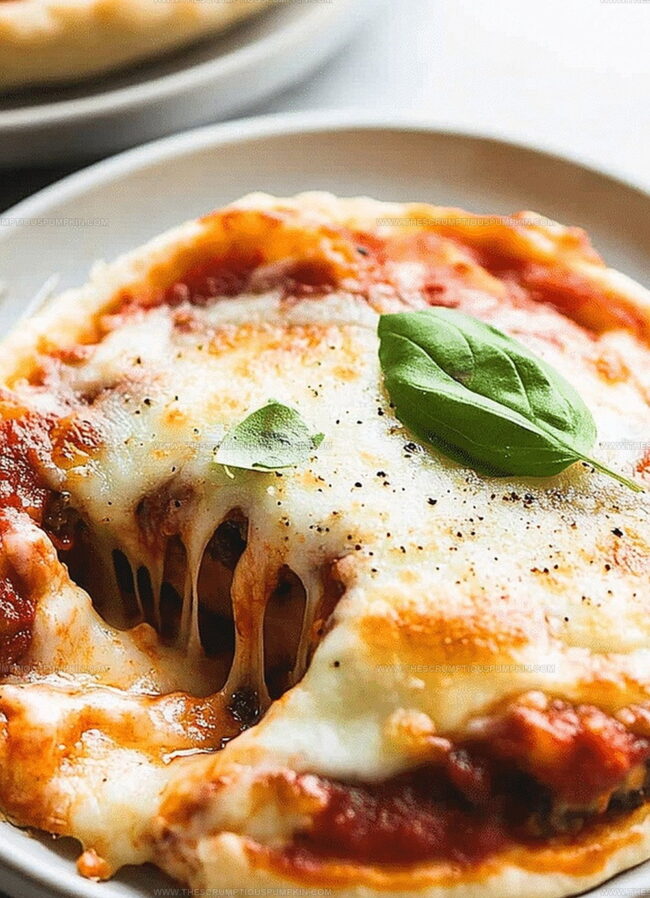
Crispy golden crusts envelop rich, bubbling fillings that dance between traditional pizza flavors and hearty pie traditions.
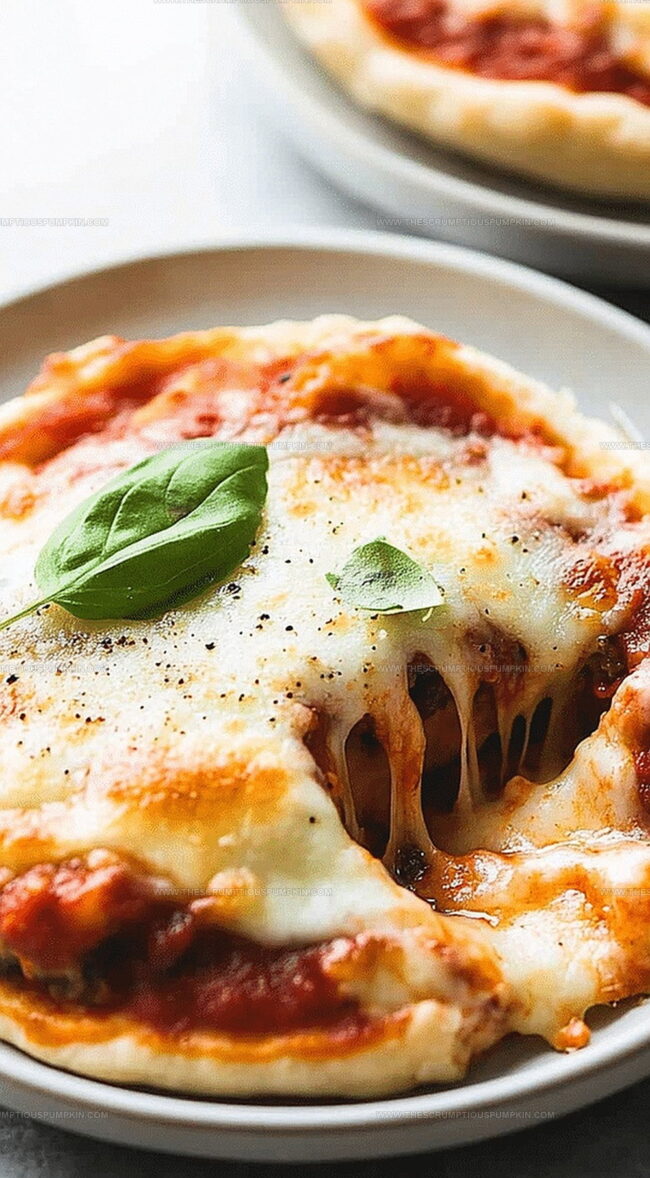
Layers of melted cheese, zesty marinara, and your favorite toppings create a delightful mashup that breaks free from ordinary meal expectations.
Families will gather around the table, eager to crack through the flaky exterior and discover the delicious surprise waiting inside.
Perfectly portioned and brimming with personality, these individual pot pies turn a classic favorite into something extraordinary.
You can’t help but smile as the aroma fills your kitchen, promising a meal that’s both familiar and wonderfully innovative.
Prepare to fall in love with a recipe that transforms simple ingredients into an unforgettable dining experience.
Pizza Pot Pies – The Best Features Unwrapped
Must-Have Ingredients For Pizza Pot Pie Magic
Main Ingredients:Toppings:Binding and Finishing Ingredients:Pizza Pot Pie Building Instructions For Success
Step 1: Warm Up the Oven
Crank your oven to a toasty 375°F (190°C) and get ready for some delicious magic.
Step 2: Craft Your Crust Circles
Grab your pie crust and roll it out on a clean surface.
Use a round cutter or a knife to create circles that are slightly bigger than your ramekins – these will be your golden pie tops.
Step 3: Build Flavor Layers
Time to create your mini pizza masterpiece!
In each ramekin, start with a generous spread of pizza sauce.
Then add layers of:(Mix and match your favorite pizza toppings)
Step 4: Seal the Delicious Deal
Carefully drape the pie crust circles over each ramekin.
Press down on the edges with your fingers to create a tight seal – we want all those yummy flavors locked inside.
Step 5: Give It a Golden Glow
Whisk an egg in a small bowl and use a pastry brush to paint the top of each crust.
This will help create that irresistible golden-brown shine.
Step 6: Bake to Perfection
Slide the ramekins into the preheated oven and let them bake for 20-25 minutes.
You’ll know they’re done when the crust turns a beautiful golden brown and looks absolutely mouthwatering.
Step 7: Cool and Devour
Let the pot pies rest for a few minutes – they’ll be scorching hot!
Then dig in and enjoy your personal pizza pot pie adventure.
Top Tips For Cheesy Pizza Pot Pie Wins
Tasty Twists For Creative Pizza Pot Pies
Pizza Pot Pies Served With Extra Flair
Smart Storage For Pizza Pot Pie Leftovers
FAQs
These are individual savory pies that combine classic pizza flavors with a pot pie format, featuring a flaky crust and pizza-style fillings baked in personal-sized ramekins.
Absolutely! Simply swap out meat toppings for vegetables like bell peppers, mushrooms, onions, or spinach to create a delicious vegetarian version.
Mozzarella is the classic choice, but you can also use a blend of cheeses like provolone, parmesan, or cheddar for extra flavor complexity.
You’ll need ramekins to create individual pot pies, but standard 4-6 ounce ceramic or glass ramekins work perfectly for this recipe.
Print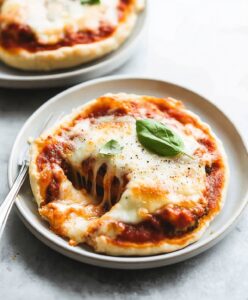
Pizza Pot Pies Recipe
- Total Time: 40 minutes
- Yield: 4 1x
Description
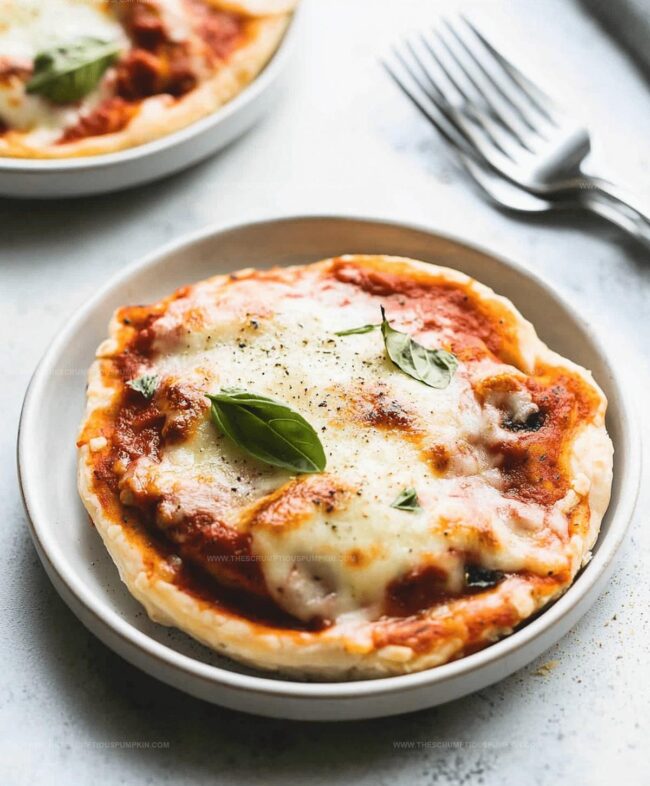
Comfort meets creativity in these delightful Pizza Pot Pies, where classic Italian flavors nestle inside golden, flaky pastry crusts. Cheese-laden fillings and savory ingredients promise a delectable meal you’ll crave again and again.
Ingredients
Main Ingredients:
- 1 cup pizza sauce
- 1 cup shredded mozzarella cheese
- 1/2 cup cooked sausage or pepperoni slices
- 1 refrigerated pie crust (or homemade)
Vegetables:
- 1/4 cup diced bell peppers
- 1/4 cup sliced mushrooms
- 1/4 cup chopped onions
Egg Wash:
- 1 egg, beaten
Instructions
- Warm the oven to 375°F (190°C) to ensure proper cooking temperature.
- Gently roll out the pie dough and slice into circular shapes, making them marginally wider than the ceramic baking vessels.
- Create delectable layers inside each ramekin, starting with a vibrant tomato sauce foundation, followed by a generous sprinkle of melted cheese, and crowned with preferred savory toppings.
- Carefully drape the prepared pie dough circles over each ramekin, meticulously sealing the edges to prevent filling from escaping during baking.
- Enhance the crust’s appearance by delicately brushing its surface with whisked egg, which will promote a lustrous, golden-brown exterior.
- Transfer the prepared ramekins into the preheated oven and bake for approximately 20-25 minutes, monitoring until the pastry transforms into a rich, amber-toned crust.
- Allow the pot pies to rest momentarily after removing from the oven, permitting the intense heat to settle and making them safe to consume.
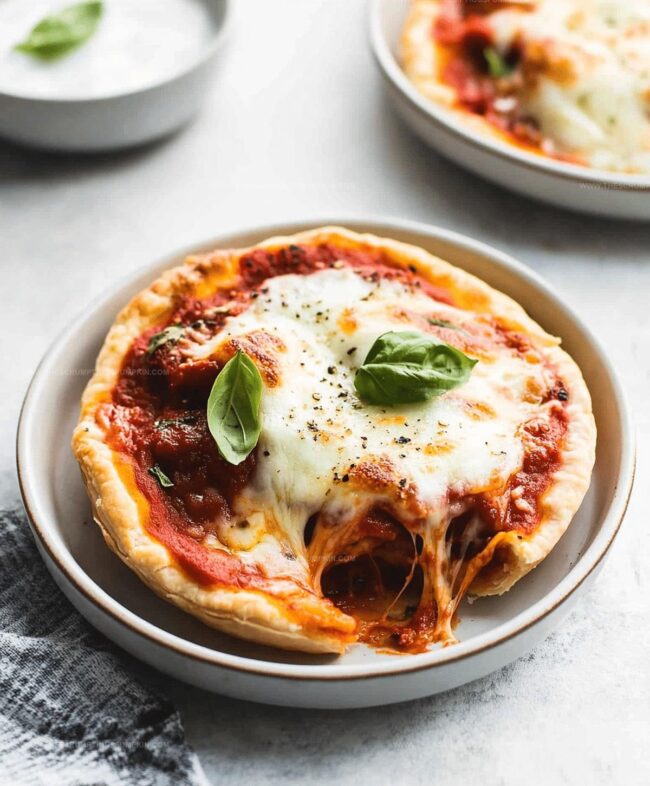
- Serve immediately while the filling remains molten and the crust maintains its crisp, flaky texture.
Notes
- Select deep, wide-mouthed ramekins to ensure enough space for layering ingredients and creating a perfect pot pie shape.
- Choose pre-made pie crust for quick preparation, or make homemade crust for a more personalized touch and fresher flavor.
- Experiment with different cheese combinations like mozzarella, parmesan, and provolone to enhance the pizza-style taste profile.
- Customize toppings based on dietary preferences – use vegetarian options like bell peppers and mushrooms, or lean proteins like grilled chicken for healthier variations.
- Prep Time: 15 minutes
- Cook Time: 25 minutes
- Category: Lunch, Dinner, Appetizer, Snacks
- Method: Baking
- Cuisine: Italian-American
Nutrition
- Serving Size: 4
- Calories: 395 kcal
- Sugar: 5 g
- Sodium: 720 mg
- Fat: 22 g
- Saturated Fat: 10 g
- Unsaturated Fat: 9 g
- Trans Fat: 0.3 g
- Carbohydrates: 28 g
- Fiber: 2 g
- Protein: 18 g
- Cholesterol: 75 mg
Lucas Bennett
Founder & Recipe Developer
Expertise
Education
Blue Ridge Community College – Certificate in Culinary Arts
Focused on seasonal cooking, sustainable kitchen practices, and farm-to-table techniques.
Appalachian State University – B.A. in English
Built critical thinking and analysis through diverse texts. Guided by faculty, it prepares graduates for publishing and more.
Growing up in the rolling hills of North Carolina, Lucas learned early that some of life’s best memories start around a kitchen table. After studying English at Appalachian State University and honing his culinary skills at Blue Ridge Community College, he dreamed of blending storytelling with rustic, seasonal cooking, and The Scrumptious Pumpkin was born.
Lucas focuses on easy, single-serving recipes that turn fresh, local ingredients into something special. His style is simple, heartfelt, and rooted in the beauty of the seasons. When he’s not testing a new dish, you’ll probably find him hiking in the Blue Ridge Mountains, browsing farmers’ markets, or scribbling food stories in a notebook.