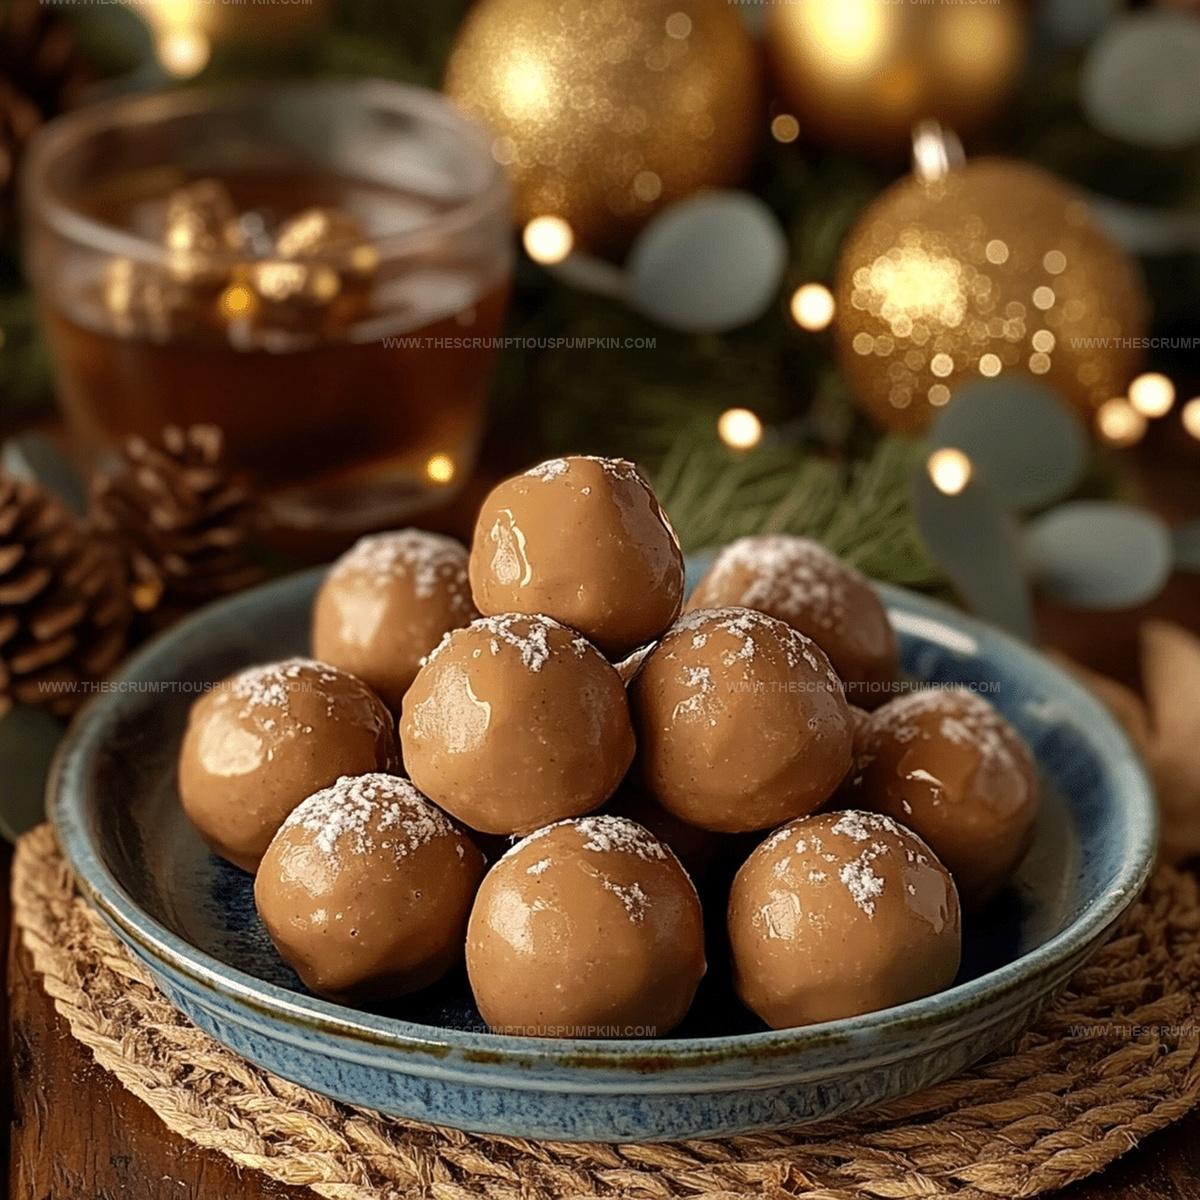
Effortlessly Sweet Peanut Butter Balls Recipe for Any Occasion
Crafting delectable peanut butter balls always sparks joy in my kitchen.
Sweet memories flood back with each creamy bite.
Childhood treats reconnect us to simple pleasures of homemade desserts.
Minimal ingredients combine into magical spheres of pure delight.
These no-bake morsels promise quick satisfaction without complicated techniques.
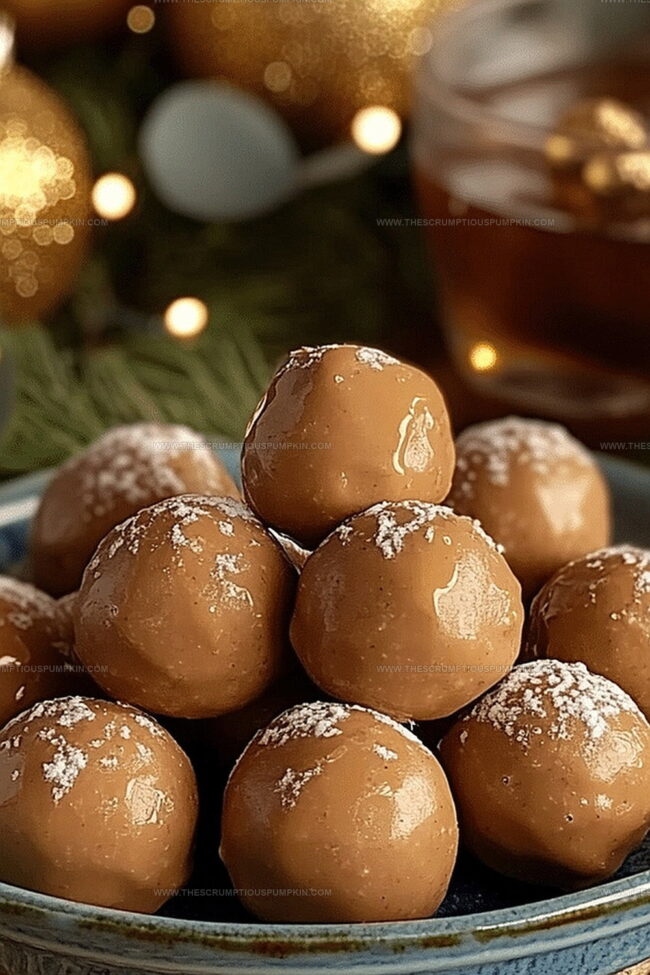
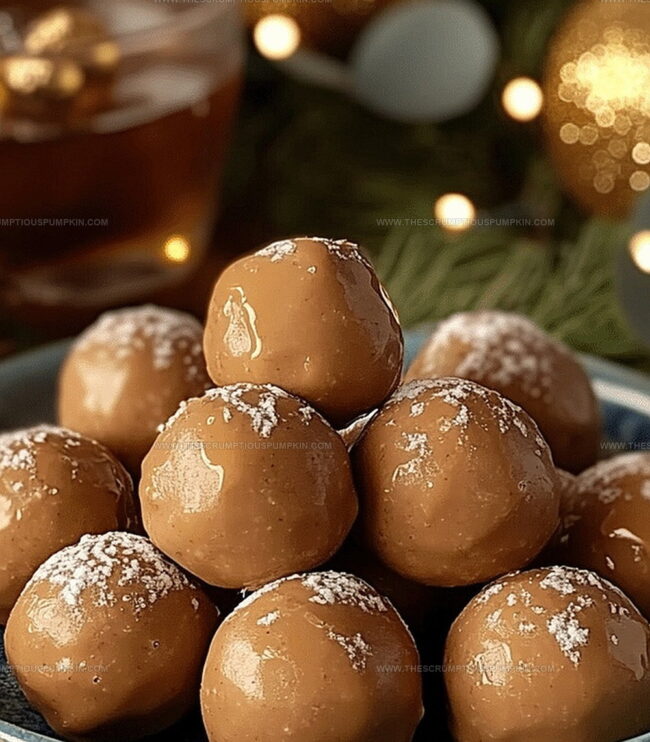
Rich chocolate coating adds dramatic contrast to smooth peanut centers.
You’ll want to roll up your sleeves and start mixing right away!
Indulgence awaits in every single delicious ball.
Why You’ll Love Peanut Butter Balls
What You’ll Need To Make Peanut Butter Balls
For the Peanut Butter Base:For the Coating:For the Garnish and Serving:Easy Steps For Peanut Butter Balls
Step 1: Create Peanut Butter Mixture
Grab a large mixing bowl and combine these delightful ingredients:Blend everything together until you have a smooth, moldable mixture that holds its shape perfectly.
Step 2: Chill the Mixture
Pop the bowl into the refrigerator for 15-20 minutes. This quick cooling helps the mixture firm up, making it easier to shape into beautiful balls.
Step 3: Shape Delicious Spheres
Take the chilled mixture and roll it into small, bite-sized balls about 1 inch across. Place these little gems on a parchment-lined baking sheet.
Step 4: Prepare for Chocolate Coating
Return the balls to the refrigerator for another 10 minutes to keep their perfect shape.
Step 5: Craft Chocolate Coating
Melt chocolate chips and coconut oil in a microwave-safe bowl. Heat in short bursts, stirring between each interval, until the mixture becomes silky smooth.
Step 6: Dip and Cover
Using a fork or special dipping tool, gently submerge each peanut butter ball into the melted chocolate. Ensure every inch gets a luxurious chocolate bath.
Step 7: Remove Excess Chocolate
Tap the fork carefully to let extra chocolate drip off, then place the coated balls back on the parchment-lined sheet.
Step 8: Add Crunchy Topping
While the chocolate is still wet, sprinkle chopped peanuts over the top for an amazing crunch and beautiful appearance.
Step 9: Final Chill
Refrigerate the chocolate-covered balls for 15-20 minutes until the chocolate sets completely and becomes glossy.
Step 10: Store and Enjoy
Transfer the finished peanut butter balls to an airtight container. They’ll keep wonderfully in the refrigerator for up to one week, allowing the flavors to develop and become even more irresistible.
Tips That Help With Peanut Butter Balls
Tasty Options For Peanut Butter Balls
Perfect Pairings With Peanut Butter Balls
How To Store And Reheat Peanut Butter Balls
Peanut Butter Balls FAQ Guide
Yes, you can substitute peanut butter with almond butter, cashew butter, or sunflower seed butter for a different flavor profile.
Absolutely! Use gluten-free graham cracker crumbs or replace them with crushed gluten-free cookies or ground nuts.
Ensure the peanut butter balls are cold and the chocolate is not too hot. Add a small amount of coconut oil to help create a smoother coating.
Yes, kids can help roll the balls and sprinkle chopped peanuts. Adult supervision is needed for melting chocolate and handling hot surfaces.
Print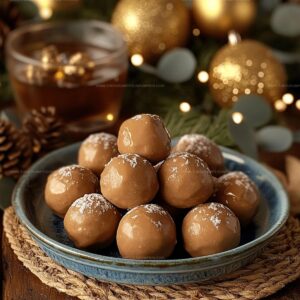
Poppable Peanut Butter Balls Recipe
- Total Time: 25-30 minutes
- Yield: 12 1x
Description
Sweet peanut butter balls dance with chocolatey indulgence, blending creamy richness and nostalgic charm. Quick no-bake magic delivers irresistible treats that bring pure delight to anyone craving classic comfort.
Ingredients
Main Ingredients:
- 1 cup peanut butter
- 1 cup powdered sugar
- 1 cup graham cracker crumbs
Binding/Coating Ingredients:
- 1 cup chocolate chips
- 2 tbsp coconut oil
Optional Garnish:
- 1/4 cup chopped peanuts
- 1 tsp vanilla extract
Instructions
- In a spacious mixing bowl, thoroughly blend peanut butter, powdered sugar, graham cracker crumbs, and vanilla extract until a cohesive, moldable mixture forms.
- Refrigerate the mixture for 15-20 minutes to firm up, making it easier to shape into uniform balls.
- Roll the chilled mixture into small, compact spheres approximately 1-inch in diameter, placing them on a parchment-lined baking sheet.
- Return the formed balls to the refrigerator for an additional 10 minutes to maintain their shape.
- Prepare the chocolate coating by melting chocolate chips and coconut oil in a microwave-safe bowl, stirring at 30-second intervals until smooth and fully integrated.
- Using a fork or dipping tool, carefully submerge each peanut butter ball into the melted chocolate, ensuring complete and even coverage.
- Gently tap the fork to remove excess chocolate and transfer the coated balls back to the parchment-lined sheet.
- While the chocolate is still wet, sprinkle chopped peanuts over the top for added texture and visual appeal.
- Refrigerate the chocolate-covered peanut butter balls for 15-20 minutes or until the chocolate sets completely.
- Store in an airtight container in the refrigerator for up to one week, allowing flavors to meld and texture to remain firm.
Notes
- Chill the mixture thoroughly to ensure easy ball formation and prevent sticking to your hands during shaping.
- Use room temperature ingredients for smoother blending and consistent texture throughout the mixture.
- Opt for natural peanut butter without added sugar to control overall sweetness and maintain a richer nutty flavor.
- Customize coating options by substituting dark, milk, or white chocolate for different taste experiences and dietary preferences.
- Prep Time: 25-30 minutes
- Cook Time: 0 minutes
- Category: Snacks, Desserts
- Method: Rolling
- Cuisine: American
Nutrition
- Serving Size: 12
- Calories: 150
- Sugar: 10 g
- Sodium: 40 mg
- Fat: 9 g
- Saturated Fat: 4 g
- Unsaturated Fat: 5 g
- Trans Fat: 0 g
- Carbohydrates: 17 g
- Fiber: 1 g
- Protein: 3 g
- Cholesterol: 0 mg
Mia Thompson
Pastry Chef & Content Creator
Expertise
Education
Portland Community College – Baking and Pastry Arts Program
Specialized in artisanal bread, seasonal desserts, and sustainable baking methods.
National University of Natural Medicine – Bachelor of Science in Nutrition (BScN)
Focused on “Food as Medicine” philosophy, with core threads in nutrition.
Mia’s love affair with baking began in her grandmother’s kitchen, where sneaking spoonfuls of batter first sparked her curiosity. She refined her skills through Portland Community College’s Baking and Pastry Arts Program and her expertise at the National University of Natural Medicine, earning a B.Sc. in Nutrition.
At The Scrumptious Pumpkin, Mia reimagines classics with effortless seasonal treats, healthier twists on old favorites, and playful confections that feel like pure joy. Beyond the oven, she nurtures her urban garden, forages local ingredients around Portland, and leads hands‑on nutrition workshops for her community.