The Juiciest Roast Beef Sliders Recipe for Party Perfection
Crispy and tender roast beef sliders have become my ultimate comfort food obsession lately.
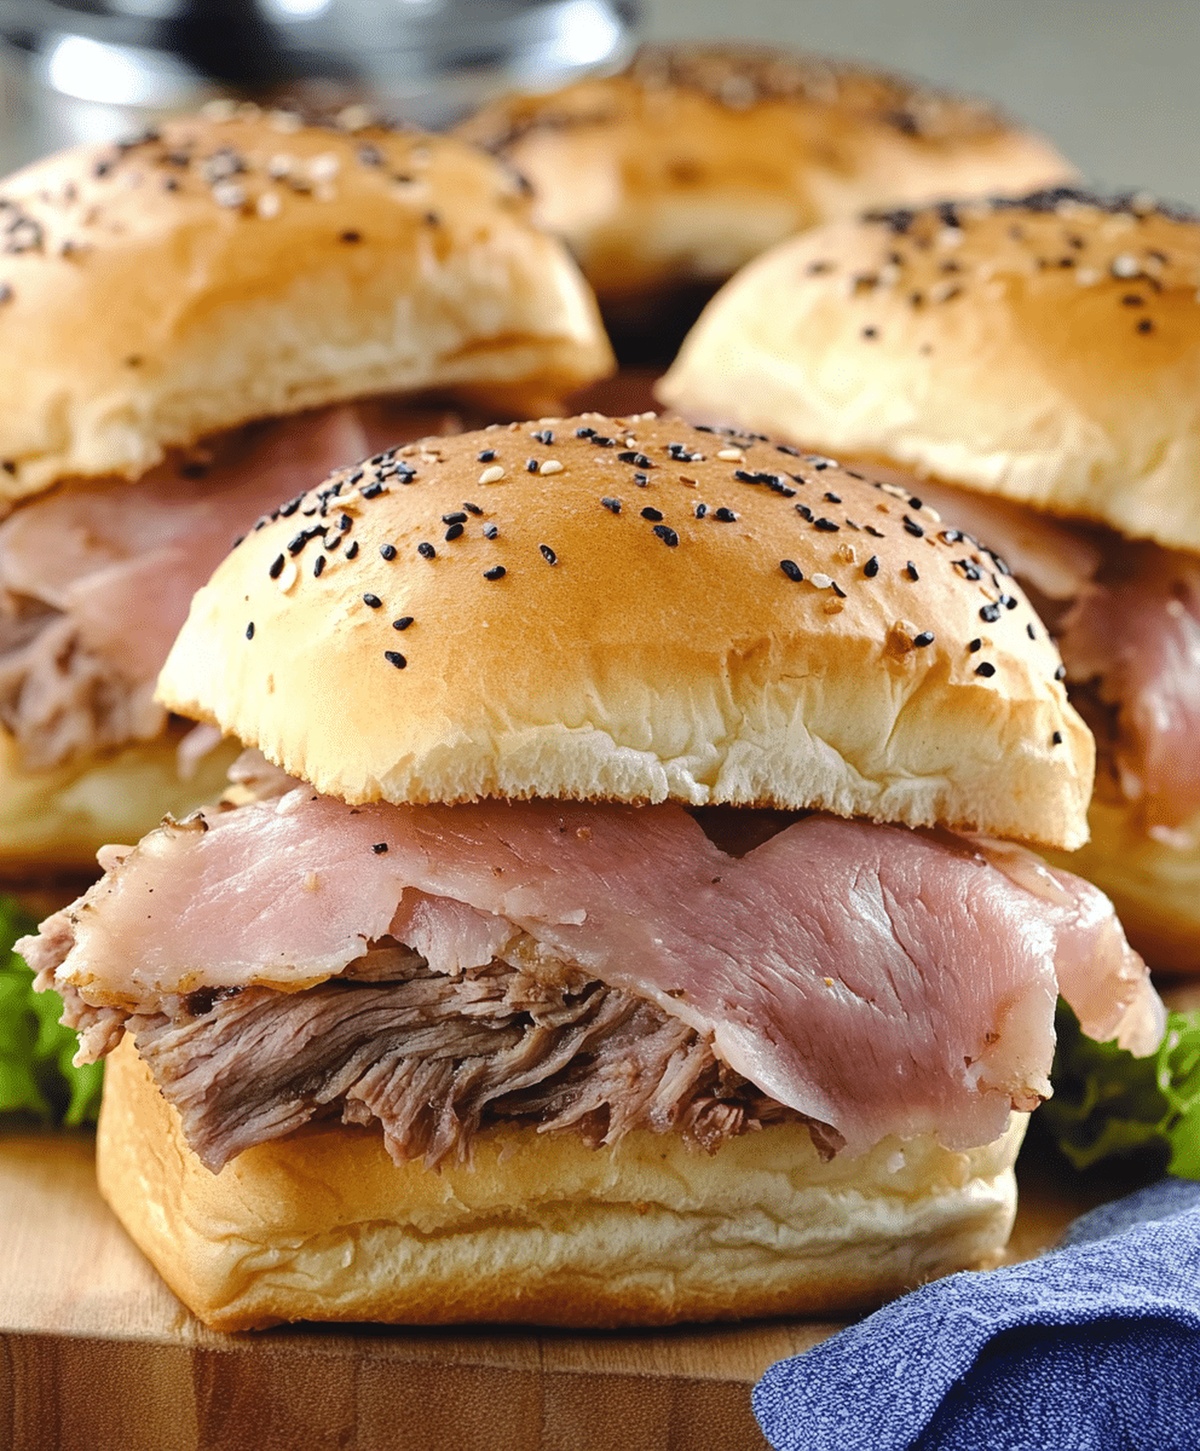
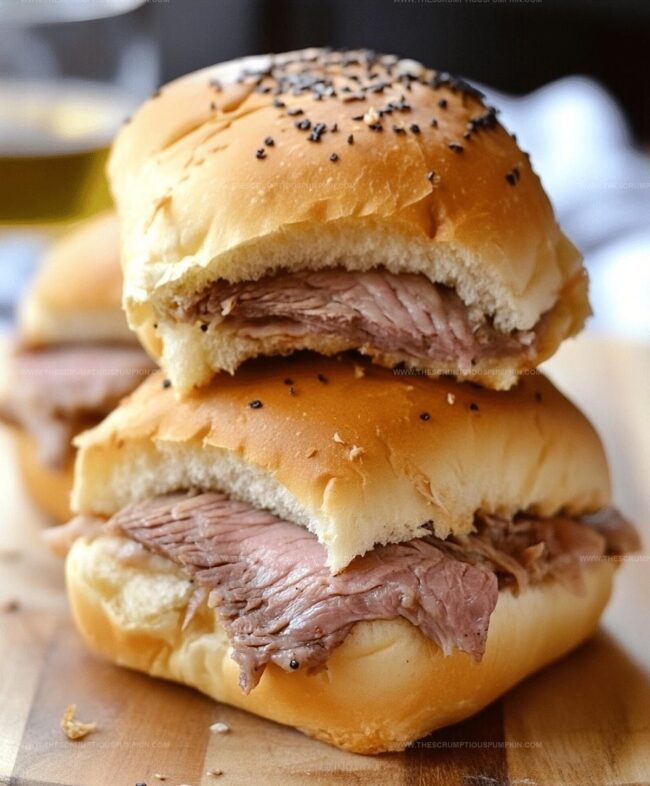
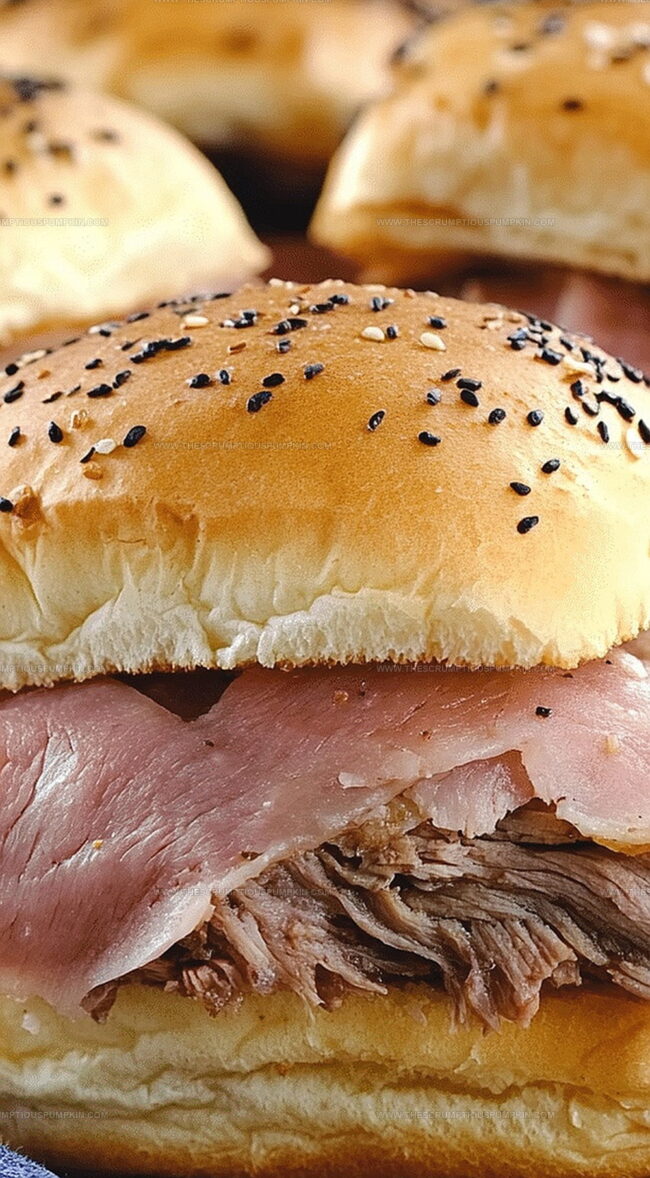
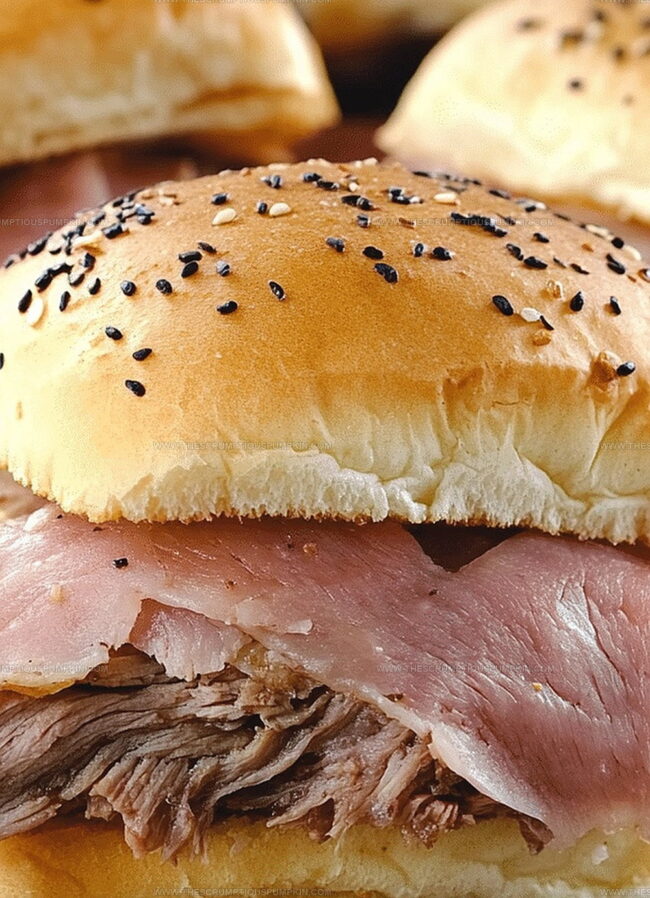
Savory meat nestles between soft mini rolls, creating a perfect handheld delight.
Packed with bold flavors, these little sandwiches bring serious excitement to any gathering.
Each bite delivers a mouthwatering combination of juicy beef and complementary seasonings.
Minimal preparation time means you can whip up these crowd-pleasers in under thirty minutes.
Surprisingly simple ingredients transform into something truly spectacular on your plate.
Come explore this irresistible recipe that will have everyone asking for seconds.
Roast Beef Sliders: What Makes Them Special

Ingredients For The Best Beef Sliders
Main Protein:Bread Base:Flavor Enhancers:Stepwise Instructions For Roast Beef Sliders
Step 1: Fire Up the Oven
Crank the oven to a toasty 350F (175C), getting it ready for some slider magic.
Step 2: Slice Hawaiian Rolls
Carefully slice the Hawaiian rolls horizontally, keeping the bottom half connected like a soft, pillowy book.
Step 3: Create the Slider Base
Gently place the bottom half of the rolls into a baking dish, creating a cozy foundation for your sliders.
Step 4: Layer Savory Goodness
Build your flavor tower with these delicious ingredients:Carefully cover with the top half of the rolls.
Step 5: Whip Up the Flavor Glaze
In a small bowl, combine these flavor-packed ingredients:Stir until perfectly blended.
Step 6: Brush with Flavor
Generously brush the buttery mixture over the tops of the rolls, ensuring every inch gets a delicious coating.
Step 7: First Bake
Cover the sliders with foil and bake for 15 minutes, letting the flavors meld and the cheese get melty.
Step 8: Final Golden Touch
Remove the foil and bake for an additional 5 minutes until the tops turn a gorgeous golden brown and become irresistibly bubbly.
Step 9: Serve and Devour
Pull the sliders out of the oven and serve them warm.
Watch as everyone dives in with pure excitement!
Chef’s Advice For Roast Beef Sliders
Roast Beef Slider – Tasty Variations
Creative Ways To Serve Beef Sliders
Storing Roast Beef Sliders The Easy Way
FAQs
Yes, you can substitute roast beef with turkey, ham, or pulled pork for variety.
Use a thin layer of cheese as a barrier between the meat and bread, and avoid adding too much sauce.
They’re best served fresh, but you can assemble them ahead of time and bake just before serving to maintain crispness.
Use gluten-free Hawaiian rolls and ensure all ingredients like Worcestershire sauce are gluten-free alternatives.
Print
Roast Beef Sliders Recipe
- Total Time: 35 minutes
- Yield: 12 1x
Description
Succulent roast beef sliders bring hearty comfort to any gathering, offering irresistible mini sandwiches packed with savory flavors. Melted cheese, tender beef, and zesty condiments create a crowd-pleasing appetizer you cannot resist.
Ingredients
Meat:
- 1 pound (453 grams) roast beef, thinly sliced
Bread:
- 12 Hawaiian rolls
Cheese and Dairy:
- 12 slices provolone cheese
- 1/2 cup (118 milliliters) butter, melted
Seasonings and Herbs:
- 1 tablespoon Dijon mustard
- 1 tablespoon Worcestershire sauce
- 1 teaspoon garlic powder
- 1 teaspoon onion powder
- 1 tablespoon poppy seeds (optional)
Instructions
- Carefully separate Hawaiian rolls horizontally, maintaining their structural integrity as a single unit.
- Position the connected roll base within a suitable baking vessel.
- Generously distribute roast beef across the roll foundation, creating an even layer of meat.
- Strategically arrange provolone cheese atop the roast beef, ensuring complete coverage.
- Reunite the roll tops with their prepared base, gently pressing to secure the layered ingredients.
- Combine melted butter with Dijon mustard, Worcestershire sauce, garlic powder, onion powder, and poppy seeds in a mixing container.
- Meticulously brush the aromatic butter mixture across the roll surfaces, ensuring comprehensive and uniform coverage.
- Shield the assembled sliders with aluminum foil, then transfer to a preheated 350°F (175°C) oven for 15 minutes.
- Remove foil protection and continue baking for an additional 5 minutes until the tops transform into a golden, appetizing hue.
- Extract from oven and allow brief resting before serving these delectable sliders while warm.
Notes
- Slice rolls carefully to maintain their structural integrity, ensuring even layering of ingredients.
- Use deli-sliced roast beef for consistent thickness and optimal melting of provolone cheese.
- Customize flavor profiles by experimenting with different cheese varieties like Swiss or cheddar for unique taste experiences.
- Make gluten-free version by substituting Hawaiian rolls with gluten-free bread or low-carb alternatives like lettuce wraps for diet-conscious individuals.
- Prep Time: 15 minutes
- Cook Time: 20 minutes
- Category: Lunch, Dinner, Appetizer, Snacks
- Method: Baking
- Cuisine: American
Nutrition
- Serving Size: 12
- Calories: 210 kcal
- Sugar: 3 g
- Sodium: 450 mg
- Fat: 11 g
- Saturated Fat: 5 g
- Unsaturated Fat: 5 g
- Trans Fat: 0.2 g
- Carbohydrates: 20 g
- Fiber: 1 g
- Protein: 12 g
- Cholesterol: 35 mg
Lucas Bennett
Founder & Recipe Developer
Expertise
Education
Blue Ridge Community College – Certificate in Culinary Arts
Focused on seasonal cooking, sustainable kitchen practices, and farm-to-table techniques.
Appalachian State University – B.A. in English
Built critical thinking and analysis through diverse texts. Guided by faculty, it prepares graduates for publishing and more.
Growing up in the rolling hills of North Carolina, Lucas learned early that some of life’s best memories start around a kitchen table. After studying English at Appalachian State University and honing his culinary skills at Blue Ridge Community College, he dreamed of blending storytelling with rustic, seasonal cooking, and The Scrumptious Pumpkin was born.
Lucas focuses on easy, single-serving recipes that turn fresh, local ingredients into something special. His style is simple, heartfelt, and rooted in the beauty of the seasons. When he’s not testing a new dish, you’ll probably find him hiking in the Blue Ridge Mountains, browsing farmers’ markets, or scribbling food stories in a notebook.