
The Ultimate Sweet and Sour Chicken Recipe for Homemade Bliss
Crafting an irresistible sweet and sour chicken recipe brings culinary magic right to your kitchen.
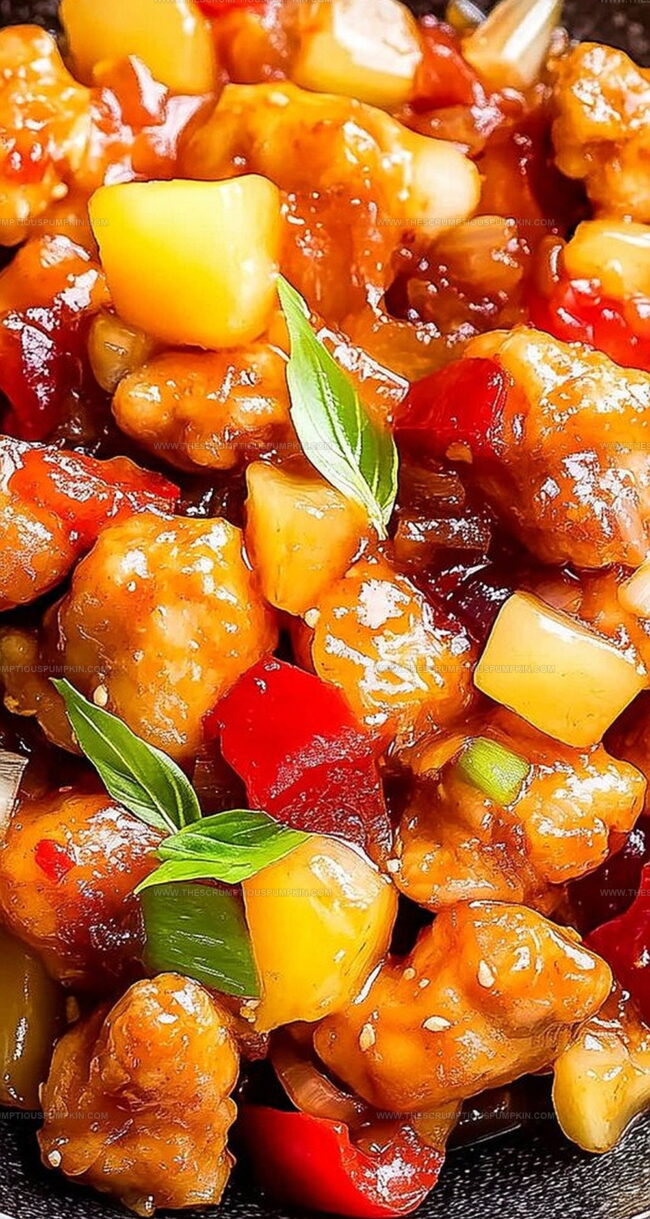
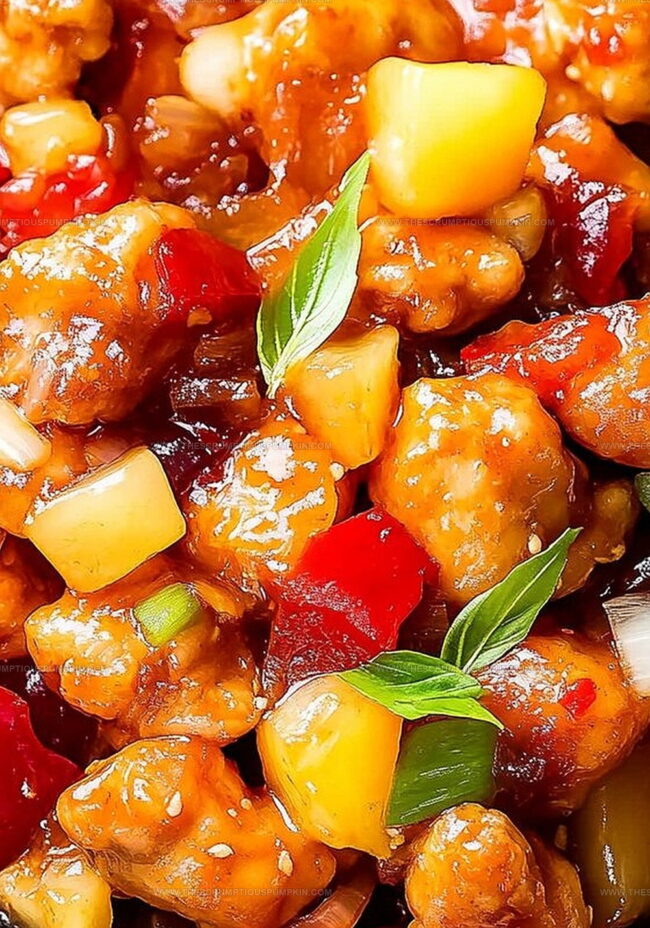
Crispy golden pieces of chicken dance in a vibrant sauce that balances tangy and sugary notes perfectly.
Memories of bustling Asian street markets inspired this classic dish that promises to delight your taste buds.
Tender chicken chunks coated in a glossy, zesty glaze create an instant crowd-pleaser for any meal.
Restaurant-quality flavors emerge from simple ingredients you likely already have in your pantry.
Each bite promises a delightful explosion of contrasting flavors that will transport you to flavor paradise.
Prepare to embark on a delicious adventure that will become your new favorite weeknight dinner.
Why Sweet And Sour Chicken Is A Classic With A Kick
What You’ll Need For Sweet And Sour Chicken
Protein:Coating Ingredients:Sauce and Flavor Enhancers:Vegetable and Fruit Components:Cooking Medium:How To Make Sweet And Sour Chicken Step By Step
Step 1: Warm Up the Oven
Fire up your oven to a cozy 325°F. This temperature will help our chicken get perfectly golden and juicy.
Step 2: Prepare Chicken Coating
Grab your chicken pieces and give them a luxurious bath in cornstarch, then dunk them into beaten eggs. This magical combo will create a crispy, delightful exterior.
Step 3: Fry to Golden Perfection
Heat vegetable oil in a large skillet over medium heat. Gently place chicken pieces and fry until they turn a gorgeous golden brown on both sides.
Once done, transfer these beauties to a baking dish.
Step 4: Craft the Tangy Sauce
In a mixing bowl, whisk together these flavor-packed ingredients:Blend until smooth and glossy.
Step 5: Combine and Layer Flavors
Pour the vibrant sauce over the chicken. Sprinkle in:Gently stir everything to ensure each piece gets coated in the delicious sauce.
Step 6: Bake and Enhance
Place the dish in the oven, uncovered. Bake for 45 minutes, giving it a loving stir every 15 minutes.
This helps distribute the sauce and ensures every bite is packed with flavor.
Tips For Juicy Sweet And Sour Chicken Every Time
Tasty Twists On Sweet And Sour Chicken
Great Pairings For Sweet And Sour Chicken
How To Store Sweet And Sour Chicken Without Drying Out
Sweet And Sour Chicken FAQs Made Simple
Cornstarch helps create a crispy exterior on the chicken and allows the egg coating to stick better, ensuring a golden brown and textured finish.
Yes, white vinegar works as a substitute, but apple cider vinegar provides a slightly sweeter and more complex flavor profile to the sauce.
Use a meat thermometer to check that the internal temperature of the chicken reaches 165°F (74°C), which ensures it’s safe to eat and properly cooked.
You can use any wide, flat pan with high sides to fry the chicken. The key is to have enough space to brown the chicken pieces evenly without overcrowding.
Print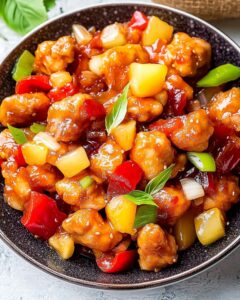
Saucy Sweet And Sour Chicken Recipe
- Total Time: 1 hour
- Yield: 4 1x
Description
Savor Chinese-inspired magic with this delightful Sweet and Sour Chicken that blends crispy golden bites with tangy sauce. Juicy chicken pieces dance in a perfect balance of flavors, promising a restaurant-quality meal you can easily create at home.
Ingredients
Protein:
- 1 pound (454 grams) chicken breast, cut into bite-sized pieces
Sauce Ingredients:
- 1/2 cup (100 grams) sugar
- 1/4 cup (60 milliliters) apple cider vinegar
- 1/4 cup (60 milliliters) ketchup
- 1 tablespoon (15 milliliters) soy sauce
Coating and Vegetables:
- 1/2 cup (60 grams) cornstarch
- 2 large eggs, beaten
- 1/4 cup (60 milliliters) vegetable oil
- 1 tablespoon (8 grams) garlic powder
- 1/4 cup (40 grams) pineapple chunks
- 1/2 red bell pepper, chopped
- 1/2 green bell pepper, chopped
- 1/4 onion, chopped
Instructions
- Prepare a culinary workspace and heat the oven to a precise 325°F (165°C), ensuring an even cooking environment.
- Create a crispy coating by thoroughly dusting chicken pieces with cornstarch, then delicately dipping each piece into whisked eggs for a golden exterior.
- Warm vegetable oil in a large skillet over medium heat, carefully frying chicken until each piece develops a rich, amber-brown color on all surfaces.
- Transfer the golden chicken to a spacious baking dish, positioning pieces for optimal sauce distribution.
- Craft a vibrant sweet and sour sauce by whisking together sugar, apple cider vinegar, ketchup, soy sauce, and garlic powder until smooth and well-integrated.
- Generously drench the chicken with the prepared sauce, then artfully scatter pineapple chunks, bell peppers, and onion across the surface, gently mixing to ensure complete ingredient coverage.
- Place the baking dish in the preheated oven, allowing the dish to simmer uncovered for 45 minutes. Every 15 minutes, tenderly stir the contents to guarantee each chicken piece becomes thoroughly infused with the tangy sauce.
Notes
- Cornstarch coating ensures a crispy exterior while keeping the chicken moist and tender.
- Replace sugar with honey or maple syrup for a more natural sweetener option that adds depth to the sauce.
- For a gluten-free version, use tamari instead of traditional soy sauce and ensure all other ingredients are certified gluten-free.
- Cut vegetables into uniform sizes to guarantee even cooking and consistent texture throughout the dish.
- Prep Time: 15 minutes
- Cook Time: 45 minutes
- Category: Dinner, Lunch, Appetizer
- Method: Baking
- Cuisine: Chinese
Nutrition
- Serving Size: 4
- Calories: 460
- Sugar: 30 g
- Sodium: 300 mg
- Fat: 20 g
- Saturated Fat: 3 g
- Unsaturated Fat: 15 g
- Trans Fat: 0 g
- Carbohydrates: 53 g
- Fiber: 2 g
- Protein: 20 g
- Cholesterol: 120 mg
Mia Thompson
Pastry Chef & Content Creator
Expertise
Education
Portland Community College – Baking and Pastry Arts Program
Specialized in artisanal bread, seasonal desserts, and sustainable baking methods.
National University of Natural Medicine – Bachelor of Science in Nutrition (BScN)
Focused on “Food as Medicine” philosophy, with core threads in nutrition.
Mia’s love affair with baking began in her grandmother’s kitchen, where sneaking spoonfuls of batter first sparked her curiosity. She refined her skills through Portland Community College’s Baking and Pastry Arts Program and her expertise at the National University of Natural Medicine, earning a B.Sc. in Nutrition.
At The Scrumptious Pumpkin, Mia reimagines classics with effortless seasonal treats, healthier twists on old favorites, and playful confections that feel like pure joy. Beyond the oven, she nurtures her urban garden, forages local ingredients around Portland, and leads hands‑on nutrition workshops for her community.