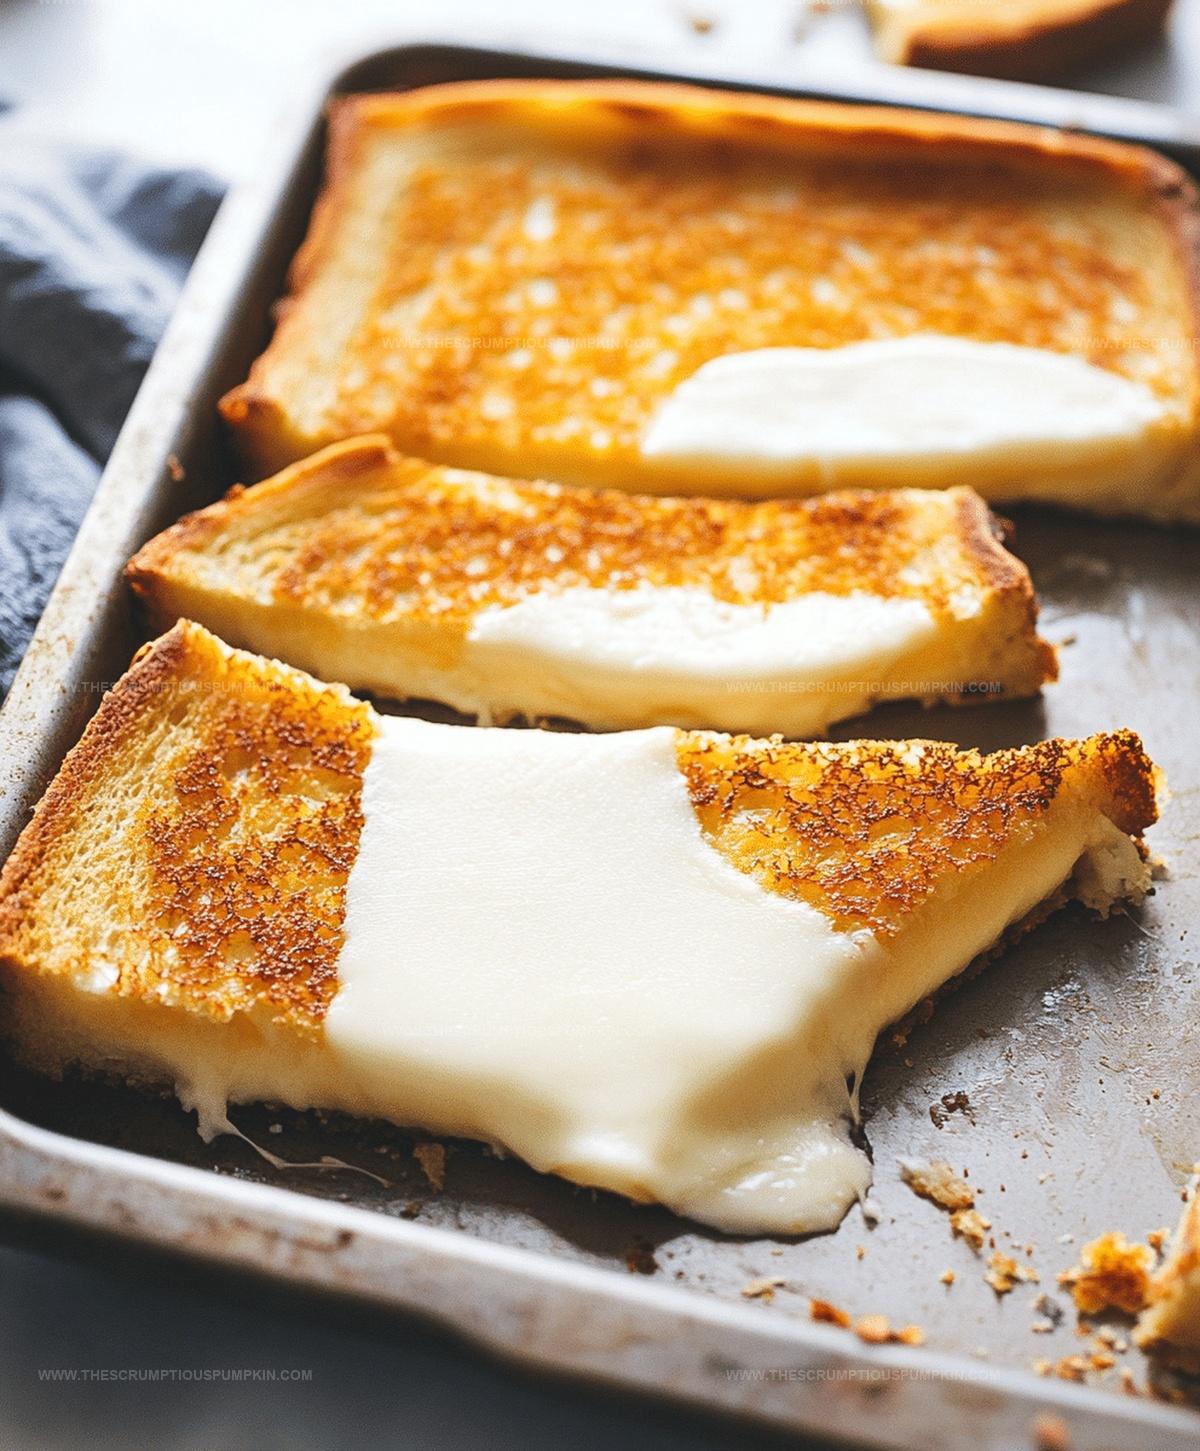
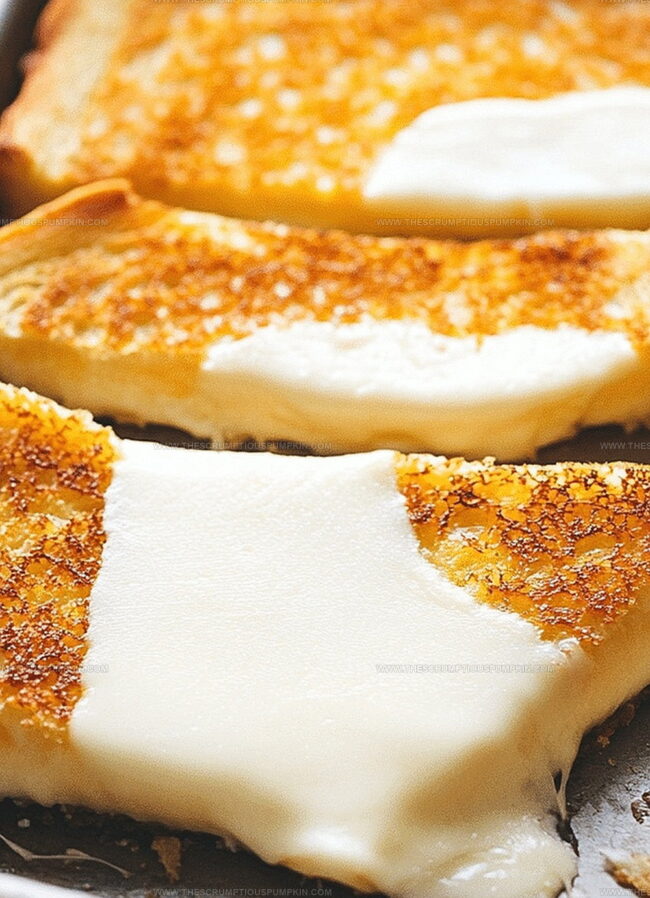
The Perfect Sheet Pan Oven Grilled Cheese Recipe for Gooey Goodness
Crafting a delectable sheet pan oven grilled cheese promises a crispy, melty adventure for sandwich enthusiasts.
Cheese lovers will adore this effortless method of preparing multiple golden sandwiches simultaneously.
Minimal kitchen tools transform this classic comfort food into a crowd-pleasing meal.
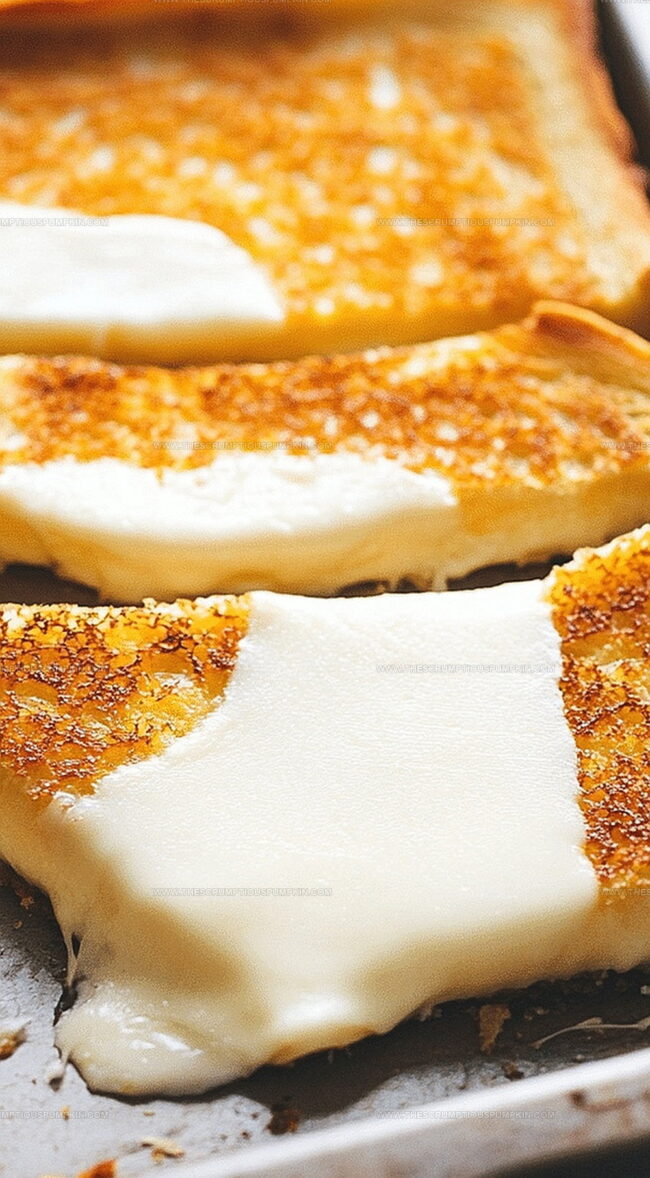
Perfectly buttered bread creates a crunchy exterior while gooey cheese melts throughout each slice.
Simple ingredients and smart techniques guarantee a restaurant-quality result right from your home kitchen.
Experiment with different cheese combinations and bread types to make this recipe uniquely yours.
Oven Grilled Cheese: Why You’ll Love It
Ingredients For Sheet Pan Grilled Cheese
Bread Base:Cheese:Binding and Flavor Enhancers:Easy Steps For Sheet Pan Grilled Cheese
Step 1: Warm Up The Oven
Crank the oven to a toasty 425°F (220°C), getting it ready for some serious grilled cheese magic.
Step 2: Butter Up The Bread
Grab your bread slices and spread a generous layer of butter on one side of each slice, creating a golden, crispy foundation.
Step 3: Build The Sandwich Base
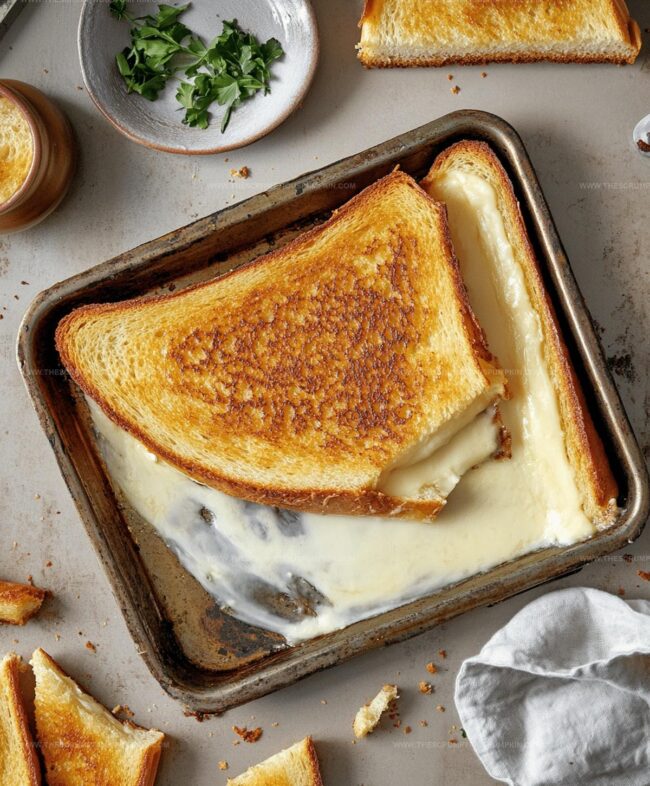
Lay out half of your buttered bread slices on a sheet pan with the buttered side facing down, creating a perfect canvas for cheesy goodness.
Step 4: Layer On The Cheese
Arrange your favorite cheese slices on top of the bread, covering the entire surface with melty, delicious cheese.
Step 5: Top It Off
Carefully place the remaining bread slices on top of the cheese, with the buttered side facing up, creating a sandwich stack.
Step 6: Press And Prepare
Gently press down on the sandwiches to help them stick together, then cover with another sheet pan to ensure even cooking and crispy texture.
Step 7: Bake To Perfection
Slide the sheet pan into the preheated oven and bake for 10 minutes, creating a golden crust and melting the cheese.
Step 8: Crisp It Up
Remove the top sheet pan and continue baking for an additional 5-7 minutes until the bread turns a beautiful golden brown and becomes wonderfully crispy.
Step 9: Serve And Devour
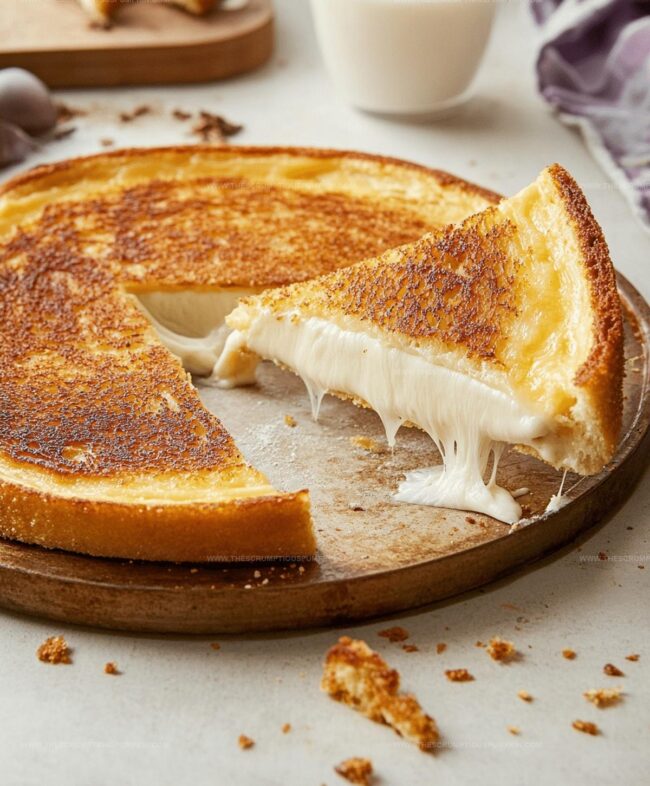
Pull the sheet pan out of the oven, let the grilled cheese cool for a moment, then slice and serve while still warm and irresistibly gooey.
Grilled Cheese – Chef Tips For Oven Magic
Sheet Pan Grilled Cheese: Variations & More
Best Ways To Serve Oven Grilled Cheese
Storing Oven Grilled Cheese For Later
FAQs
Yes, you can experiment with cheddar, swiss, provolone, or any melting cheese that suits your taste preferences.
No, just a standard sheet pan and another pan to press the sandwiches work perfectly fine.
Make sure to butter the bread thoroughly and use a hot oven to create a crispy exterior that seals in the moisture.
This oven method uses less butter and allows you to make multiple sandwiches simultaneously, making it more efficient and potentially less greasy.
Print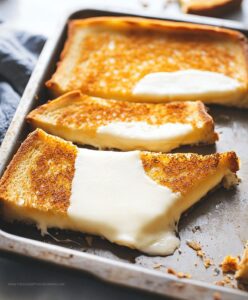
Sheet Pan Oven Grilled Cheese Recipe
- Total Time: 25 minutes
- Yield: 4 1x
Description
Comforting sheet pan grilled cheese delivers crispy, golden-edged sandwiches perfect for satisfying hunger pangs. Melted cheese and buttery bread create a delightful harmony you’ll crave again and again.
Ingredients
Main Ingredients:
- 8–12 slices sliced bread
- 8–12 slices cheese (cheddar, American, or your choice)
Spread Ingredients:
- 4 tablespoons (1/4 cup / 60 grams) butter, softened
Instructions
- Preheat the oven to a blazing 425F (220C), ensuring an evenly heated cooking surface.
- Generously coat one side of each bread slice with a smooth layer of butter, creating a golden potential for crispiness.
- Arrange the first set of bread slices on a sheet pan with the buttered side facing downward, creating a stable foundation.
- Layer selected cheese slices across the bread, covering the entire surface for maximum melting potential.
- Crown the cheese with the remaining bread slices, positioning the buttered side facing upward to promote even browning.
- Apply gentle pressure to compact the sandwich, ensuring a tight seal between bread and cheese.
- Place a second sheet pan directly on top of the sandwiches, creating a weighted press to enhance crunchiness.
- Slide the stacked sheet pans into the preheated oven and bake for precisely 10 minutes, allowing initial melting and warming.
- Carefully remove the top sheet pan, exposing the sandwiches to direct heat, and continue baking for an additional 5-7 minutes.
- Watch for a rich golden-brown color and crispy exterior, indicating the perfect grilled cheese transformation.
- Remove from the oven, let rest momentarily, then slice diagonally and serve immediately while cheese remains luxuriously melted.
Notes
- Prep multiple sandwiches simultaneously for efficient batch cooking, saving time and energy.
- Experiment with cheese varieties like sharp cheddar, gruyere, or smoked gouda for different flavor profiles.
- Use parchment paper between sheet pans to prevent sticking and ensure easier cleanup.
- Customize sandwiches with additional ingredients like bacon, tomato, or herbs for gourmet variations.
- Prep Time: 10 minutes
- Cook Time: 15 minutes
- Category: Lunch, Dinner, Snacks
- Method: Baking
- Cuisine: American
Nutrition
- Serving Size: 4
- Calories: 320 kcal
- Sugar: 3 g
- Sodium: 600 mg
- Fat: 18 g
- Saturated Fat: 10 g
- Unsaturated Fat: 6 g
- Trans Fat: 0.5 g
- Carbohydrates: 28 g
- Fiber: 1.5 g
- Protein: 12 g
- Cholesterol: 40 mg
Lucas Bennett
Founder & Recipe Developer
Expertise
Education
Blue Ridge Community College – Certificate in Culinary Arts
Focused on seasonal cooking, sustainable kitchen practices, and farm-to-table techniques.
Appalachian State University – B.A. in English
Built critical thinking and analysis through diverse texts. Guided by faculty, it prepares graduates for publishing and more.
Growing up in the rolling hills of North Carolina, Lucas learned early that some of life’s best memories start around a kitchen table. After studying English at Appalachian State University and honing his culinary skills at Blue Ridge Community College, he dreamed of blending storytelling with rustic, seasonal cooking, and The Scrumptious Pumpkin was born.
Lucas focuses on easy, single-serving recipes that turn fresh, local ingredients into something special. His style is simple, heartfelt, and rooted in the beauty of the seasons. When he’s not testing a new dish, you’ll probably find him hiking in the Blue Ridge Mountains, browsing farmers’ markets, or scribbling food stories in a notebook.