The Best Butterfinger Balls Recipe for Sweet Treat Lovers
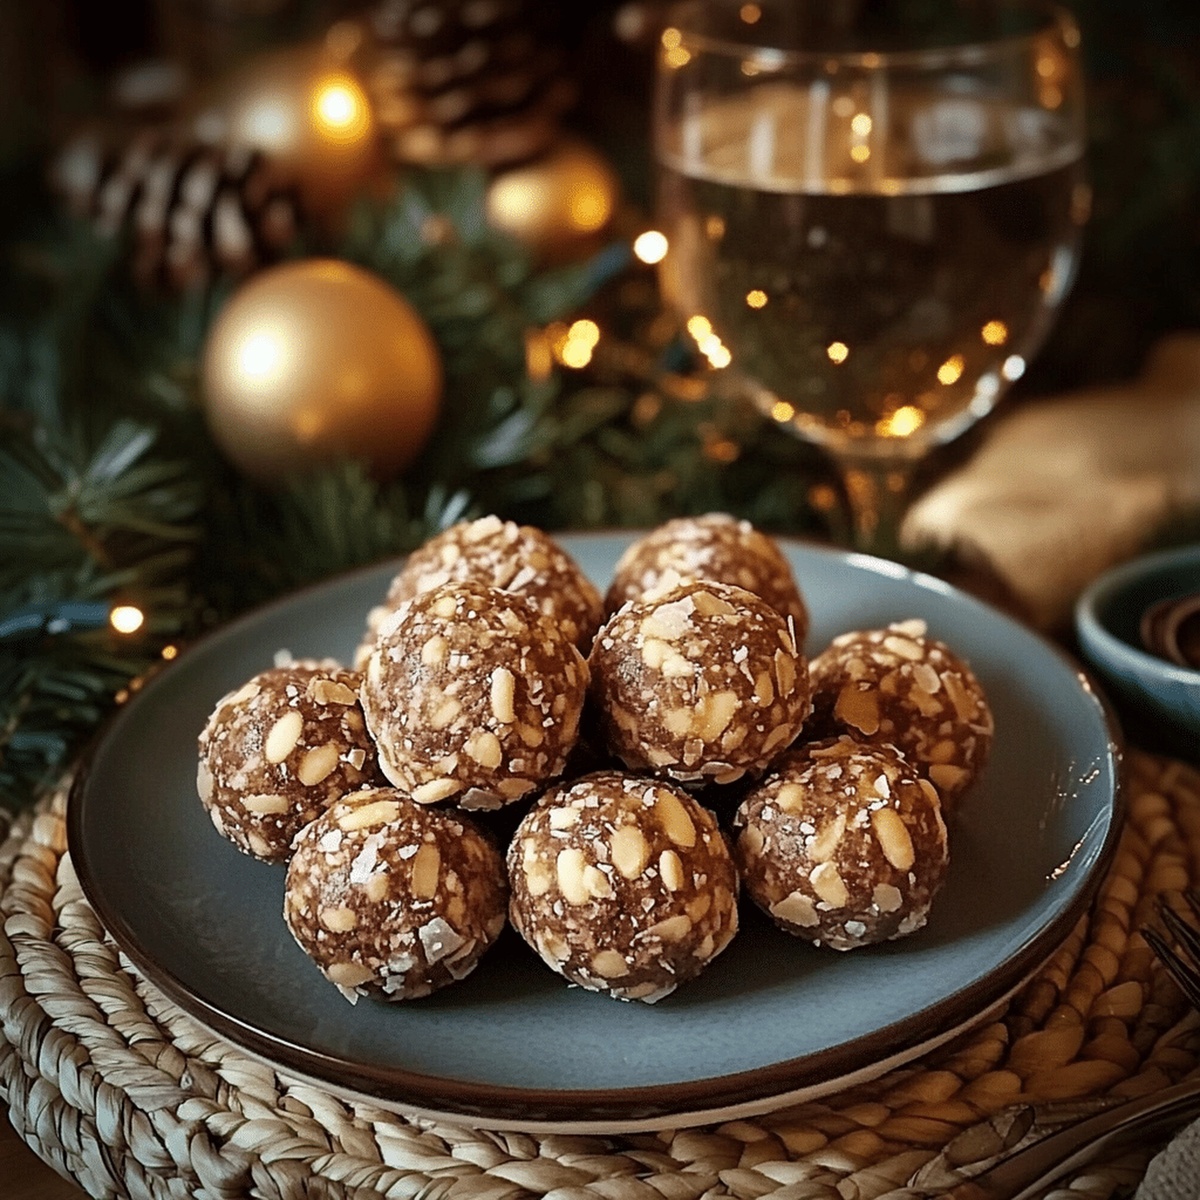
Sweet-toothed dessert lovers can’t resist these delectable butterfinger balls that combine creamy textures with crunchy candy pieces.
Crushing graham crackers creates a perfect base for this no-bake treat.
Peanut butter provides rich, smooth flavor throughout each delightful bite.
Chocolate coating adds a luxurious finish that makes these balls irresistible.
Minimal ingredients and simple preparation mean you can whip up this crowd-pleaser in minutes.
Chilled and ready to serve, these butterfinger balls guarantee smiles and empty plates at every gathering.
Prepare to indulge in a dessert that promises pure bliss with every single mouthful.
Why Butterfinger Balls Are a Candy Lover’s Dream
Butterfinger Balls Ingredient Essentials
For the Base:For the Sweeteners and Binders:For the Flavor Enhancers and Coating:Quick Guide to Making Butterfinger Balls
Step 1: Whip Creamy Base
In a mixing bowl, blend softened cream cheese with peanut butter until the mixture becomes smooth and fully integrated. The combination should look velvety and consistent without any lumps.
Step 2: Create Decadent Dough
Add these ingredients into the cream cheese mixture:Stir thoroughly until a cohesive dough develops with an even texture.
Step 3: Chill Initial Mixture
Refrigerate the dough for 15-20 minutes to help it firm up, making the next shaping process much easier to manage.
Step 4: Shape Delightful Spheres
Remove chilled mixture and roll into uniform bite-sized balls. Place each sphere carefully on a parchment-lined baking sheet.
Step 5: Prepare For Coating
Freeze the rolled balls for 30 minutes, which helps them maintain structural integrity during chocolate dipping.
Step 6: Melt Chocolate Coating
Create a silky chocolate coating using a double boiler or microwave-safe bowl. Melt chocolate chips and milk chocolate melting wafers, incorporating coconut oil until the mixture becomes glossy and smooth.
Step 7: Dip And Cover
Remove frozen balls from freezer. Carefully dip each sphere into melted chocolate, ensuring complete and even coverage all around.
Step 8: Remove Excess Chocolate
Gently tap each chocolate-covered ball to remove excess coating, then place back on the parchment-lined sheet.
Step 9: Set Chocolate Layer
Refrigerate the chocolate-coated balls for 10-15 minutes until the chocolate sets completely and becomes firm.
Step 10: Store And Enjoy
Transfer finished Butterfinger balls to an airtight container. Store in refrigerator for up to one week, allowing flavors to develop and texture to stabilize.
Helpful Tips for Butterfinger Balls Perfection
New Ideas for Butterfinger Balls You’ll Love
What to Enjoy with Butterfinger Balls
Keeping Butterfinger Balls Fresh
Butterfinger Balls: Your Questions Answered
Butterfinger candy bars provide a distinctive crunch and flavor, while cream cheese creates a rich, smooth base that complements the sweet and nutty profile.
Yes, you can substitute milk chocolate with dark or white chocolate based on your preference, ensuring the melting process remains consistent.
Absolutely! These bite-sized Butterfinger truffles are perfect for potlucks, holiday parties, or casual get-togethers, offering a crowd-pleasing dessert that’s easy to share.
Freezing the rolled balls for 30 minutes before chocolate coating helps them stay firm and prevents crumbling during the dipping process.
Print
Snappy Butterfinger Balls Recipe
- Total Time: 50-60 minutes
- Yield: 12 1x
Description
Irresistible Butterfinger balls blend creamy peanut butter with crunchy candy bar pieces, creating a delightful no-bake dessert. Chocolate-coated and sprinkled with crushed Butterfingers, these sweet treats will satisfy your craving for a quick and indulgent snack.
Ingredients
Chocolate and Coating:
- 1 cup chocolate chips (semi-sweet)
- 1/2 cup milk chocolate melting wafers
- 2 tbsp coconut oil
Butterfinger Base:
- 1 cup crispy peanut butter
- 1 cup crushed butterfinger candy bars
- 1/2 cup powdered sugar
- 4 oz cream cheese, softened
Binding and Rolling:
- 1/4 cup graham cracker crumbs
- 1 tsp vanilla extract
- 1/4 tsp salt
Instructions
- In a mixing bowl, blend softened cream cheese with crispy peanut butter until smooth and thoroughly combined.
- Incorporate crushed Butterfinger candy bars, powdered sugar, graham cracker crumbs, vanilla extract, and salt into the cream cheese mixture, stirring until a cohesive dough forms.
- Refrigerate the mixture for 15-20 minutes to firm up, making it easier to handle and shape.
- Roll the chilled mixture into uniform bite-sized spheres, placing them on a parchment-lined baking sheet.
- Freeze the rolled balls for 30 minutes to ensure they maintain their shape during coating.
- Prepare a double boiler or microwave-safe bowl to melt chocolate chips and milk chocolate melting wafers, stirring in coconut oil until the mixture is silky and glossy.
- Remove balls from freezer and carefully dip each one into the melted chocolate, ensuring complete and even coverage.
- Gently tap off excess chocolate and place coated balls back on the parchment-lined sheet.
- Refrigerate the chocolate-covered Butterfinger balls for 10-15 minutes until the chocolate sets completely.
- Transfer to an airtight container and store in the refrigerator for up to one week, allowing flavors to meld and texture to stabilize.
Notes
- Chill the mixture thoroughly to prevent sticky hands and ensure clean, round ball formation during shaping.
- Use room temperature cream cheese for smoother blending and easier mixing with peanut butter and other ingredients.
- Crush Butterfinger bars finely to distribute flavor evenly and create a consistent texture throughout the balls.
- Opt for milk chocolate melting wafers for a glossy, professional-looking coating that sets quickly and smoothly.
- Prep Time: 20 minutes
- Cook Time: 30 minutes
- Category: Snacks, Desserts
- Method: Rolling
- Cuisine: American
Nutrition
- Serving Size: 12
- Calories: 200
- Sugar: 18 g
- Sodium: 70 mg
- Fat: 12 g
- Saturated Fat: 6 g
- Unsaturated Fat: 4 g
- Trans Fat: 0 g
- Carbohydrates: 22 g
- Fiber: 1 g
- Protein: 3 g
- Cholesterol: 15 mg
Mia Thompson
Pastry Chef & Content Creator
Expertise
Education
Portland Community College – Baking and Pastry Arts Program
Specialized in artisanal bread, seasonal desserts, and sustainable baking methods.
National University of Natural Medicine – Bachelor of Science in Nutrition (BScN)
Focused on “Food as Medicine” philosophy, with core threads in nutrition.
Mia’s love affair with baking began in her grandmother’s kitchen, where sneaking spoonfuls of batter first sparked her curiosity. She refined her skills through Portland Community College’s Baking and Pastry Arts Program and her expertise at the National University of Natural Medicine, earning a B.Sc. in Nutrition.
At The Scrumptious Pumpkin, Mia reimagines classics with effortless seasonal treats, healthier twists on old favorites, and playful confections that feel like pure joy. Beyond the oven, she nurtures her urban garden, forages local ingredients around Portland, and leads hands‑on nutrition workshops for her community.