Irresistibly Soft & Thick Peanut Butter Cookies Recipe
Crafting the ultimate soft & thick peanut butter cookies brings pure joy to any home baker’s heart.
Creamy spreads and sweet memories collide in this delightful treat.
Nostalgic aromas will quickly fill your kitchen with warmth.
Baking these cookies requires simple ingredients and minimal effort.
Each bite promises a perfect balance of rich, nutty flavor and tender texture.
Kitchen novices and seasoned bakers alike can master this straightforward recipe.
You’ll fall in love with these melt-in-your-mouth delights that remind us why homemade treats always win.
Why Soft & Thick Peanut Butter Cookies Are So Good
Soft & Thick Peanut Butter Cookies Ingredients
Main Ingredients:Dry Ingredients:Flavor Enhancers:How to Make Soft & Thick Peanut Butter Cookies
Step 1: Warm Up the Oven
Crank the oven to a toasty 350°F.
Grab a baking sheet and line it with parchment paper to prevent any sticky situations.
Step 2: Whip Up the Creamy Base
In a large mixing bowl, blend together:Whip these ingredients until they become smooth and fluffy like a cloud.
Step 3: Add Moisture and Flavor
Crack in the egg and pour in vanilla extract.
Mix thoroughly until everything is perfectly combined and looks silky.
Step 4: Prepare the Dry Ingredients
In a separate bowl, whisk together:Make sure these dry ingredients are well-blended with no lumps.
Step 5: Combine Wet and Dry Mixtures
Slowly add the dry ingredients to the wet mixture.
Stir gently until a soft, gorgeous dough forms that’s easy to handle.
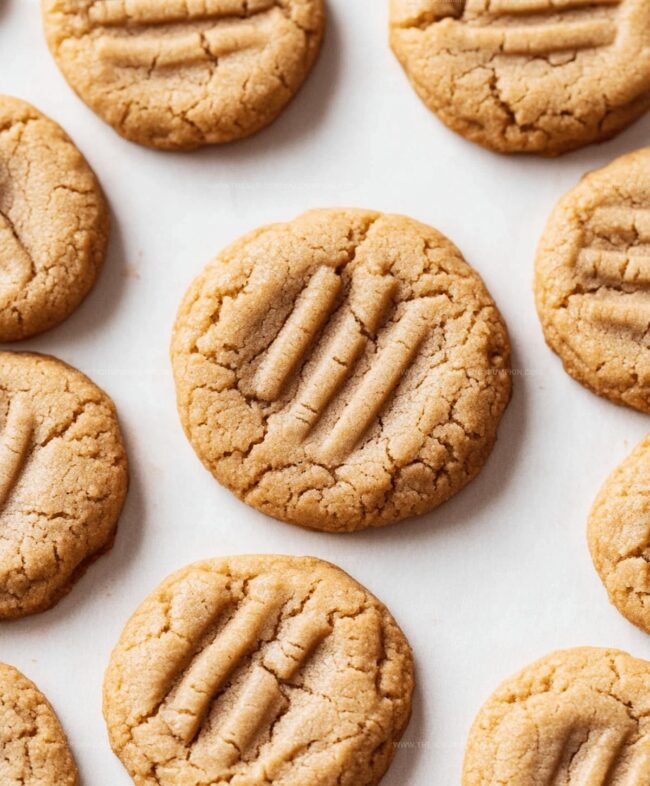
Step 6: Shape the Cookies
Roll the dough into small balls, each about the size of a ping pong ball.
Place them on the prepared baking sheet with some breathing room between each cookie.
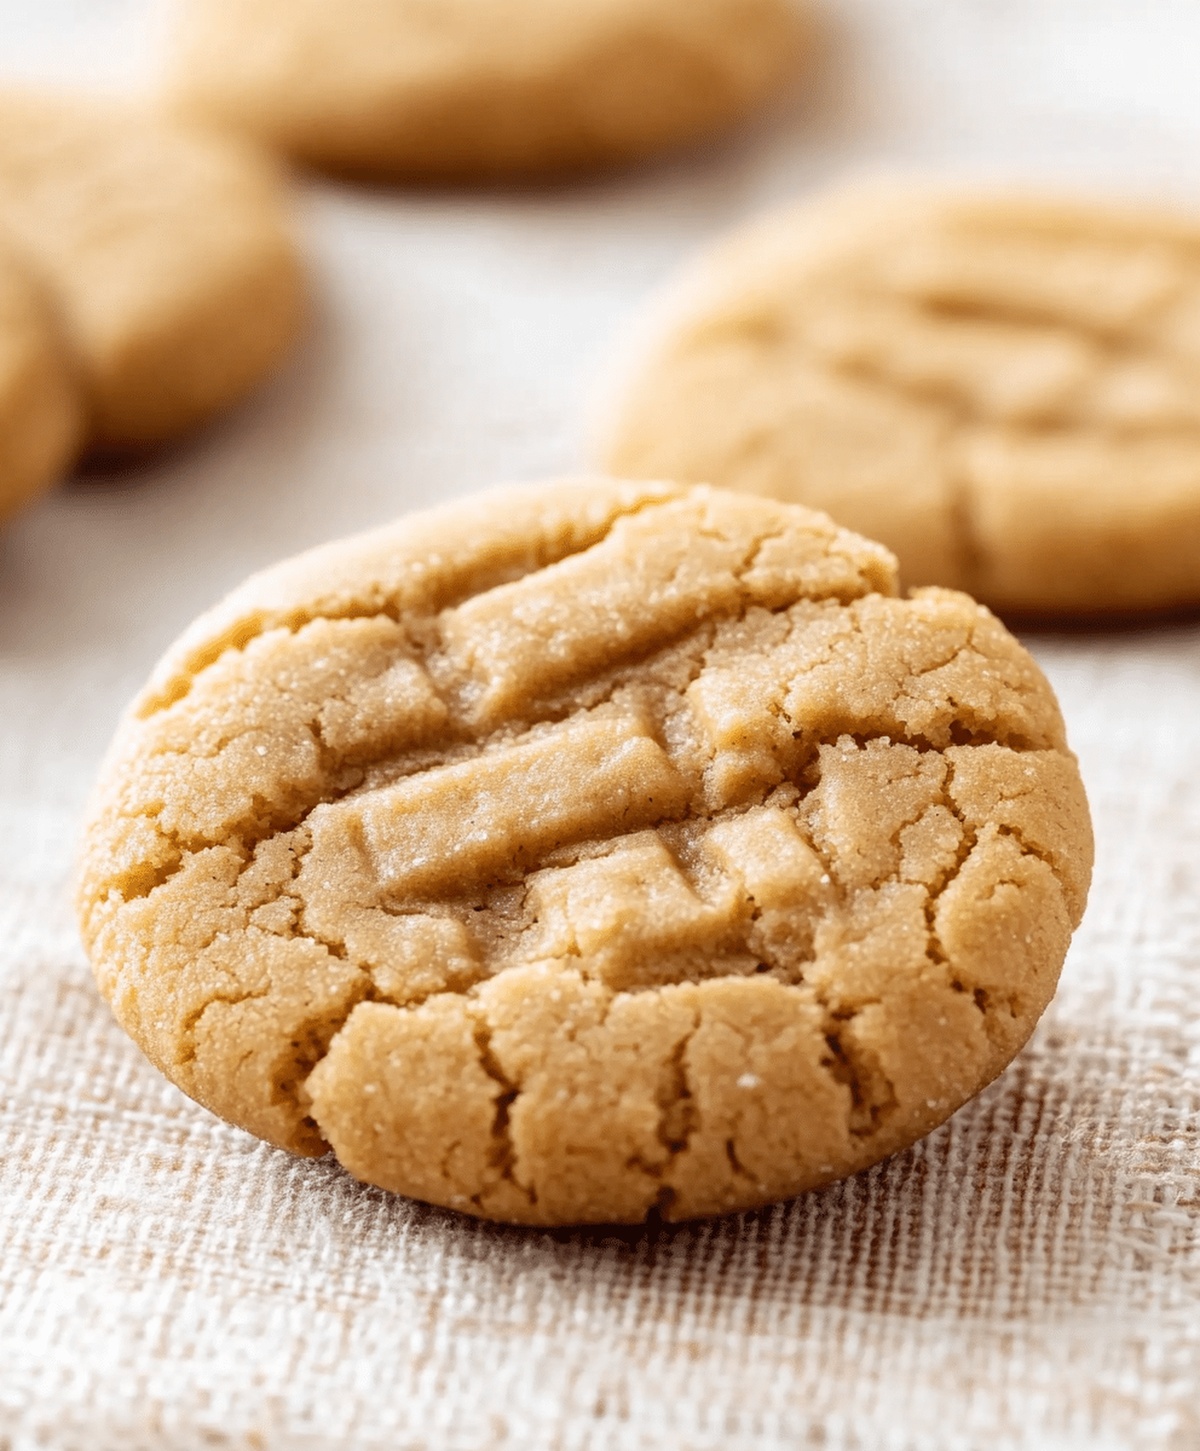
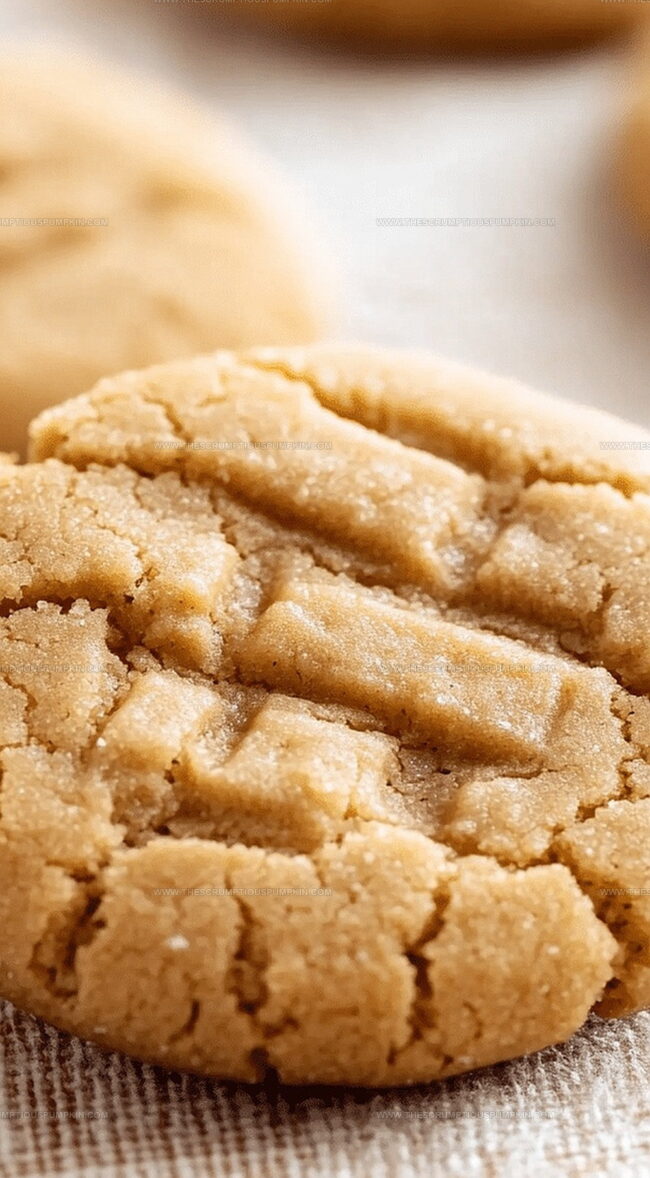
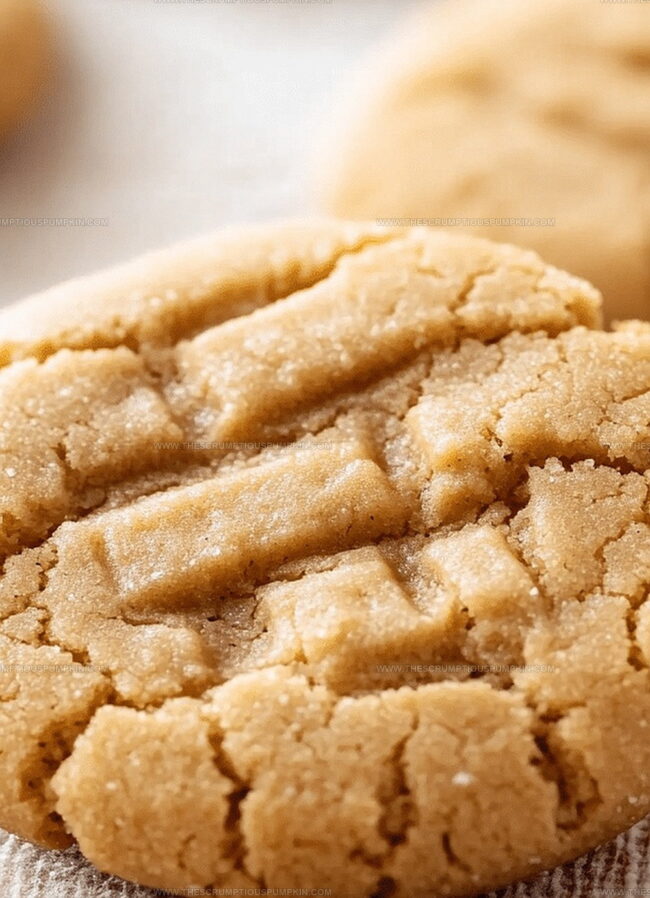
Step 7: Create the Classic Pattern
Use a fork to gently press down on each cookie, creating that iconic crisscross design that screams homemade peanut butter cookies.
Step 8: Bake to Perfection
Slide the baking sheet into the oven and bake for 10-12 minutes.
Look for a golden edge but keep the center soft and tender.
Step 9: Cool and Enjoy
Let the cookies rest on the baking sheet for 5 minutes.
Then transfer them to a wire rack to cool completely.
Grab a glass of milk and enjoy your delicious creation!
Pro Tips for Soft & Thick Peanut Butter Cookies
Variations of Soft & Thick Peanut Butter Cookies
Serving Soft & Thick Peanut Butter Cookies
Storing Soft & Thick Peanut Butter Cookies
FAQs
Yes, but you might need to adjust the flour slightly as natural peanut butter has more oil and can make cookies spread more.
Don’t overbake. Take them out when edges are golden but centers still look slightly soft. They’ll continue cooking on the baking sheet.
Absolutely! Roll the dough into balls and freeze for up to 3 months. Bake directly from frozen, adding 1-2 extra minutes to baking time.
Brown sugar adds moisture and creates a chewier texture, while granulated sugar helps with crisp edges and overall sweetness.
Print
Soft & Thick Peanut Butter Cookies Recipe
- Total Time: 32 minutes
- Yield: 24 1x
Description
Irresistible Peanut Butter Cookies deliver a classic American dessert with rich, creamy texture and homemade charm. Crisp edges and chewy centers make these treats perfect for cookie lovers craving comfort and nostalgia.
Ingredients
Cookies Ingredients:
- 1/2 cup (113 grams) unsalted butter, softened
- 1/2 cup (128 grams) peanut butter
Main Sugars:
- 1/2 cup (100 grams) granulated sugar
- 1/2 cup (110 grams) brown sugar
Binding and Dry Ingredients:
- 1 large egg
- 1 teaspoon vanilla extract
- 1 1/4 cups (156 grams) all-purpose flour
- 1/2 teaspoon baking soda
- 1/4 teaspoon salt
Instructions
- Prepare the baking environment by heating the oven to 350F and lining a baking sheet with parchment paper.
- Create a creamy mixture by blending butter, peanut butter, and both sugar varieties until smooth and well-incorporated.
- Introduce egg and vanilla extract to the mixture, stirring until completely unified.
- Separately combine flour, baking soda, and salt through a thorough whisking process.
- Gradually fold dry ingredients into the wet mixture, stirring gently until a cohesive dough develops.
- Shape the dough into uniform 1-inch spheres, positioning them evenly across the prepared baking sheet.
- Gently press each cookie with a fork, creating a distinctive crisscross texture that enhances visual appeal.
- Transfer the cookie-laden sheet into the preheated oven, baking for 10-12 minutes until edges turn golden yet centers remain tender.
- Allow cookies to rest on the baking sheet for 5 minutes, enabling them to firm slightly before transferring to a cooling rack.
Notes
- Chill the dough for 30 minutes before baking to prevent spreading and create thicker, softer cookies.
- Use room temperature ingredients to ensure smooth mixing and consistent texture.
- Opt for natural peanut butter with no added sugar for a more intense, authentic peanut flavor.
- Substitute gluten-free flour for a celiac-friendly version of these classic cookies.
- Prep Time: 20 minutes
- Cook Time: 12 minutes
- Category: Desserts, Snacks
- Method: Baking
- Cuisine: American
Nutrition
- Serving Size: 24
- Calories: 196
- Sugar: 10 g
- Sodium: 100 mg
- Fat: 12 g
- Saturated Fat: 3.5 g
- Unsaturated Fat: 7.5 g
- Trans Fat: 0.1 g
- Carbohydrates: 19 g
- Fiber: 1.2 g
- Protein: 4 g
- Cholesterol: 20 mg
Lucas Bennett
Founder & Recipe Developer
Expertise
Education
Blue Ridge Community College – Certificate in Culinary Arts
Focused on seasonal cooking, sustainable kitchen practices, and farm-to-table techniques.
Appalachian State University – B.A. in English
Built critical thinking and analysis through diverse texts. Guided by faculty, it prepares graduates for publishing and more.
Growing up in the rolling hills of North Carolina, Lucas learned early that some of life’s best memories start around a kitchen table. After studying English at Appalachian State University and honing his culinary skills at Blue Ridge Community College, he dreamed of blending storytelling with rustic, seasonal cooking, and The Scrumptious Pumpkin was born.
Lucas focuses on easy, single-serving recipes that turn fresh, local ingredients into something special. His style is simple, heartfelt, and rooted in the beauty of the seasons. When he’s not testing a new dish, you’ll probably find him hiking in the Blue Ridge Mountains, browsing farmers’ markets, or scribbling food stories in a notebook.